Storage Pool Configuration
1 Create a New Storage Pool
The document was last updated on 2026-03-24 14:45
1.1 Create an Universal Storage Pool
Prerequisites
- Storage nodes must be properly configured.
- Currently, only local directory storage types are supported.
Steps
Step 1 Click Resource - Storage Pools on the left side of the system menu.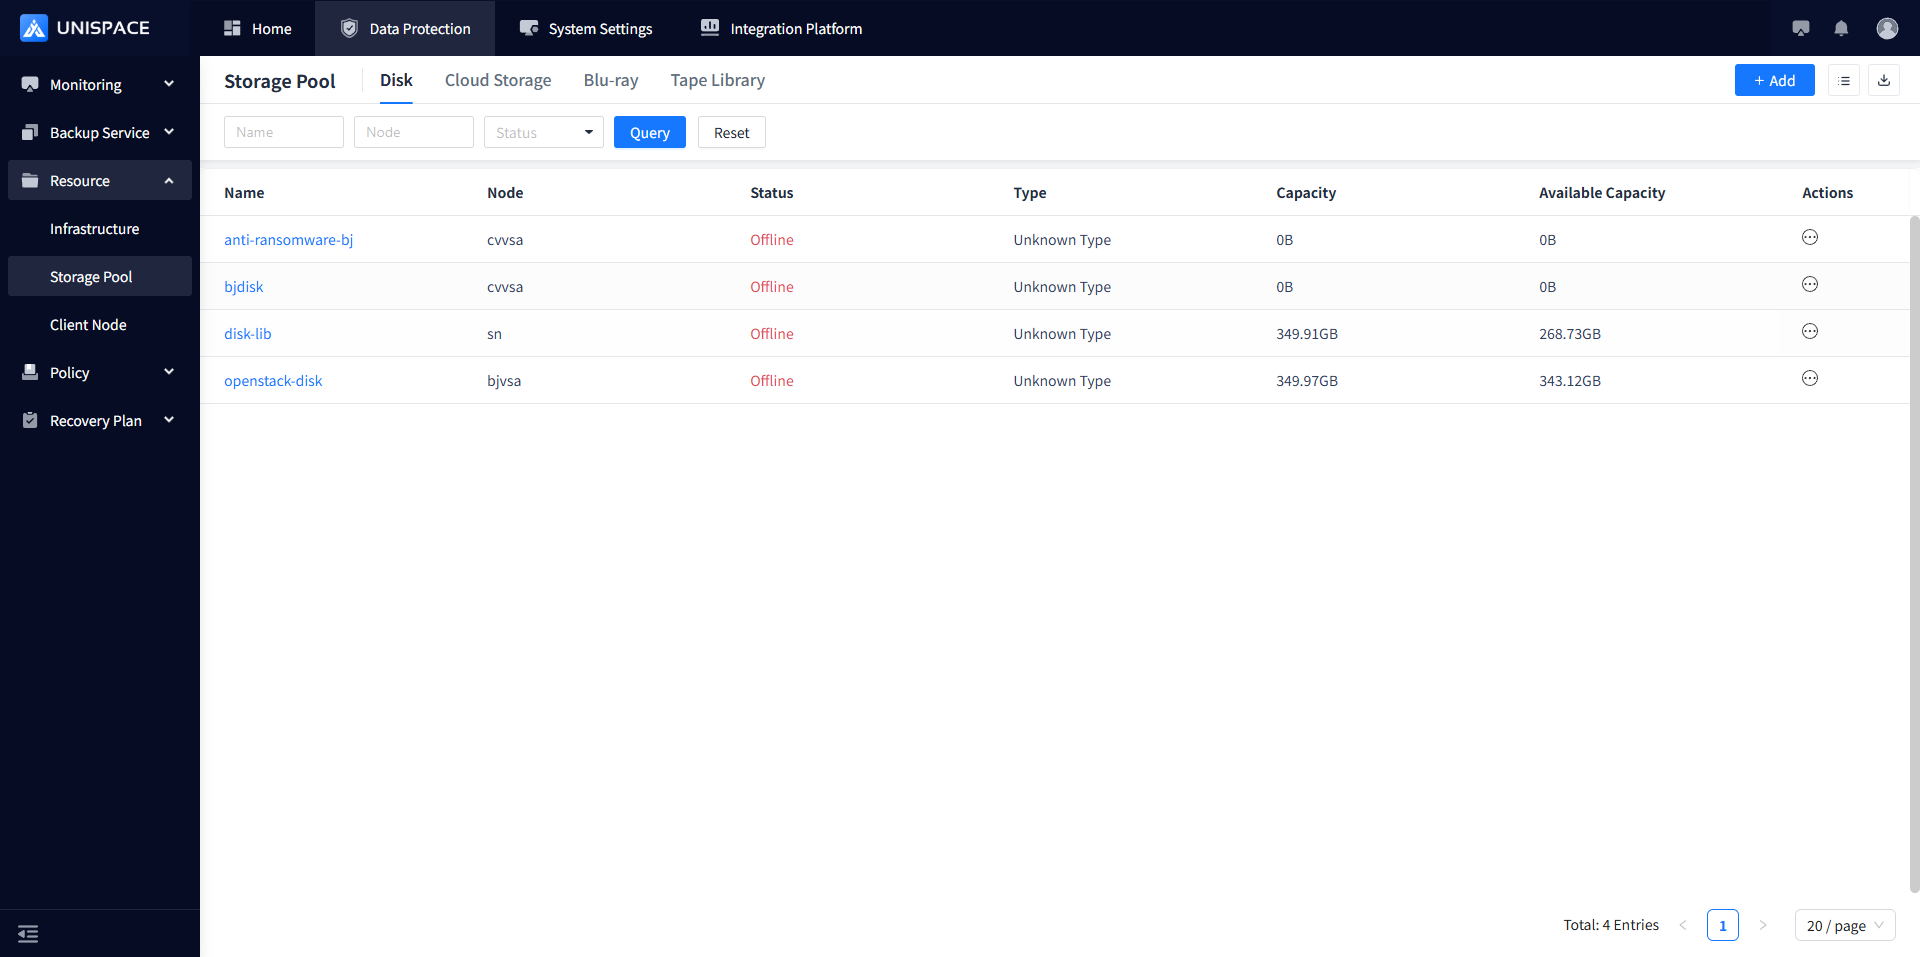
Step 2 Click the Add button at the top right. The page will display as follows:
Step 3 Fill in the form information
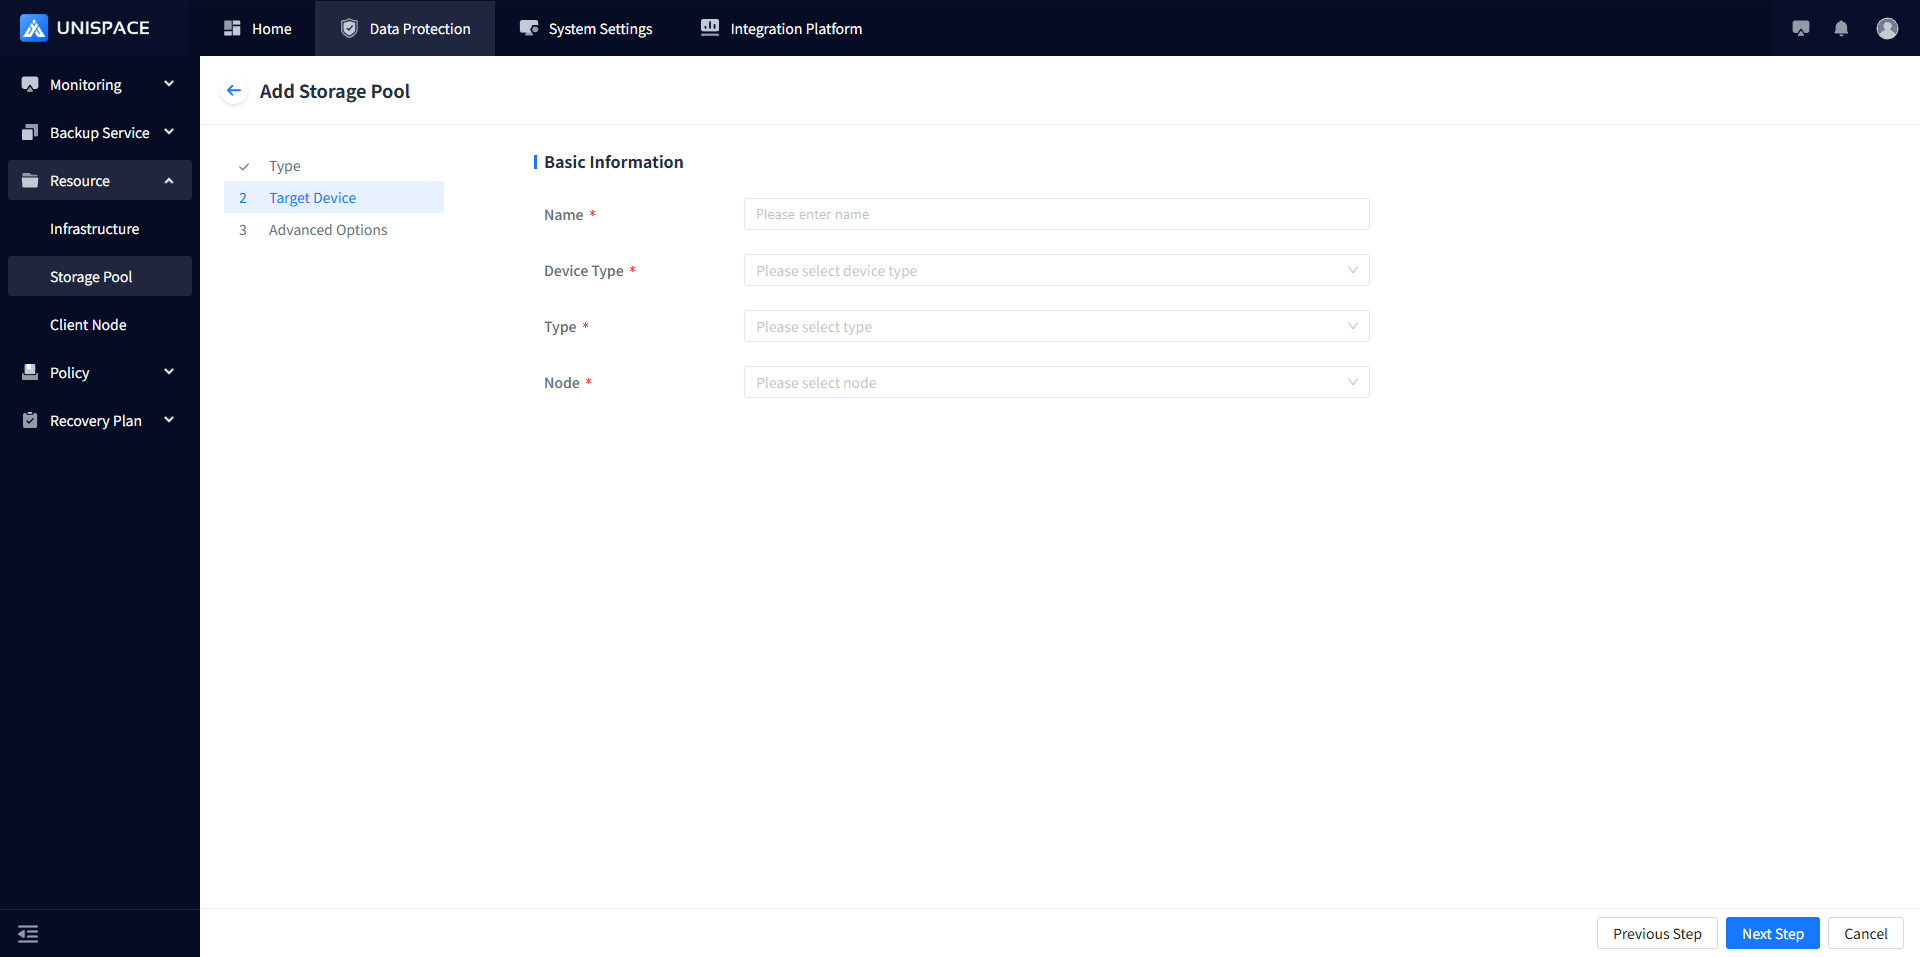
Step 4 Configure the storage pool information. The parameter details are described in the table below:
| Parameter Name | Description | Setting Rules |
|---|---|---|
| Storage Pool Name | Required. Users can define it freely. | Maximum input length is 50 characters. |
| Storage Type | Required. Options include Disk, Cloud Storage, Blu-ray. | Default is Disk. |
| Type | Local Directory | Select Local Directory. |
| Storage Node | Select the registered storage node name | |
| Full Path | Required. The destination path where the storage node writes backup data. | The path must meet the required format, e.g., /xxx/xxx. |
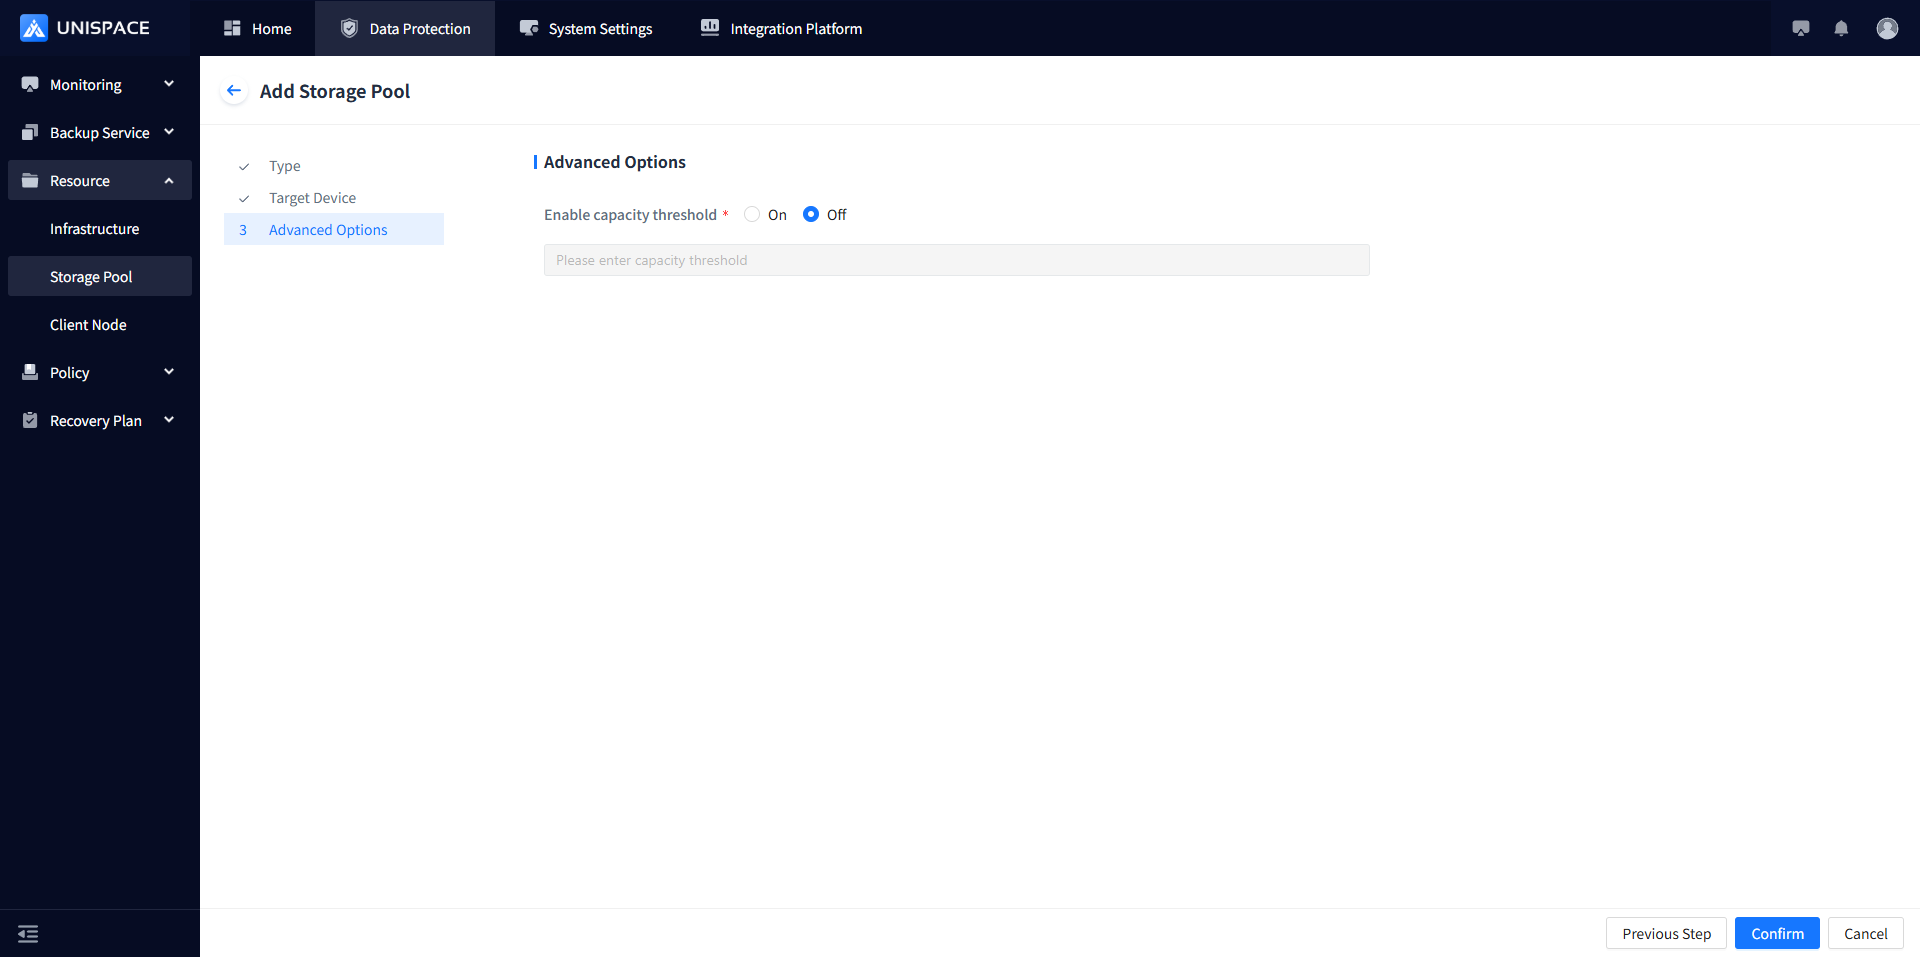
| Capacity Threshold | Default is Disabled. | When disabled, no capacity threshold needs to be set. When enabled, the capacity threshold must be set (effective from version 3.3 onward, fully implemented). |
| Enable WORM Storage Lock | Default is Disabled. | When disabled, no WORM storage lock needs to be set. When enabled, the WORM storage lock must be set. |
| Data Encryption | AES-128 or SM4 | The client version must be 3.2.x or higher. Only one encryption method can be selected along with the service plan encryption. |
Step 5 Click OK.
1.2 Create a Deduplication Storage Pool (In version 3.2, deduplication is supported for all agents except VMware and Windows clients)
Prerequisites
- Storage nodes must be properly configured.
- The current storage type supports local directories.
Steps
Step 1 Click Resource - Storage Pools on the left side of the system menu.
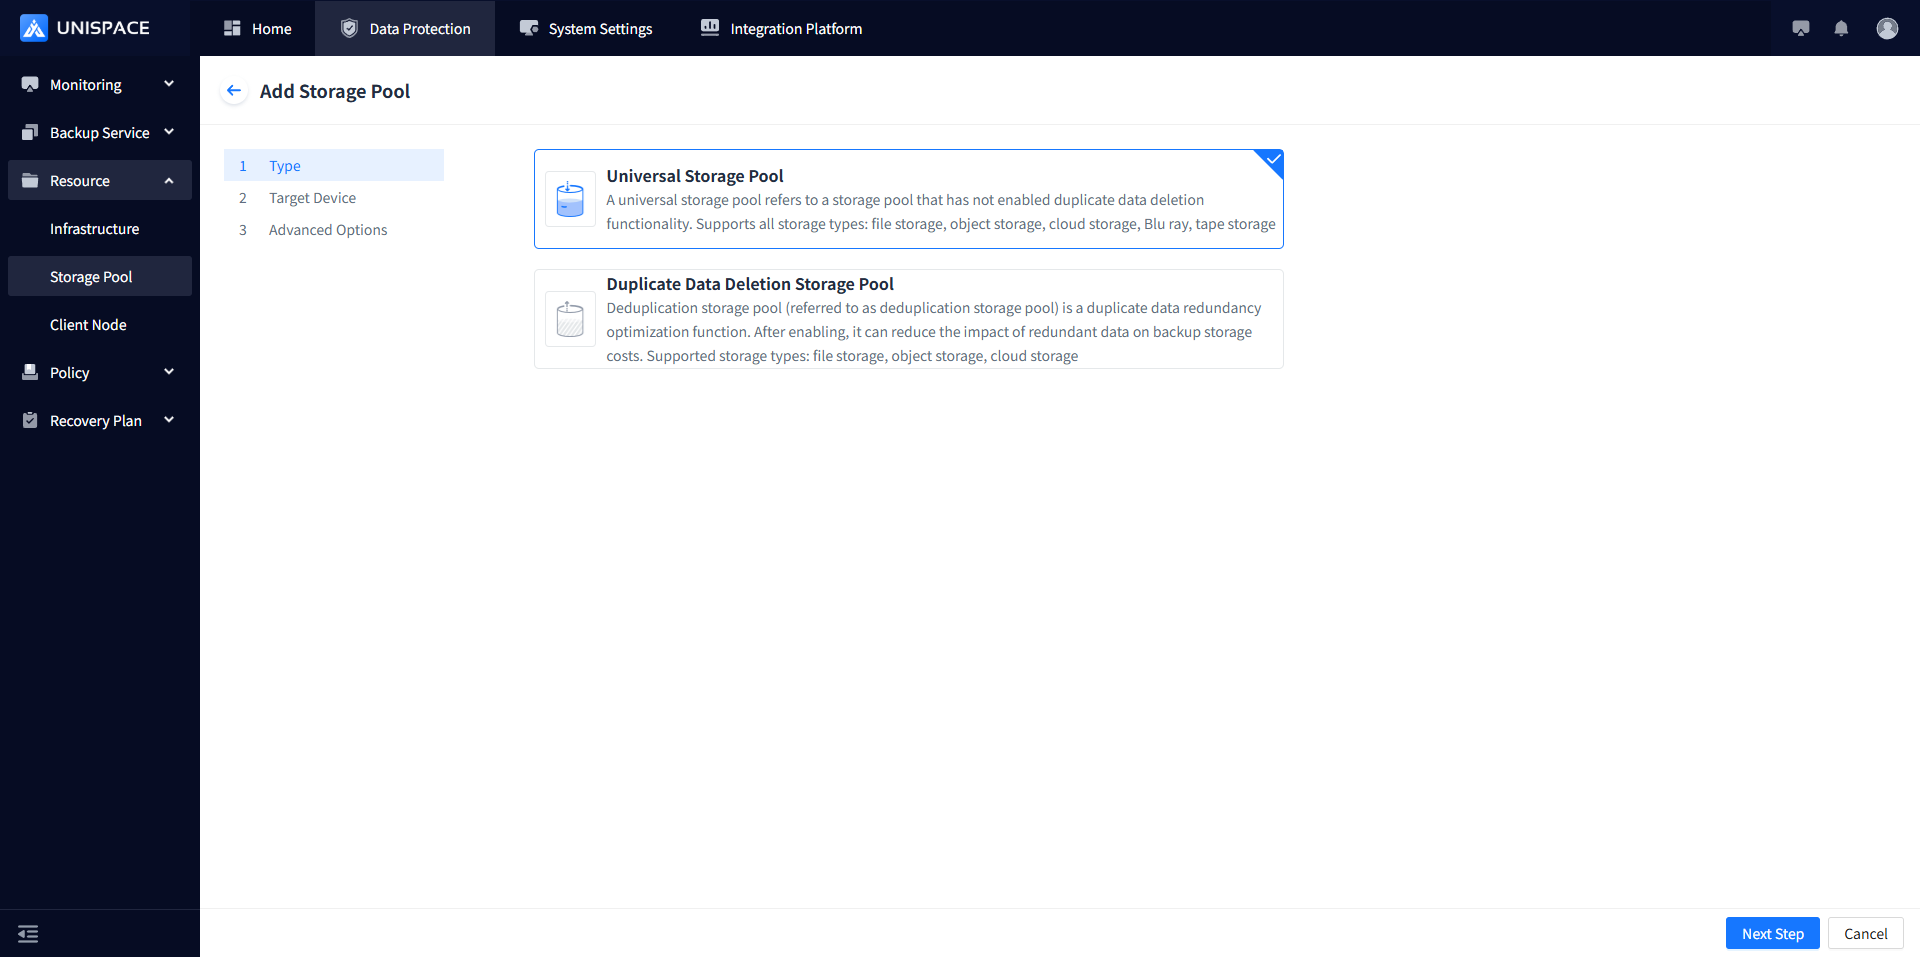
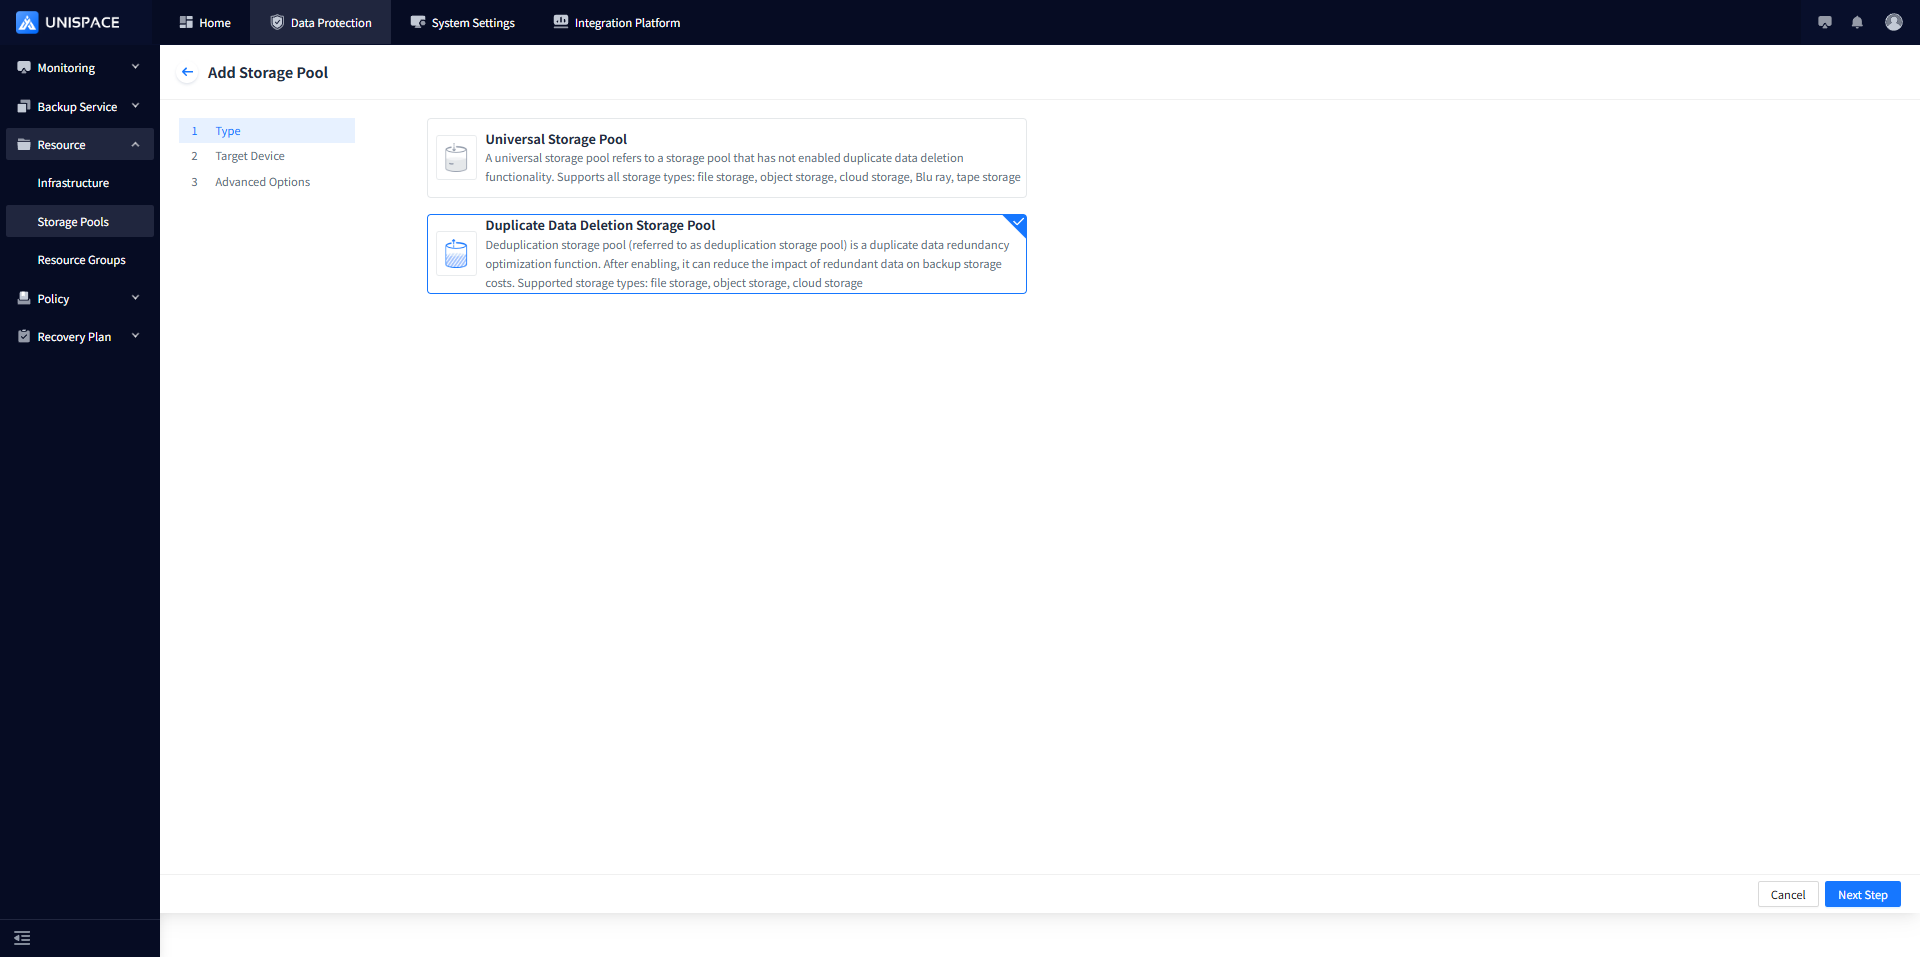
Step 2 Click the Add button at the top right.Click Duplicate Data Deletion Storage Pool. The page will display as follows:
Step 3 Fill in the form information
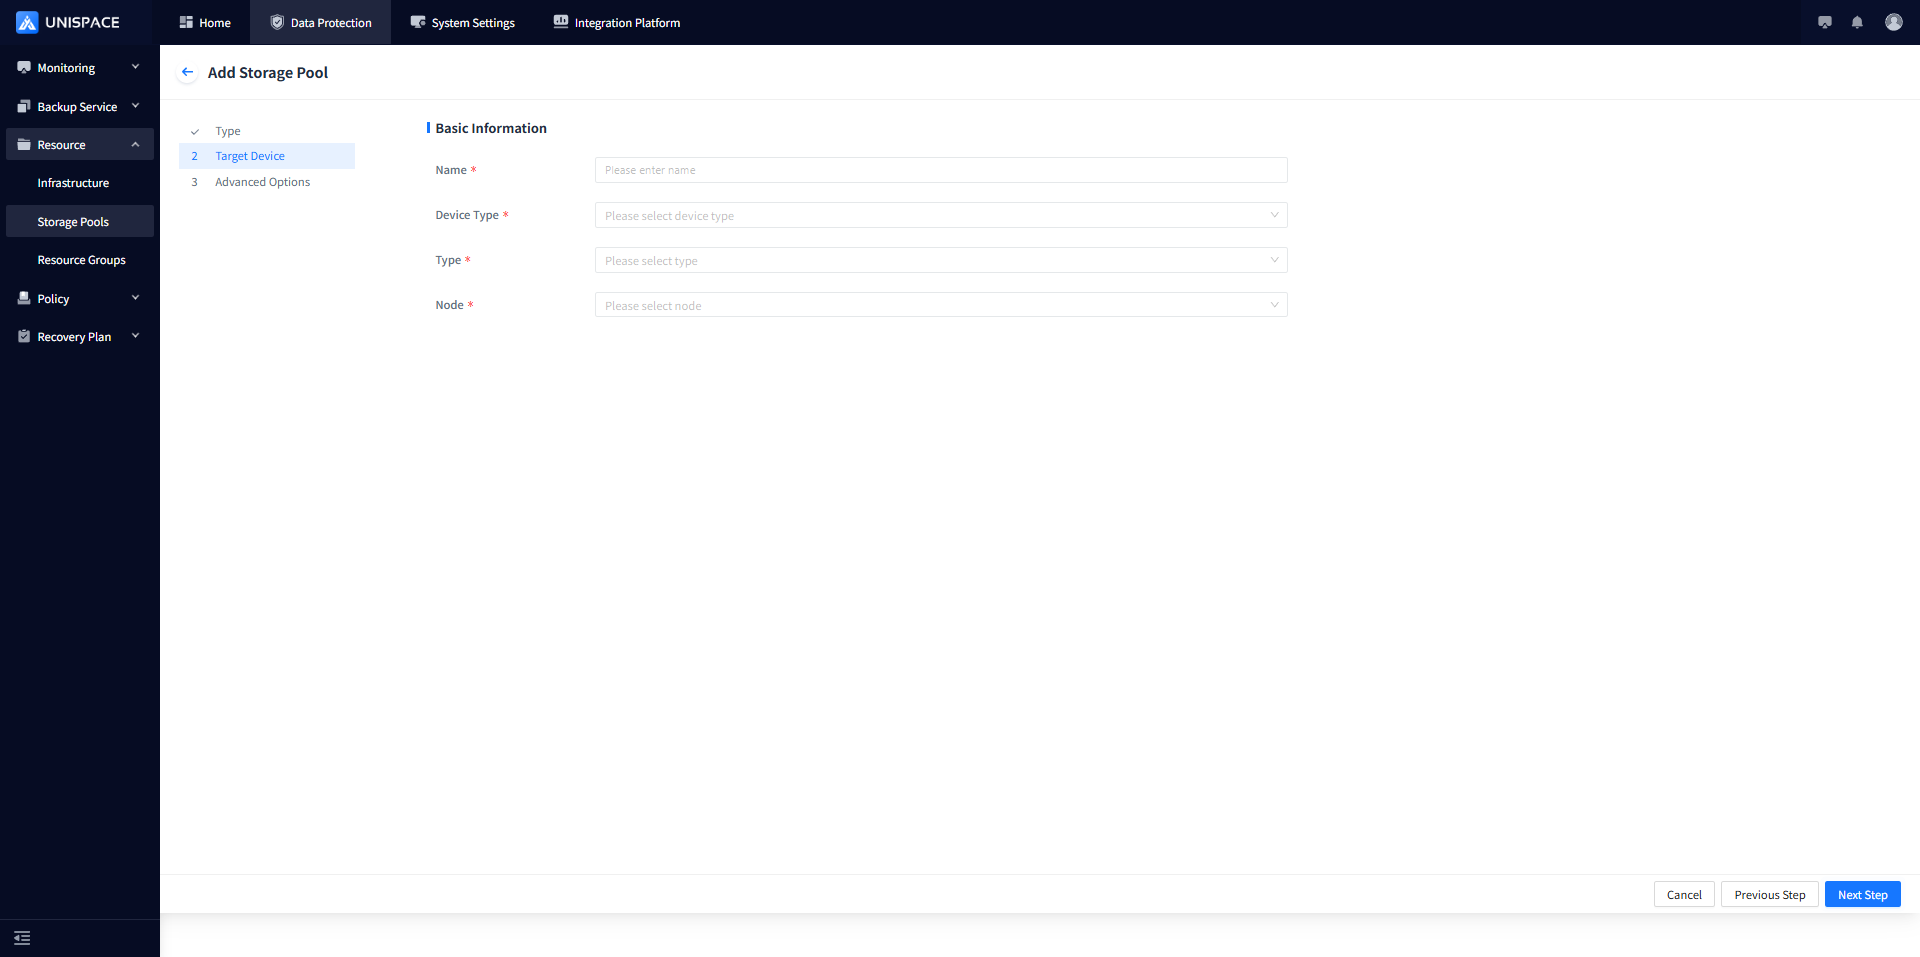
The parameter details are described in the table below:
| Parameter Name | Description | Setting Rules |
|---|---|---|
| Storage Pool Name | Required. Users can define it freely. | Maximum input length is 50 characters. |
| Storage Type | Required. Options include Disk, Cloud Storage, Blu-ray. | Default is Disk. |
| Type | Local Directory | Select Local Directory. |
| Storage Node | Select the registered storage node name | |
| Full Path | Required. The destination path where the storage node writes backup data. | The path must meet the required format, e.g., /xxx/xxx. |
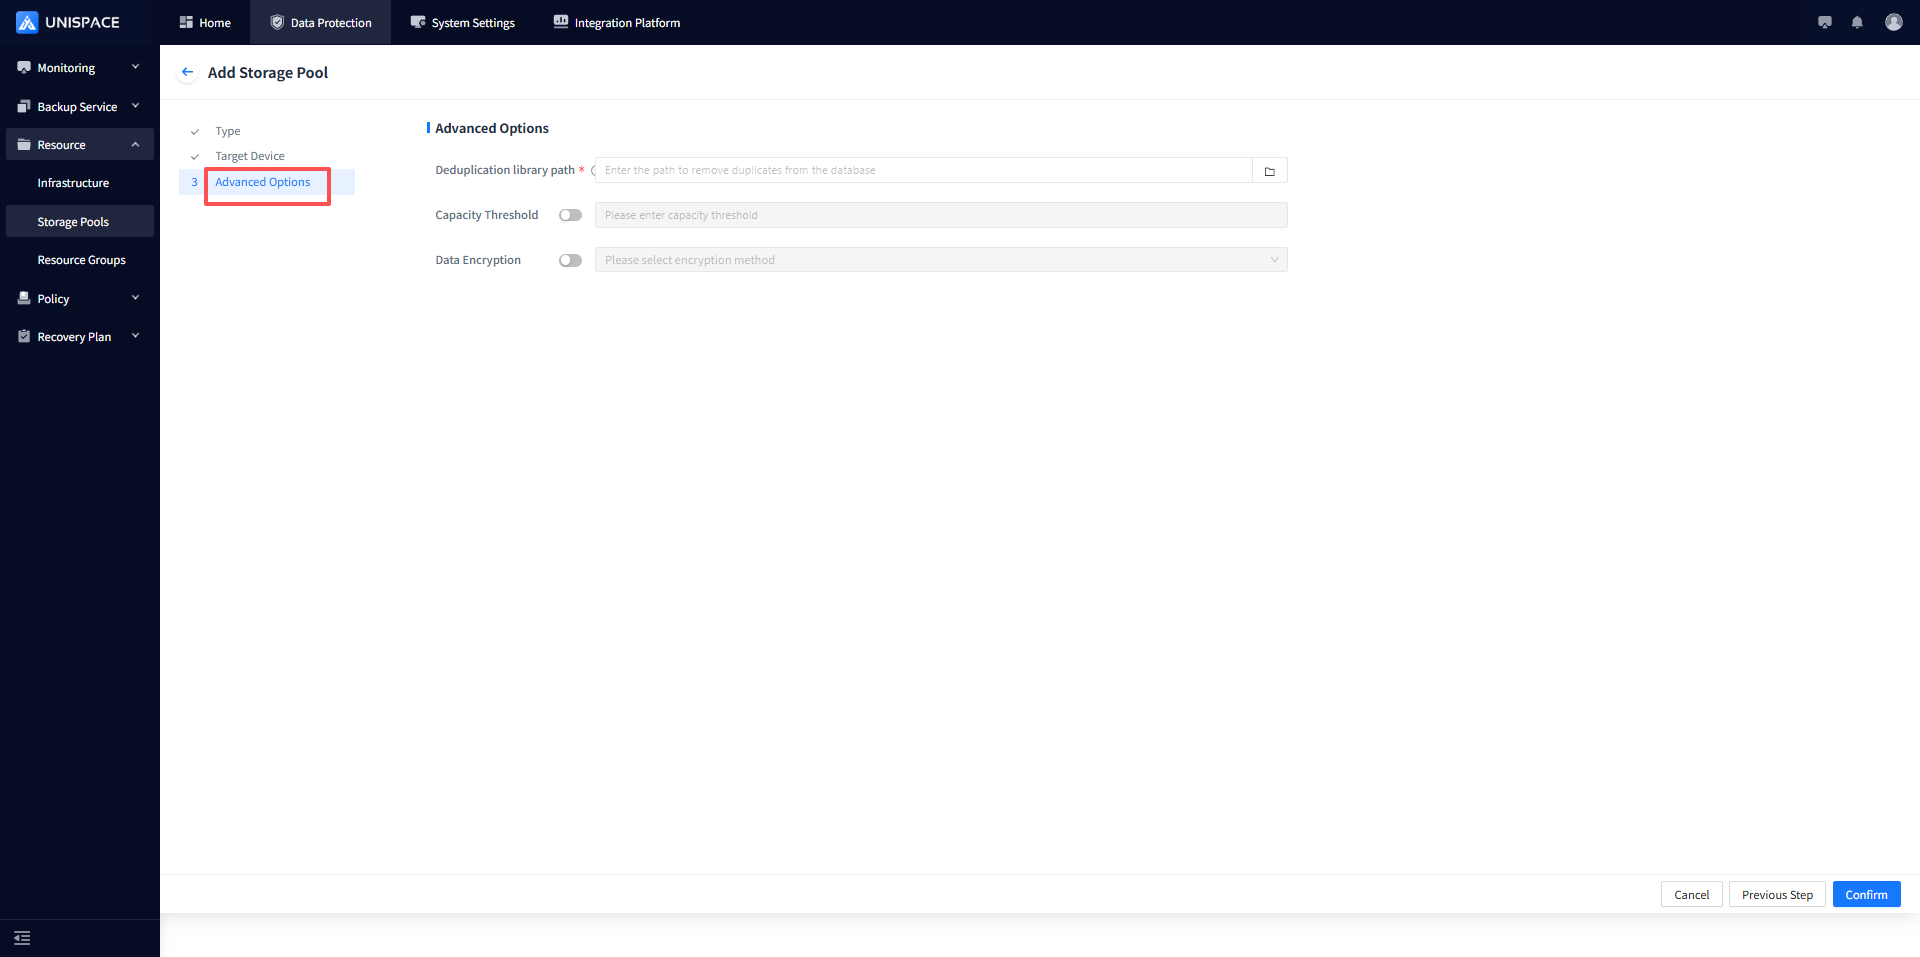
| Deduplication Library Path | Path for the local deduplication library | It is recommended that the disk be mounted as SSD storage. |
| Capacity Threshold | Default is Disabled. | When disabled, no capacity threshold needs to be set. When enabled, the capacity threshold must be set (effective from version 3.3 onward, fully implemented). |
| Enable WORM Storage Lock | Default is Disabled. | When disabled, no WORM storage lock needs to be set. When enabled, the WORM storage lock must be set. |
Step 5 Click OK.
1.3 Storage Pool Encryption
Prerequisites
- Storage nodes must be properly configured.
- The current storage type supports local directories.
- For version 3.2.1xxx: All virtualization platforms (VMware, OpenStack, SmartX, Sangfor, InCloud Stack) and Windows clients do NOT support encrypted storage pools.
- For version 3.3.0 and above: All clients support encryption.
Steps
Step 1 Click Resource - Storage Pools on the left side of the system menu.Click the Add button at the top right. select Advanced Options.
Step 2 Select the encryption method: AES-128 or SM4.
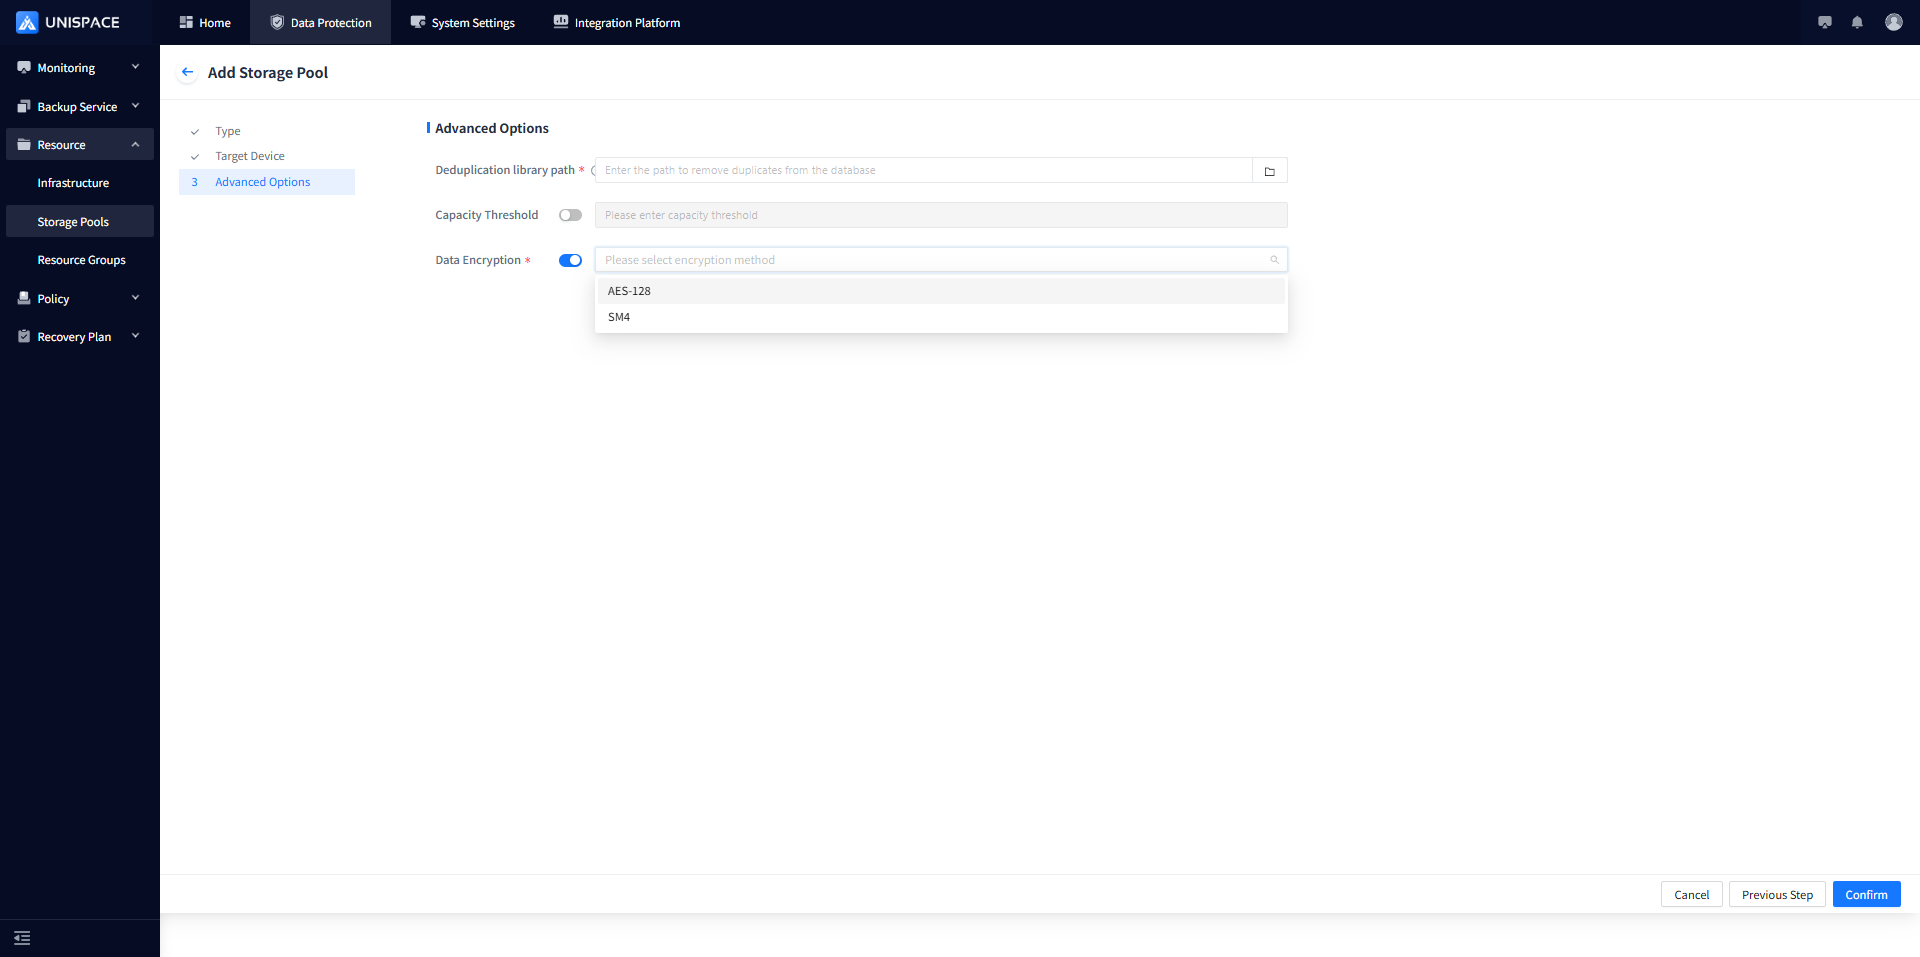
Step 3 Click OK to add successfully. When configuring a service plan, select the corresponding encrypted storage pool for replicas.
1.4 Storage Pool Encryption
Prerequisites
- A storage pool has been created.
- The storage pool has been unbounded from service plans.
- Offline deduplication storage pools must be forcibly deleted.
- Online storage pools can be optionally deleted.
Steps
Step 1 Click Actions and confirm twice to delete.
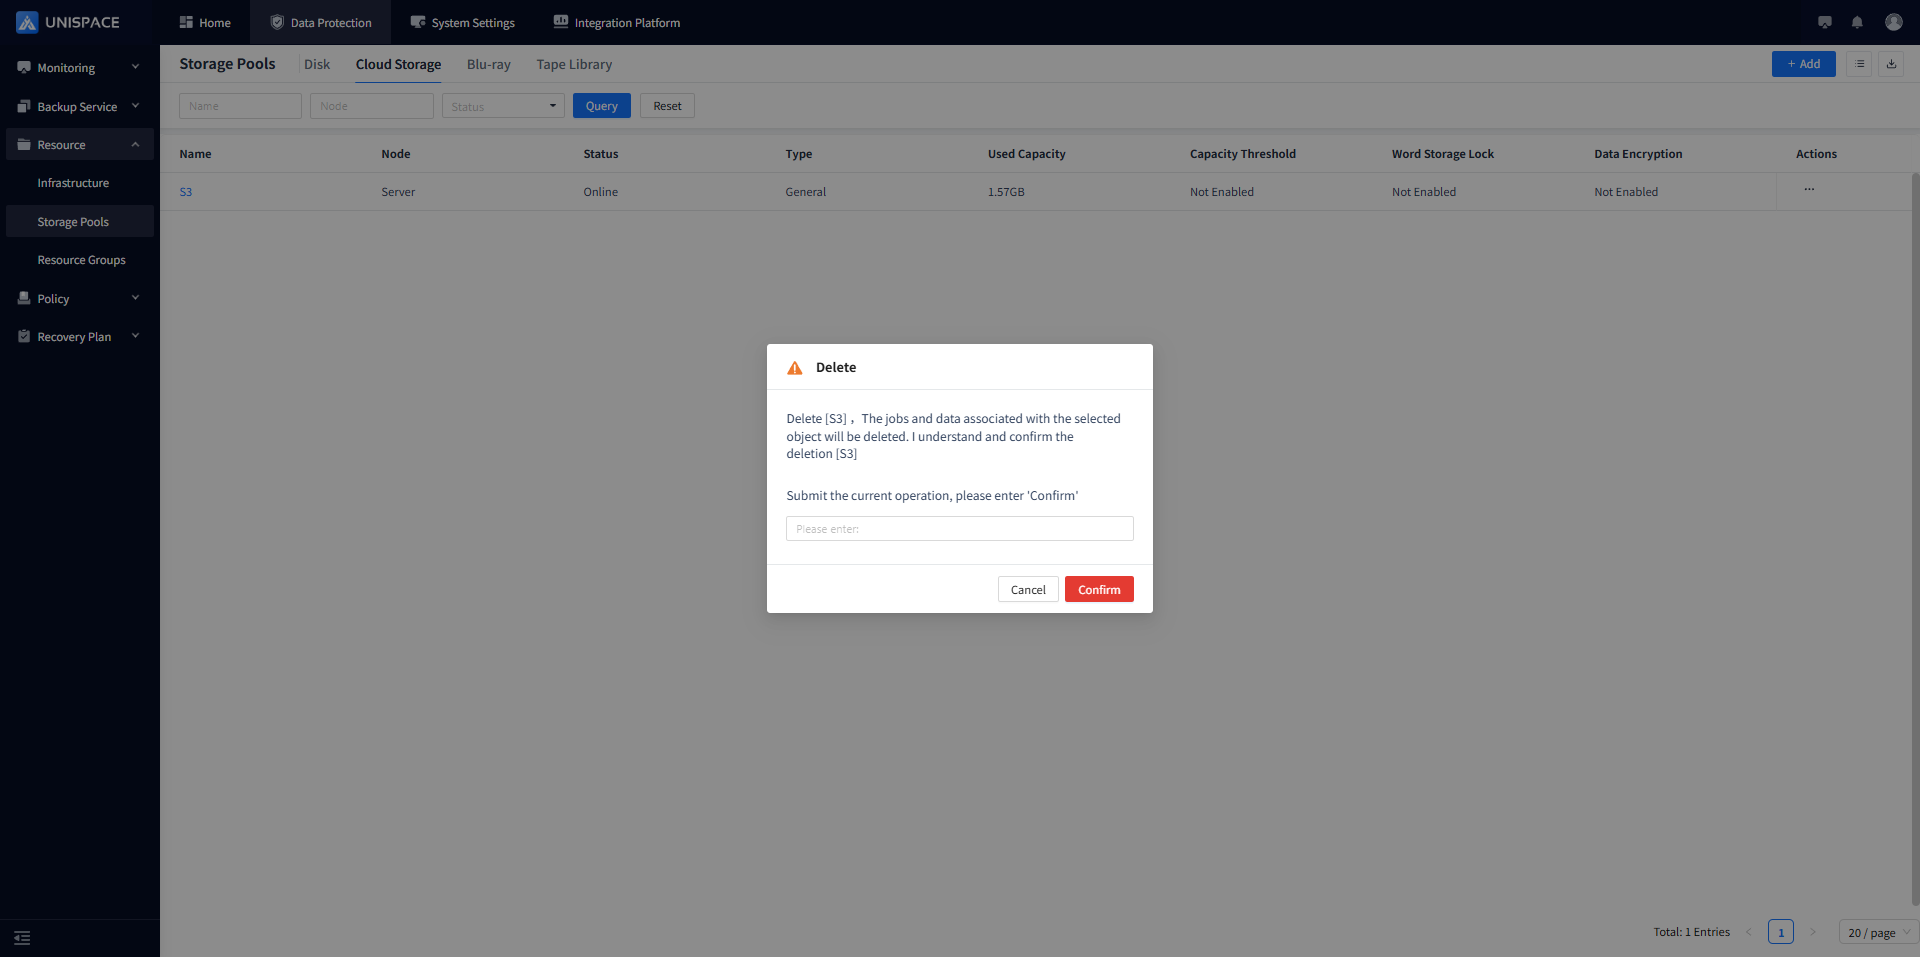
Notes:
- After the storage pool is successfully created, it will appear correctly in the data display column.
- Once created, the storage pool will be in the "Online" state.
- Click the pool name to enter its details page and view device status.
- The storage pool is a necessary prerequisite for subsequent backup operations.