Disk Recovery Plan
Disk Recovery Plan
Creating a Disk Recovery Plan
Prerequisites
- Recovery resources have been added.
- Registered MySQL/PostgreSQL (PG) database clients exist.
- Backups for instances or databases have already been completed.
Steps
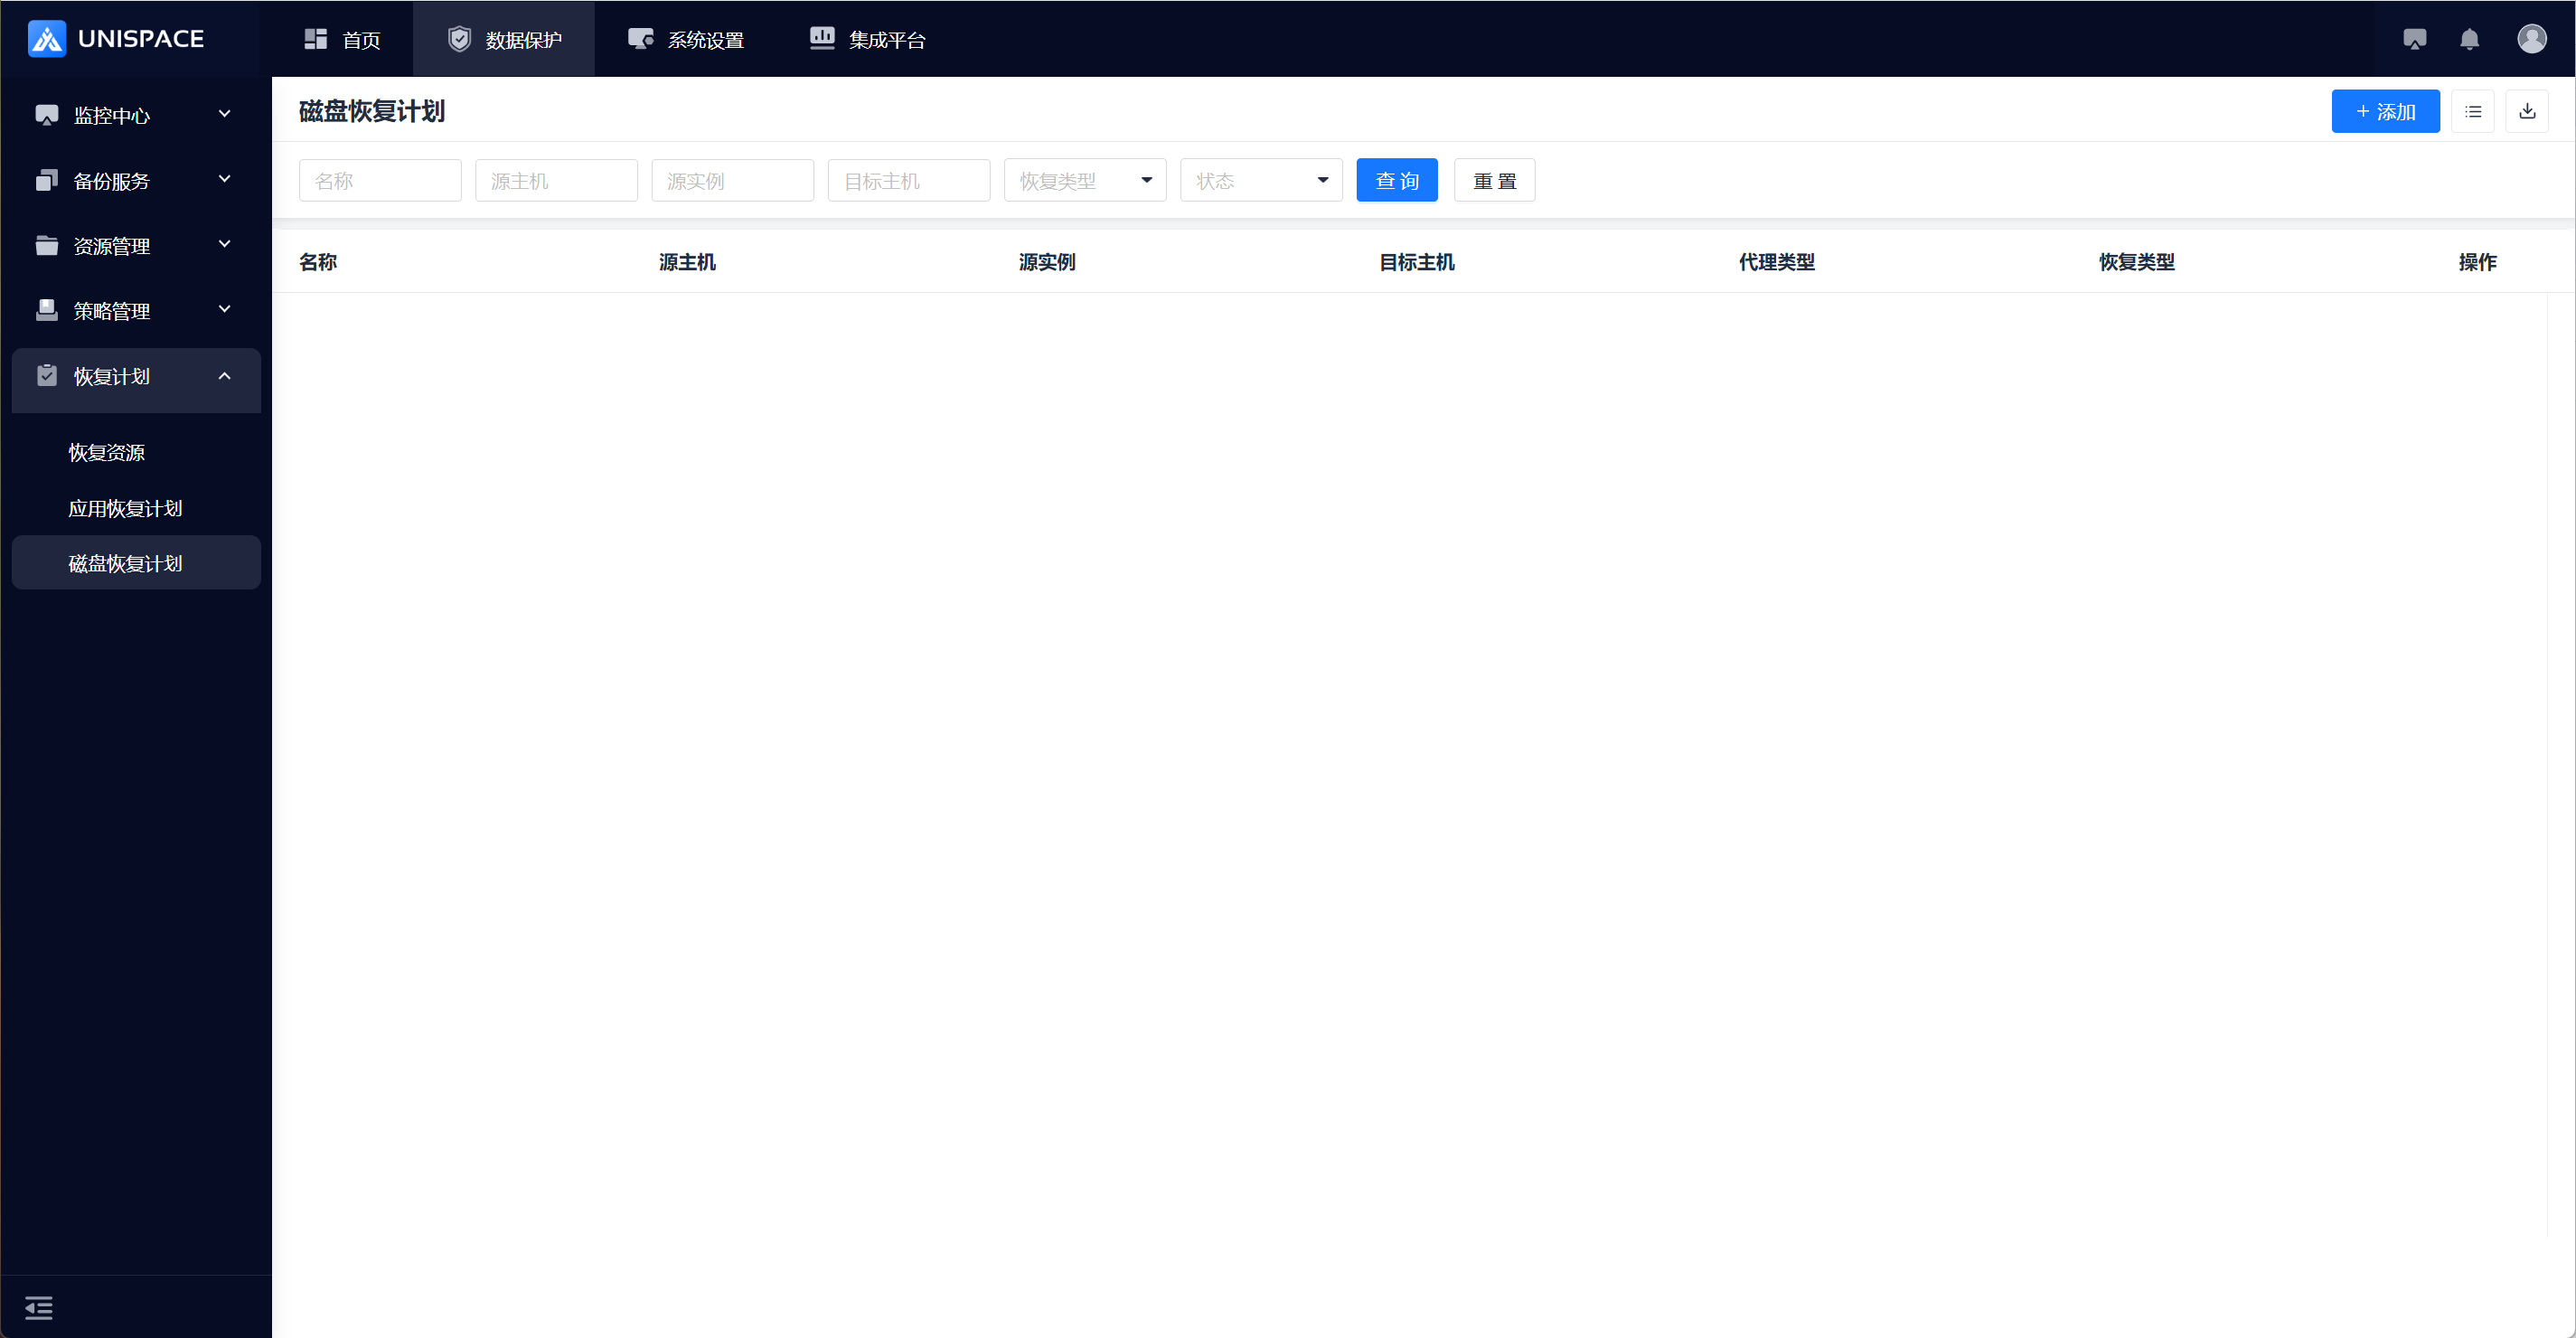
Step 1: In the left navigation pane, go to Recovery Plan - Disk Recovery Plan to enter the disk recovery plan page.
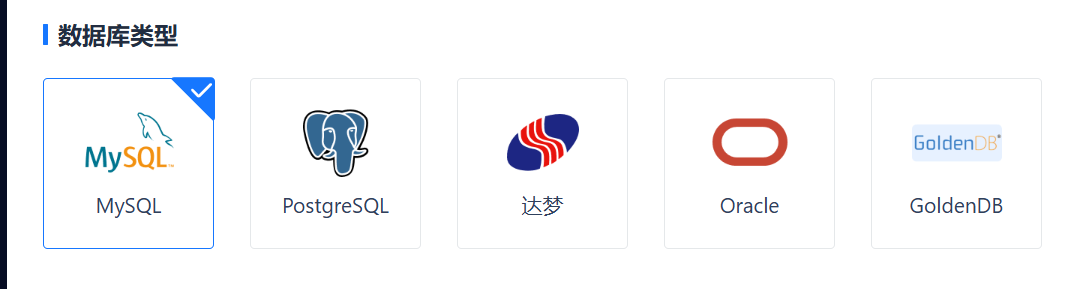
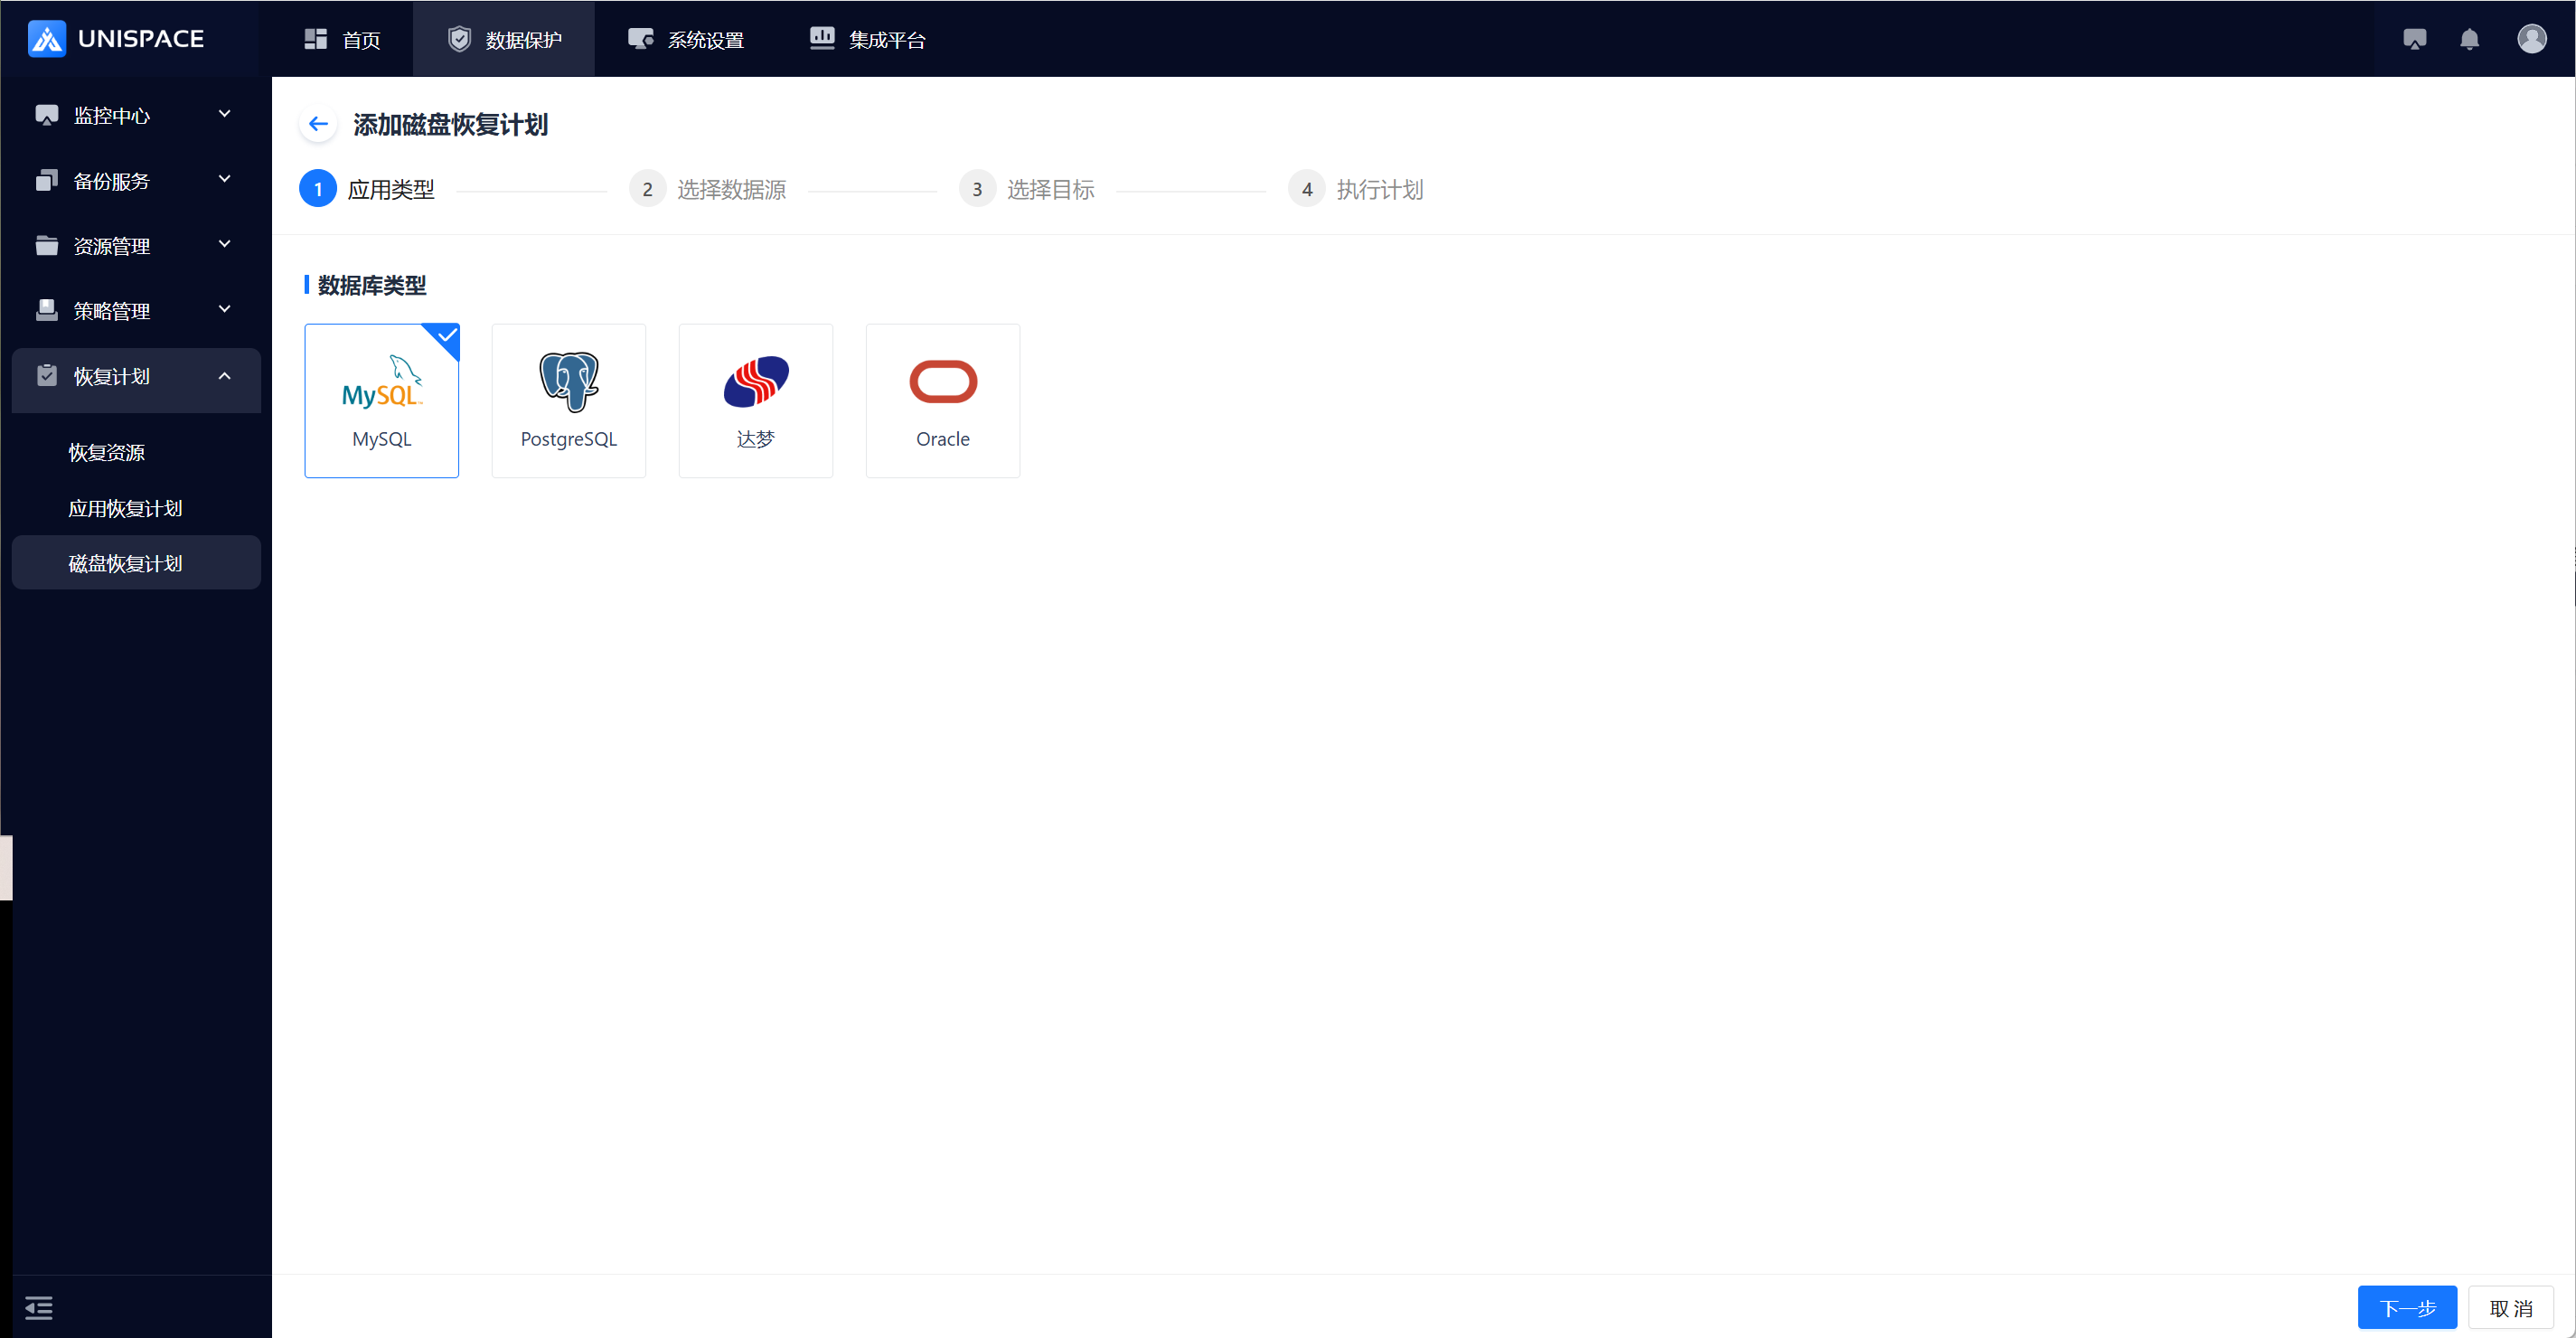
Step 2: Click the Add button in the upper right corner to enter the add plan page. The default type is MySQL, then click Next.

Step 3: Fill in the required parameters. Parameter descriptions are as follows:
| Parameter Name | Description | Configuration Guidelines |
|---|---|---|
| Source Host | Displays available hosts based on the database type | Single selection, required, dropdown list |
| Source Instance | Displays instances based on the selected source host | Single selection, required, dropdown list |
| Recovery Type | Instance recovery or database recovery | Single selection, required. MySQL/PG supports single/multiple DBs, but not across backup sets |
| Recovery Point | Backup completed, automatic recovery (not currently supported), specify full recovery or point-in-time recovery, and automatically select the recovery point based on the above rules. | Full Recovery: Latest full (daily/weekly/monthly) or specified time Time-based Recovery: Latest (daily/weekly/monthly) or point-in-time |
Step 4: Click Next, then choose the recovery target.

Step 5: Fill in the required parameters. Parameter descriptions are as follows:
| Parameter Name | Description | Configuration Guidelines |
|---|---|---|
| Target Host | Recover to a host that has been added as a recovery resource | Single selection, required, dropdown list |
| Temporary Directory | Directory to temporarily store recovered files | Custom path format |
| Recovery Streams | Number of concurrent recovery streams | Numeric type, 1–200, recommended: 4 |
Step 6: Click Next, then add an execution schedule.

Step 7: Fill in the required parameters. Parameter descriptions are as follows:
| Parameter Name | Parameter Description | Setting Rule |
|---|---|---|
| Name | Name of the disk recovery plan | Input box, required, custom name |
| Add Schedule | Recovery task trigger schedule | See Step 8 |
| Custom Scripts | Pre-script: Executed before recovery Post script: executed after recovery is complete | Script must exist on target host path. Input the full path in the field |
Step 8: Add schedule details. Click Add Schedule, and a pop-up window appears:

| Parameter Name | Description | Configuration Guidelines |
|---|---|---|
| Schedule Name | Name of the execution schedule | Input box, required, custom name |
| Execution Type | One-time or recurring | One-time: Any time in futureRecurring: Set start/end time, repeat within time window |
| Time Zone | Default is UTC+8 | — |
Step 9: Click OK, and a success message appears.

Step 10: At the scheduled time, go to the Active Jobs page to check whether the job has been triggered.
- Supported Clients: