Agent--VMWare
1.1 Create Virtualization Platform
Prerequisites
- Created a storage pool.
- Created a service plan.
Steps
Step 1: Click on the Data Protection - Backup Service - Virtualization.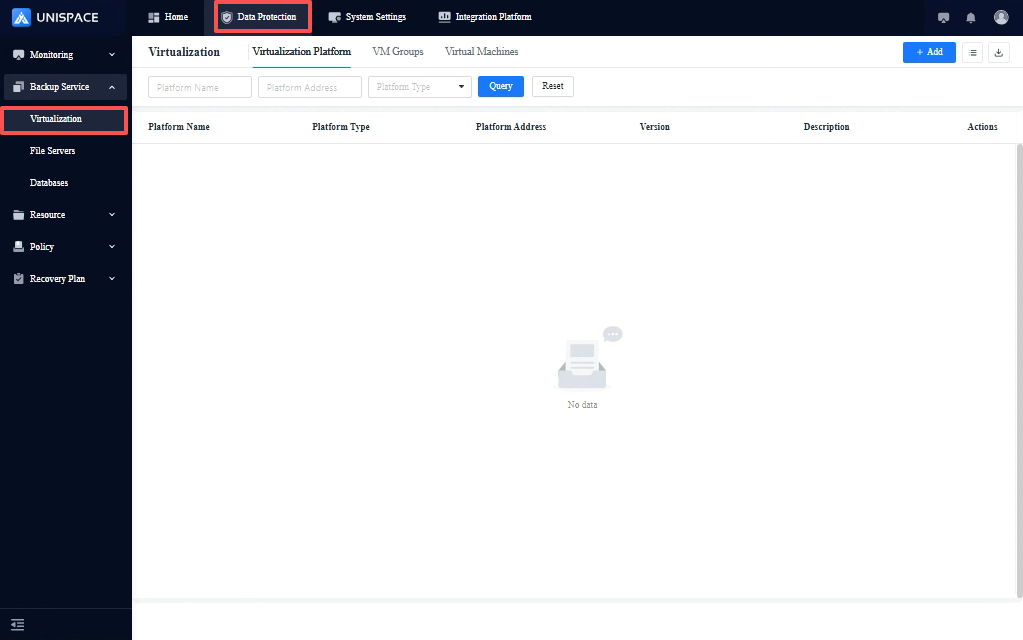
Step 2: Click the Add button in Virtualization Platform, and a popup will appear.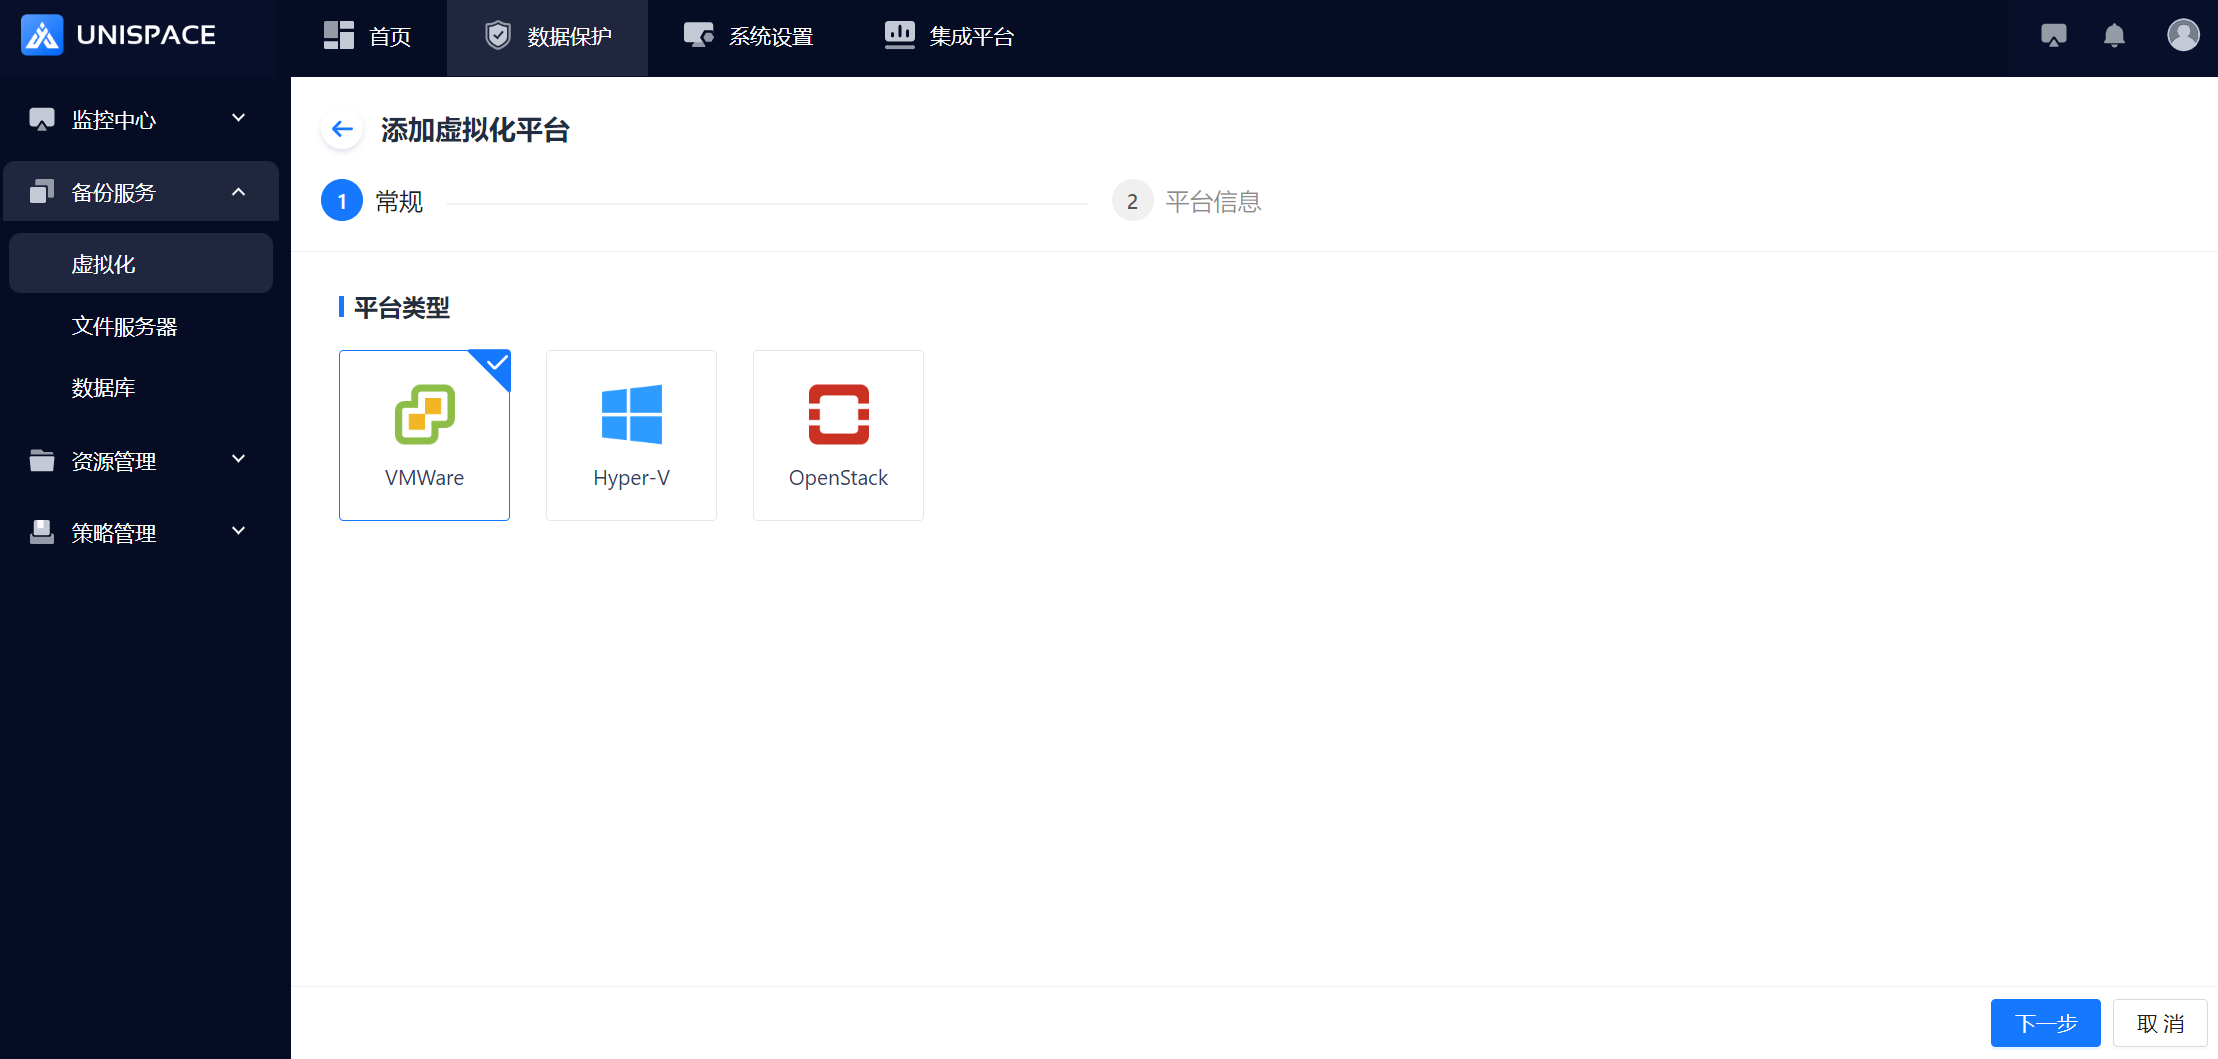
Step 3: Select the VMware icon and click Next Step to enter the "Add Virtualization Platform" page.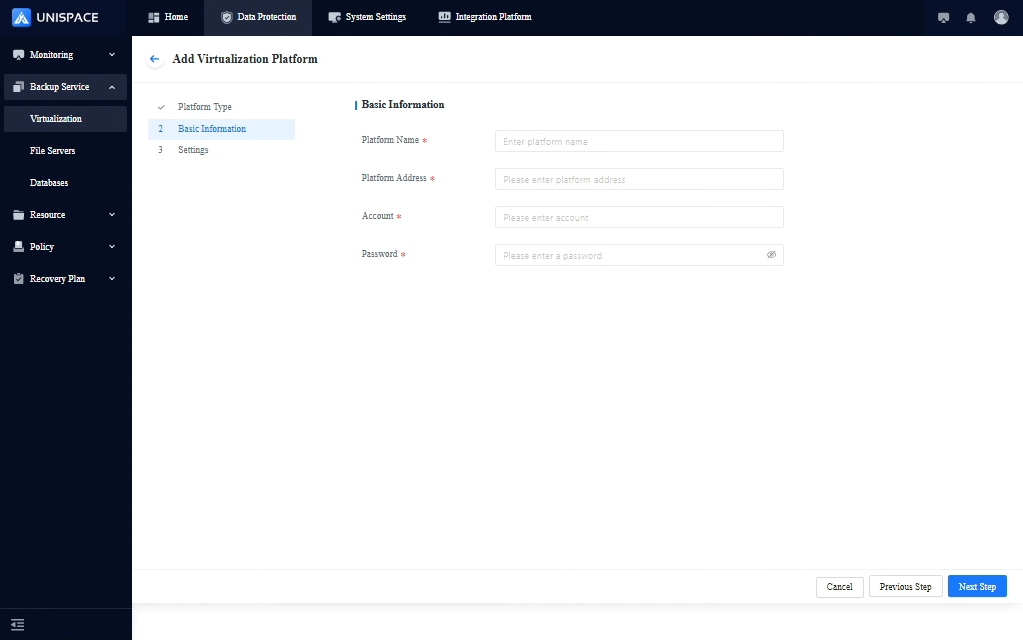
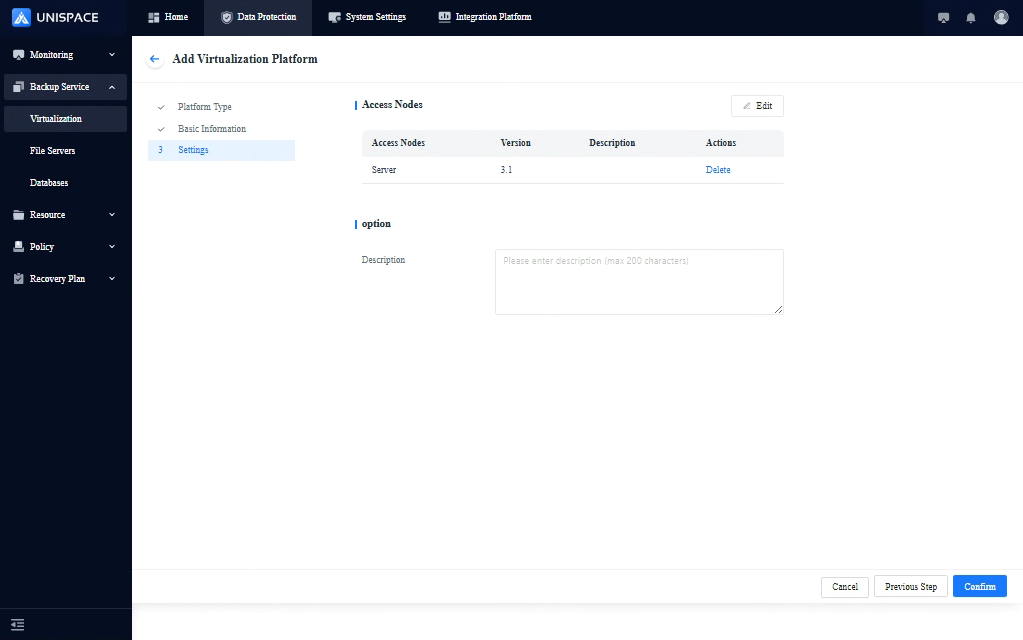
| Parameter Name | Description | Configuration Principle |
|---|---|---|
| Platform Name | Text input, required | Special symbols such as !#$%^&* are not supported |
| Platform Address | Text input, required | Enter the correct address |
| Username | Text input, required | Enter the correct username |
| Password | Password type, required | Enter the correct password |
| Access Node | Single choice, required | Choose an appropriate access node |
Step 4: After filling out the form, click Confirm. The frontend will prompt "Added successfully".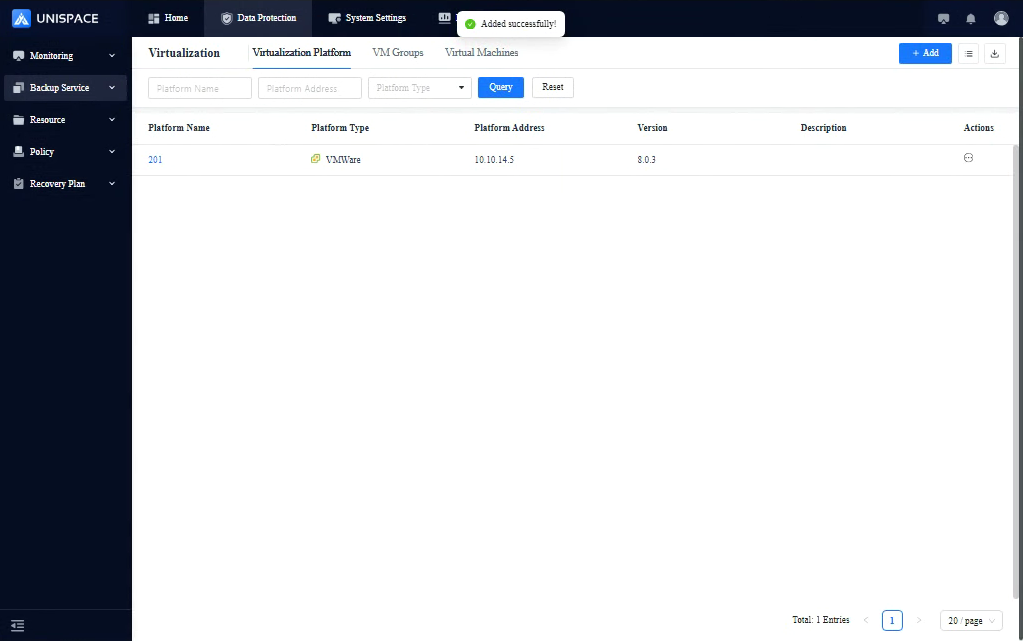
1.2 Create Virtual Machine Group
Prerequisites
- A Virtualization platform has been created.
Steps
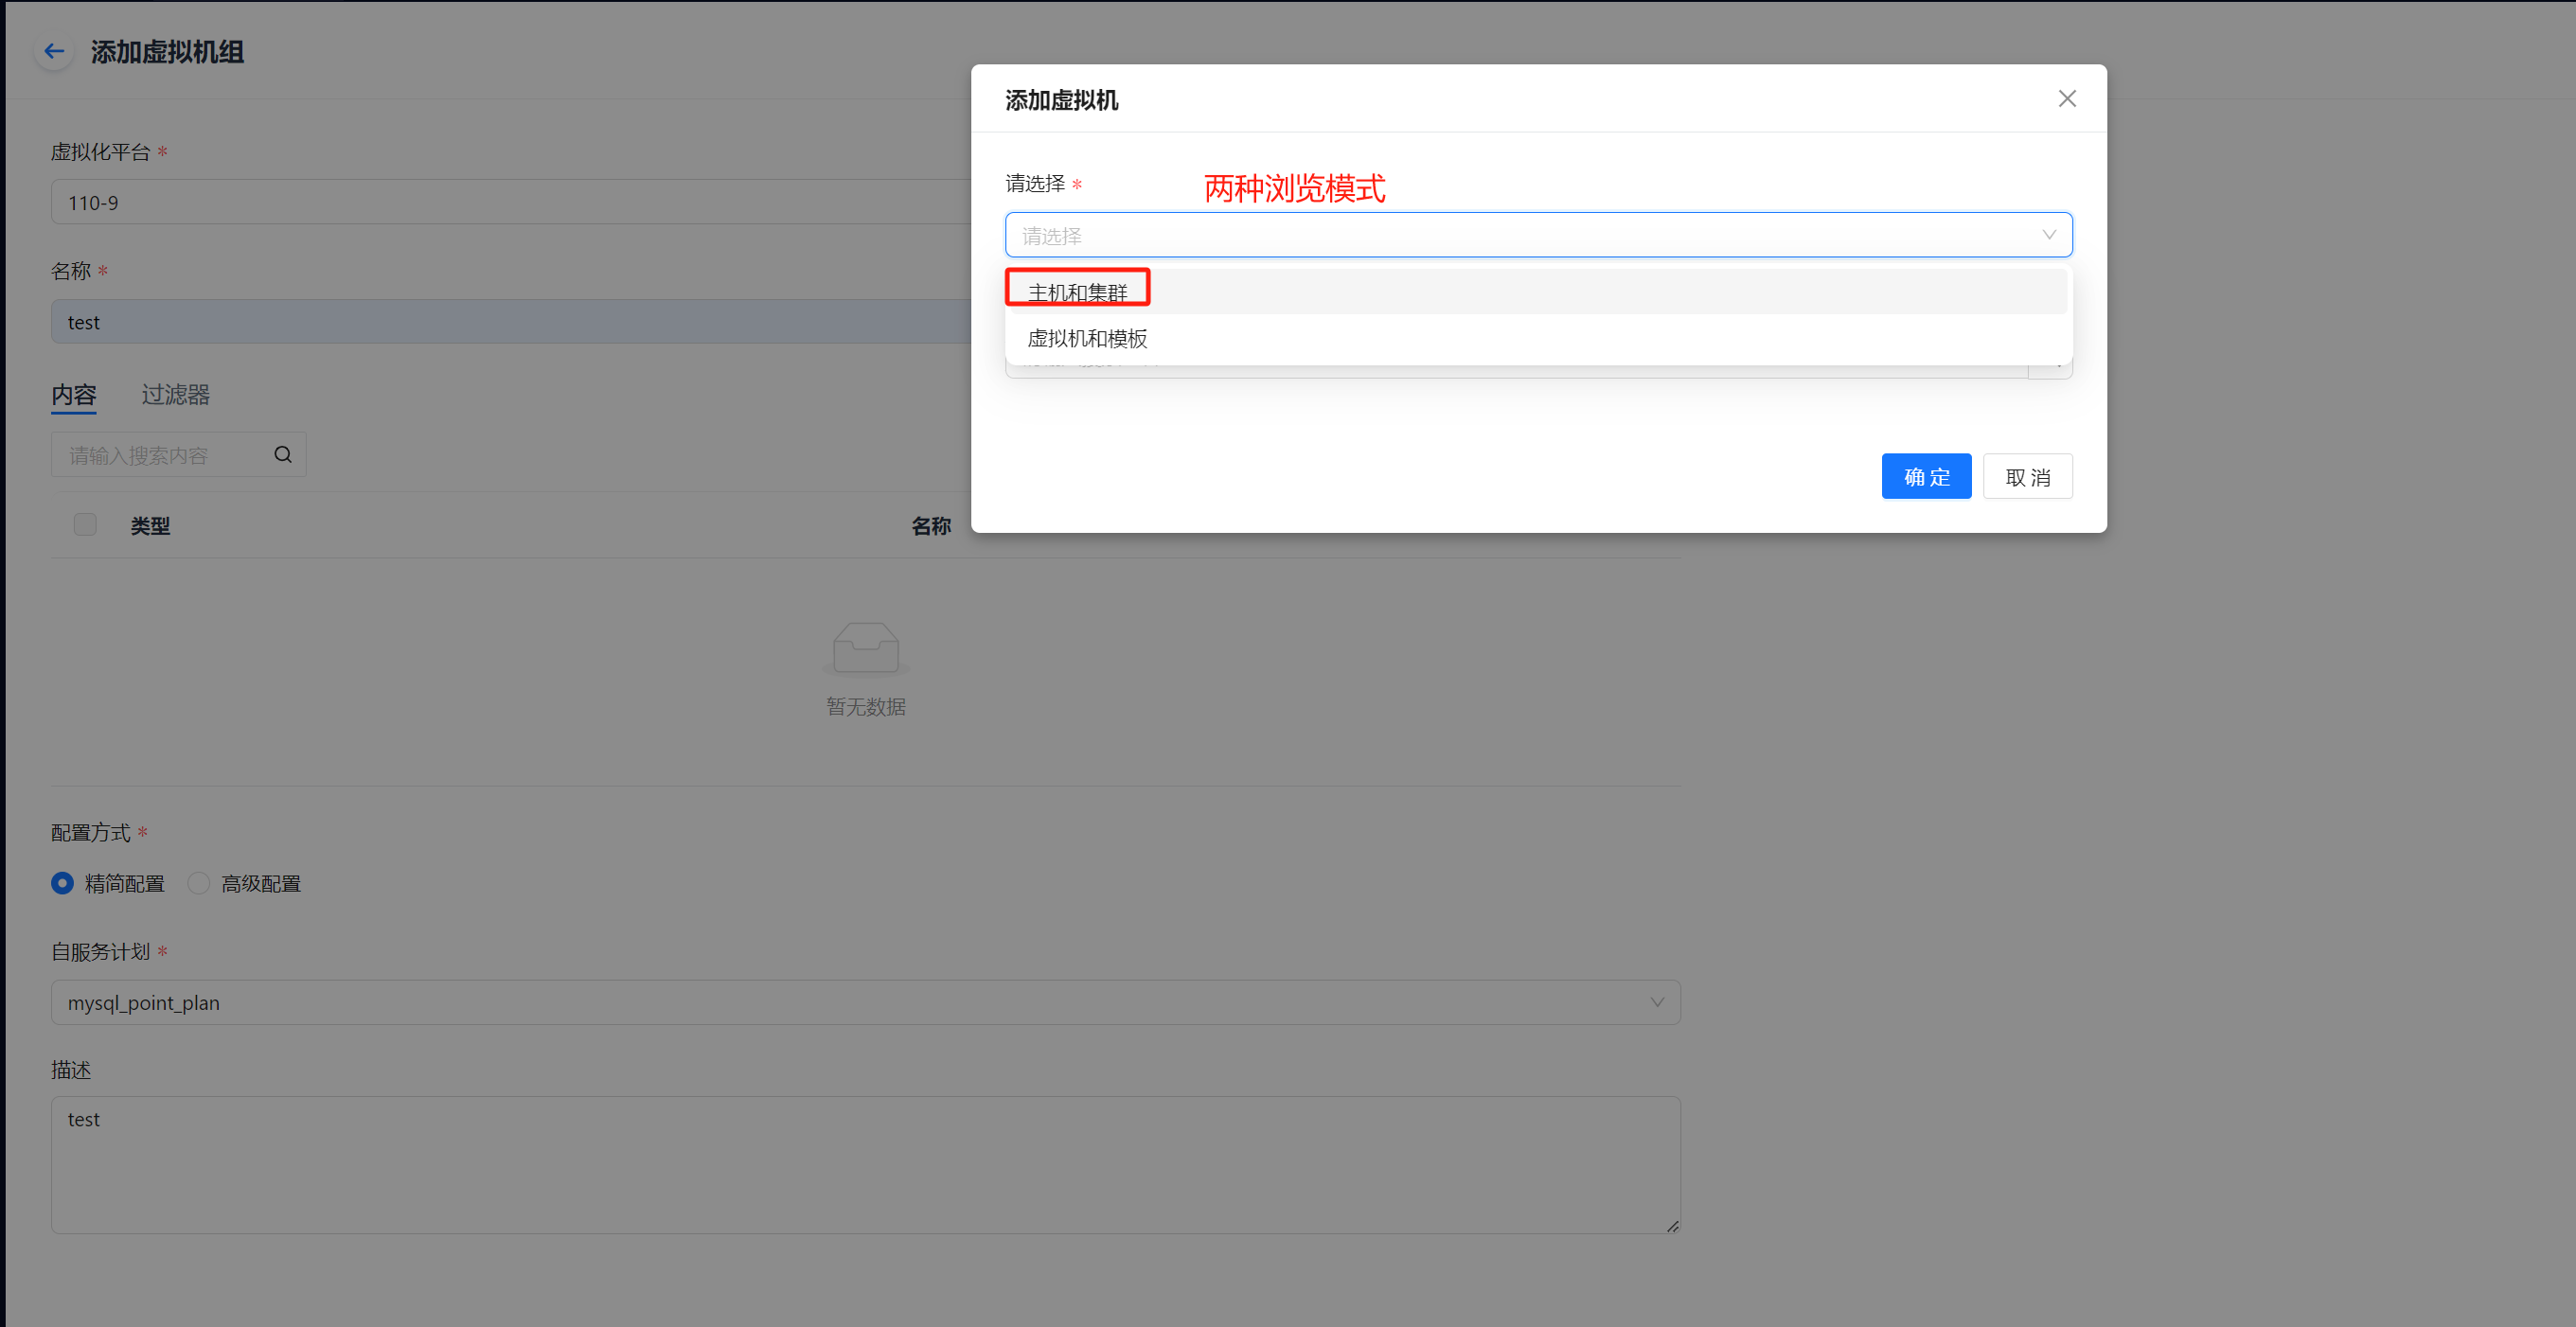
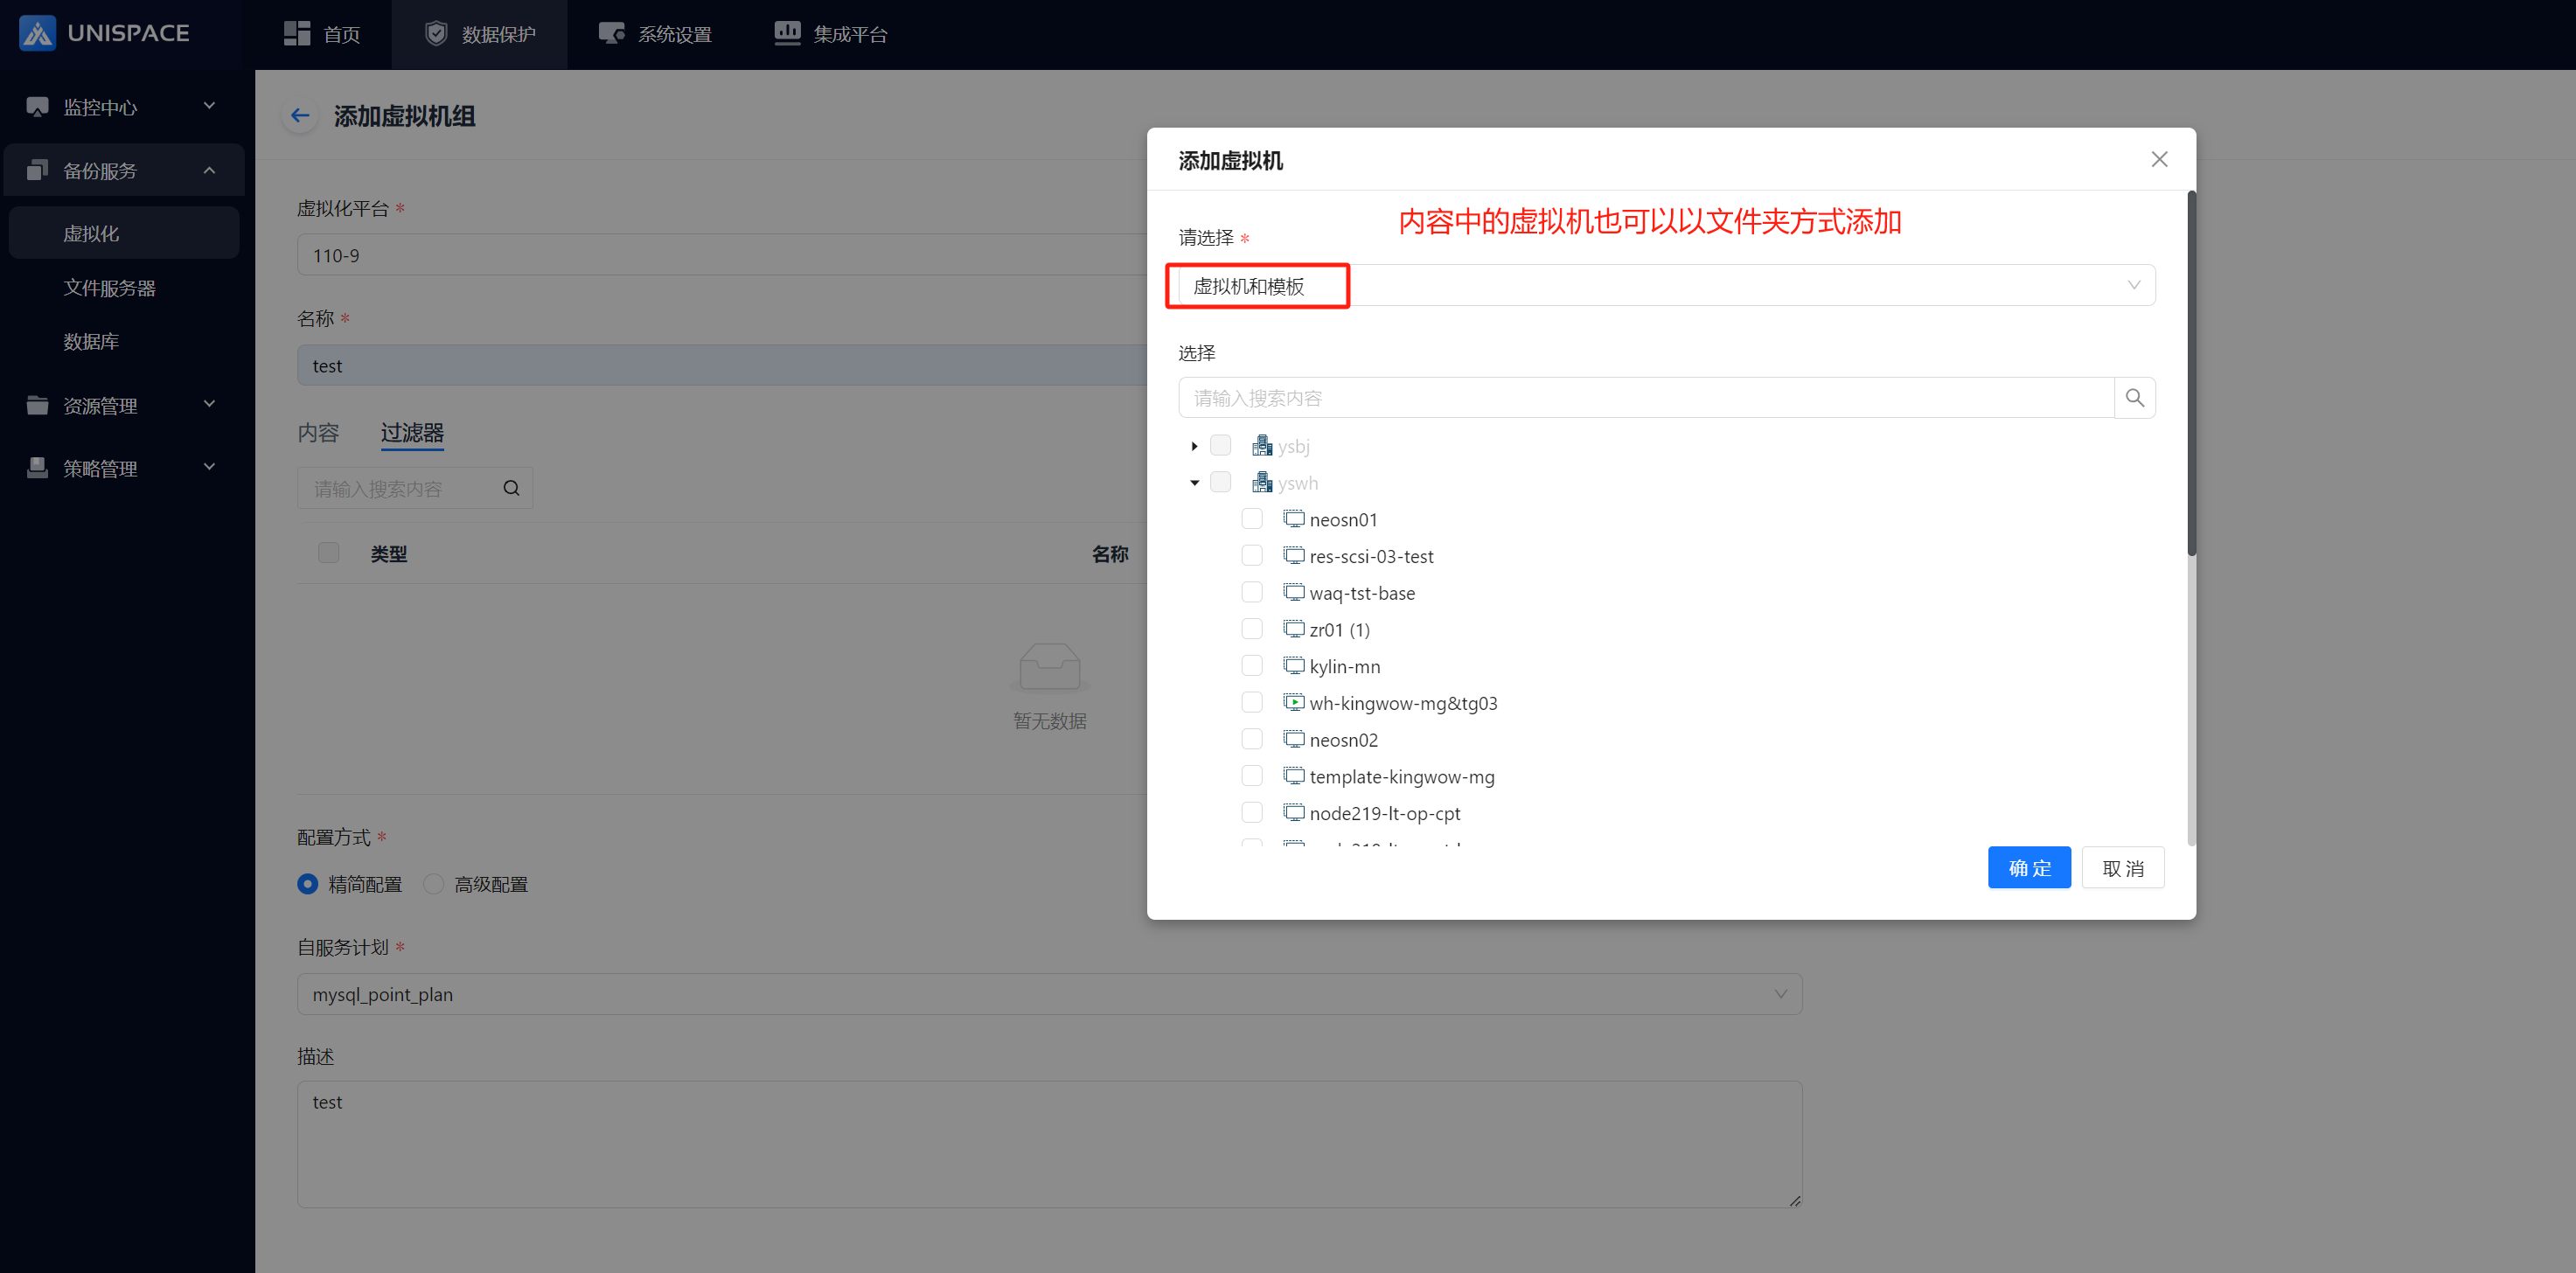
Step 1: Click the Add button in VM Groups, and the Add Virtual Machine Group page will appear.
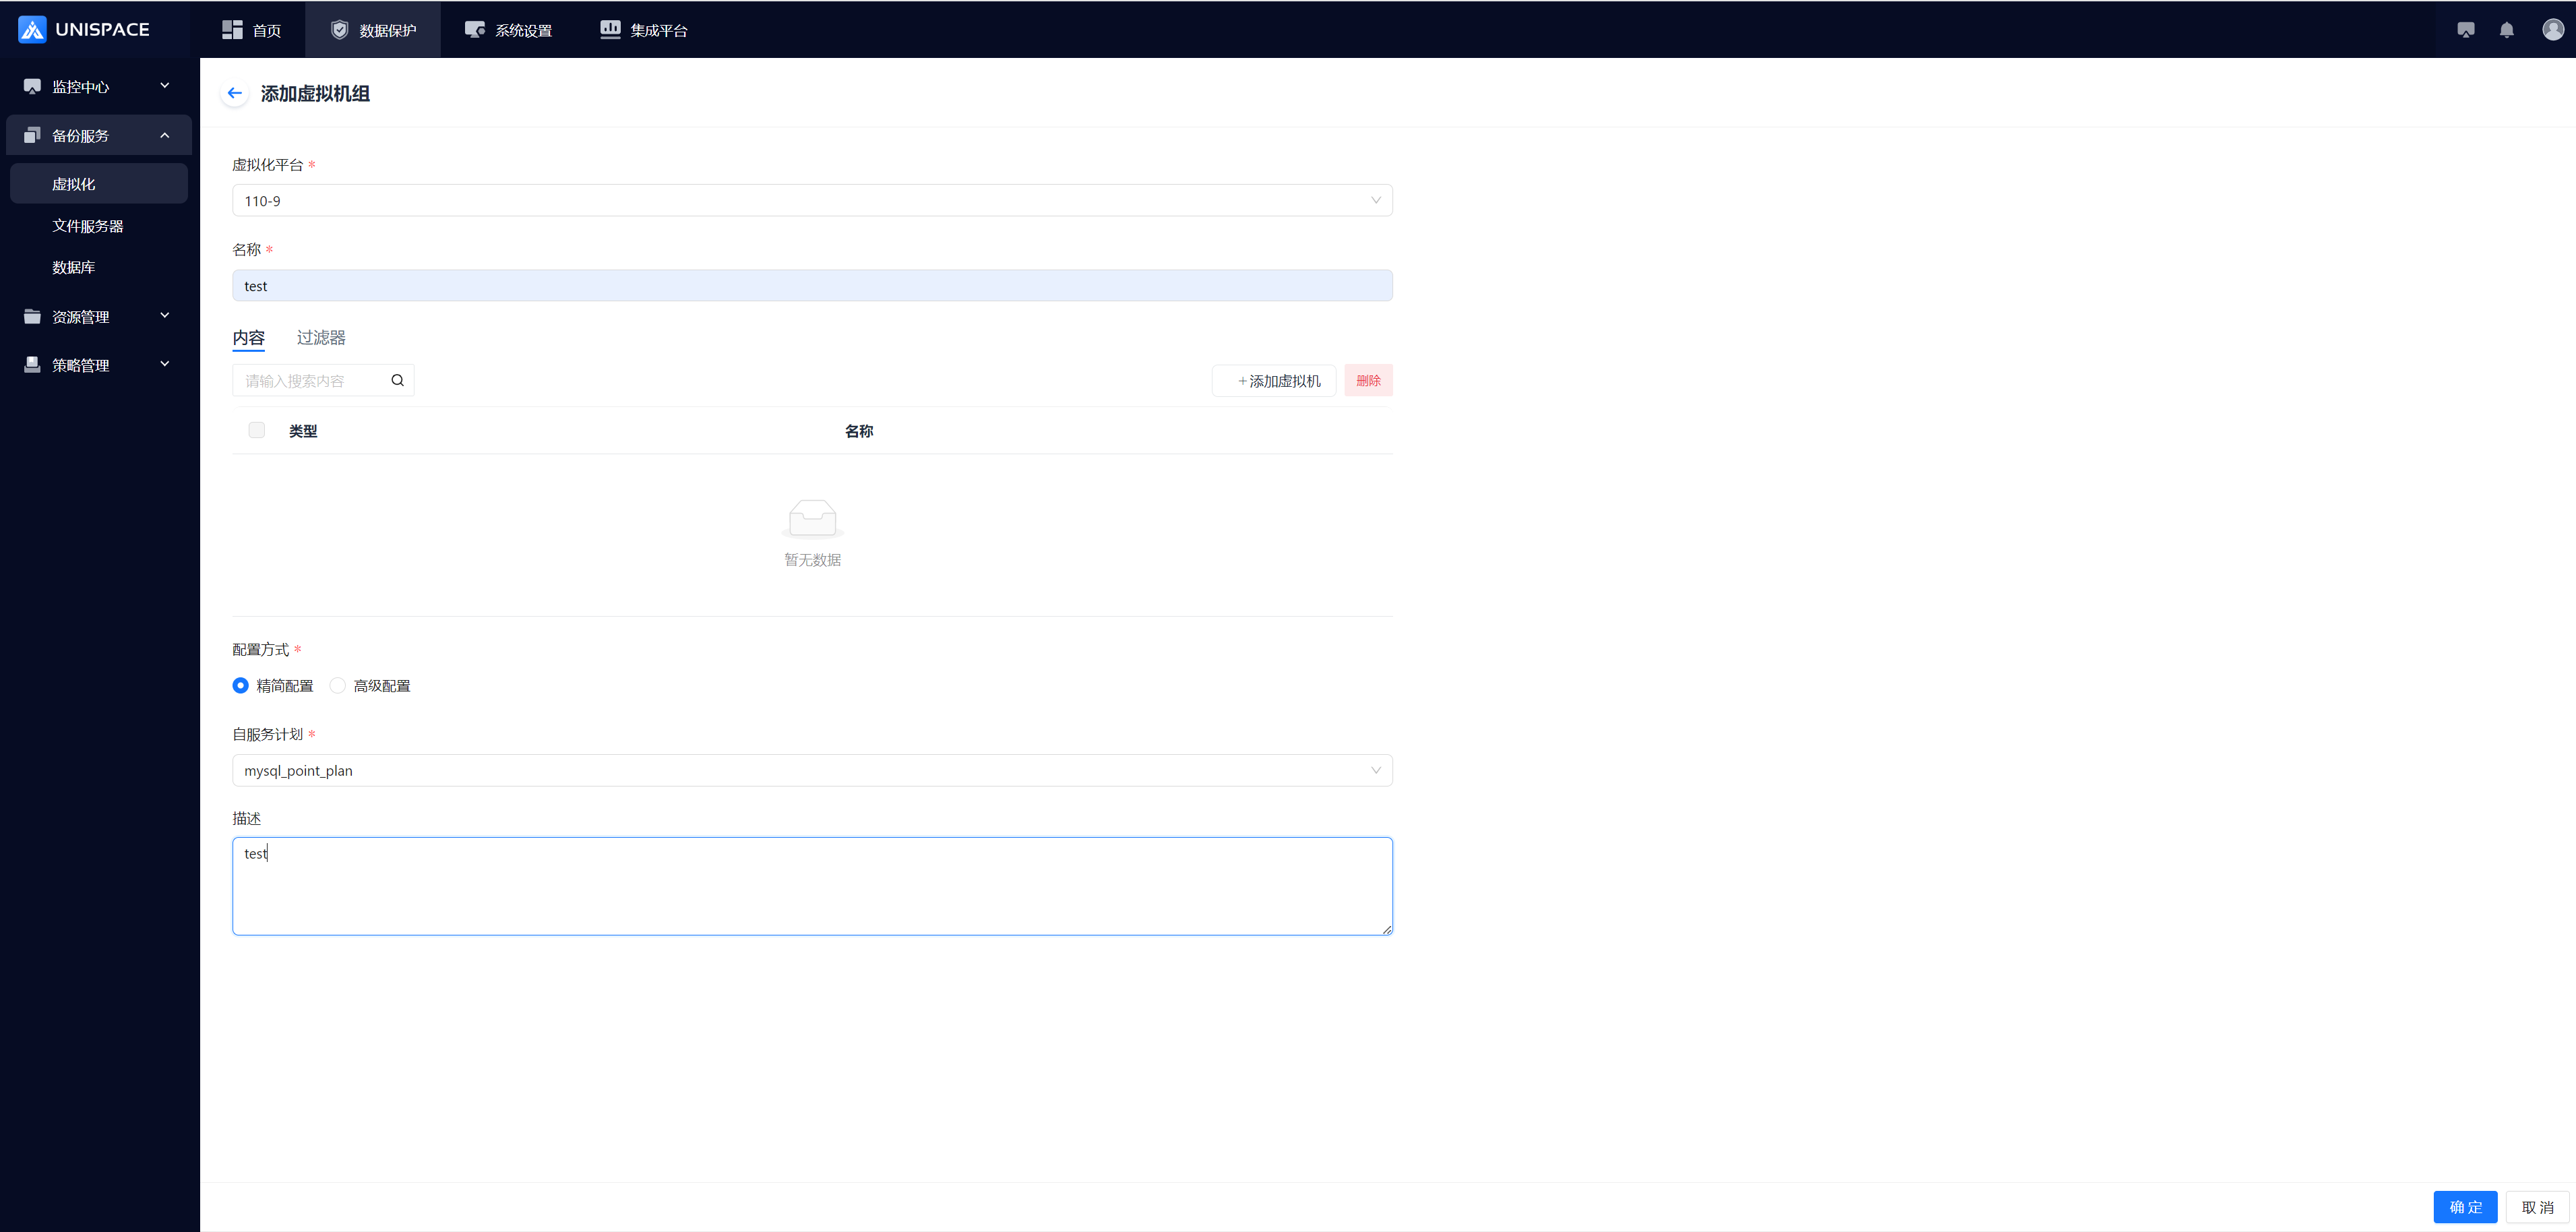
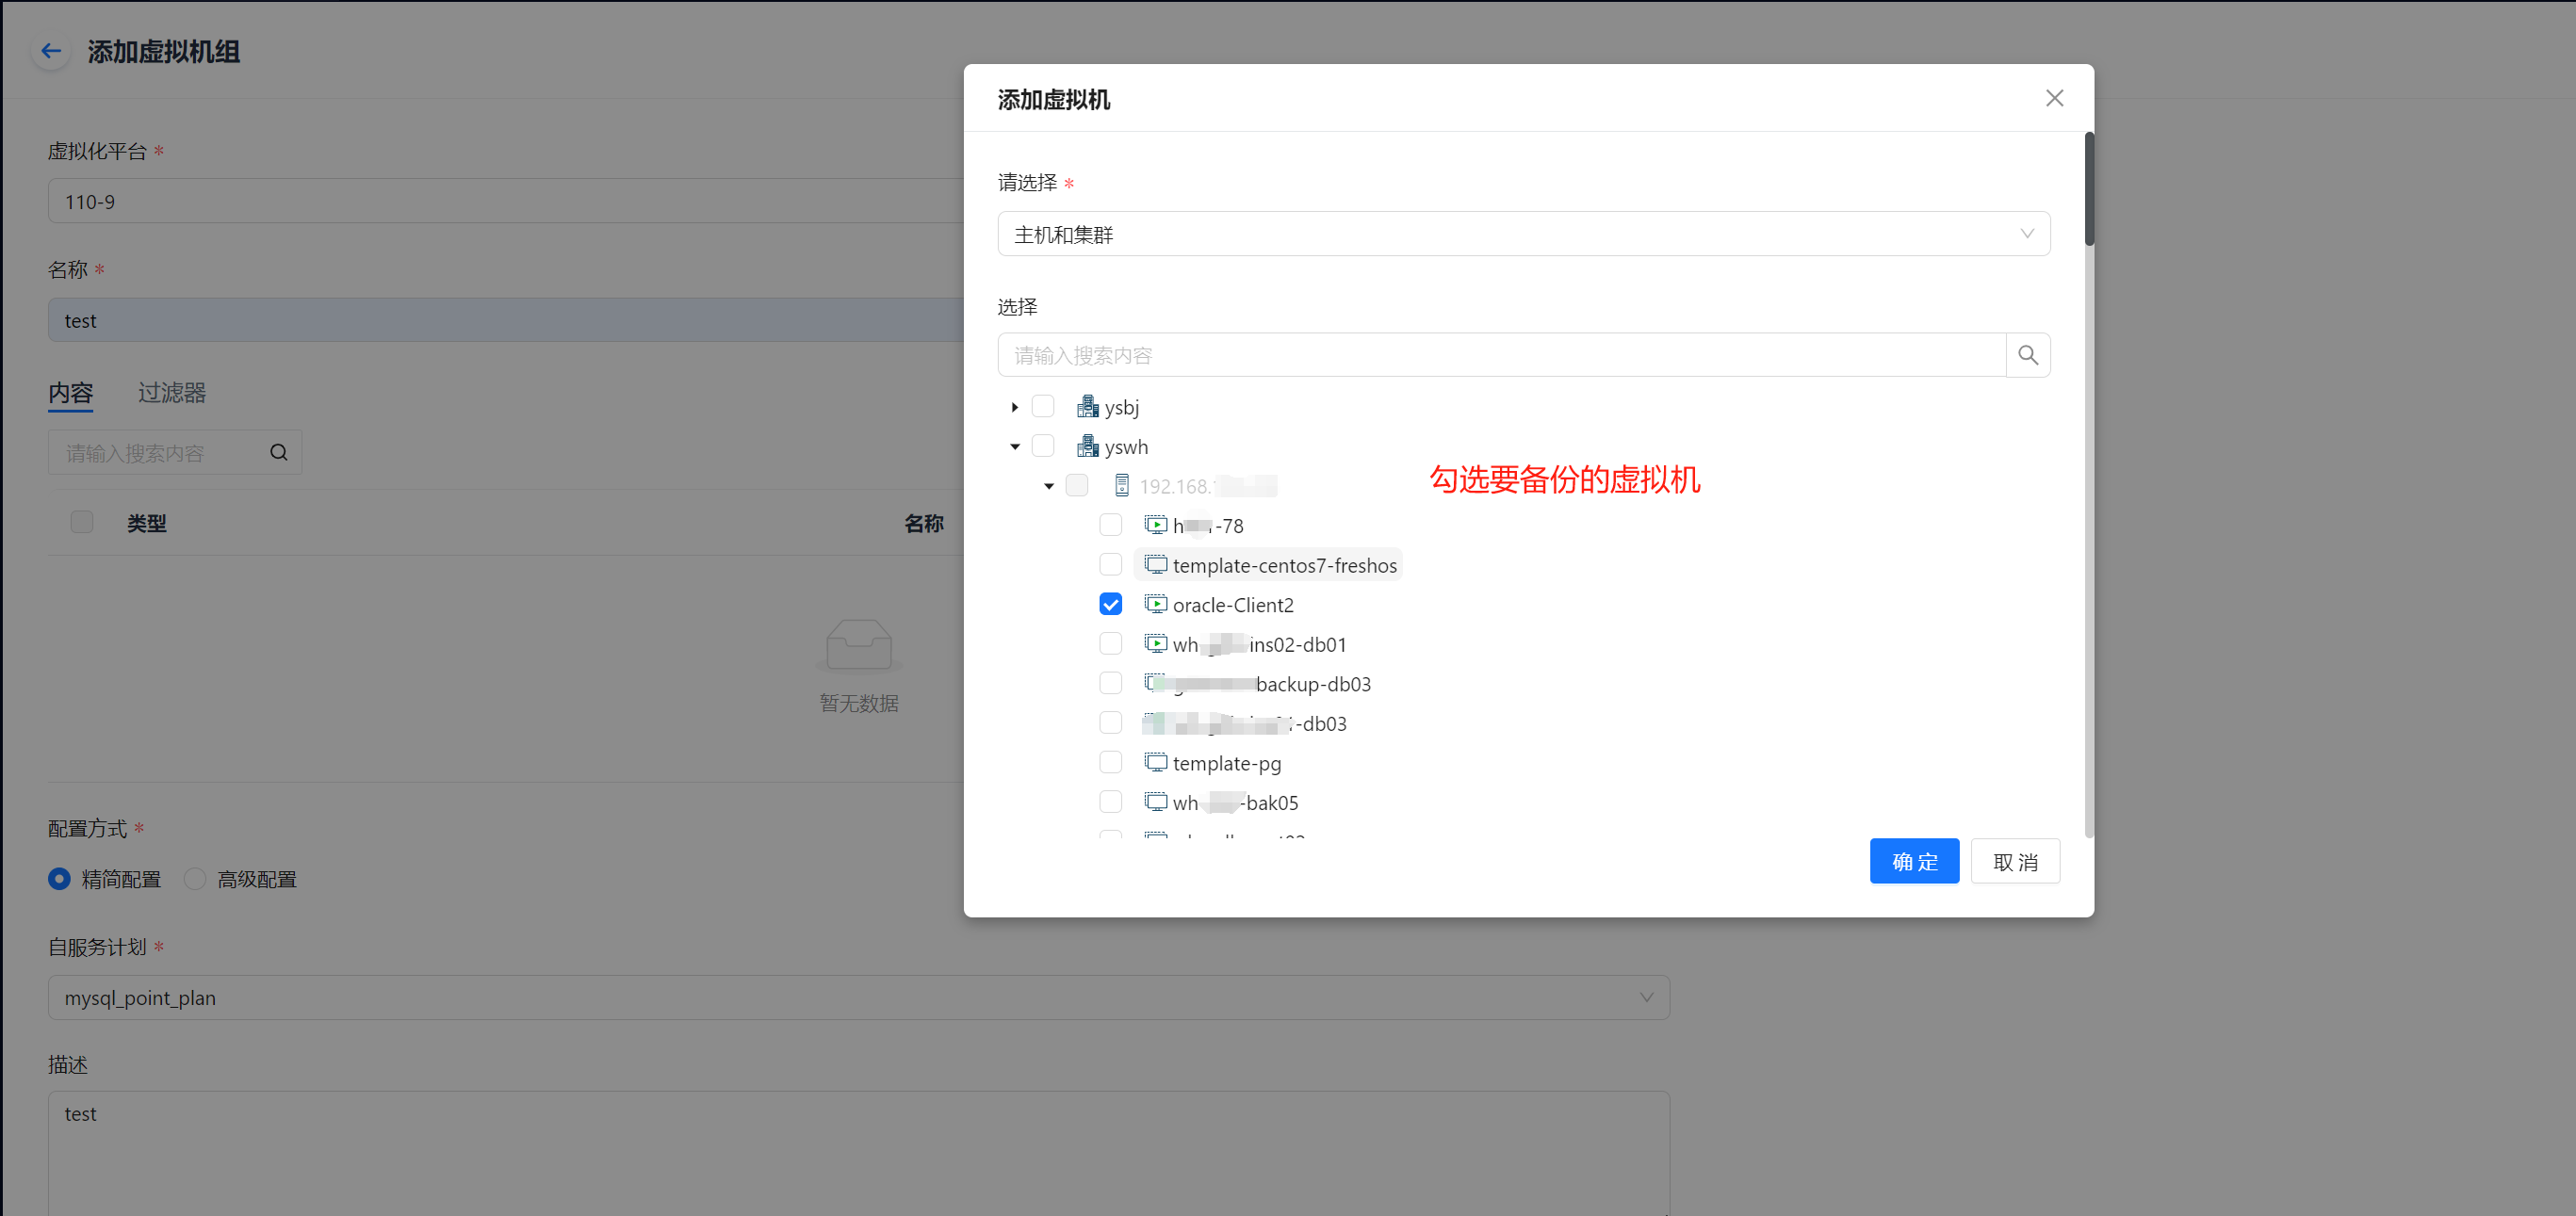
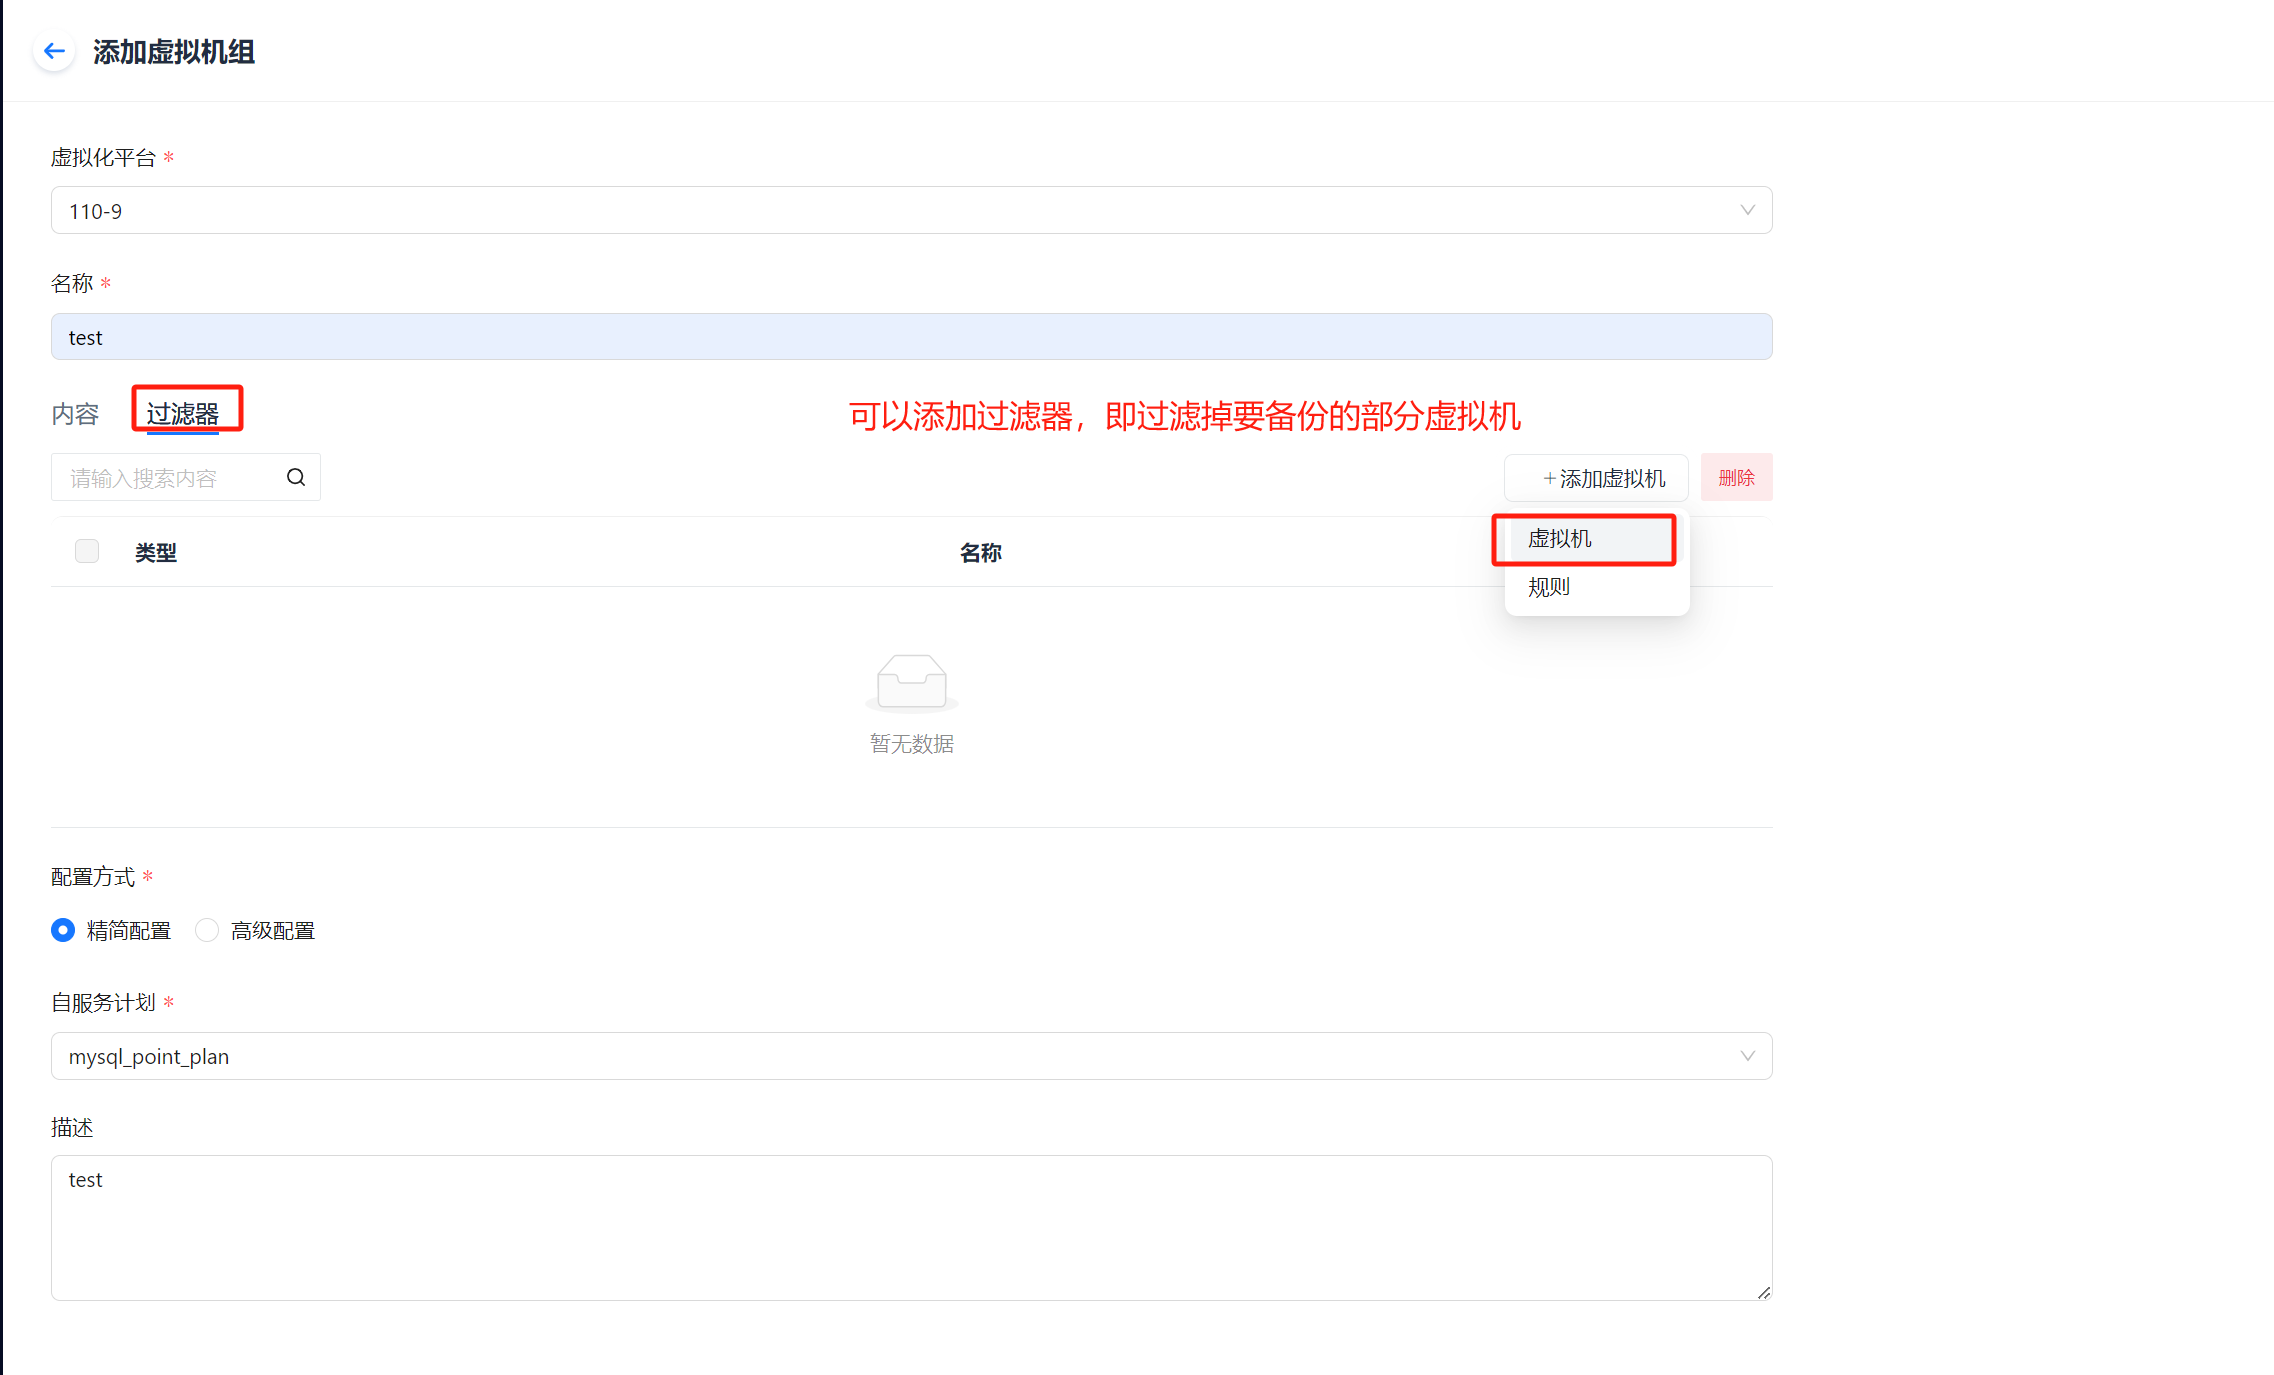
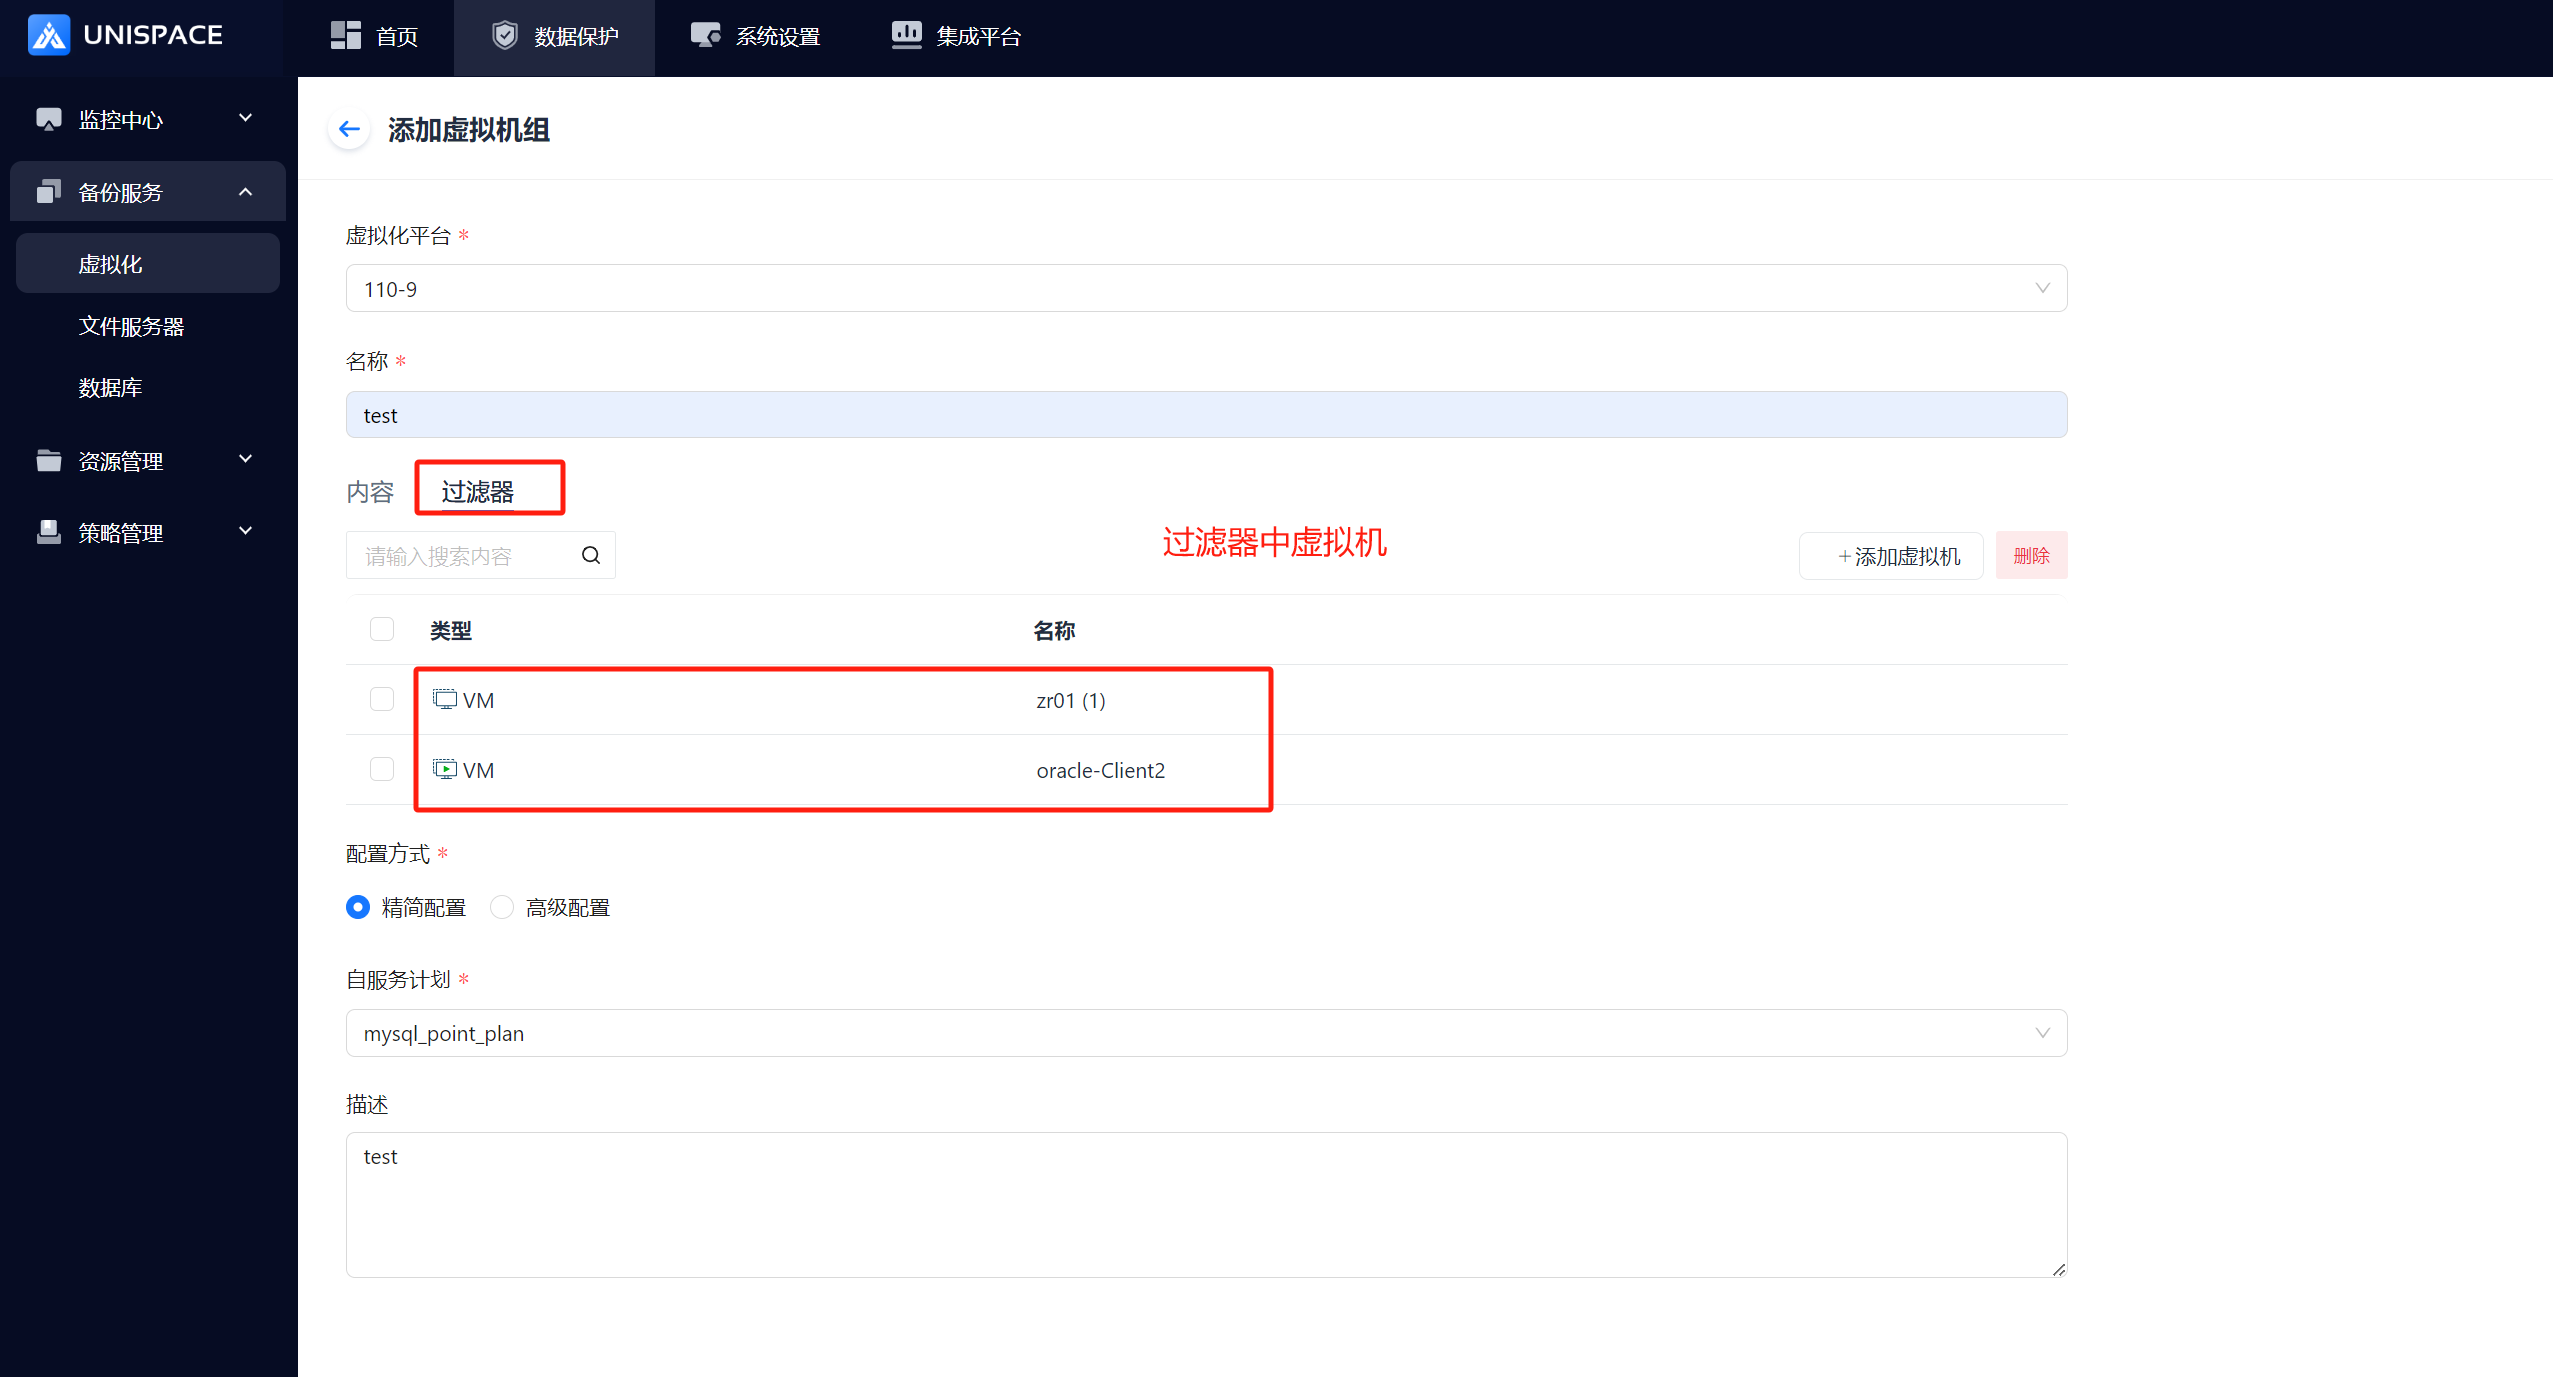
Step 2: Fill in the necessary parameters, add the virtual machines to be backed up, and exclude the virtual machines that do not need to be backed up in the filter.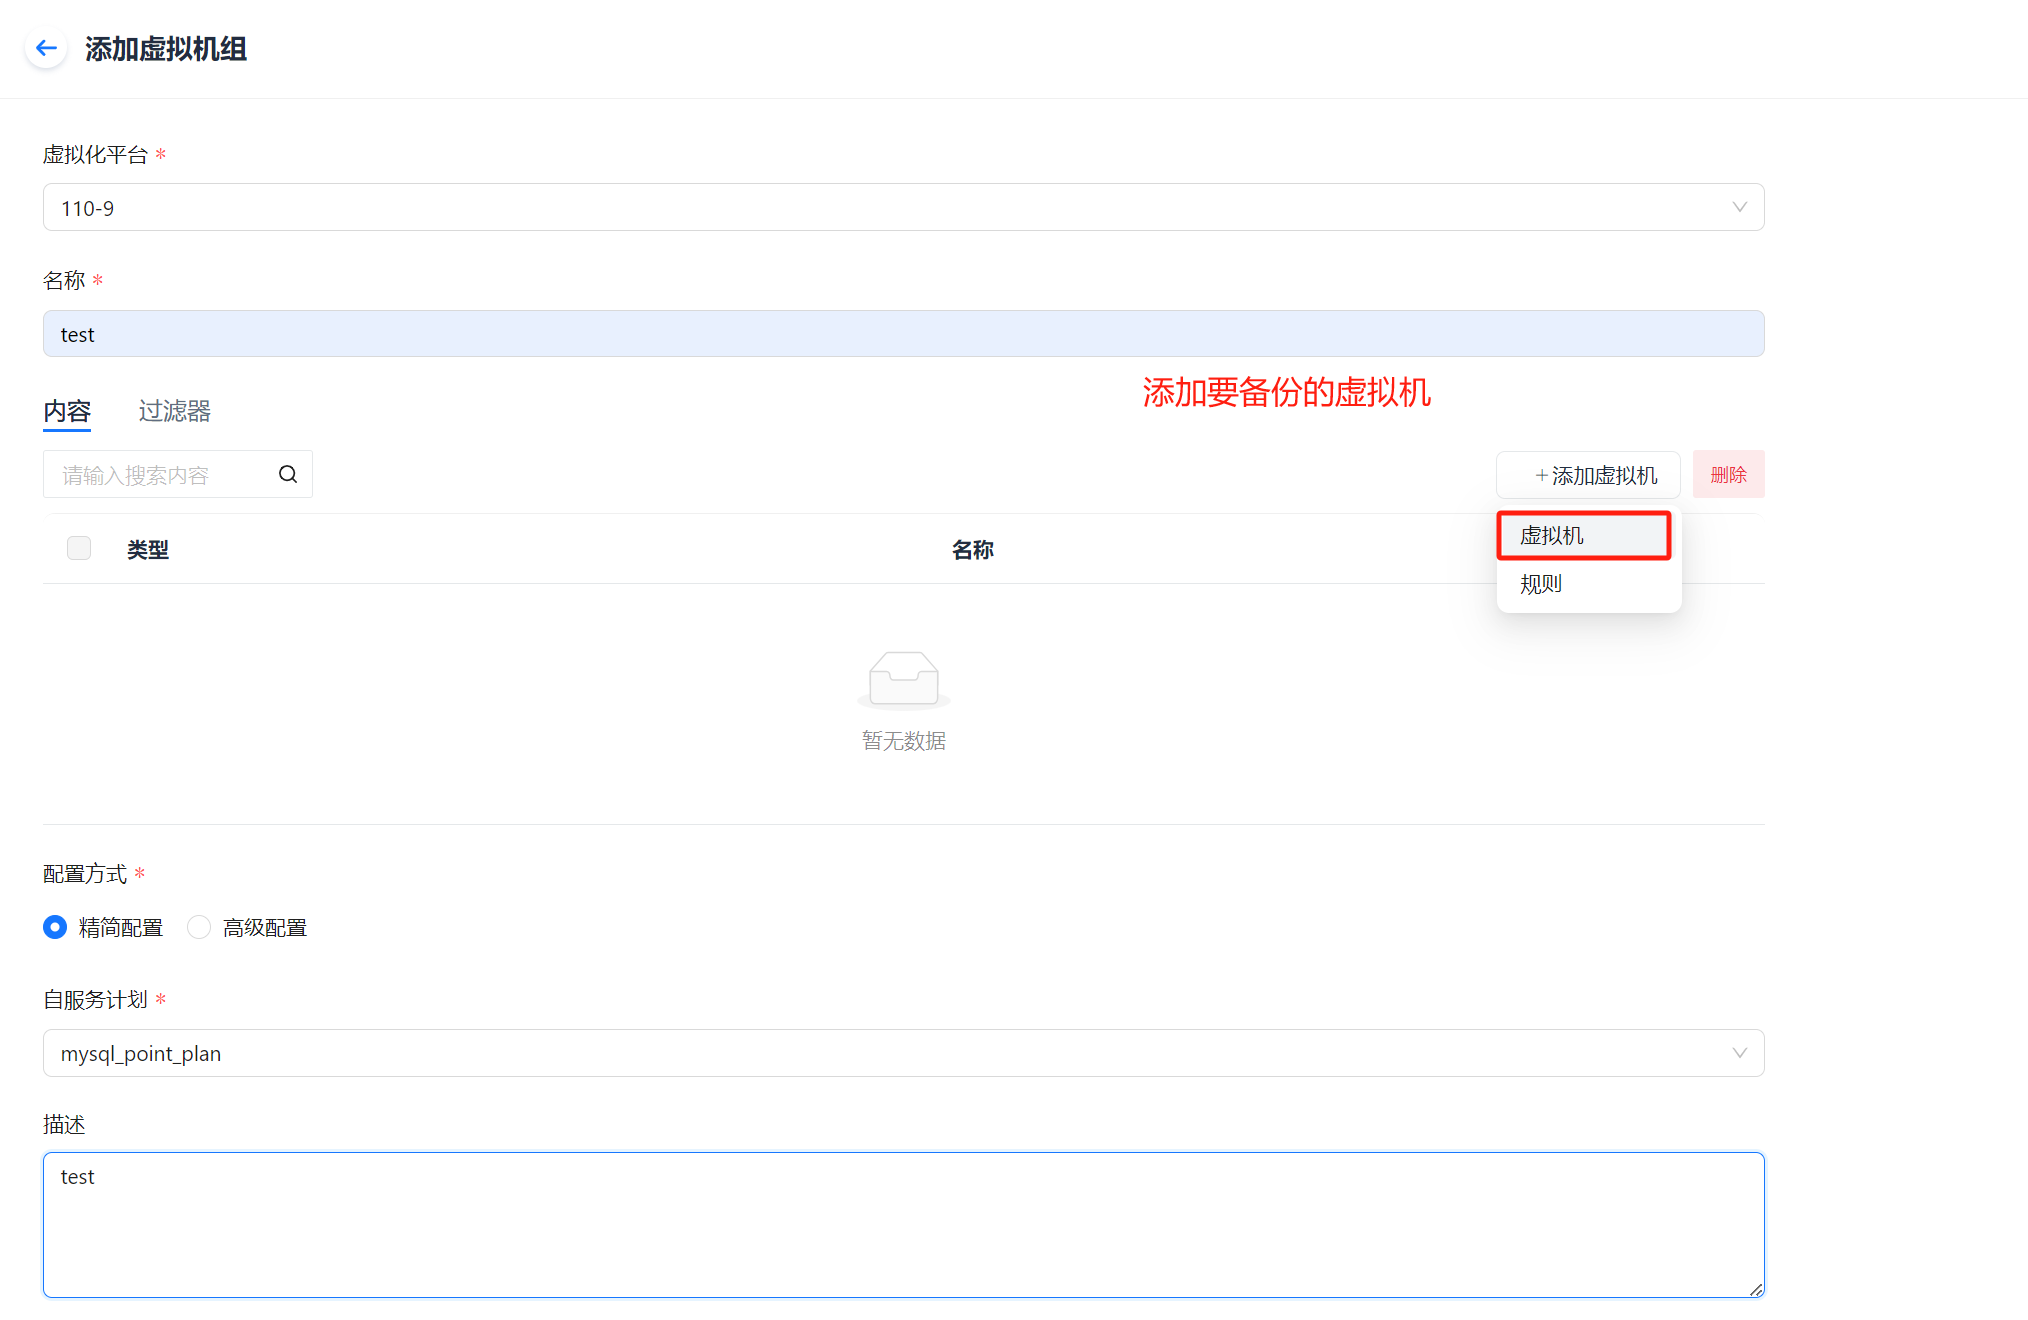
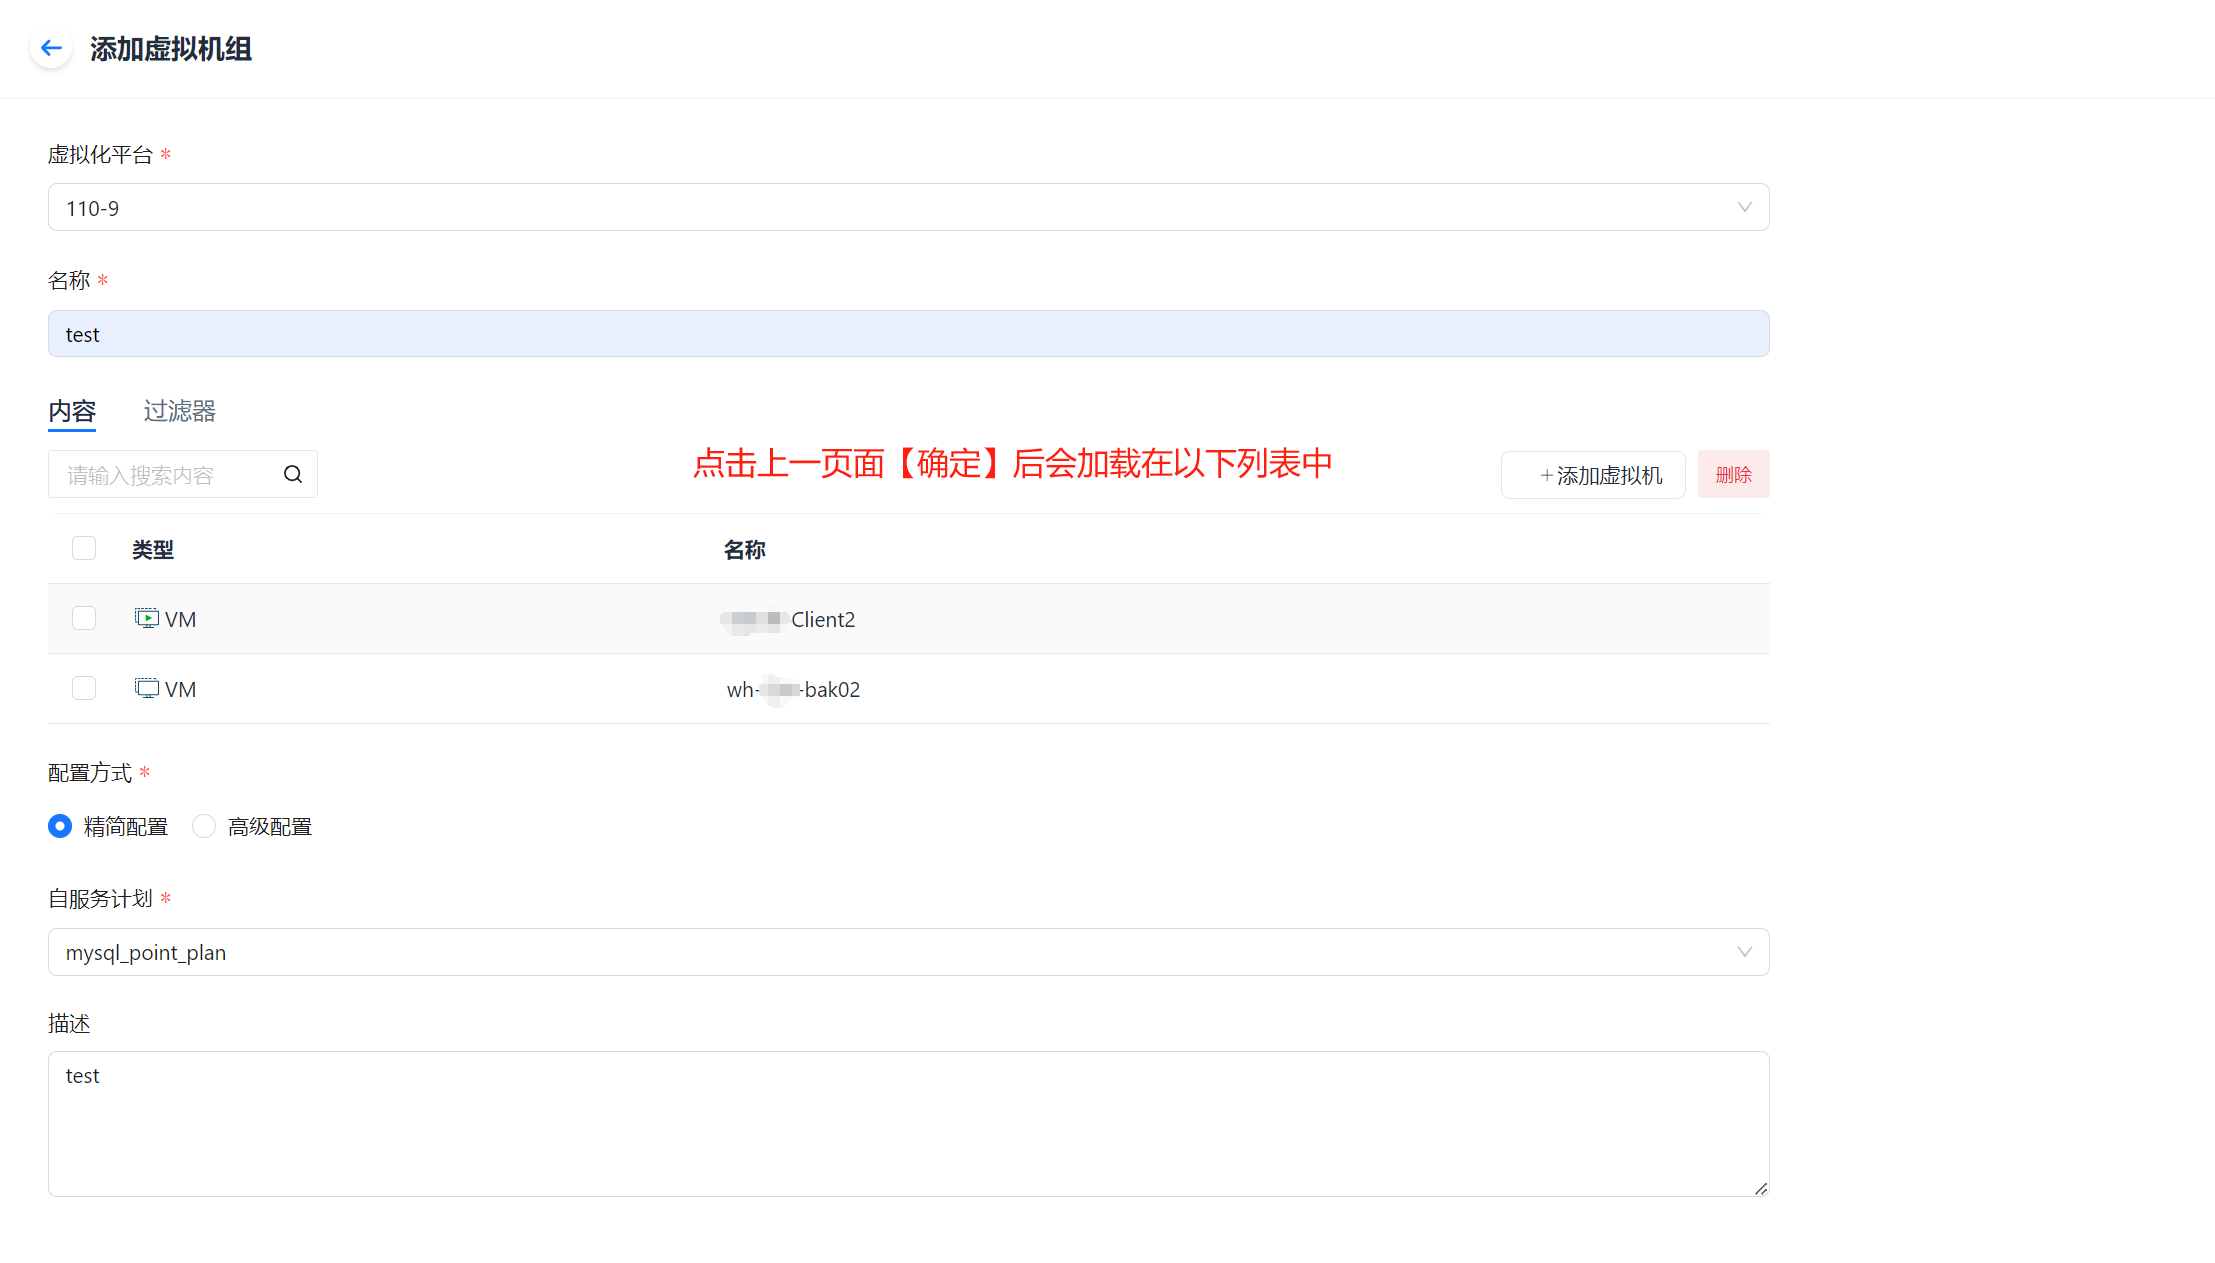
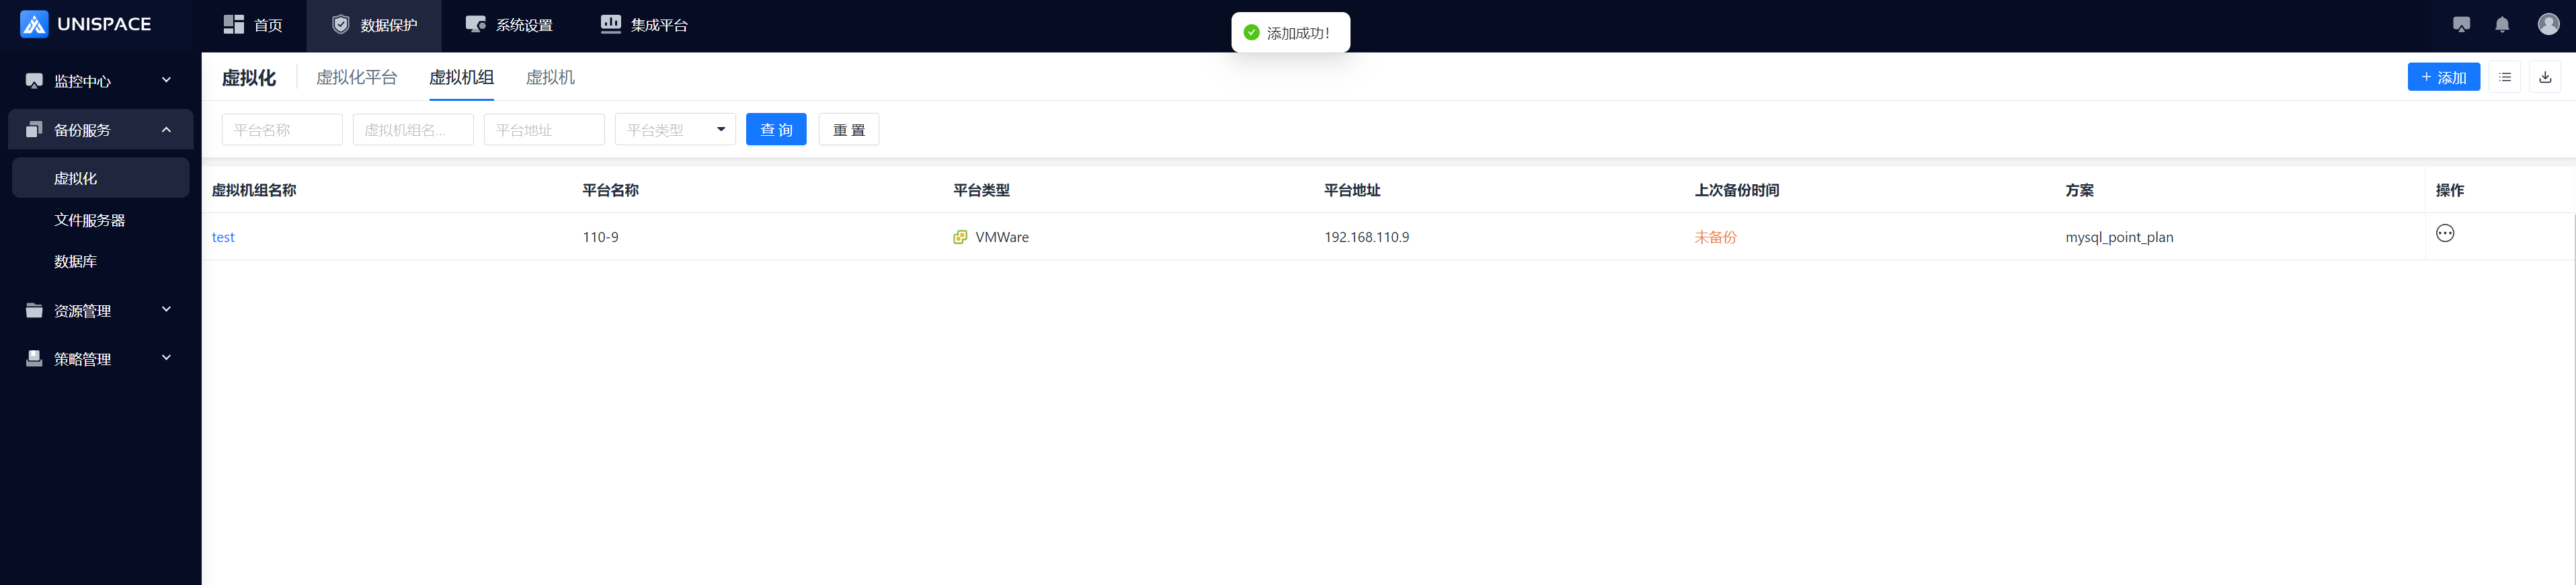
Step 3: Click the Confirm button, and the page will prompt "Added successfully".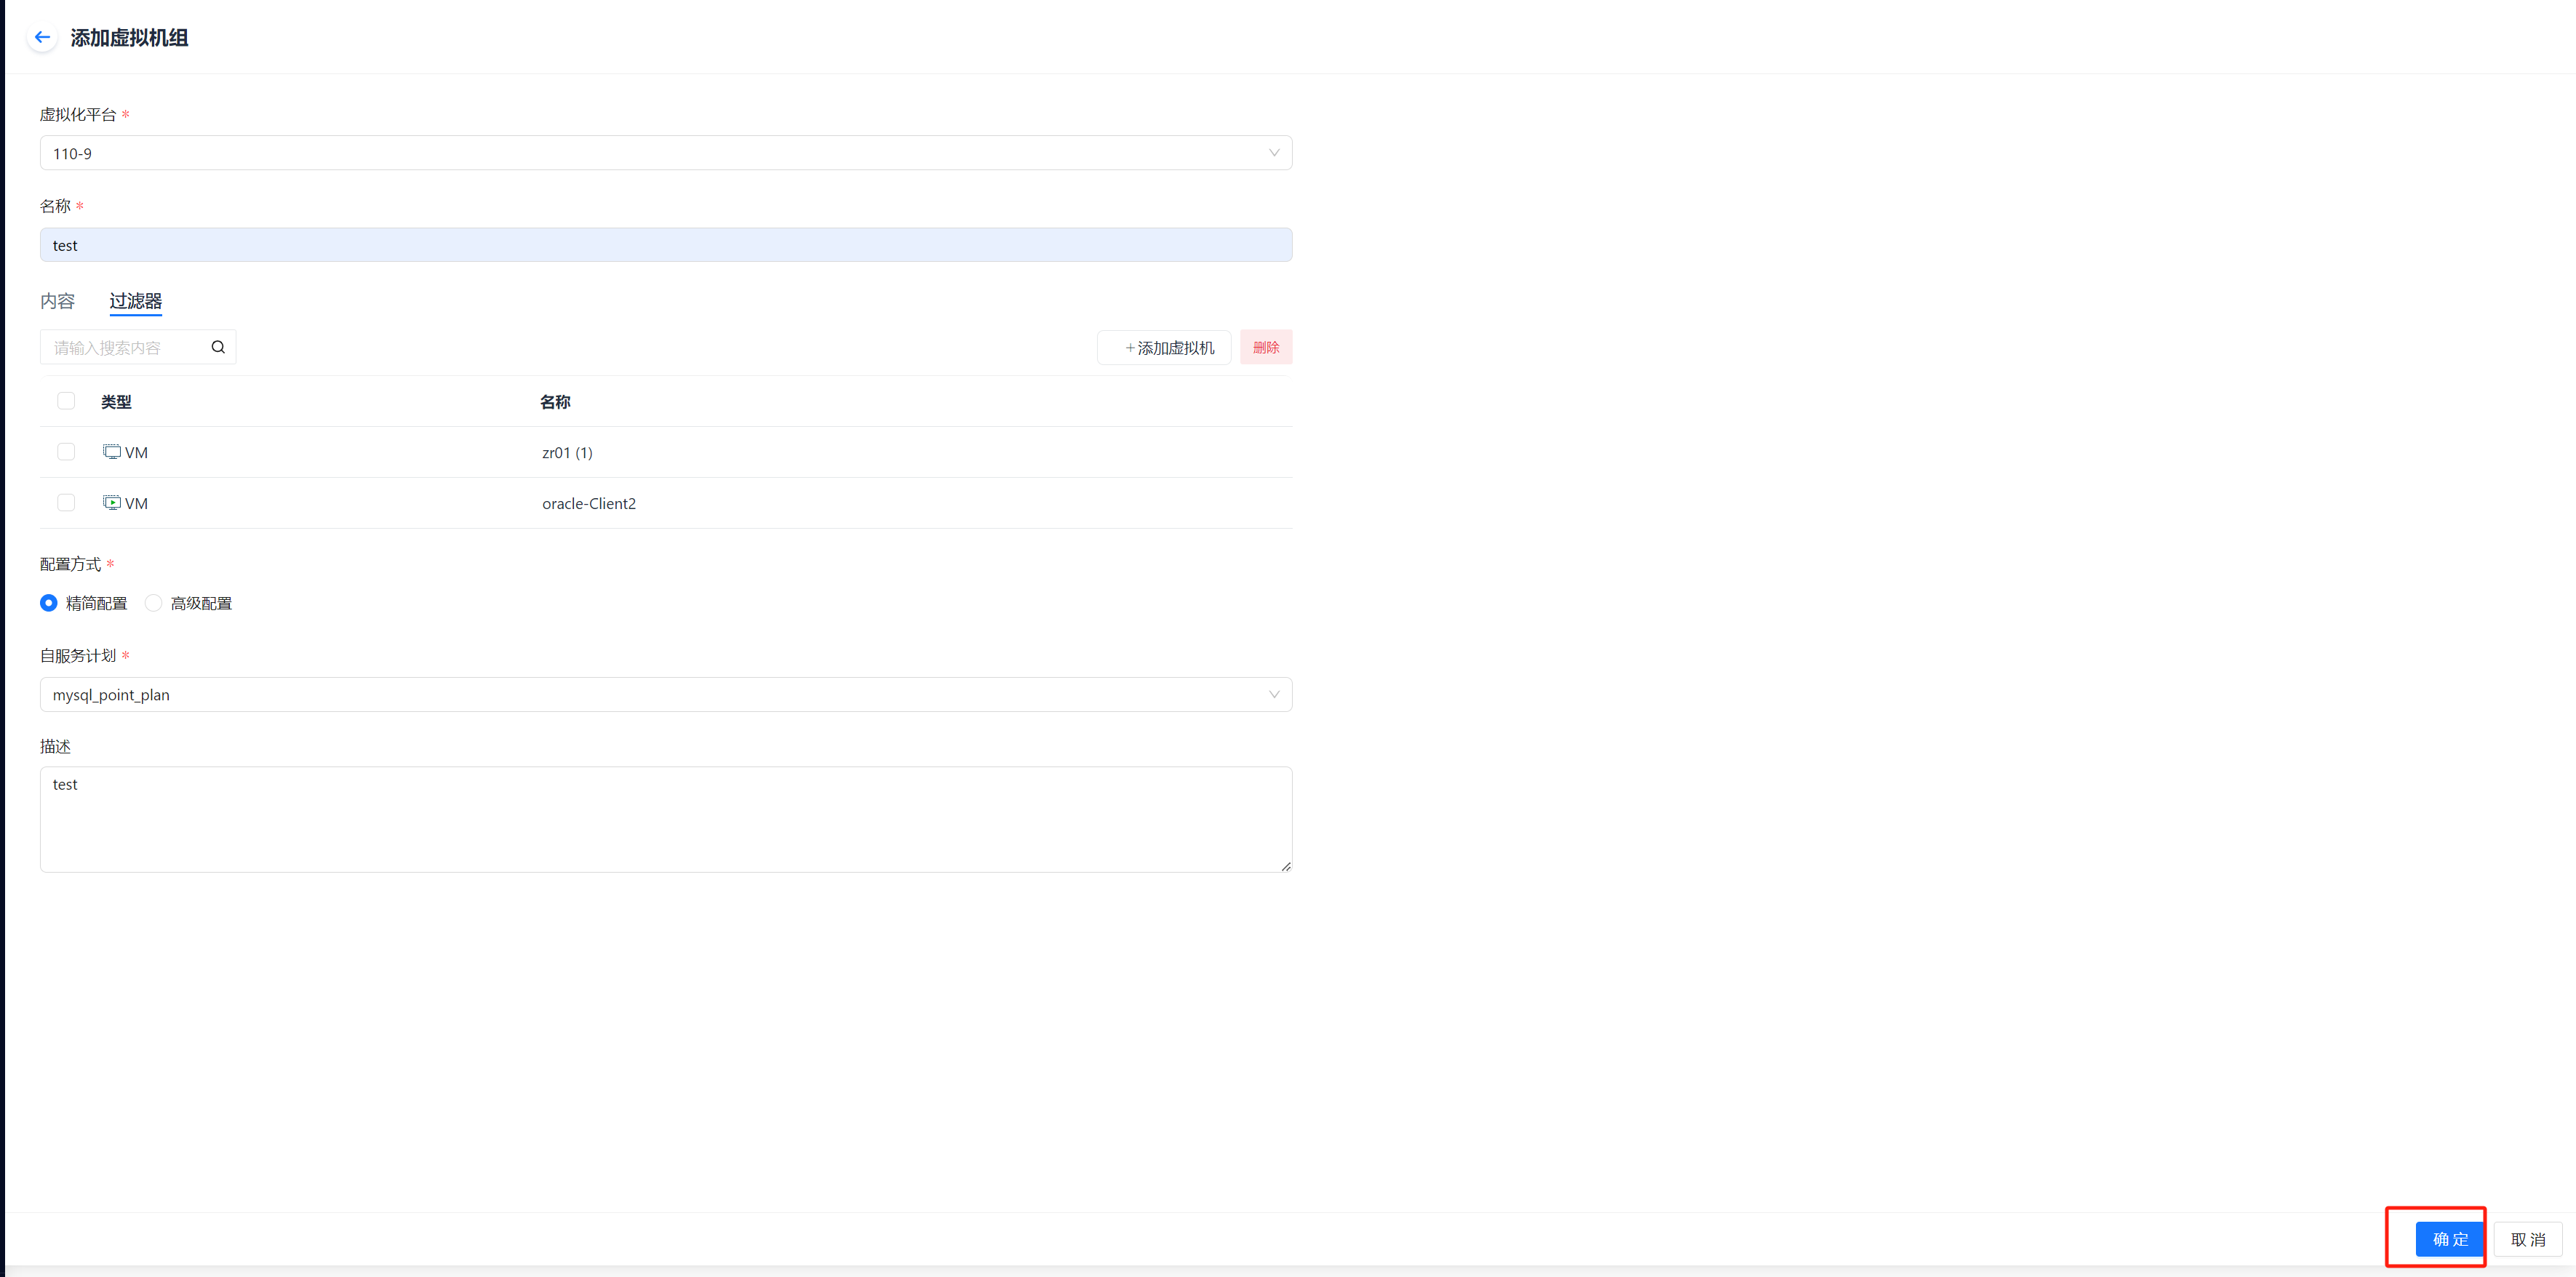
1.3 Virtual Machine Group Backup
Prerequisites
- A virtual machine group has been created.
Steps
Step 1: Click VM Group - Actions - Backup.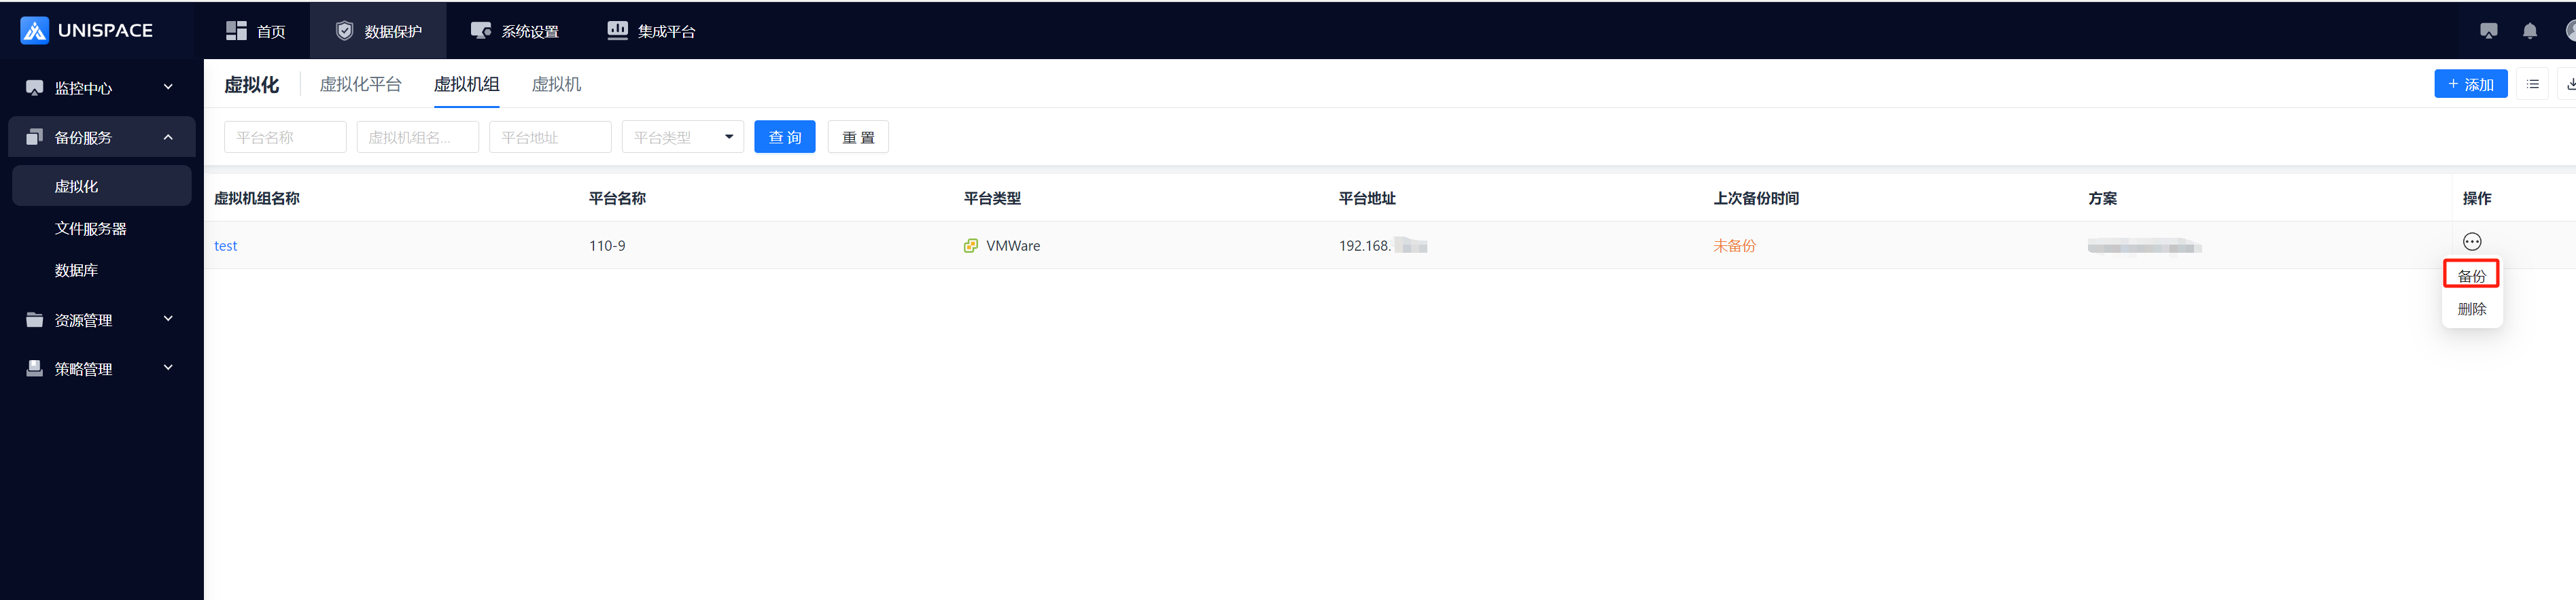 Choose either "Full Backup“ or ”Incremental Backup“, then click Confirm.
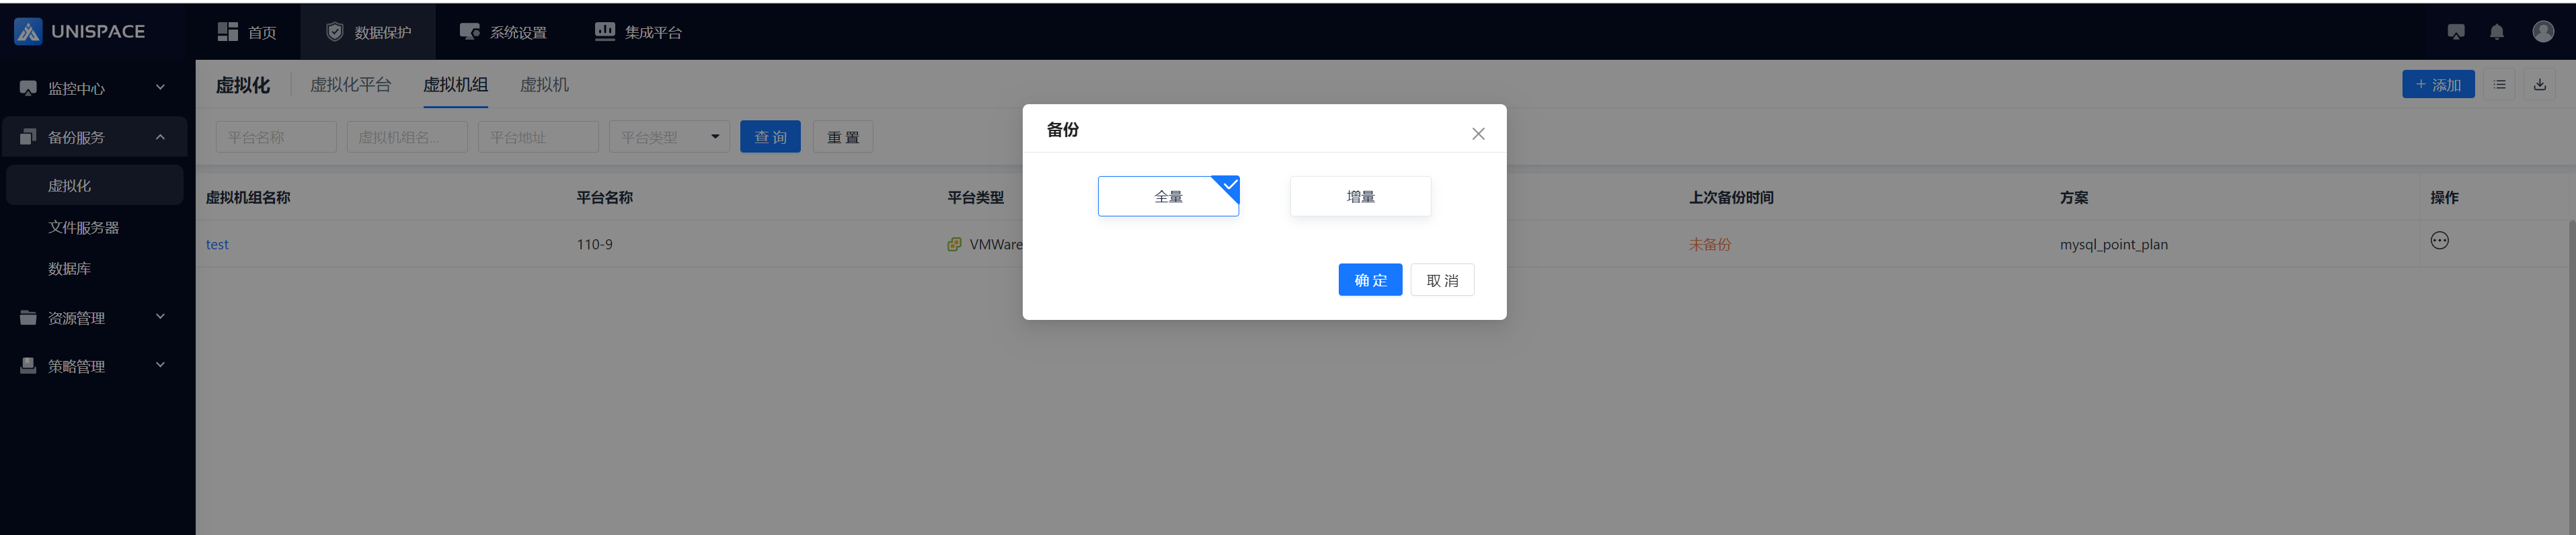
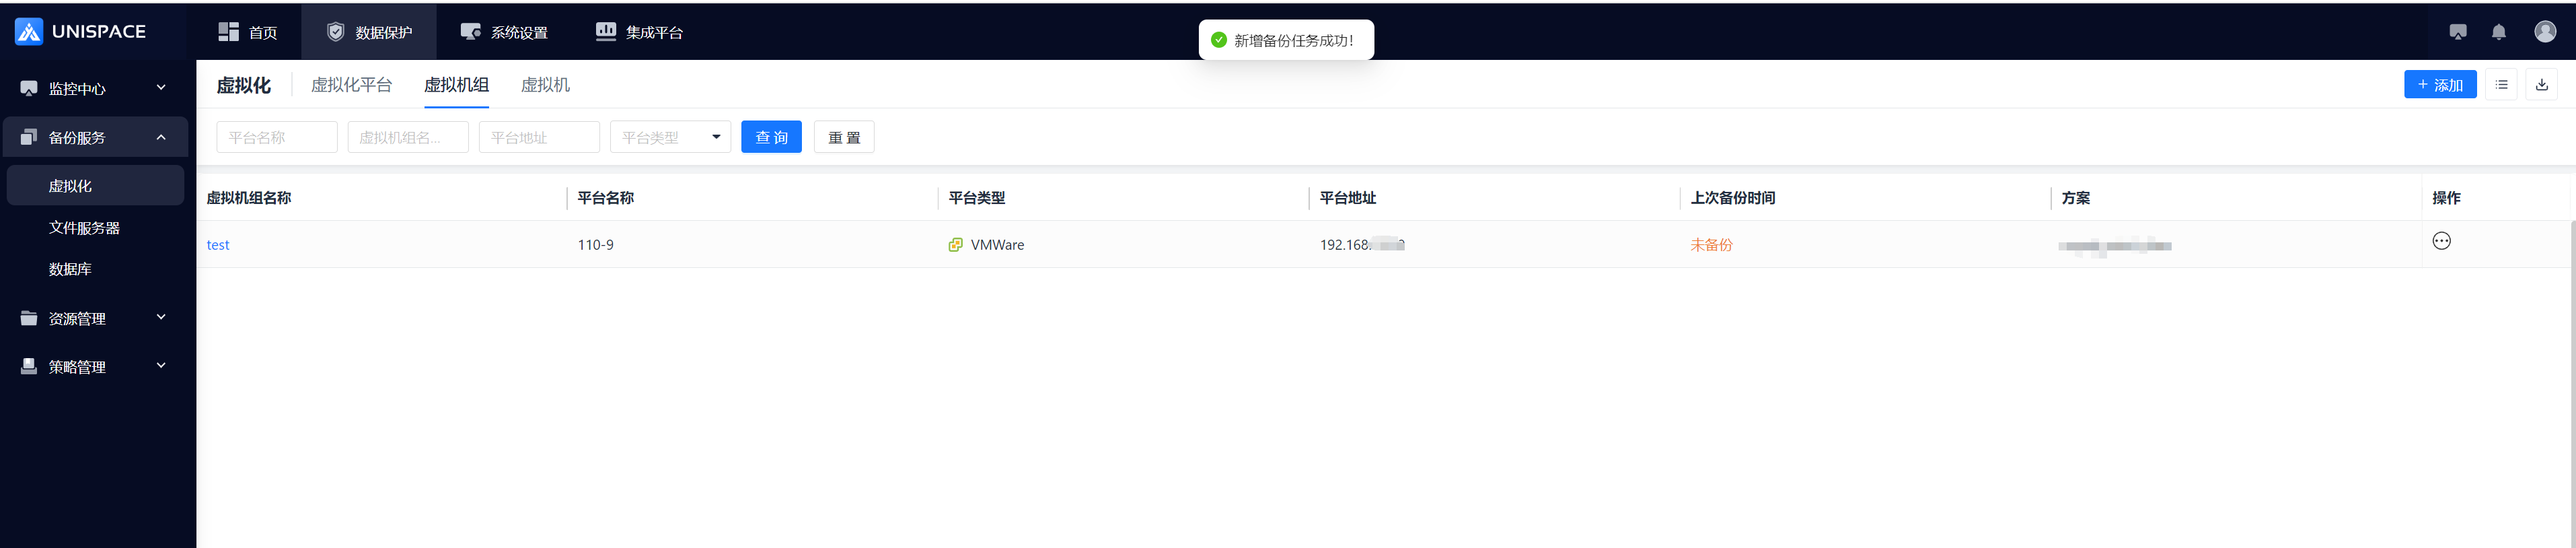
Step 2: After the job starts successfully, click Monitoring - Jobs - Active Jobs to view the job.
Step 3: Once the backup is complete, click Monitoring Center - Jobs - Job History to see the backup job, and confirm the job status as "Completed".
1.4 Virtual Machine Recovery
Prerequisites
- The virtual machine group has been fully or incrementally backed up.
Steps
Step 1: Click the system menu Backup Service - Virtualization - Virtual Machine.
Step 2: Check the Virtual Machine you want to recover from the list, click Add Recovery Set, and then click the icon next to it.

Step 3: The "Recovery Set" window will pop up. Search for the recovery point by "Time Range" or "Recovery Point", then click Confirm.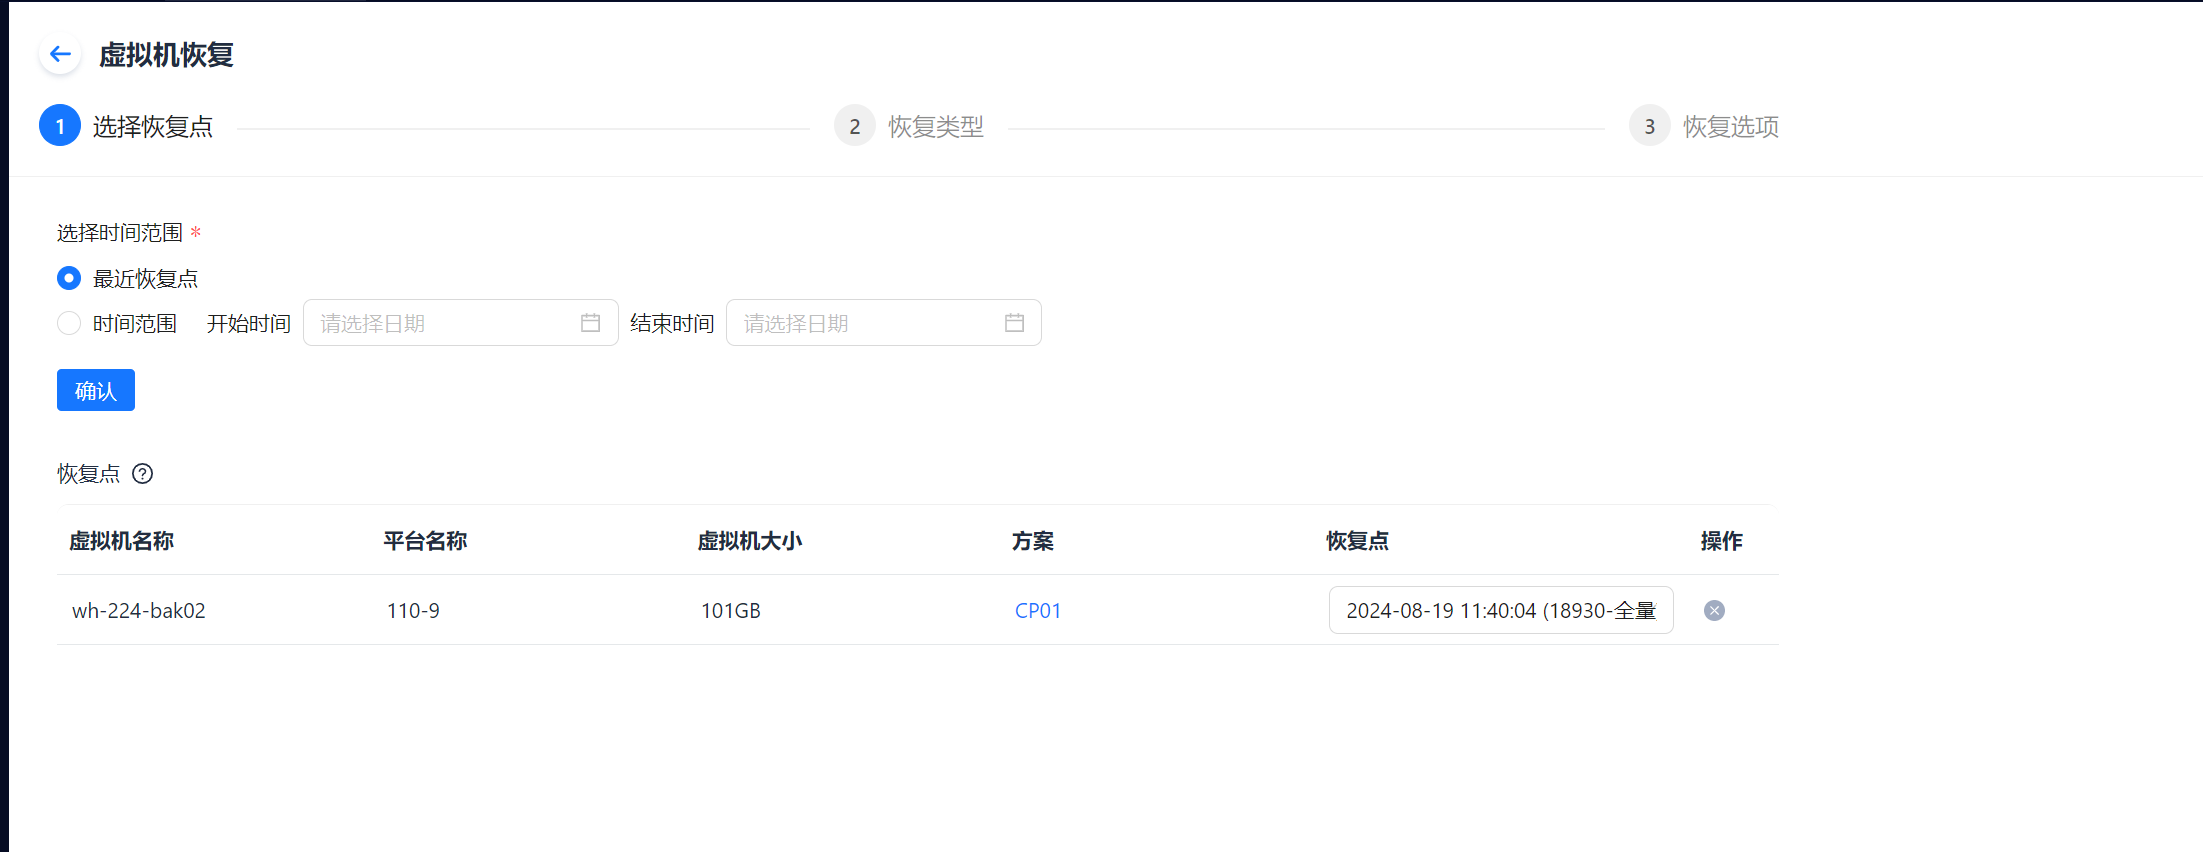
Step 4: Select the recovery point and the "Backup Job ID", then click Next Step. Choose "Complete Virtual Machine"; guest files are currently not supported.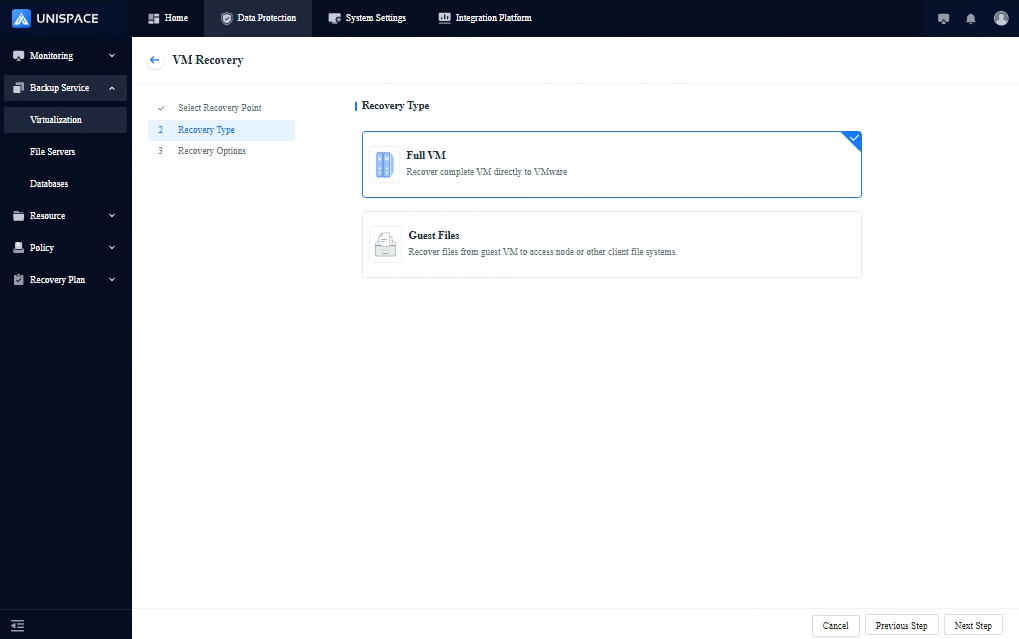
Step 5: Choose "In-Place Recovery".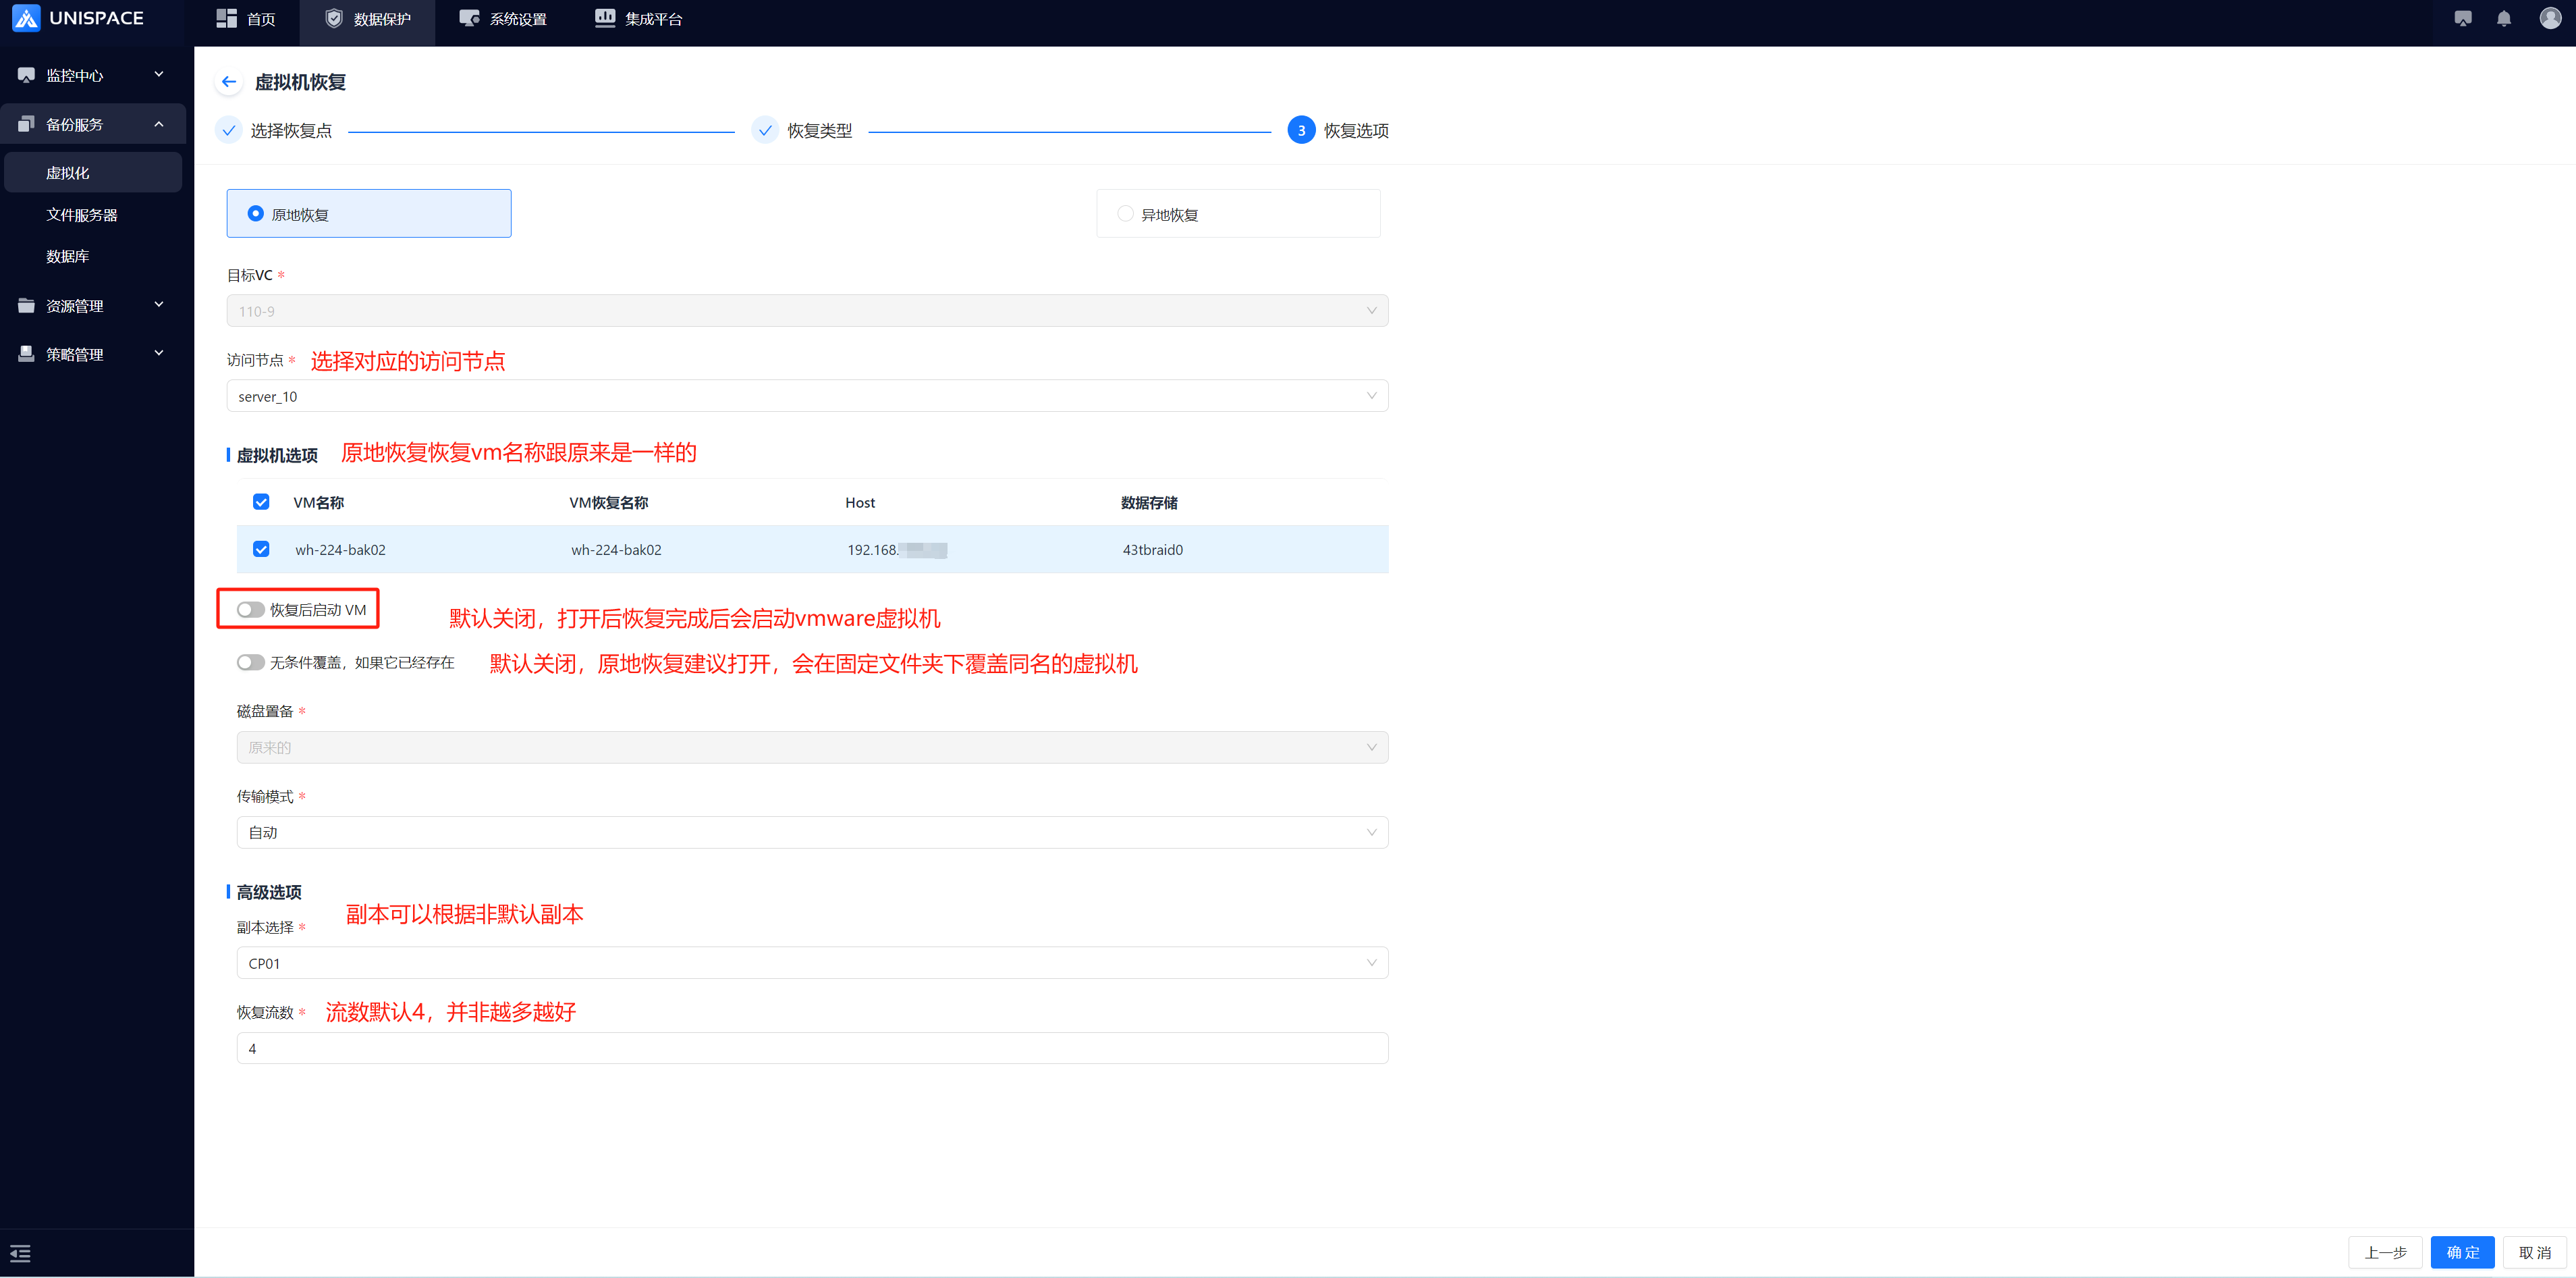
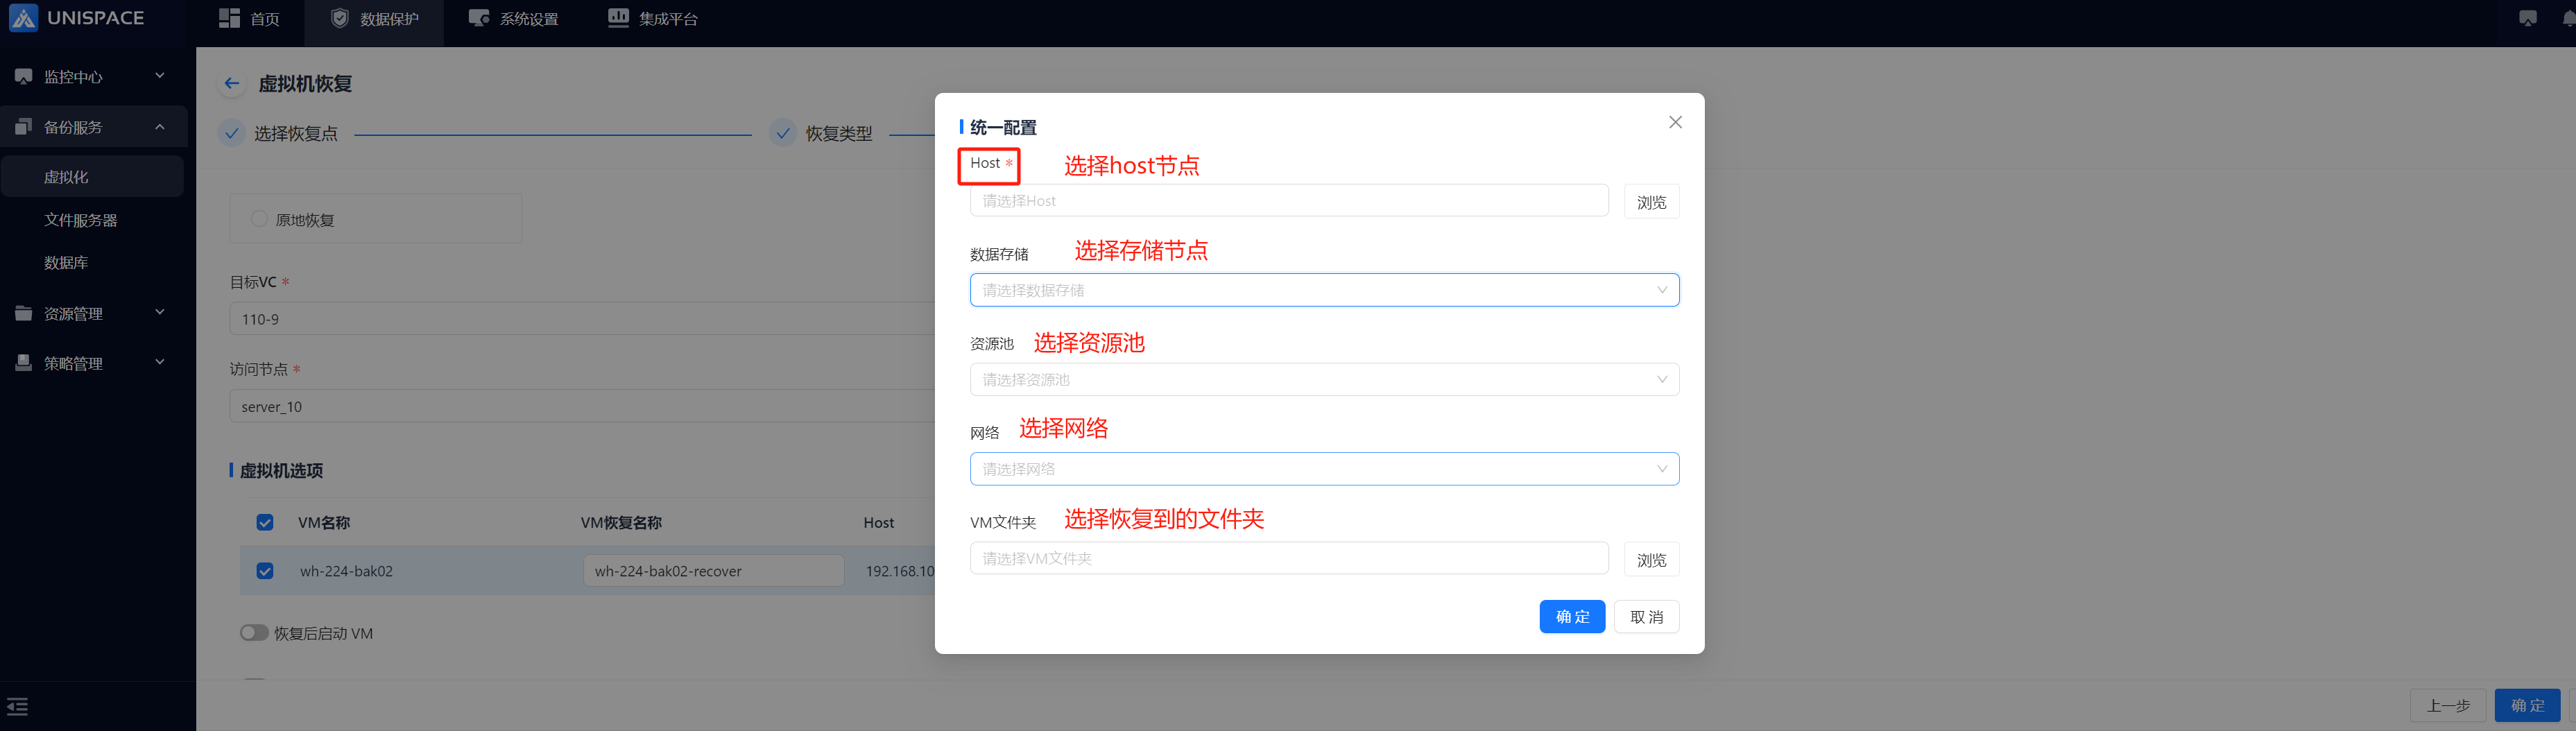
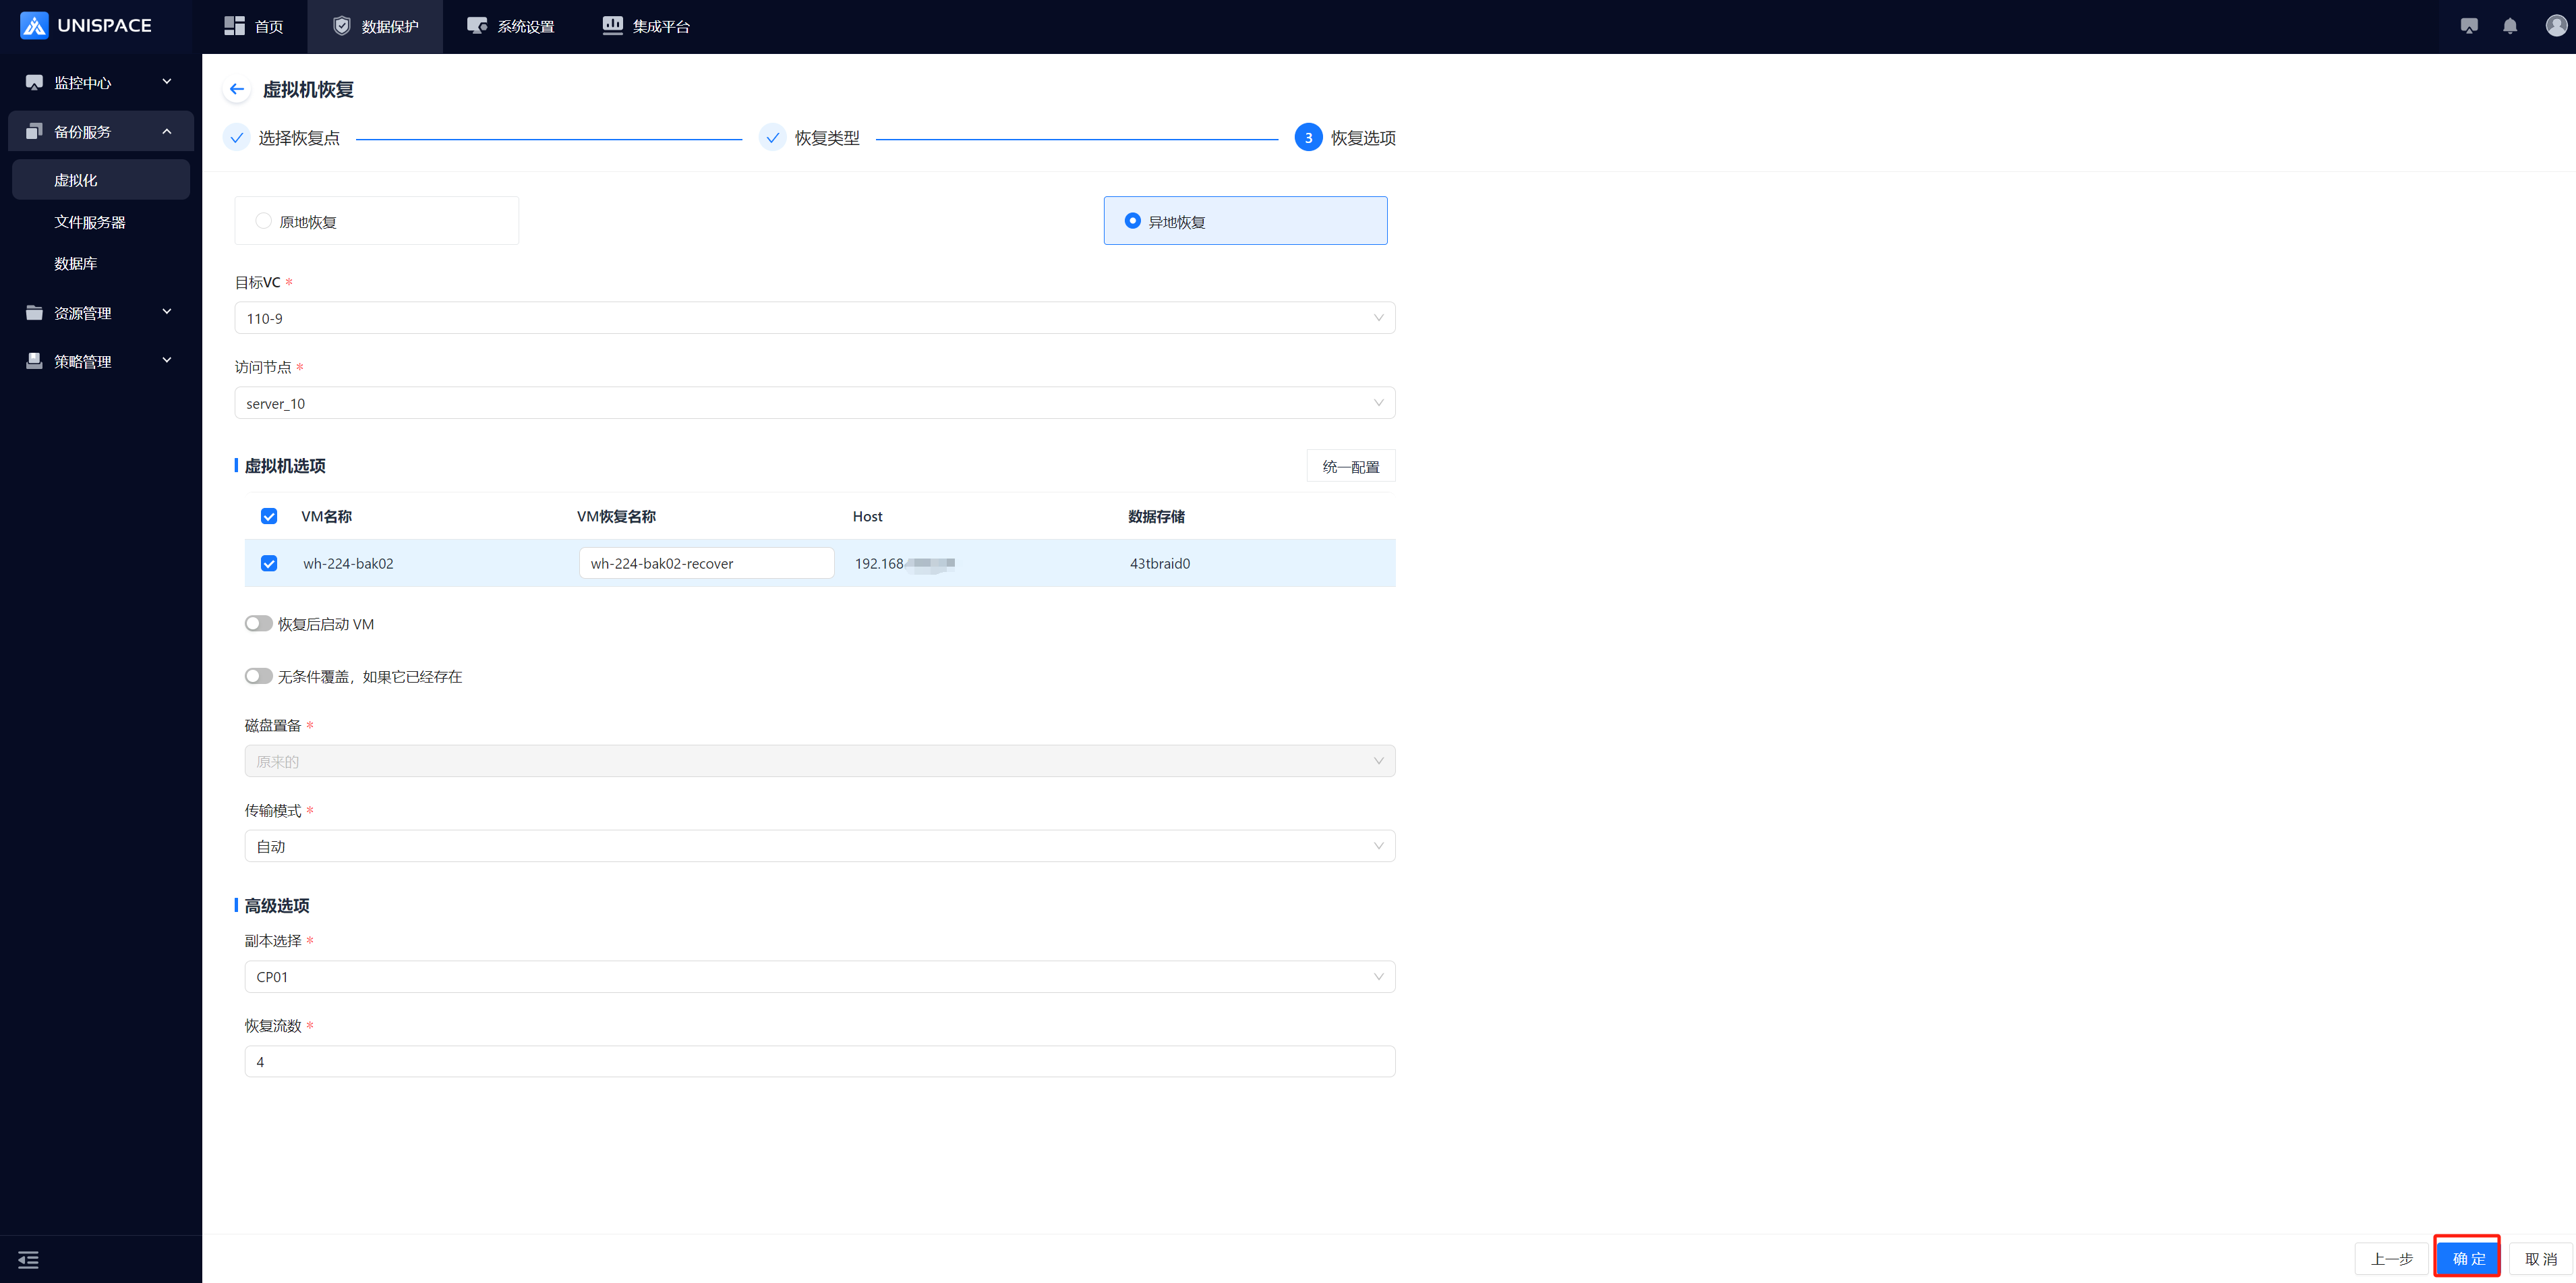
Step 6: Or choose "Cross-site Recovery", configure the settings, and click Confirm.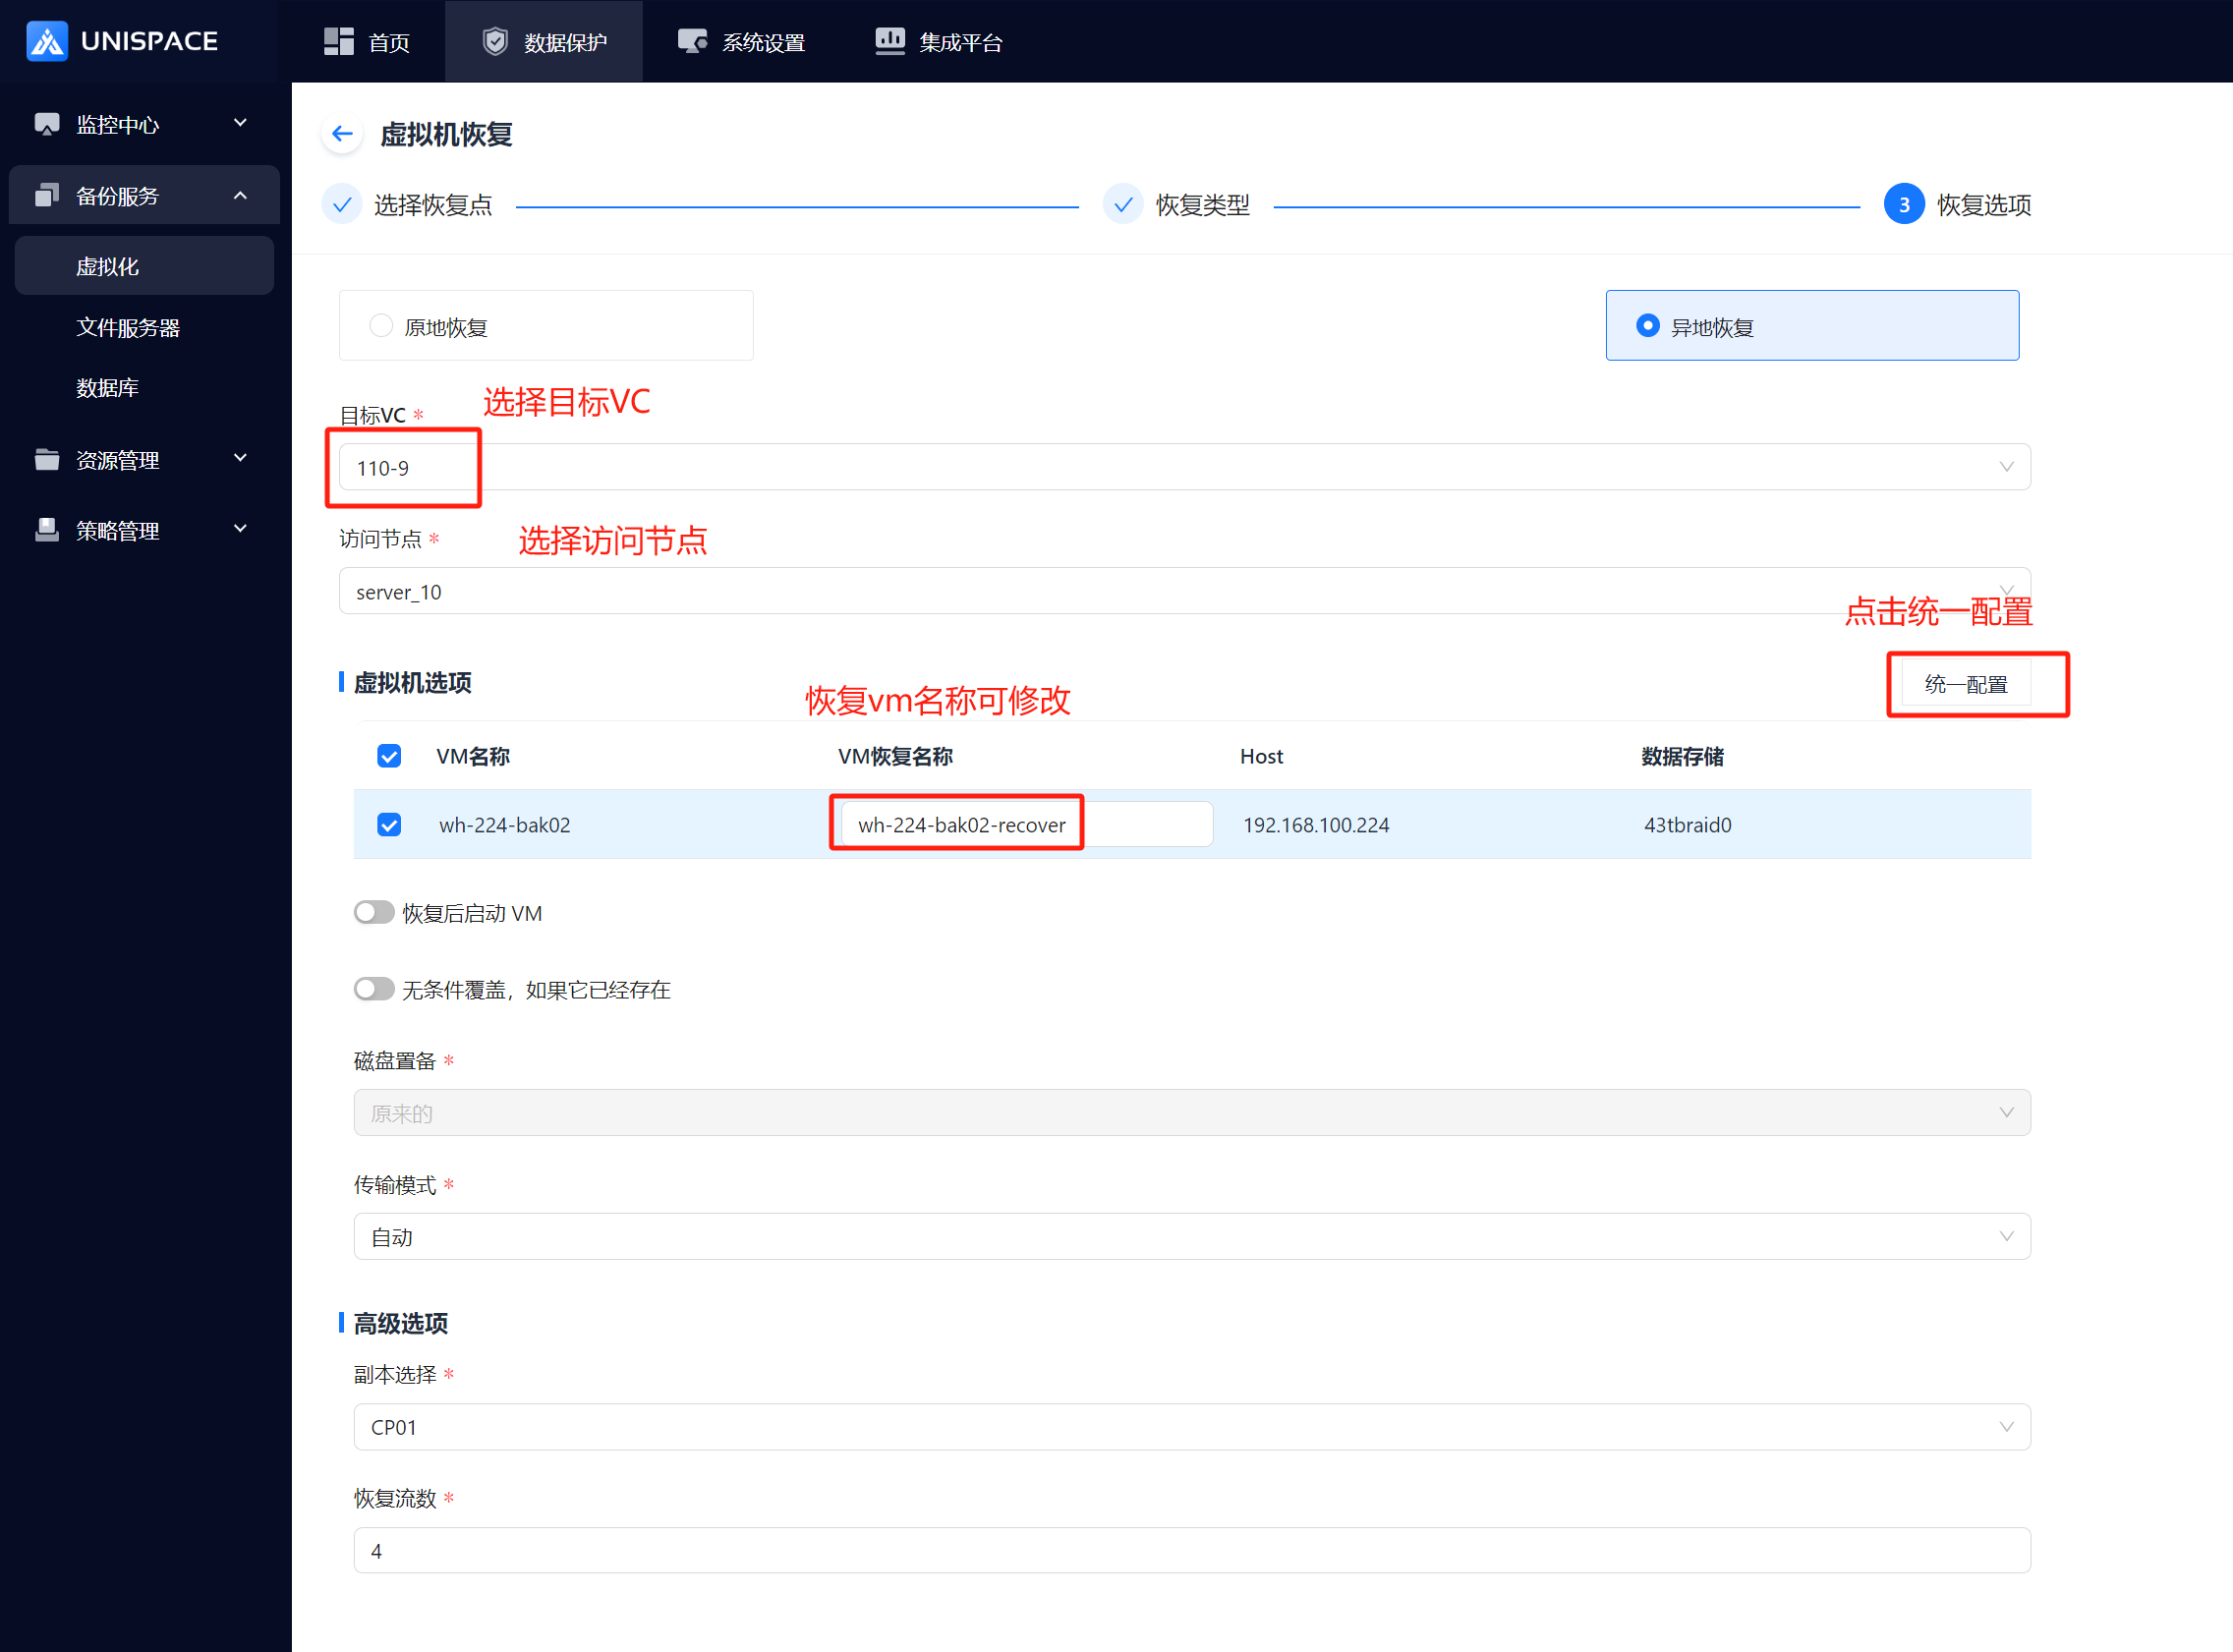
Step 7: Once the job starts successfully, click Monitoring Center - Jobs - Active Jobs to view the job.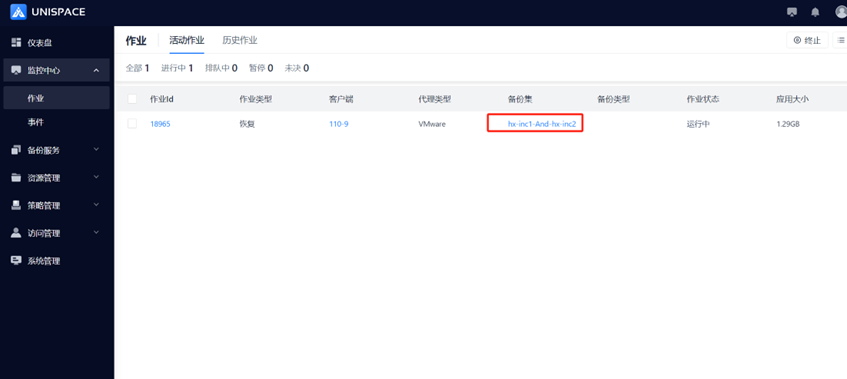
Step 8: After the job completes, click Monitoring Center - Jobs - Job History to see the job and its status.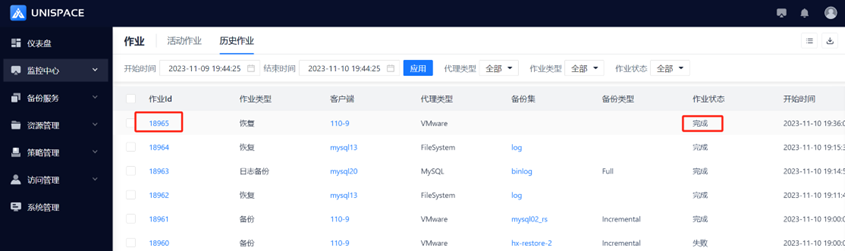
1.5 Virtual Machine Guest File Recovery
Prerequisites
- The virtual machine group has been fully or incrementally backed up, and the backup was successful.
- The corresponding RPM package for file recovery is installed on the storage node. See: Storage installation dependency package supports virtualization file recovery.
Steps
Step 1: Click the system menu Backup Service - Virtualization - Virtual Machine.
Step 2: Check the Virtual Machine you want to recover from the list, click Add to Recovery Set, and then click the icon next to it.
Step 3: The "Recovery Set" window will pop up. Search for the recovery point by "time range" or "recent recovery point", then click Confirm.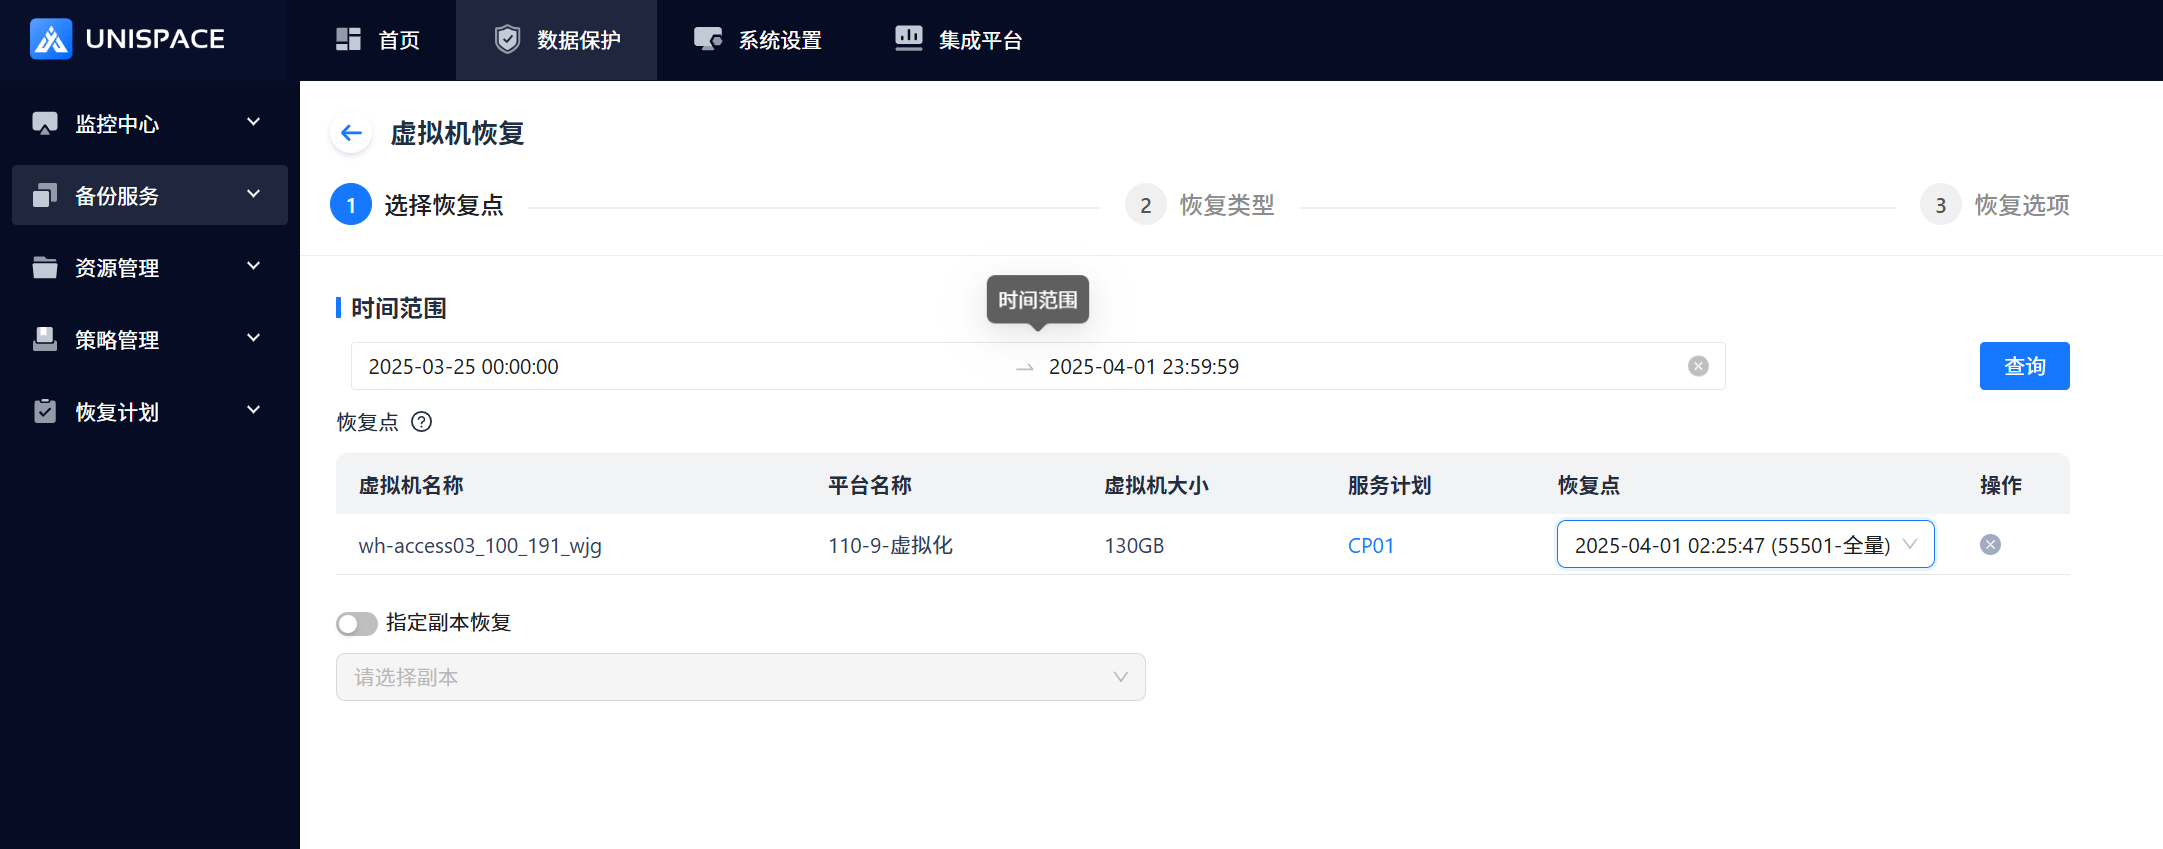
Step 4: Select the recovery point and the "Backup Job ID", then click Next Step. Choose "Guest Files".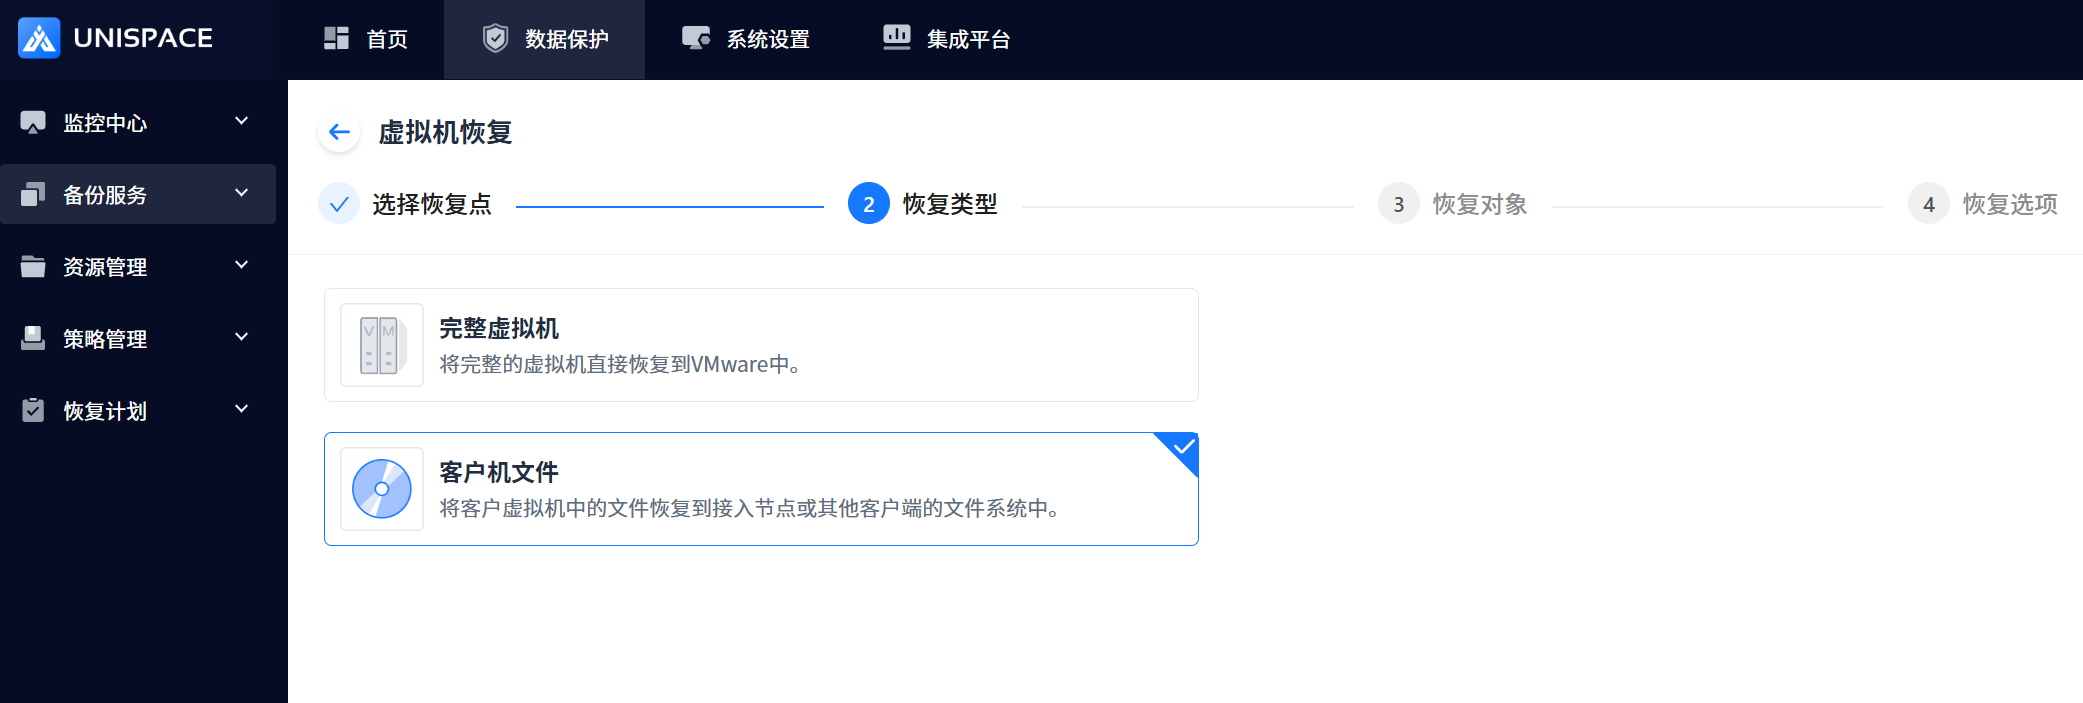
Step 5: Check the virtual machine files that need to be recovered.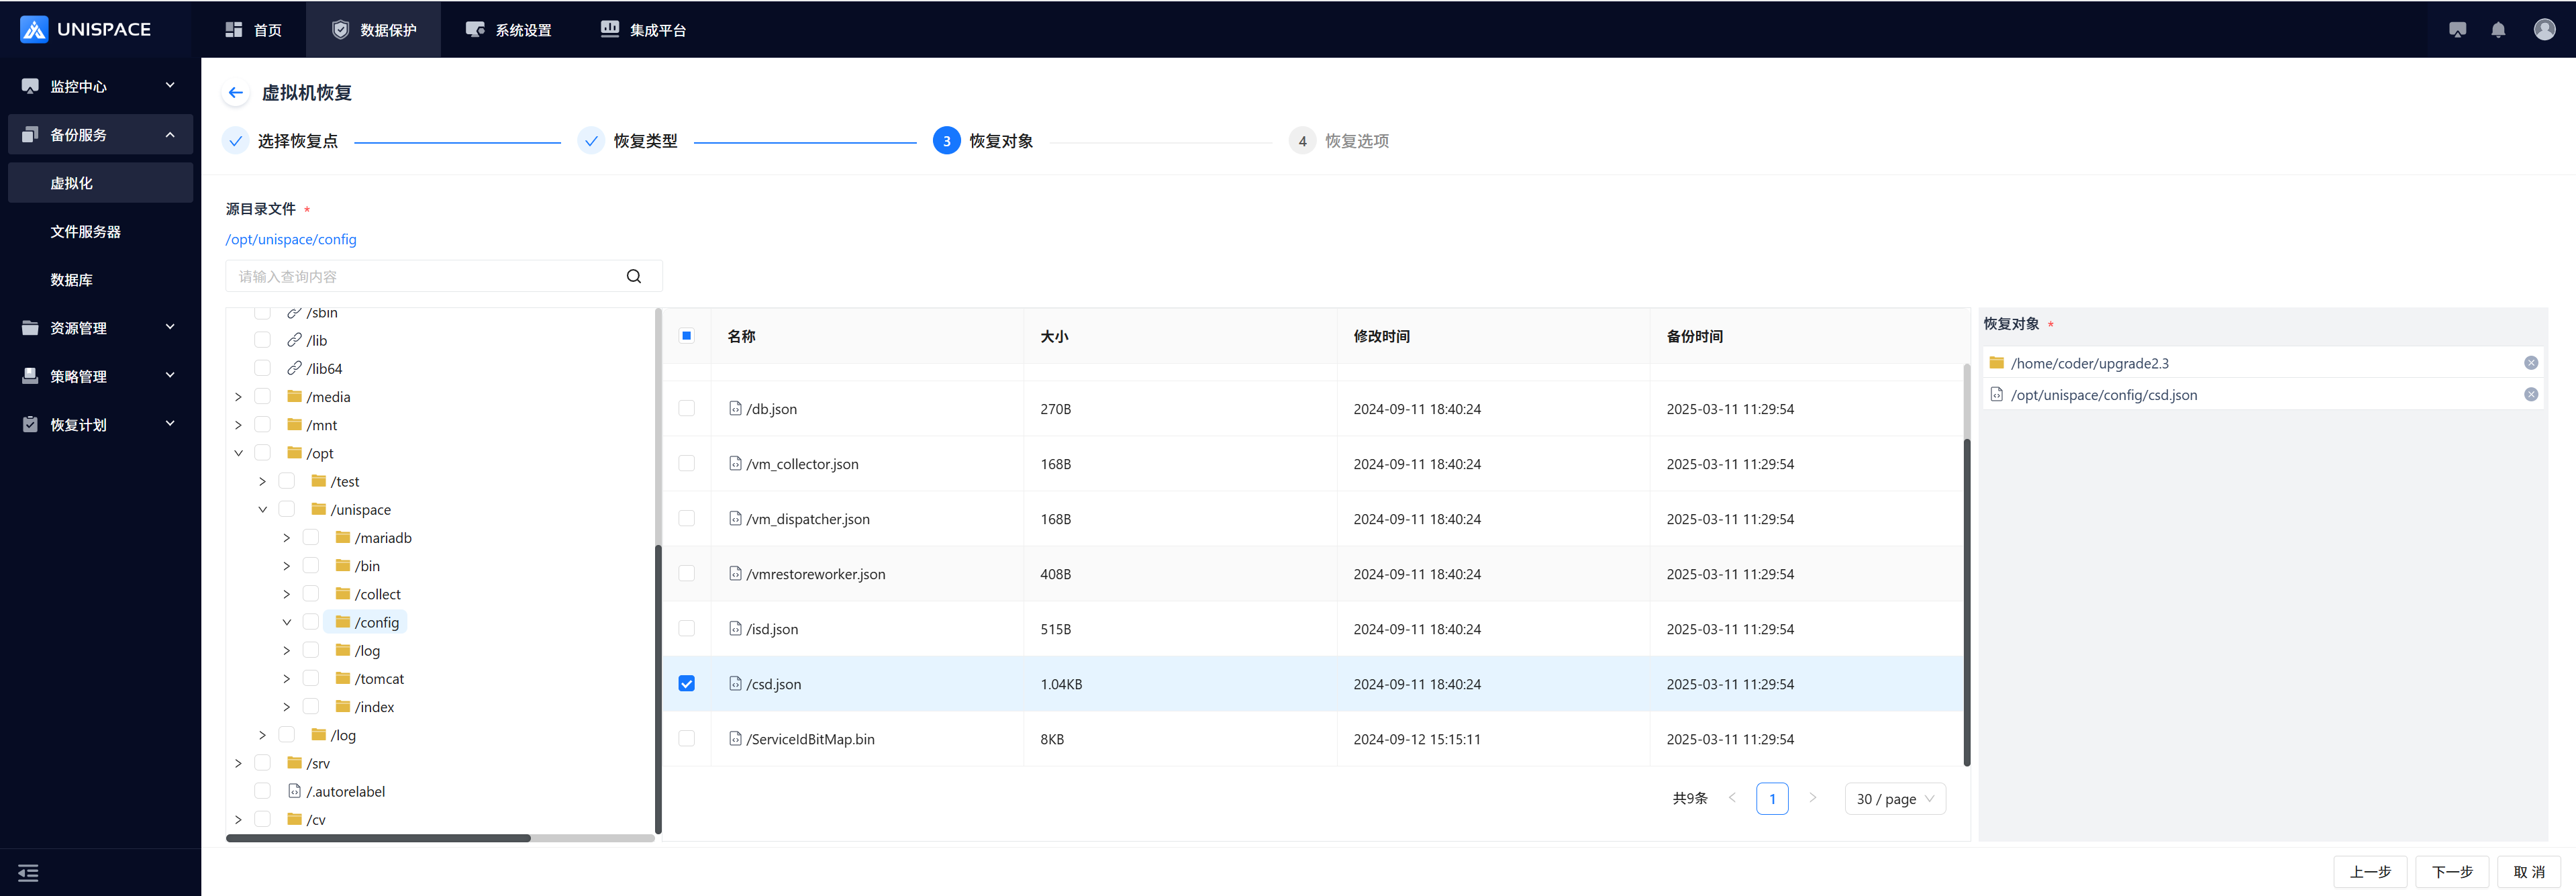
Step 6: Recover to the target host and path.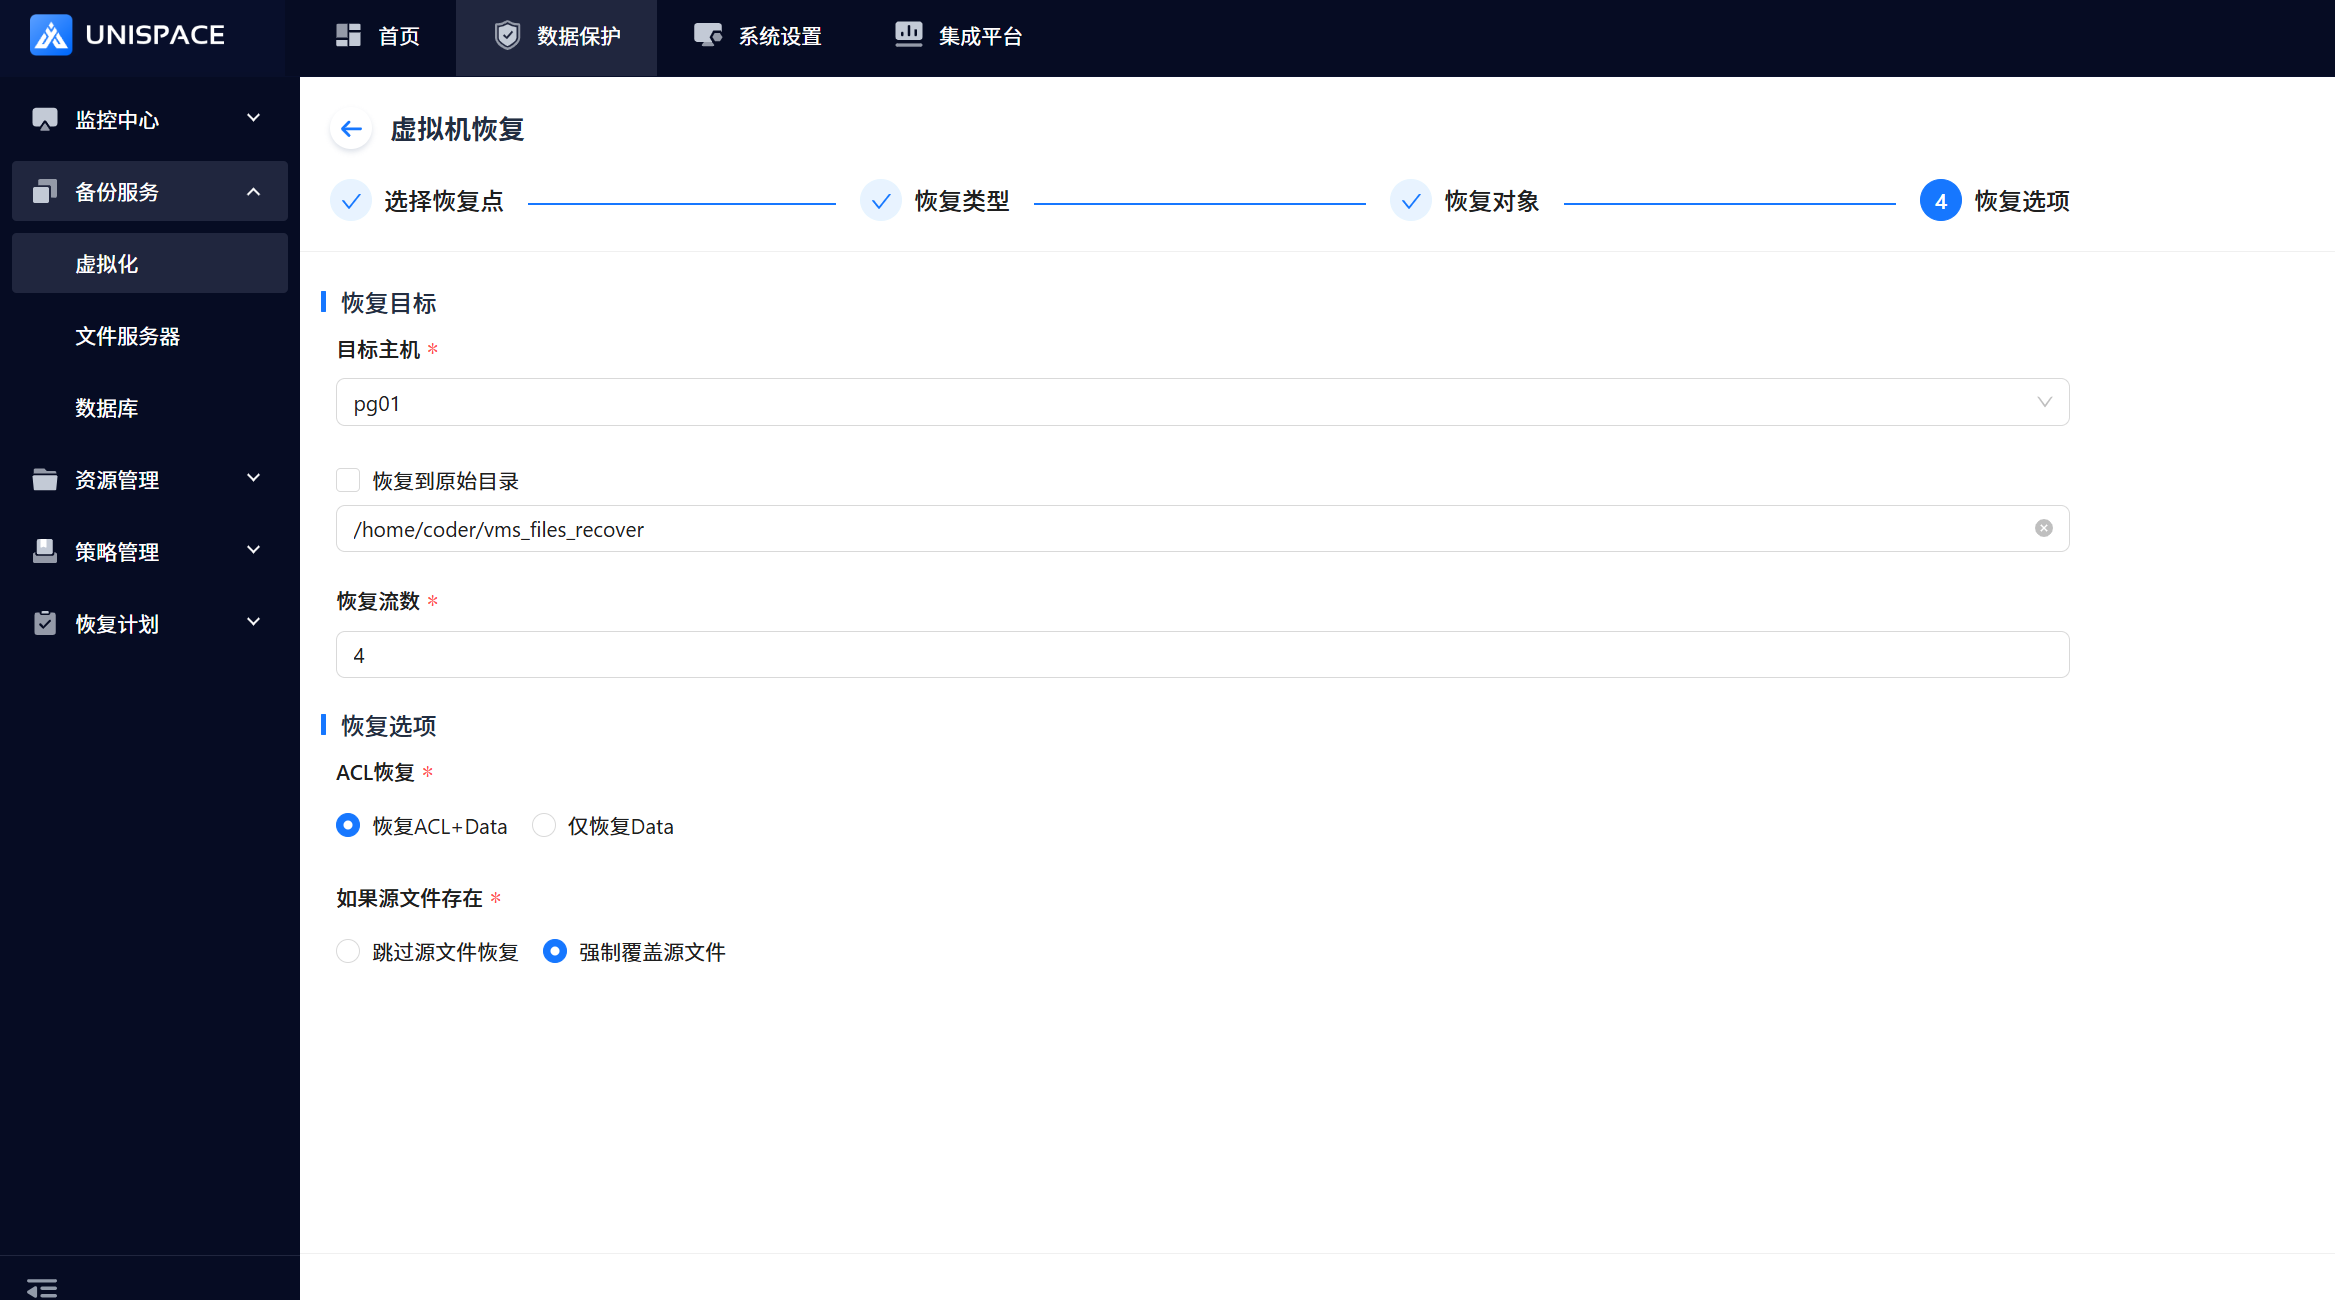
Step 7: Once the job starts successfully, click Monitoring - Jobs - Active Jobs to view the job.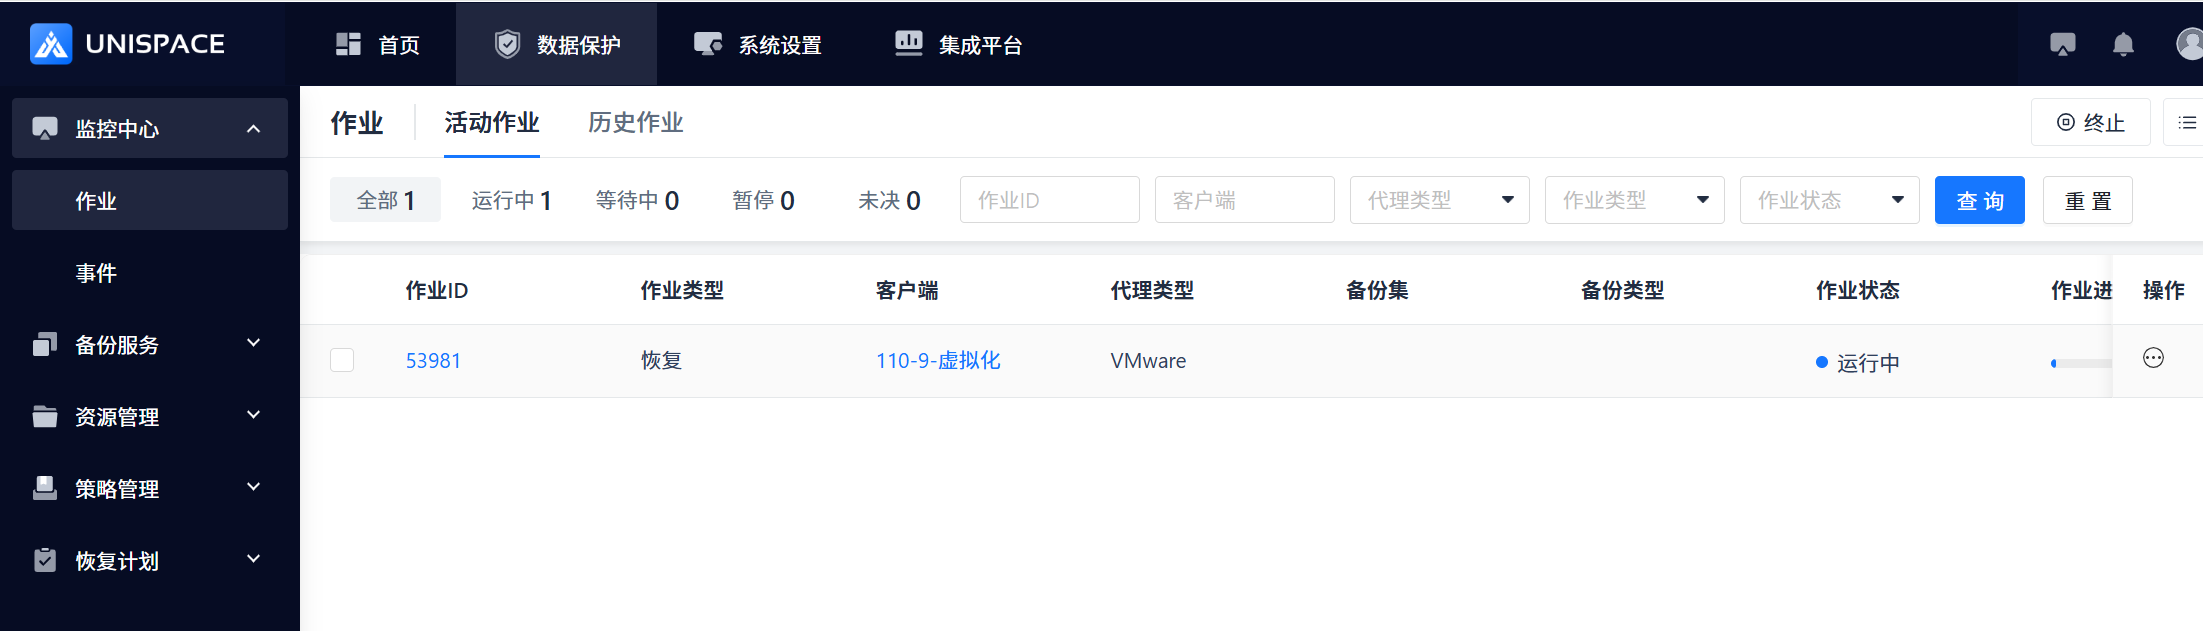
Step 8: After the job completes, click Monitoring - Jobs - Job History to view the job and its status. 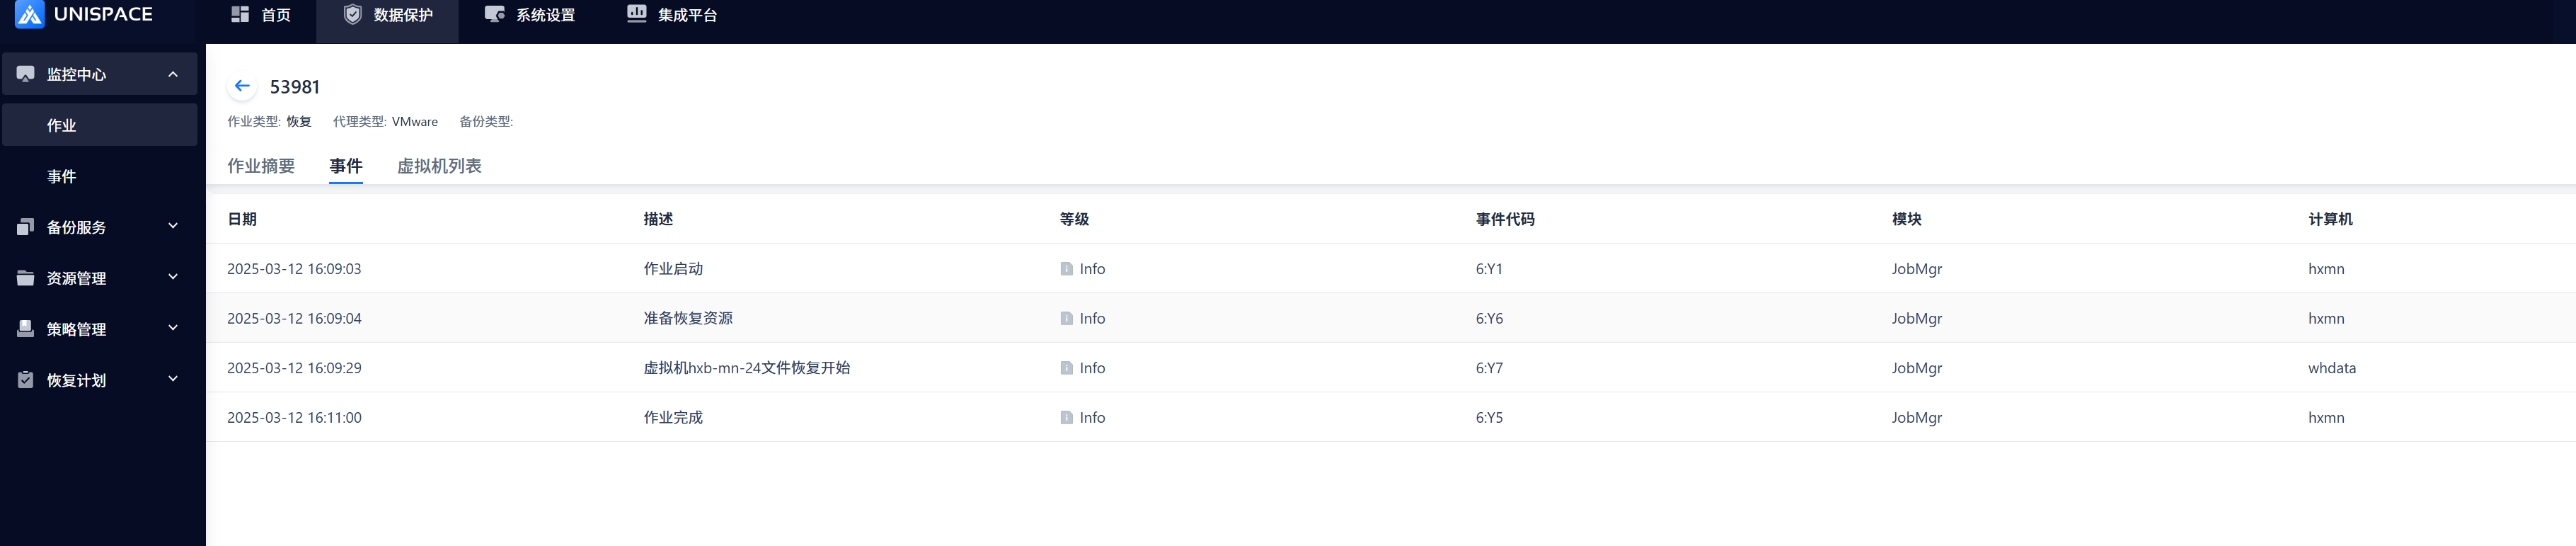
The file recovery is complete.