Meta Server Installation and Deployment
1 Pre-Installation Preparation
1.1 Supported Architectures
This document was last updated on 2026-03-12 19:50
1.1.1 Supported Operating Systems
- Redhat
- CentOS
- Oracle Linux -7.x/8.x
- NeoKylin v7
- Kylin Linux v10 sp1-sp3
- Ubuntu 22.04 LTS / 24.04 LTS
- EulerOS 2.0
- InLinux 23.12
1.1.2 Supported CPU Chips
- Inter/AMD -- x86_64
- Hygon x86_64
- Zhaoxin x86_64
- Kunpeng aarch64
- Phytium aarch64
1.2 System Hardware Requirements
The following are the minimum hardware requirements for installing the UniSpace server:
| Type | Physical Machine/Virtual Machine |
|---|---|
| Processor | 8 vCPUs |
| Memory | 16 GB |
| System Disk | 200 GB |
| Data Disk | 100 GB |
| Network | 1 Gbps |
1.3 System Network Requirements
| Source Host | Target Host | Port Requirements |
|---|---|---|
| Meta Server | Storage Node | 9000 TCP |
| Client Node | 9000 TCP | |
| Storage Node | Meta Server | 9000 TCP |
| Client Node | 9000 TCP | |
| Client Node | Meta Server | 9000 TCP |
| Storage Node | 9000 TCP |
Note: Bidirectional opening required between Meta Server and Storage Node, as well as between client and Meta Server/Storage Node.
1.4 Pre-Installation Checks
1.4.1 Operating System Time Check
Check and adjust the timezone and system time of the target server:
timedatectl
timedatectl list-timezones|grep -i -E "beijing|shanghai"
timedatectl set-timezone Asia/Beijing
date -s "2024-09-20 14:00:00"
clock -w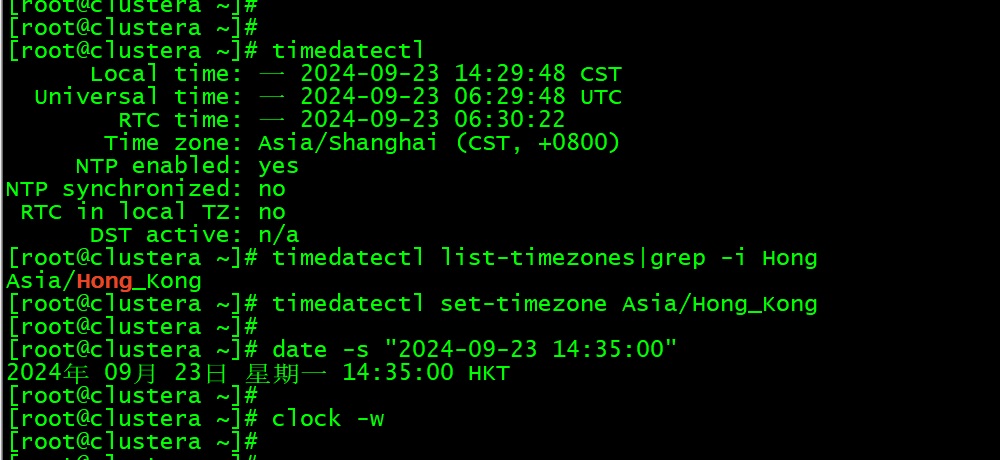
1.4.2 Database Check
Check if MySQL is running:
ps -ef | grep mysqlIf MySQL is detected, please uninstall it before proceeding.
1.5 Obtaining the Installation Media
Please contact YuanShuo Technology Support (support@yuanshuotech.com) to obtain the installation media.
2 Manual Installation of UniSpace
2.1 Upload the Installation Package
Upload the installation package to the specified directory, switch to the root user (only the root user is supported for installation):
sudo -i
2.2 Extract the Installation Package
tar -xvf us-server-xxx-xxx.tar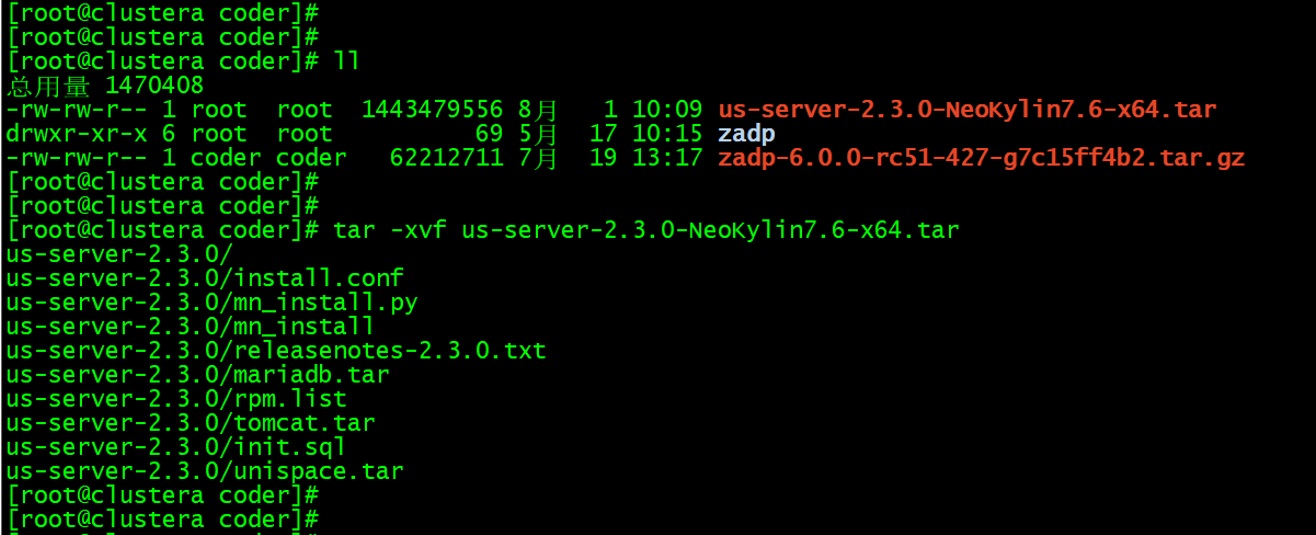
2.3 Enter the Installation Directory and View Files
cd us-server-xxx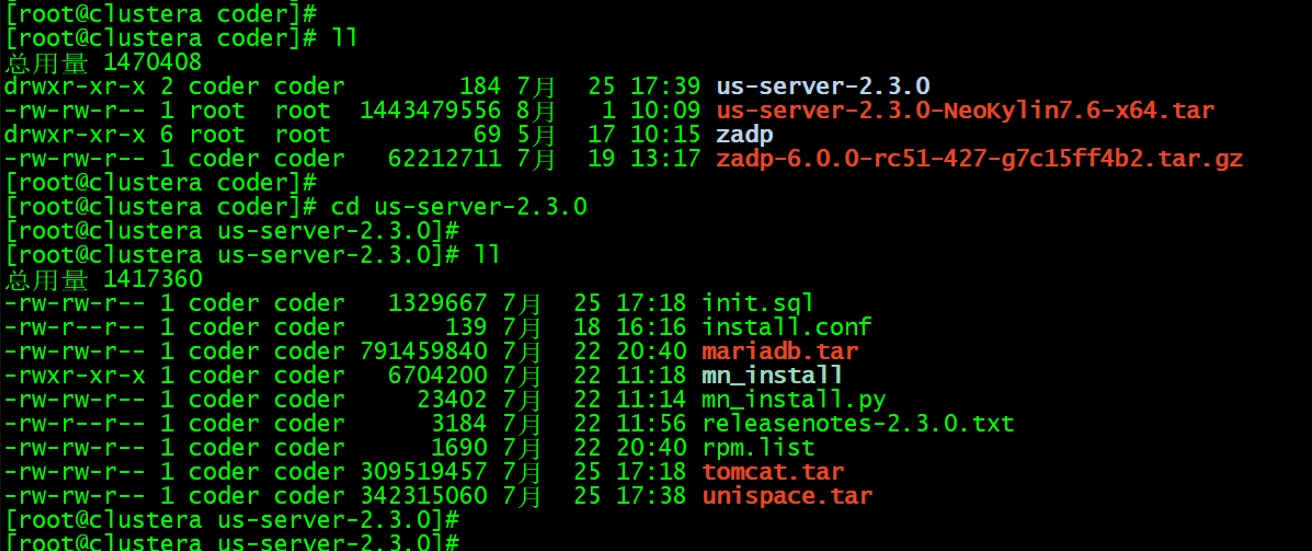
2.4 Check and Edit the Configuration File
Open the install.conf file to view or modify settings such as the installation directory and port numbers if needed:
vim install.conf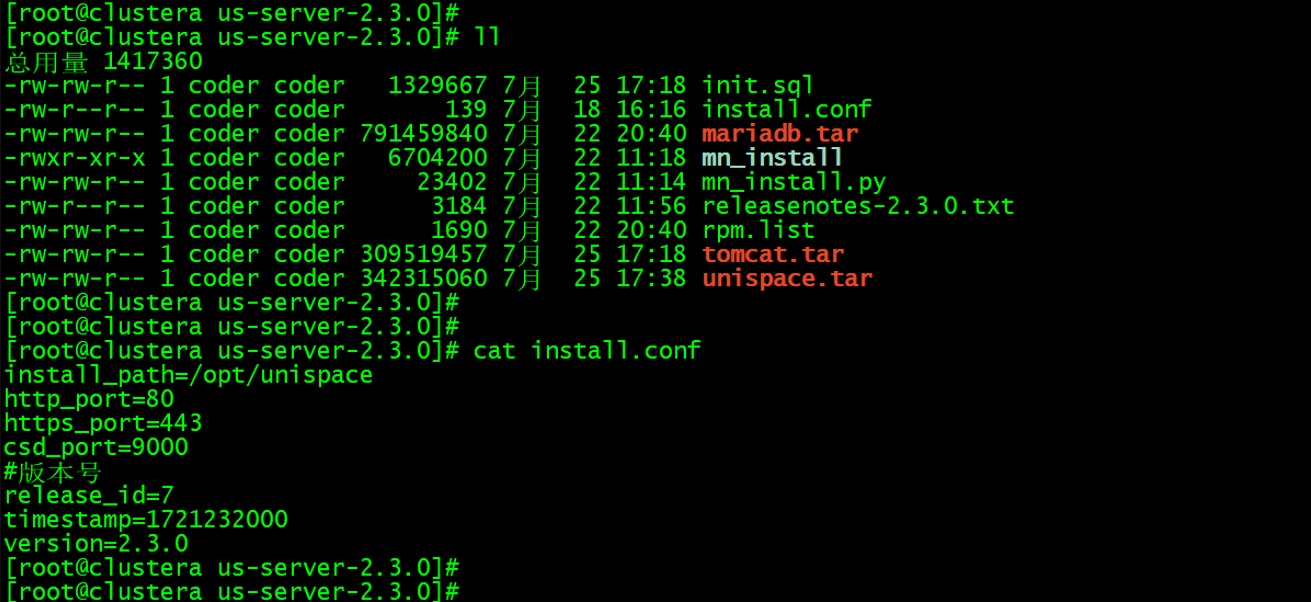
2.5 Execute the Installation Script
Run the mn_install script to install the software:
--mn: Register the management node name (customizable)--netname: Register the management node IP address (local/server IP)--start: Optional parameter; default value is 1. 1 means start the program, 0 means do not start the program (supported from version 3.2 onward)
Normal installation process is shown in the figure below:
./mn_install --mn us-server --netname 192.168.xxx.xxx
# Install the management node with registration only, without starting the service (supported from version 3.2 onward)
./mn_install --mn us-server --netname 192.168.xxx.xxx --start 0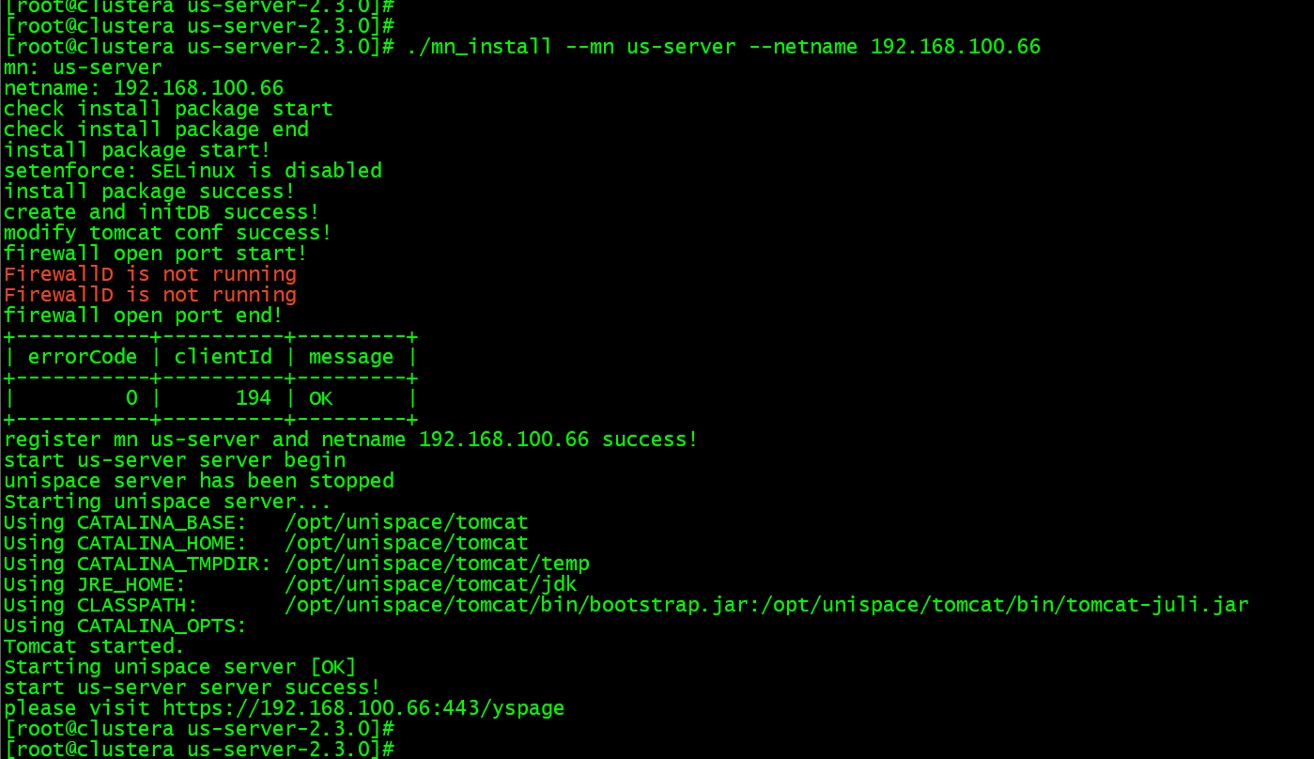
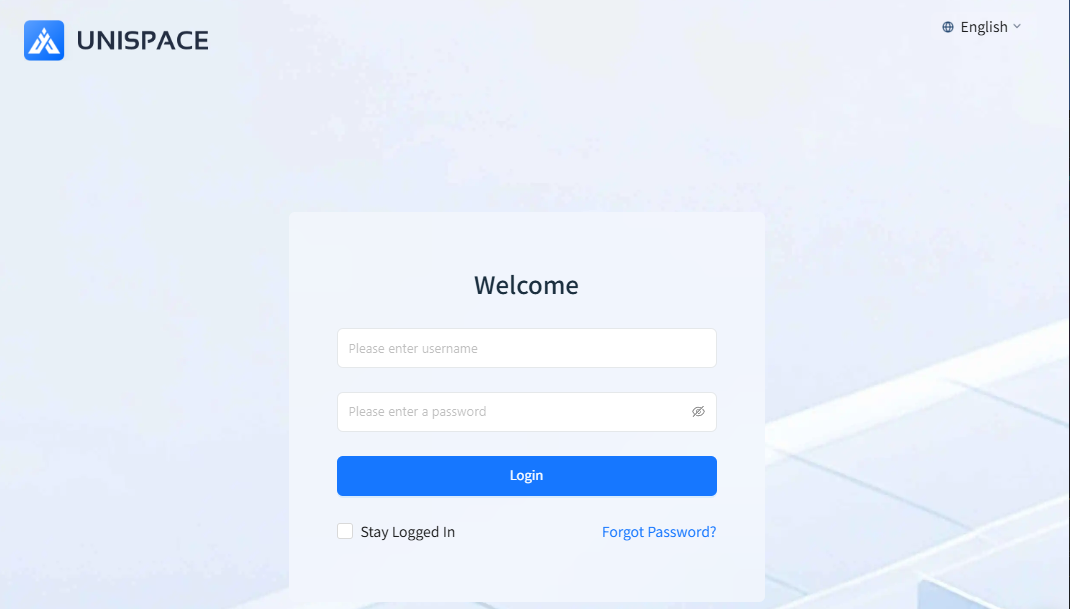
2.6 After Installation
Once the installation is complete, you can access the web console based on the output path provided.
3 Post-Installation Checks
3.1 Check Service Status
After completing the installation, enter the installation directory and use the script to check the UniSpace service status:
./unis_mn.sh status
3.2 Set Service to Start Automatically on Boot
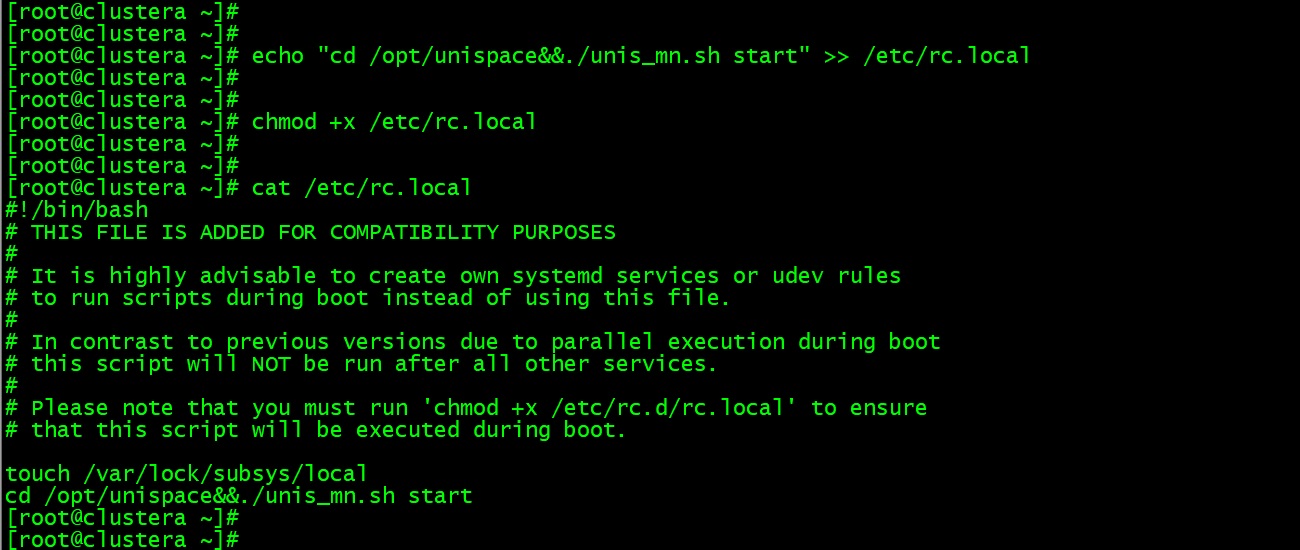
Add the startup script to enable automatic service startup on boot:
echo "cd /opt/unispace&&./unis_mn.sh start" >> /etc/rc.local
chmod +x  /etc/rc.local
cat /etc/rc.local