Agent--File Server
1.1 Create a New File Backup Set
Prerequisites
- Created a new storage repository.
- Created a new service plan.
- Registered the client as a file server.
Steps
Step 1: Click on the system menu Backup Service - File Server list, select Server Name to enter the server details page.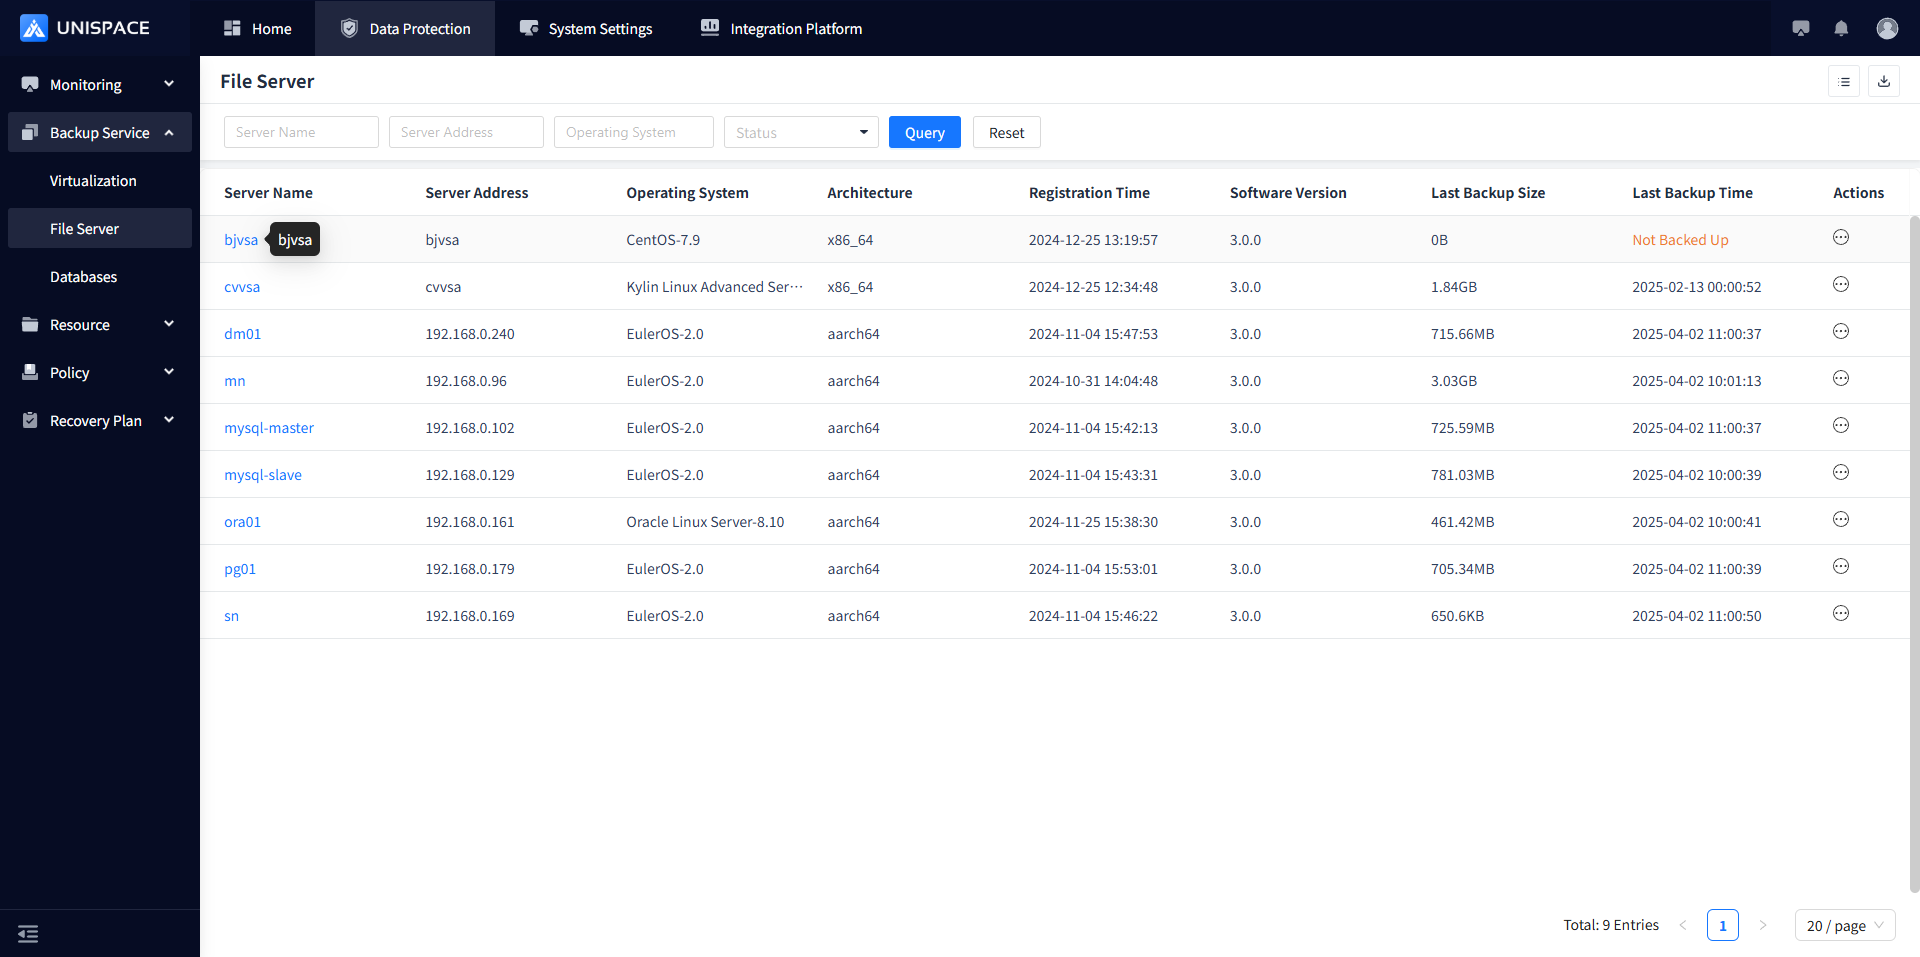
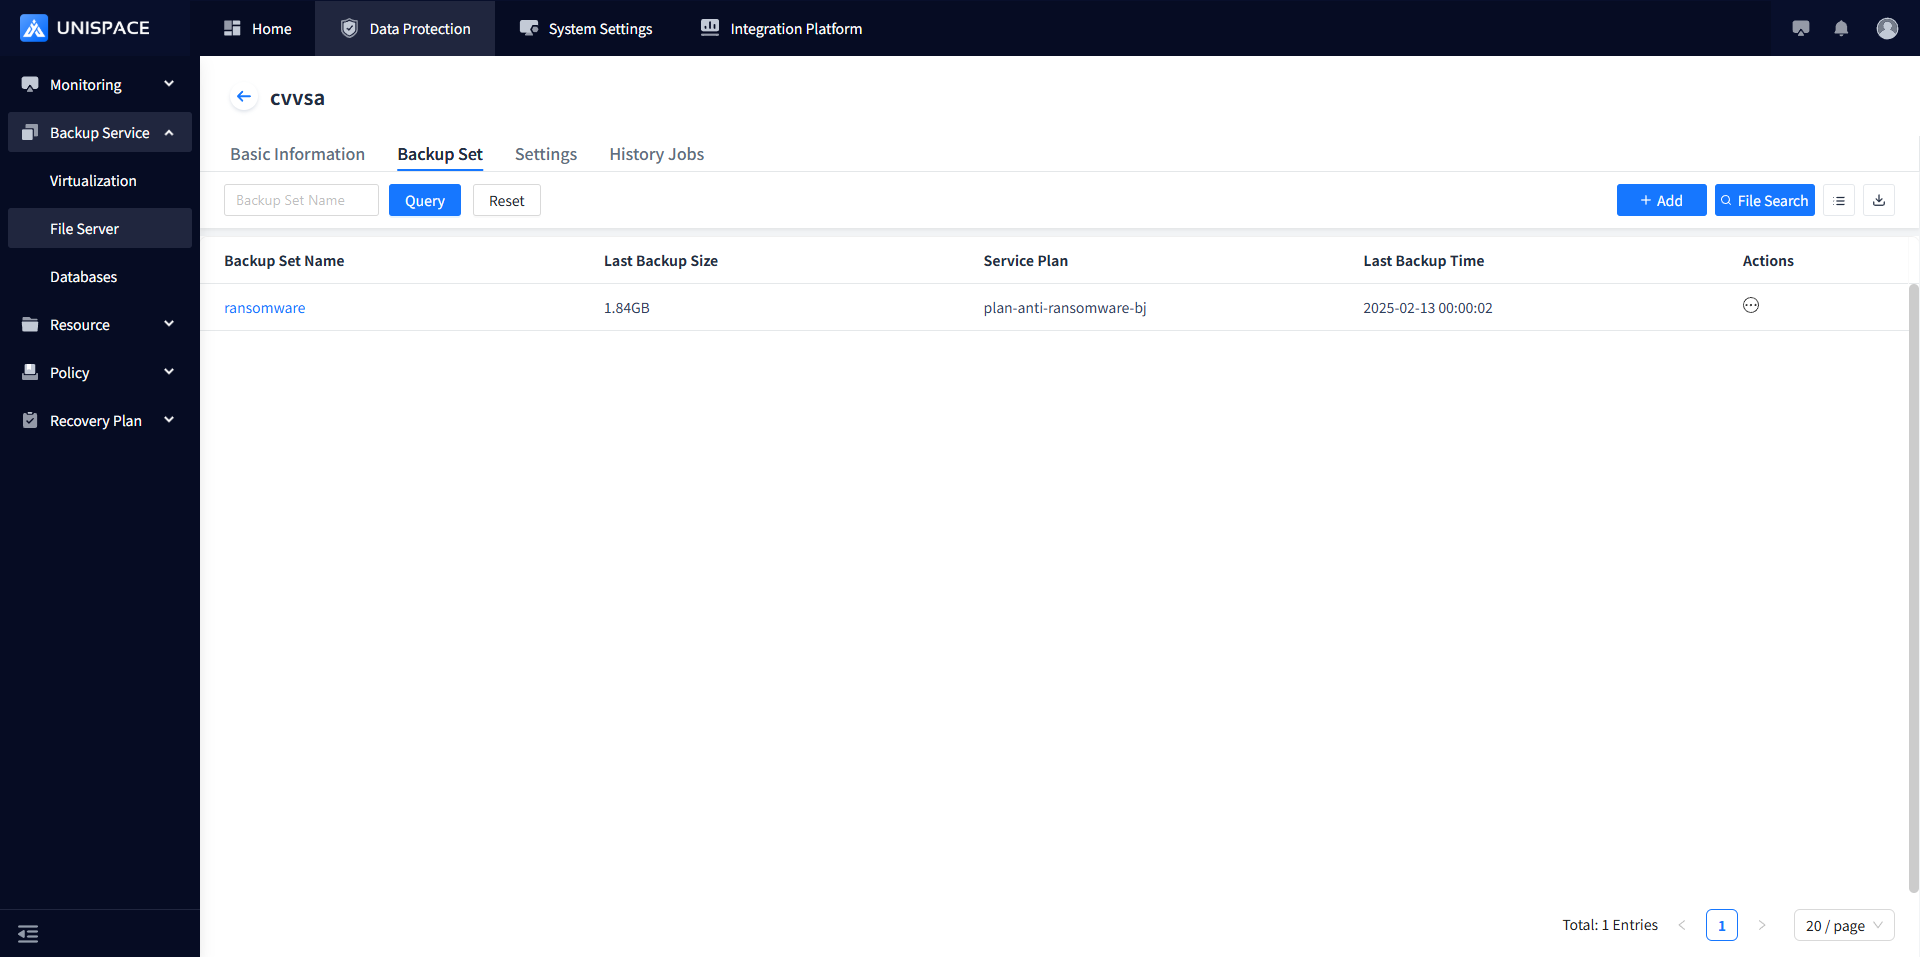
Step 2: Click ****Backup Set.
Step 3: Click the Add button in the upper right corner of Backup Set to open the Add Backup Set page: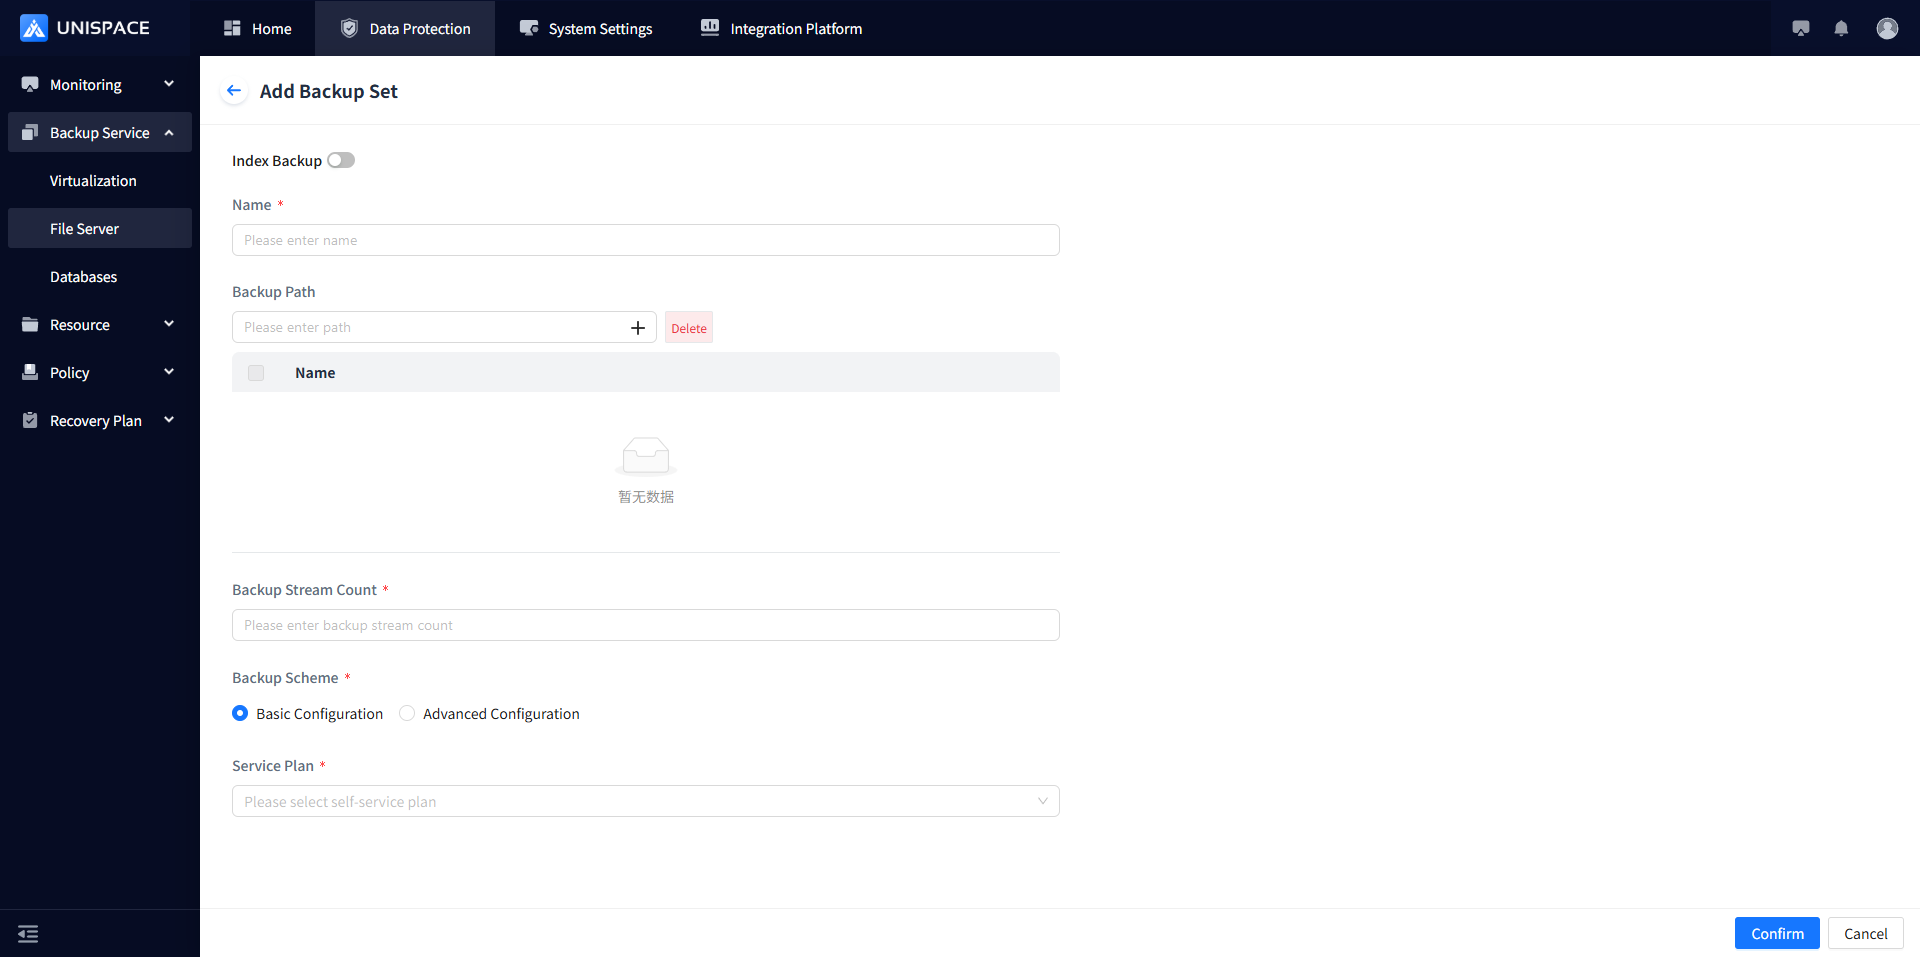
Step 4: Fill in the required parameters as shown below:
| Parameter Name | Parameter Description | Setting Principle |
|---|---|---|
| Index Backup | Toggle, default off | |
| Name | Text input box, required, customizable | No more than 50 characters, special symbols not allowed |
| Backup Path | Path of the data source | Must comply with path writing requirements |
| Backup Stream Count | Numeric type, required | The number of streams opened for subsequent data reading and writing, recommended below 10 |
| Backup Plan | Single selection, required | Choose between Basic Configuration or Advanced Configuration |
| Service Plan | Single selection, required | Drop-down selection, options are the configured service plans |
Step 5: Click the OK button, and the frontend will prompt that the addition was successful.
1.2 File Backup
Prerequisites
- A file backup set has been configured.
Steps
Step1: Click on the system menu Backup Service - File Server - Server Name list - Backup Set. 

Step 2: Select the backup set, click Backup under the Actions column.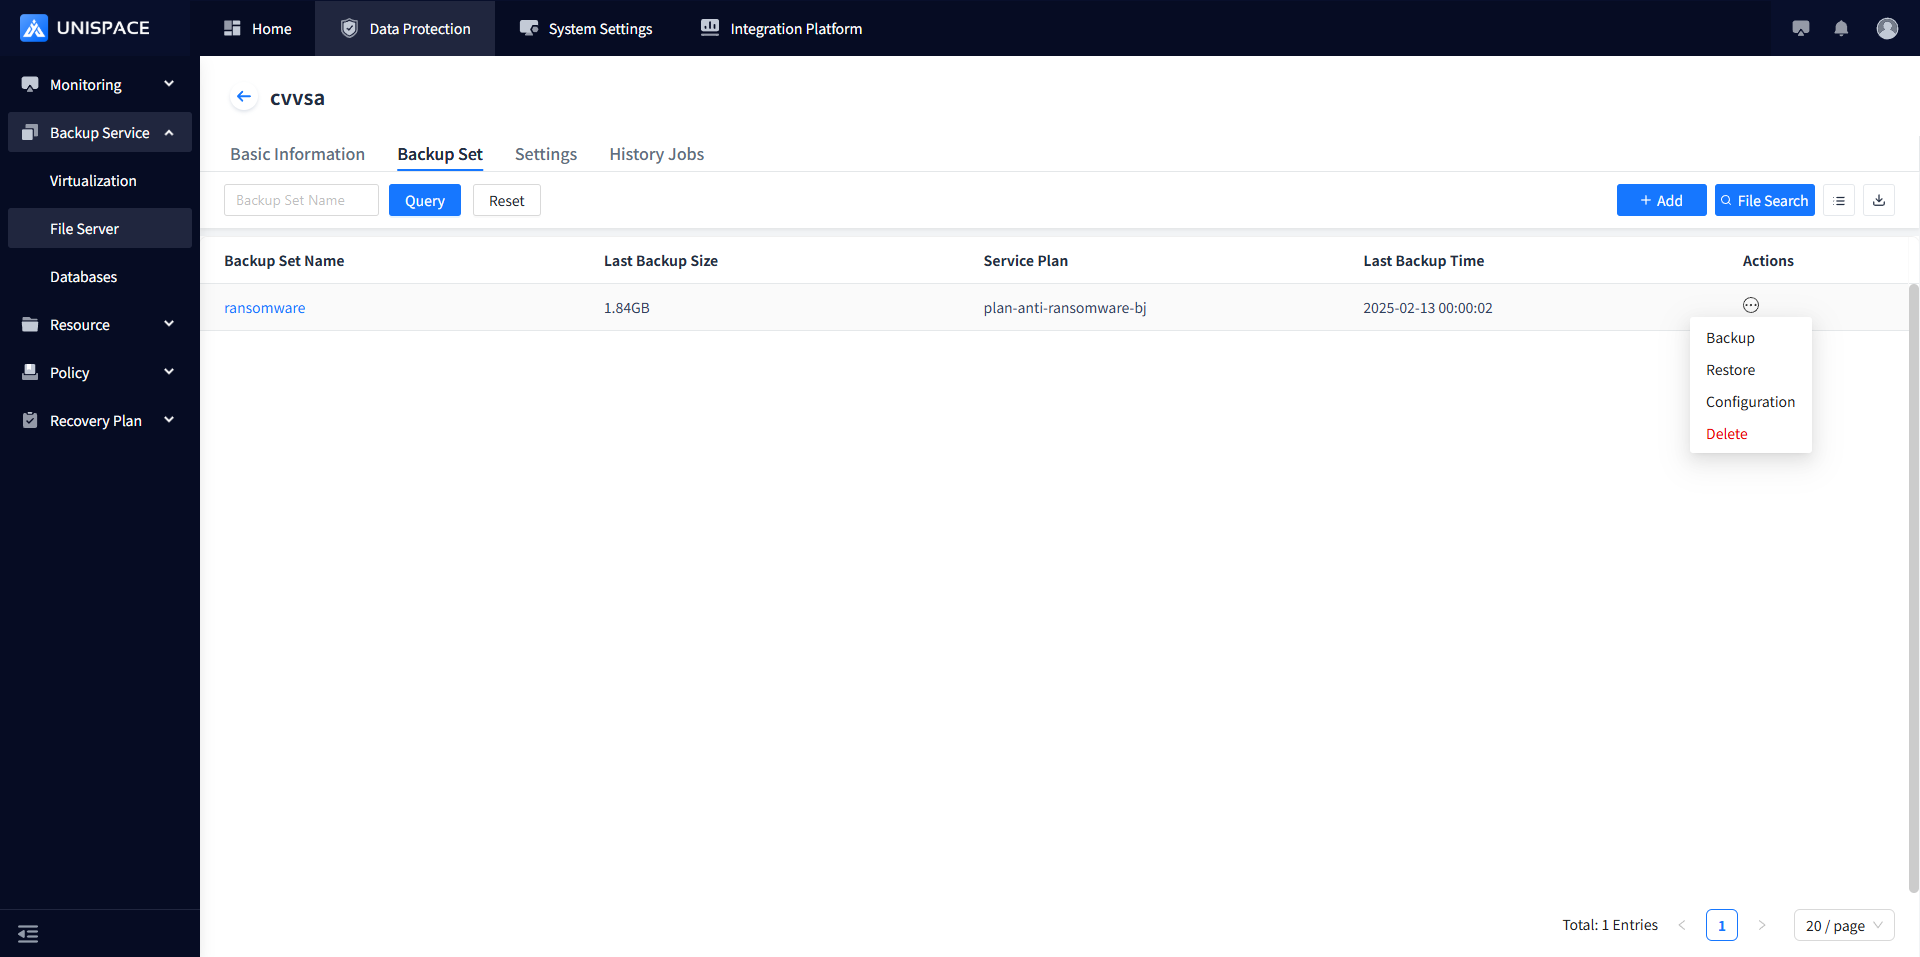
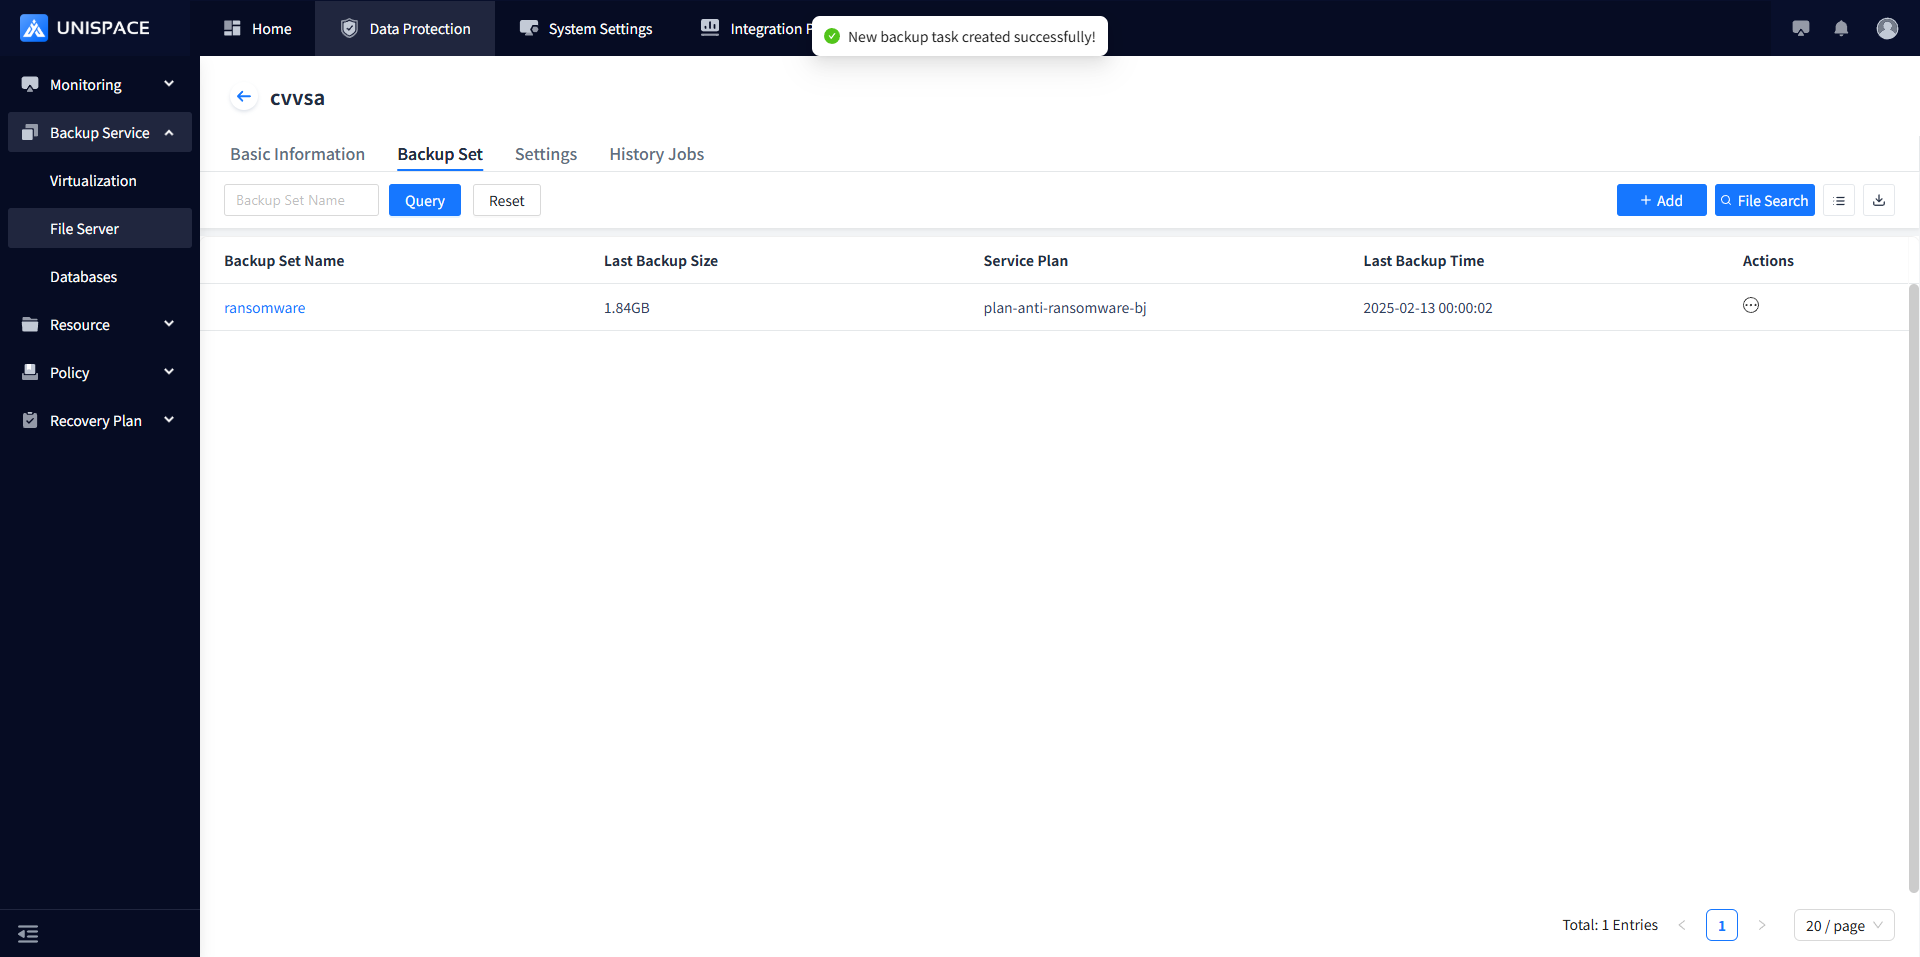
Step 3: Choose "Full (Incremental)" and click Confirm. A message will indicate "New backup task created successfully!"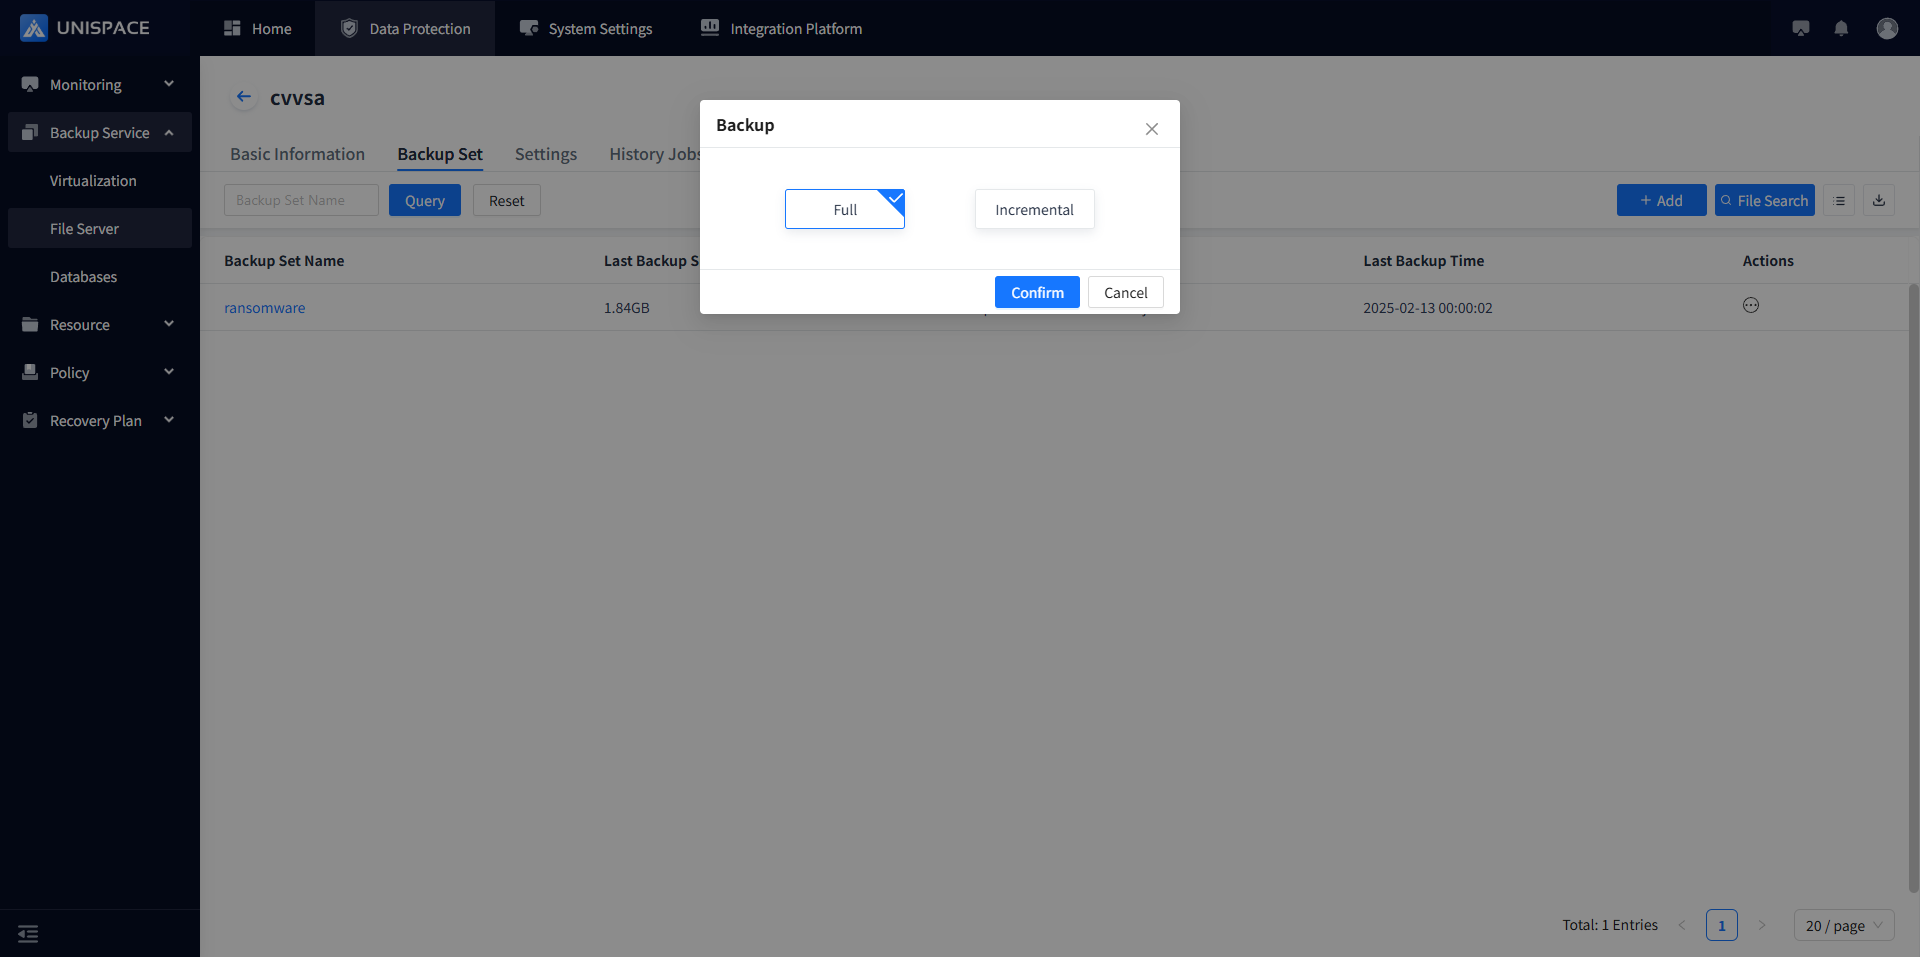
Step 4: Once the backup job starts successfully, go to Monitoring Center - Jobs - Active Jobs to view the backup set job.
Step5: After the backup is completed, go to Monitoring Center - Jobs - Historical Jobs to check the backup set job, with the job status showing "Completed".
1.3 File Recovery
Prerequisites
- The file has been backed up.
Steps
Step 1: Click on the system menu Backup Service - File Server - Server Name list - Backup Set.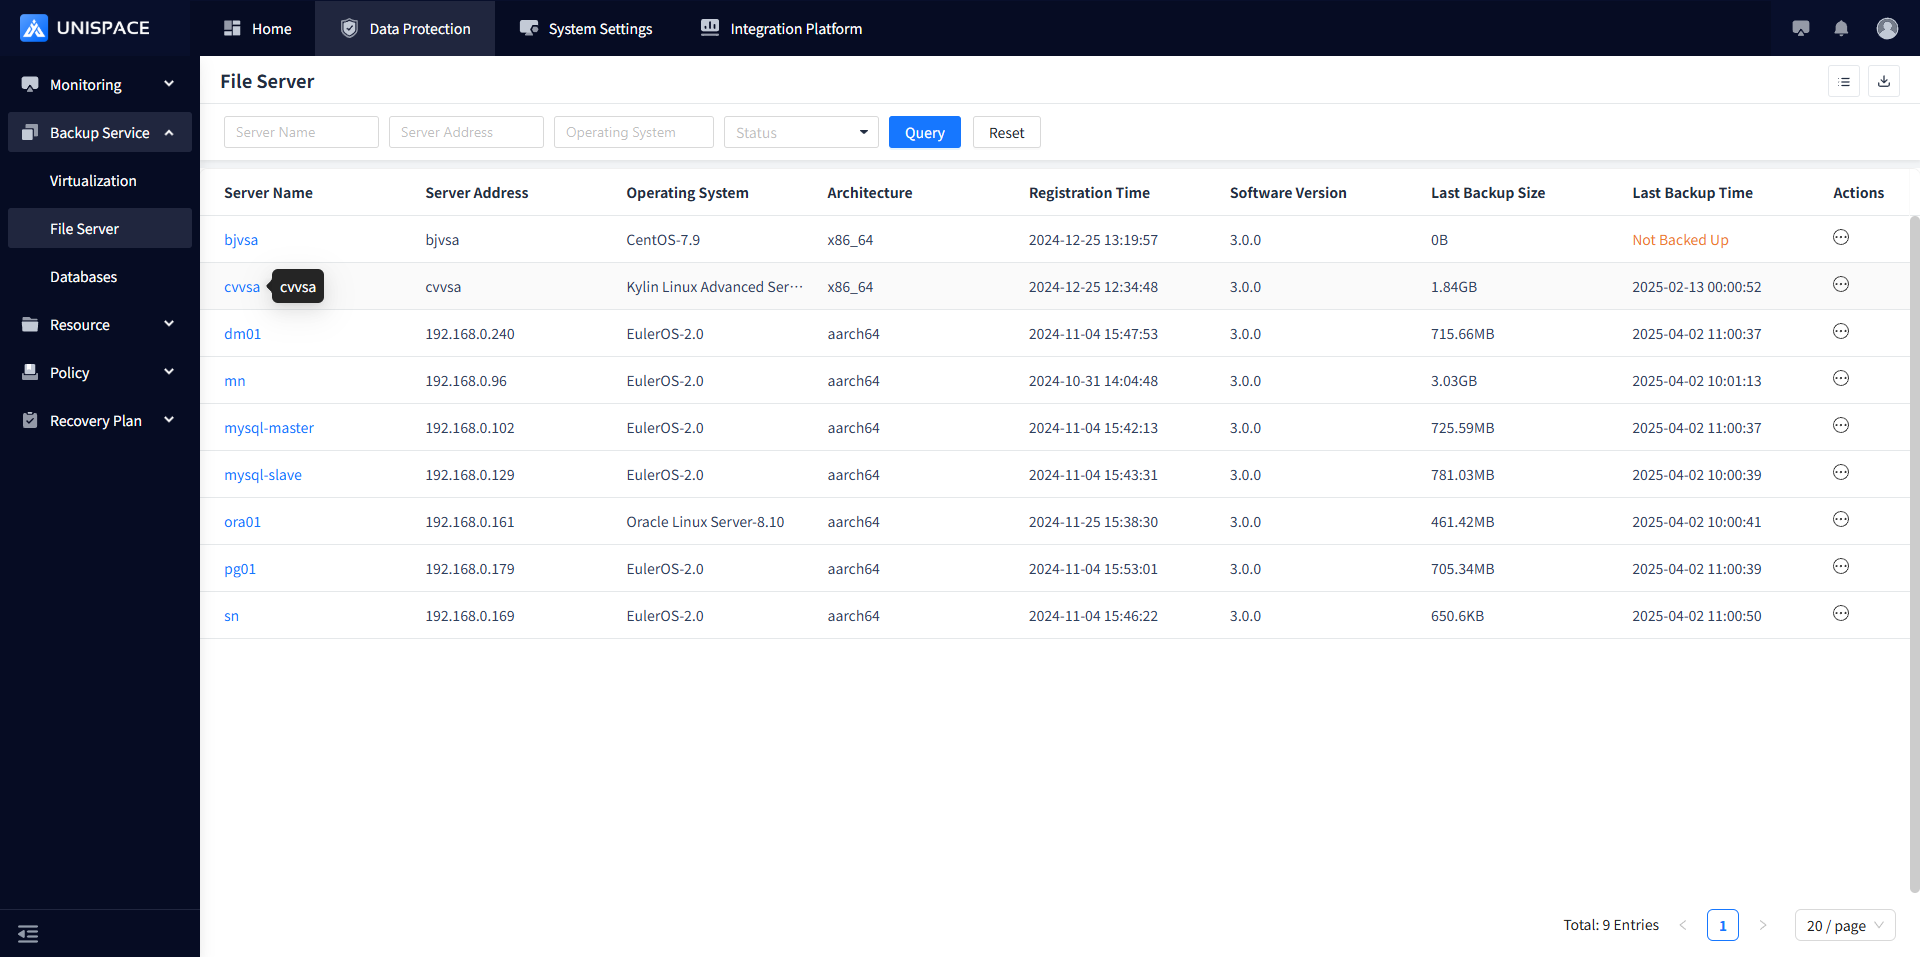
Step 2: Select Backup Set, click Restore under the **Action** column.
Step 3: A restore window will pop up. Select the recovery point. You can query the recovery point by "Recent Time" (recovery point within the last cycle) or by time range. Select the "Recovery Point" job ID and click Next.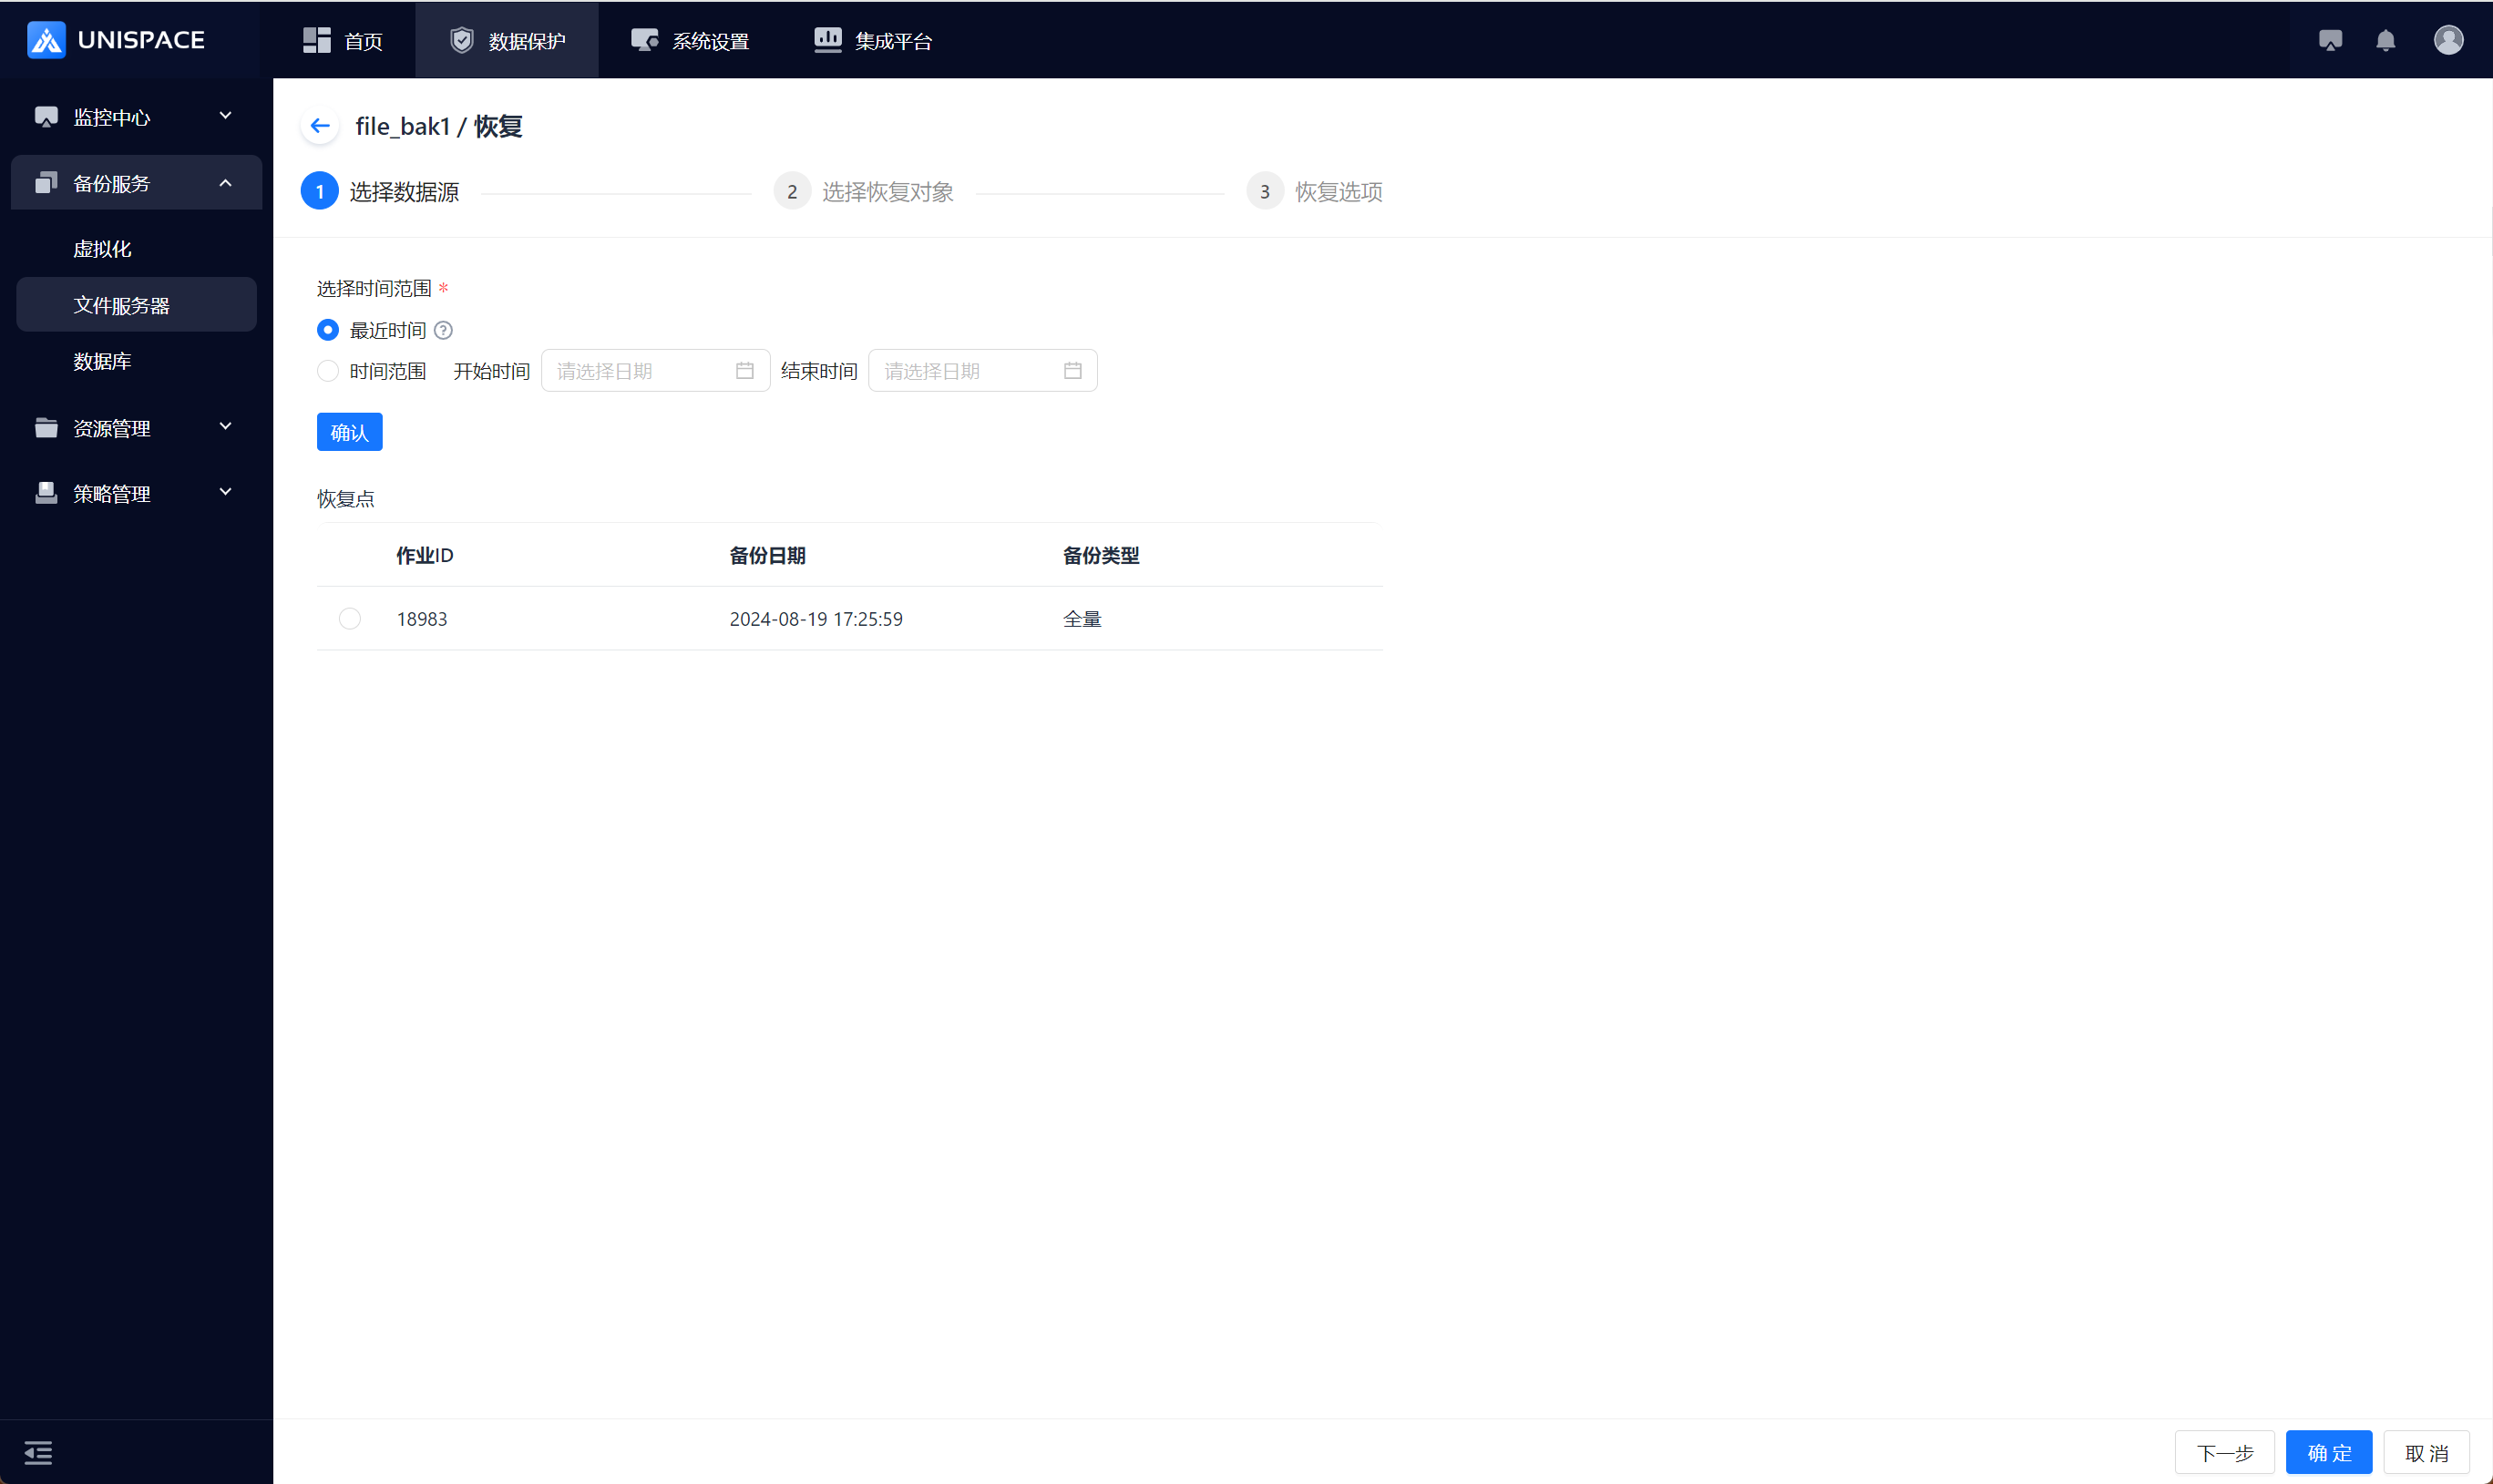
Step 4: Select the recovery object.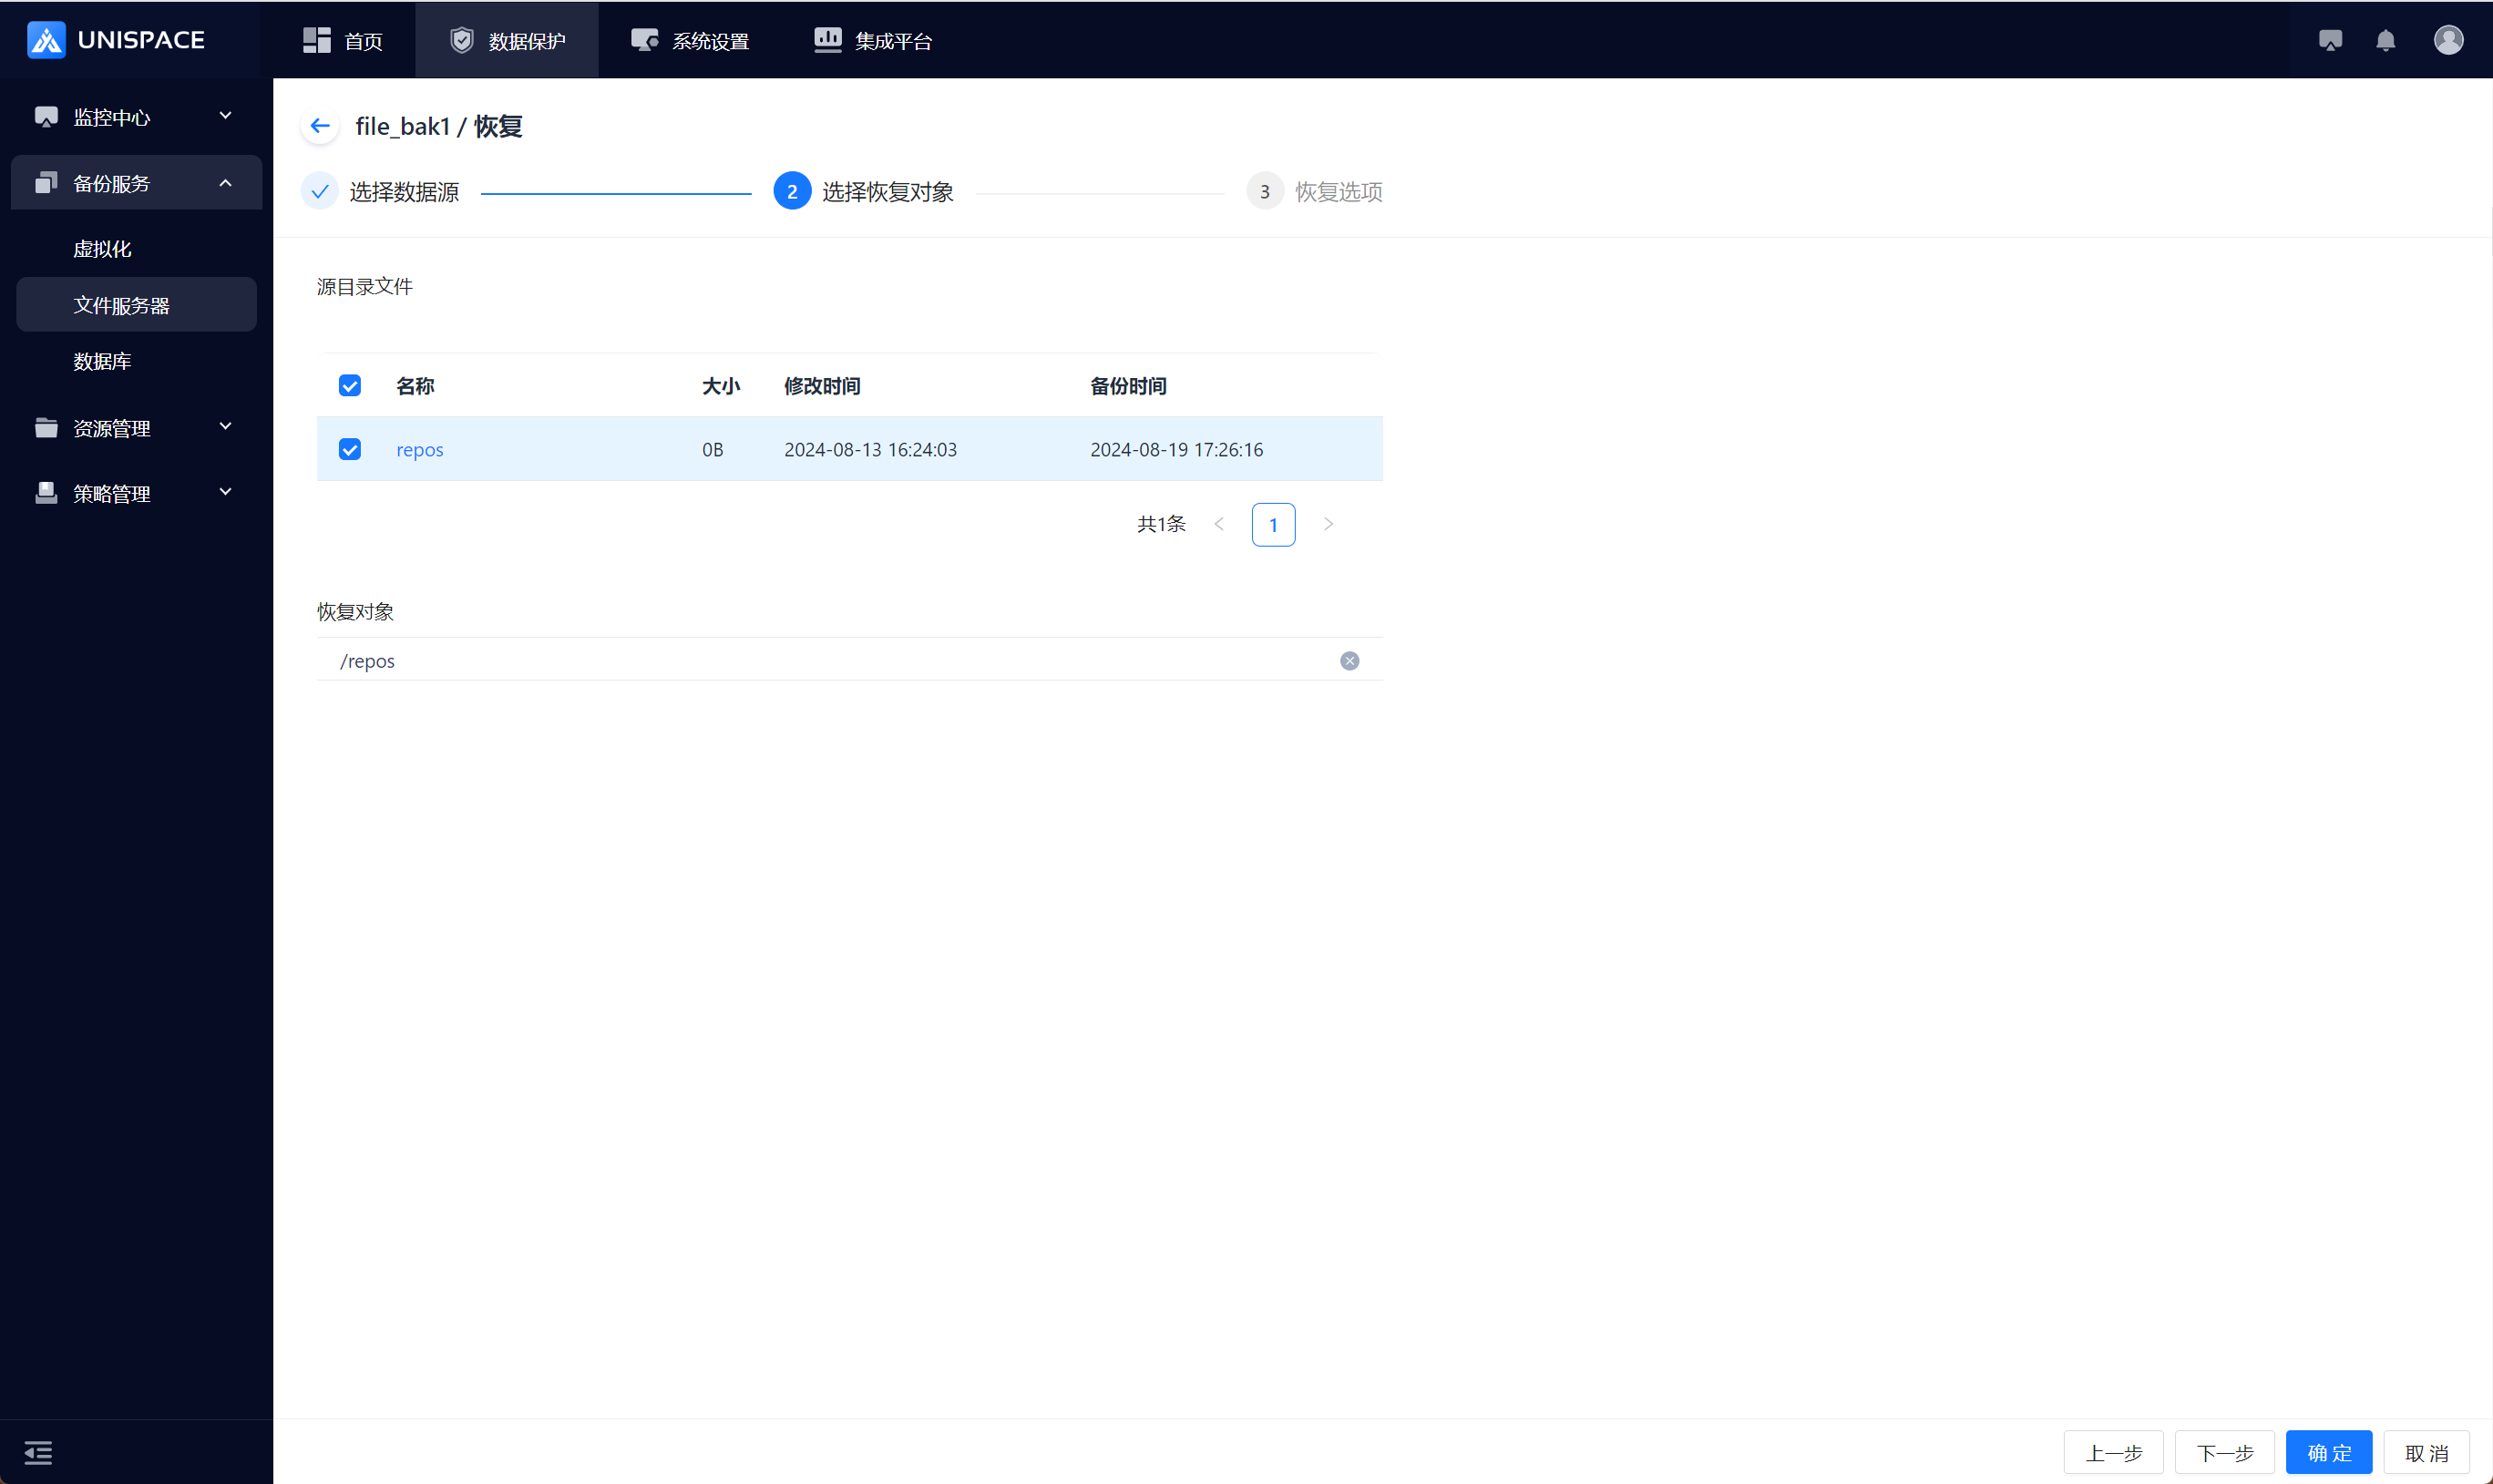
Step 5: Set recovery options and click OK.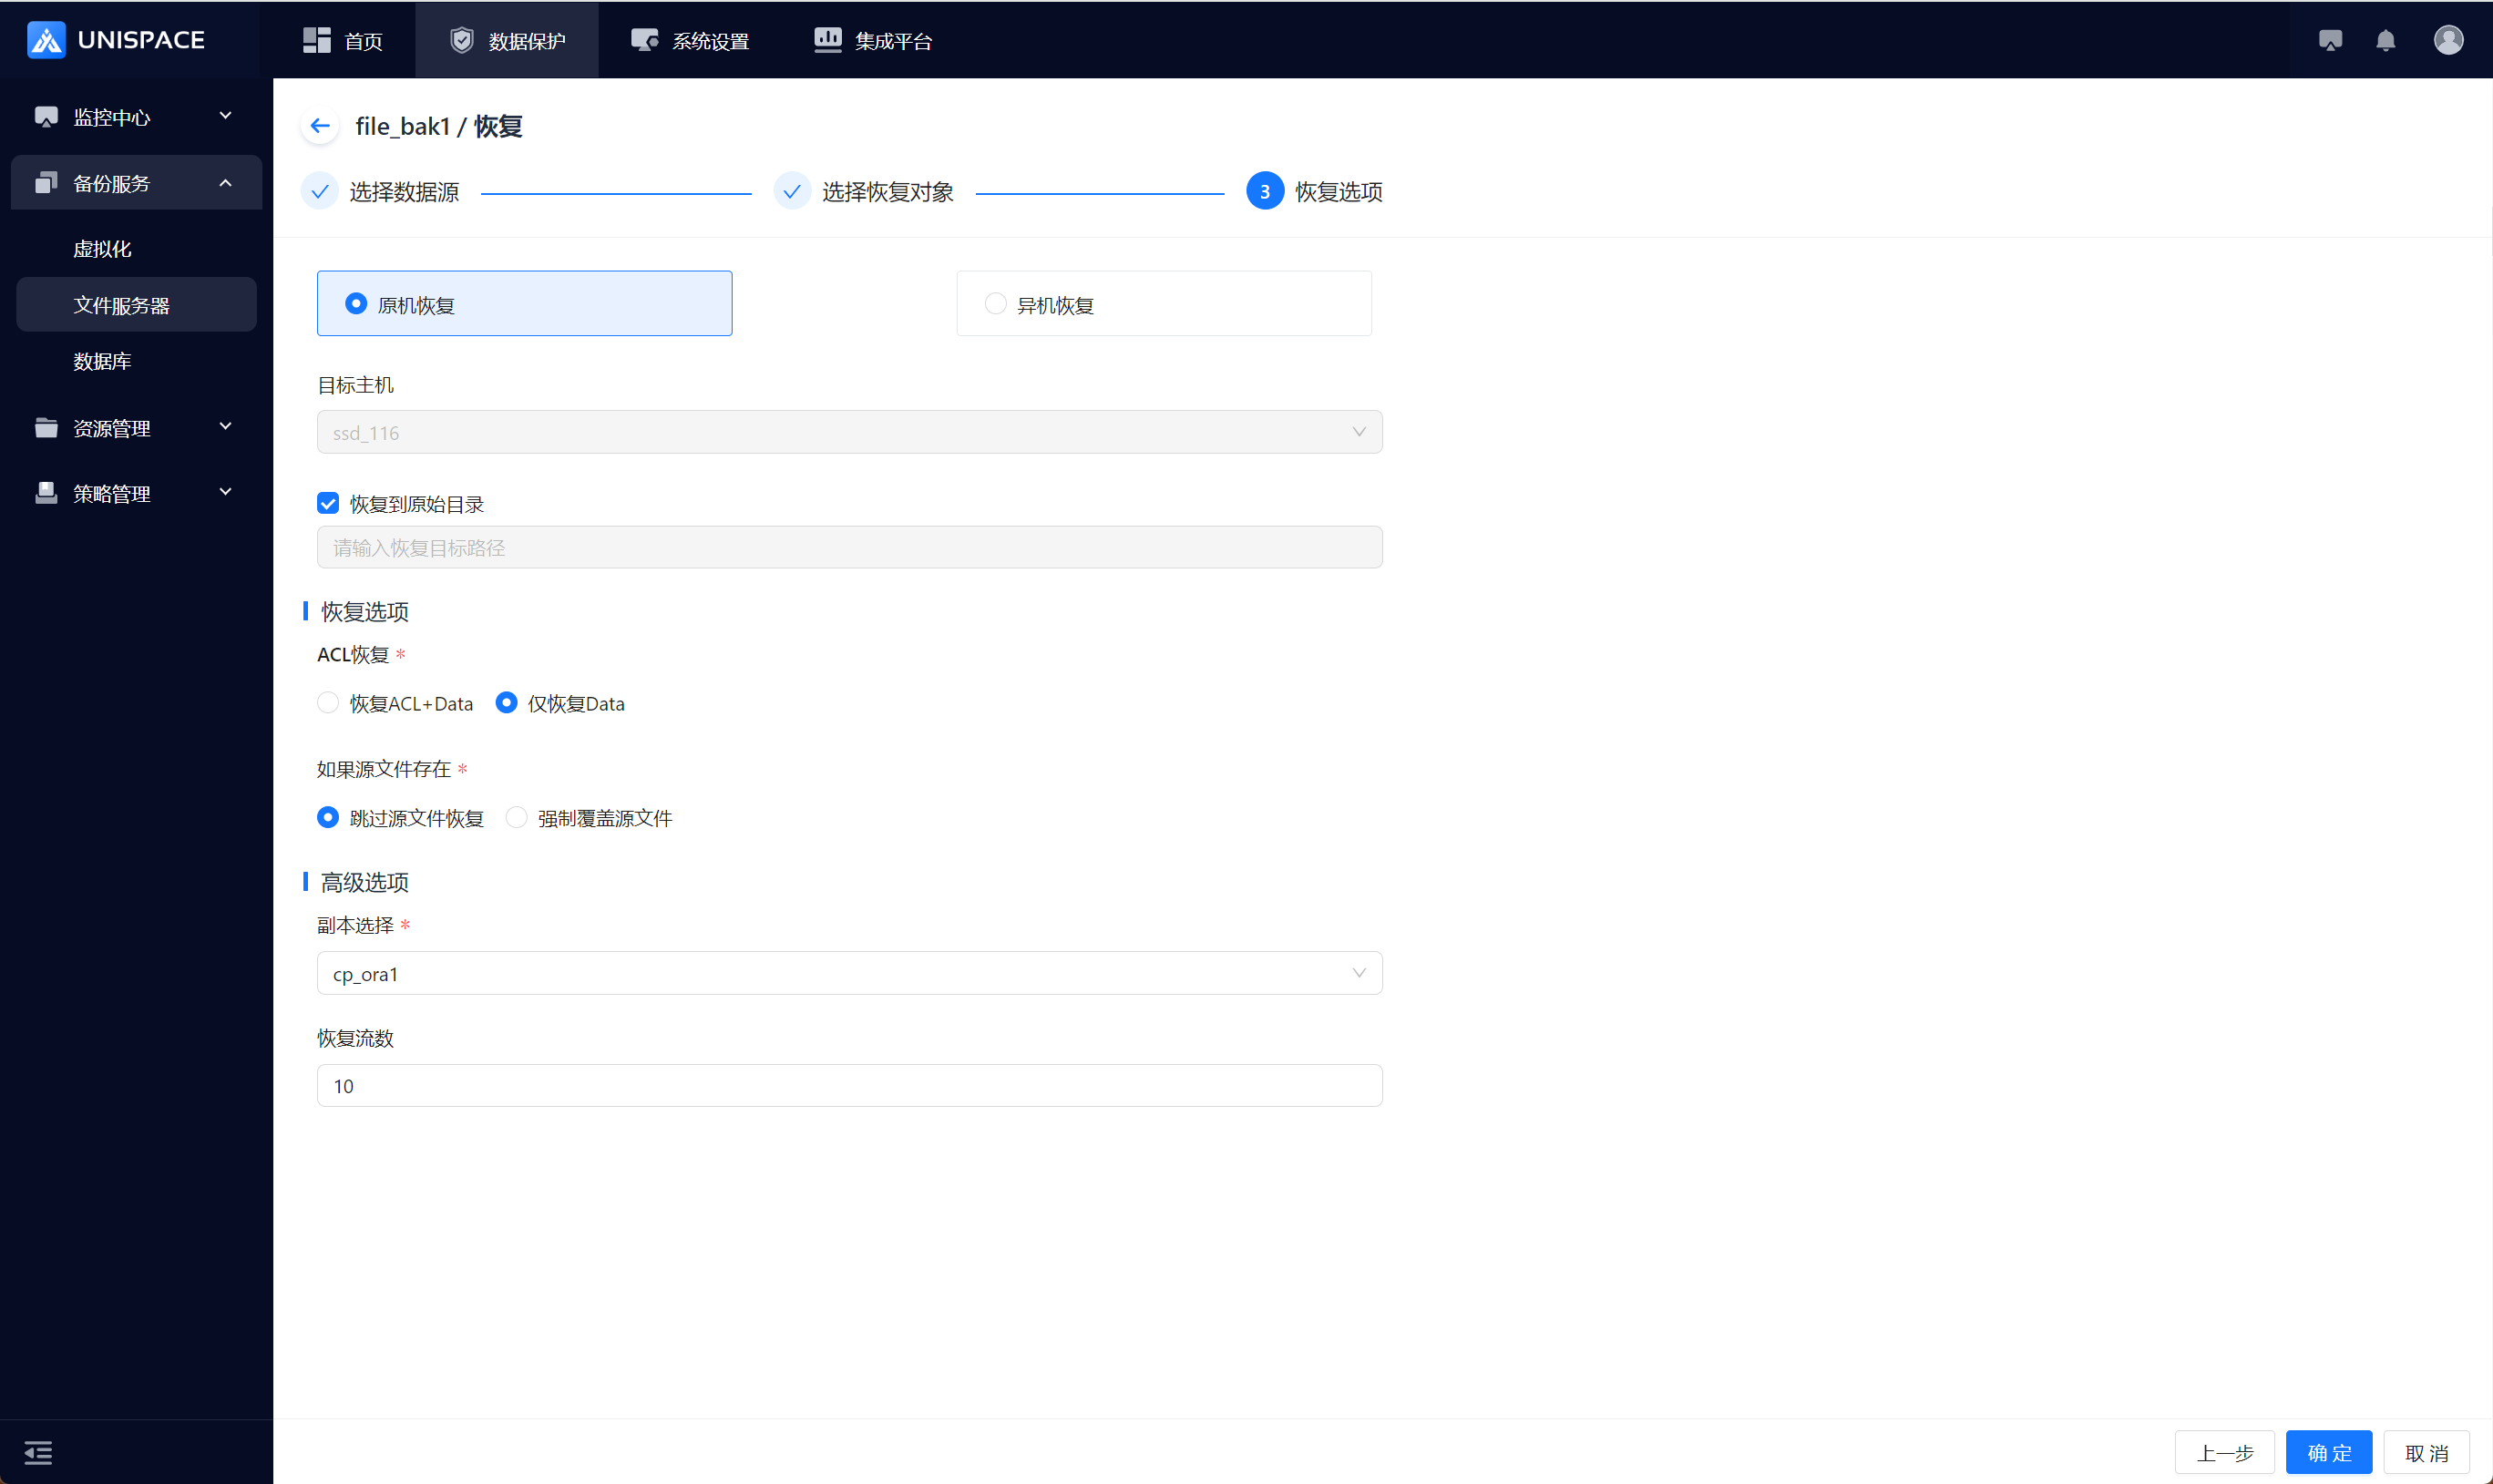
Step 6: Fill in the required parameters as shown below:
| Parameter Name | Parameter Description | Setting Principle |
|---|---|---|
| Recovery Option | Default to original machine recovery | Original machine recovery or cross-machine recovery |
| Target Host | Default to original machine, greyed out | Cross-machine: Select an appropriate target host |
| Recover to Original Directory | Default unchecked | If checked, the path text input box is greyed out |
| Input Recovery Target Path | Text input box | Must follow path format |
| ACL Recovery | Single selection, required | Restore ACL+Data or Data Only |
| If Source File Exists | Single selection, required | Skip or force overwrite the source file |
| Copy Selection | Single selection, required | Select an appropriate copy |
| Recovery Stream Count | Numeric type | The number will not exceed 200 |
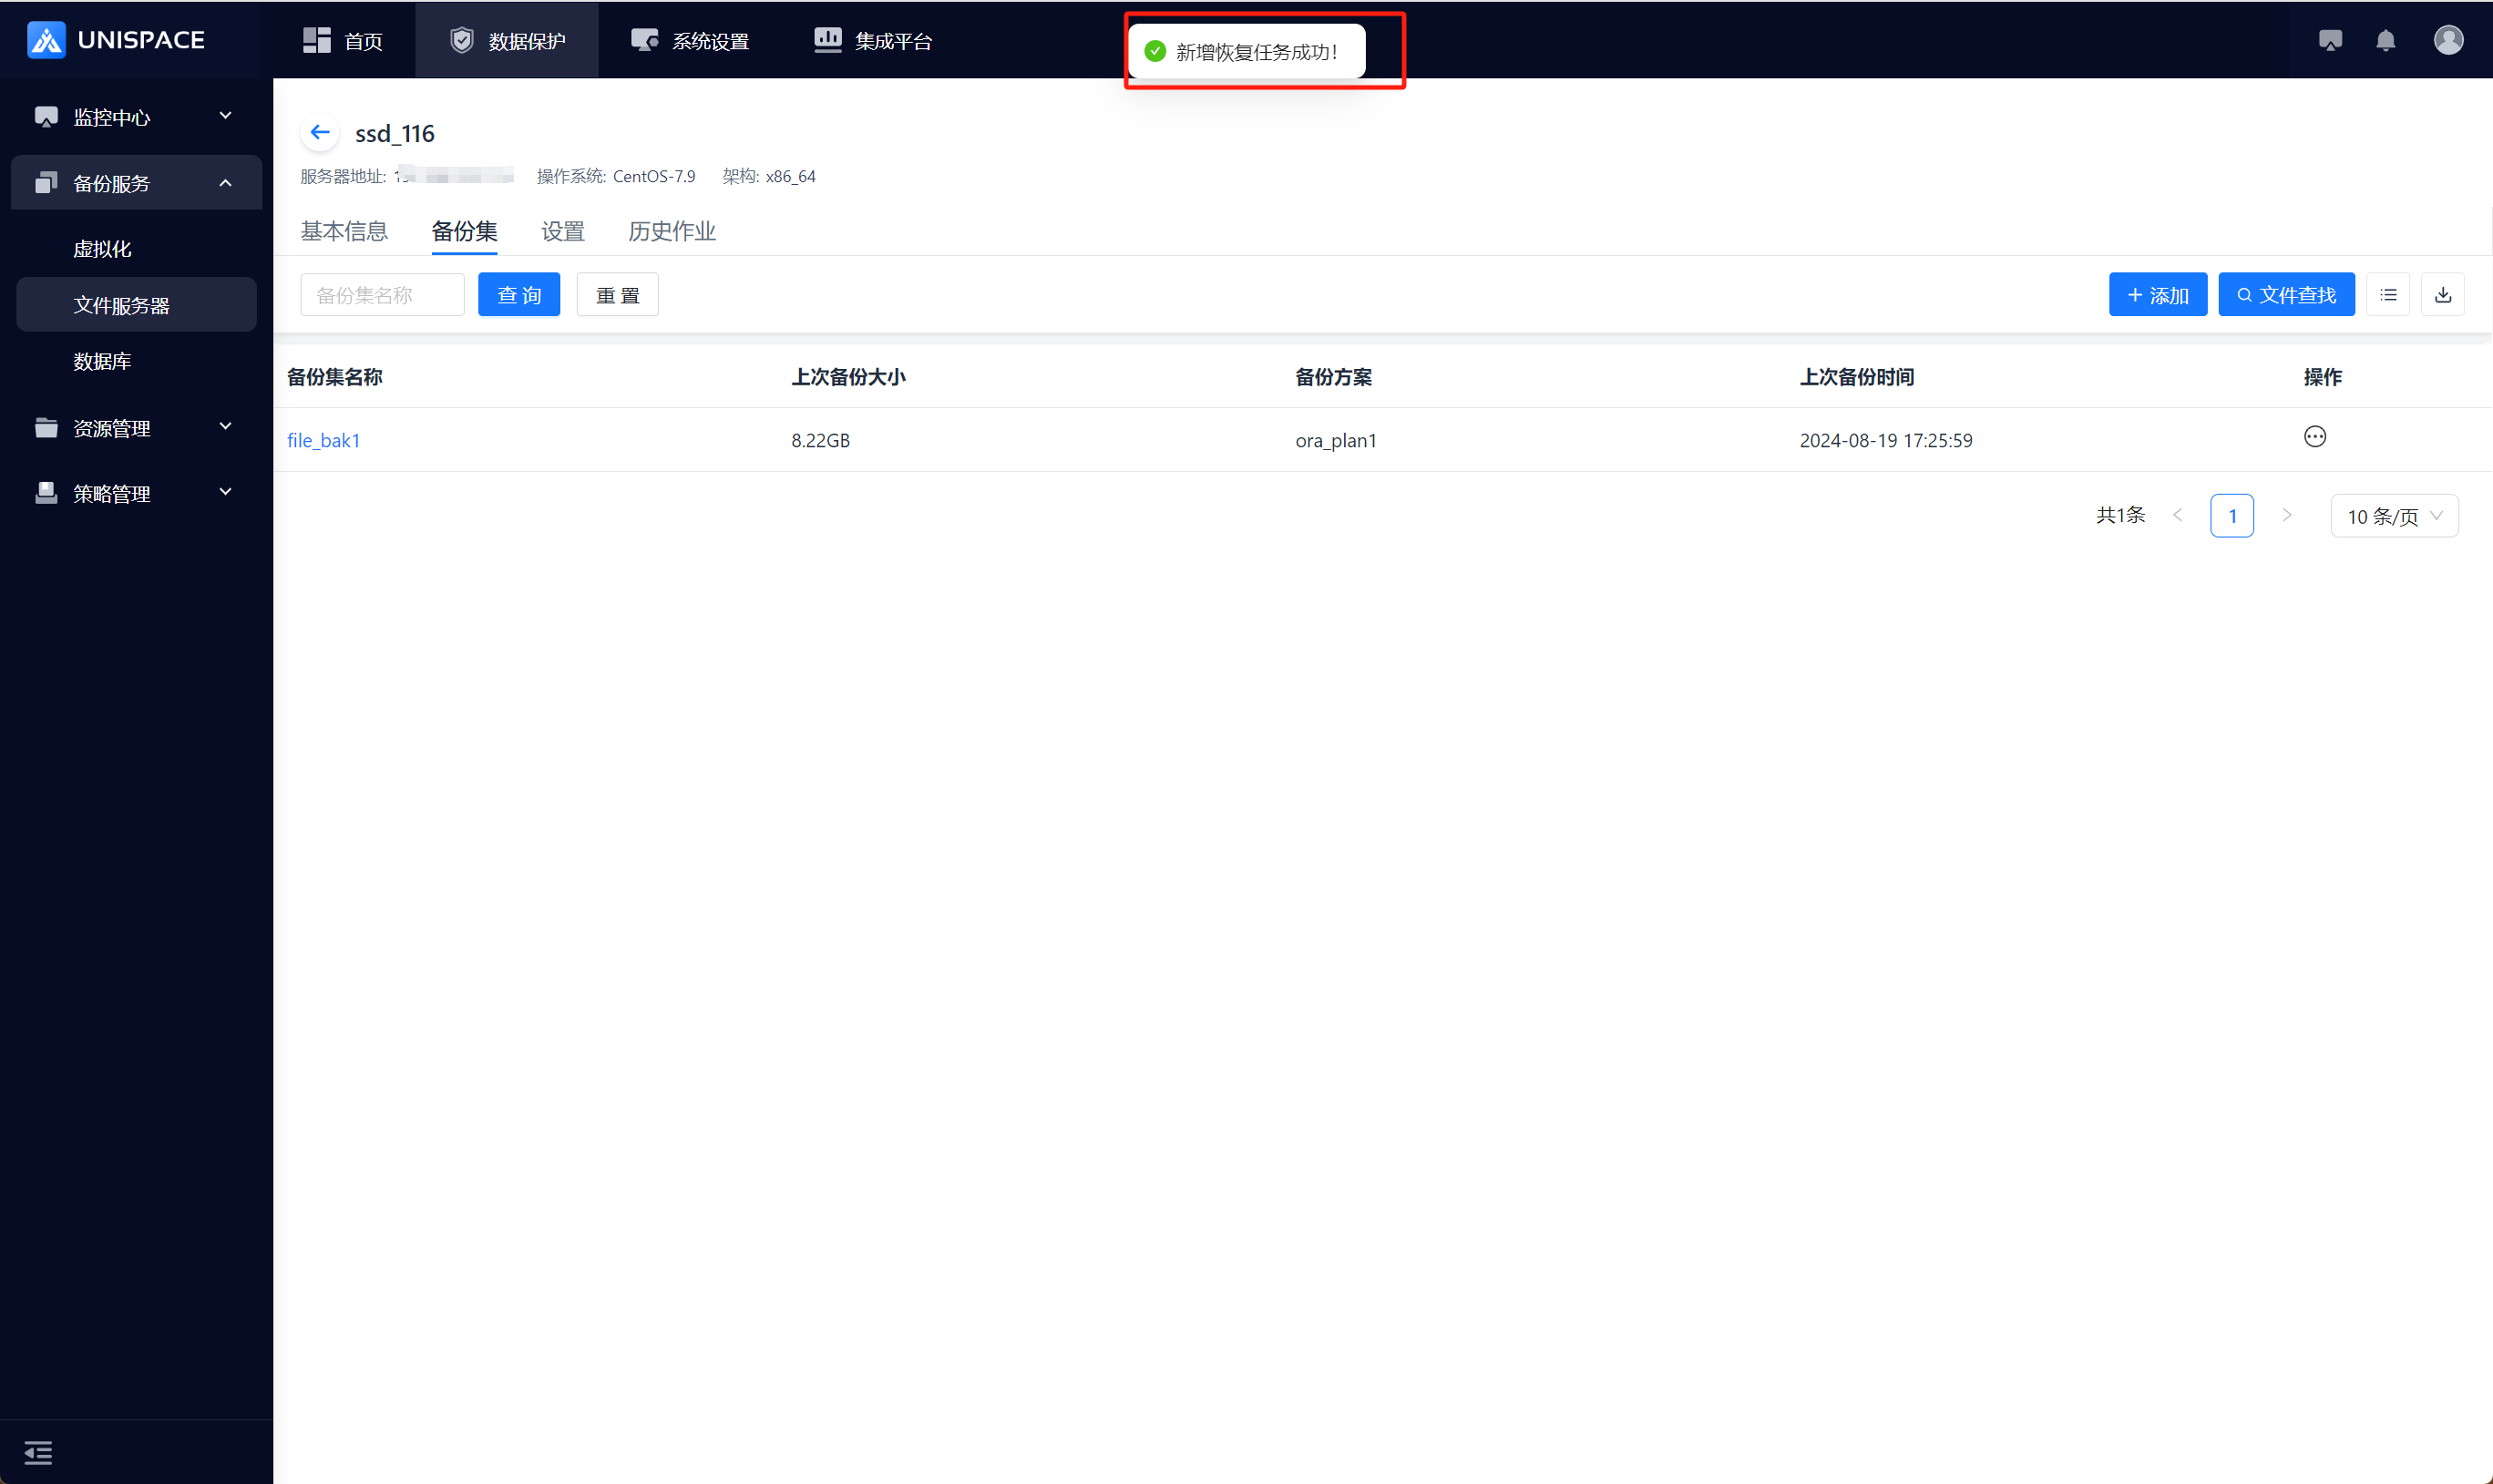
Step 7: Once the job starts successfully, go to Monitoring - Job - Active Jobs to view the job.
Step 8: After the job is completed, go to Monitoring - Job - Historical Jobs to check the job and its status.