Agent--Gbase
1.1 Create a New Gbase Instance
Prerequisites
- Created a user.
- Created a storage repository.
- Created a service plan.
- Gbase service is installed and accessible.
Steps
Step 1: Click the system menu Backup Services - Database, and click the "Server Name" to enter the database details page.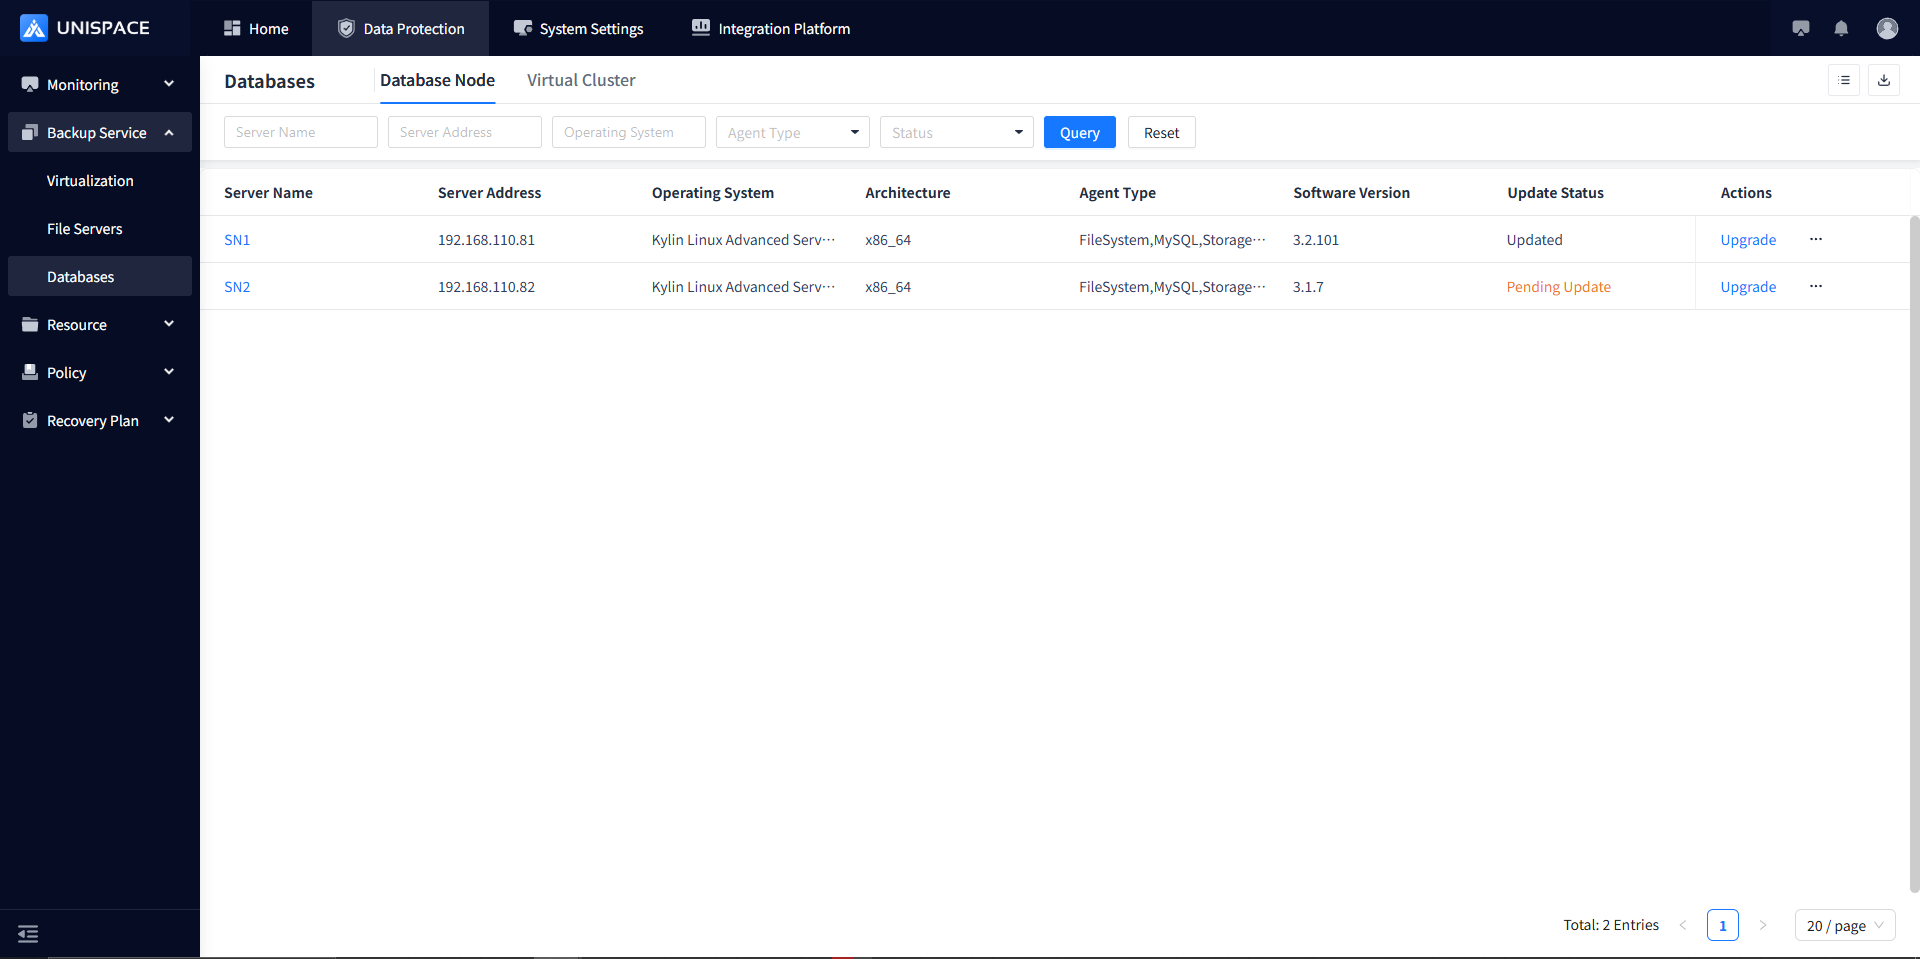
Step 2: Click Instance.
Step 3: Click the Add button in the upper-right corner of Instance. A popup will appear as shown below:
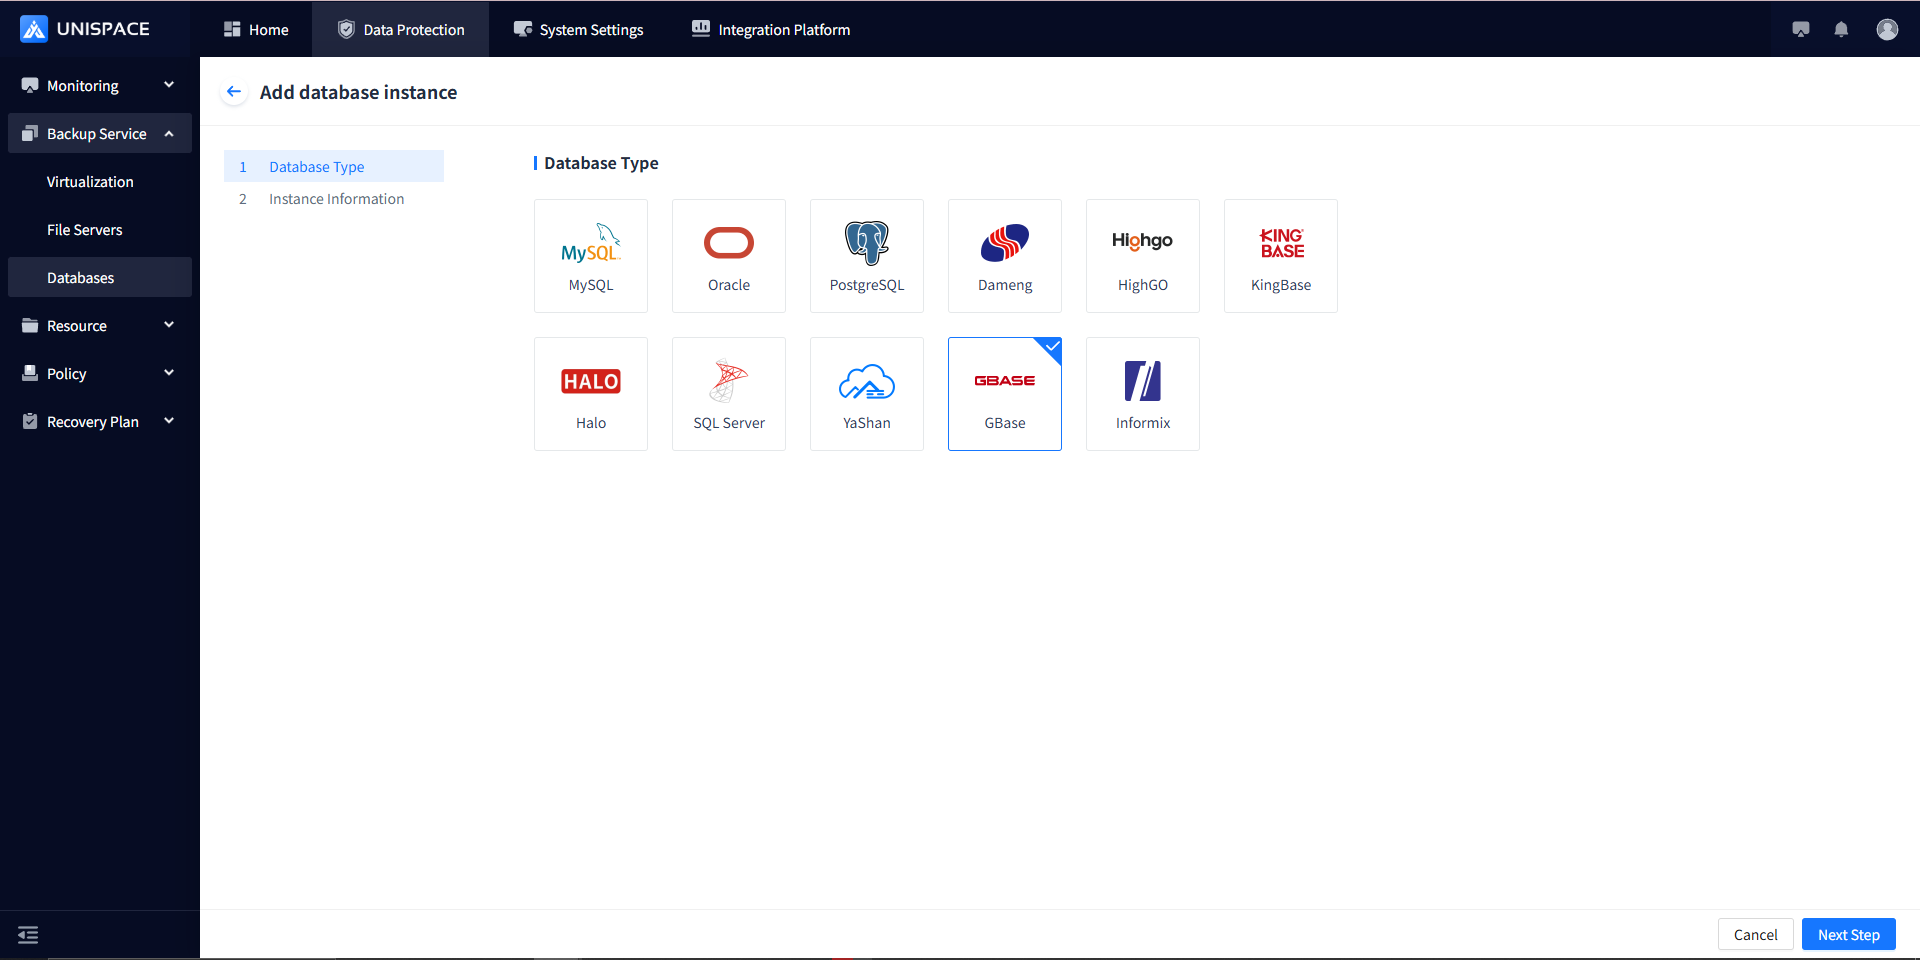
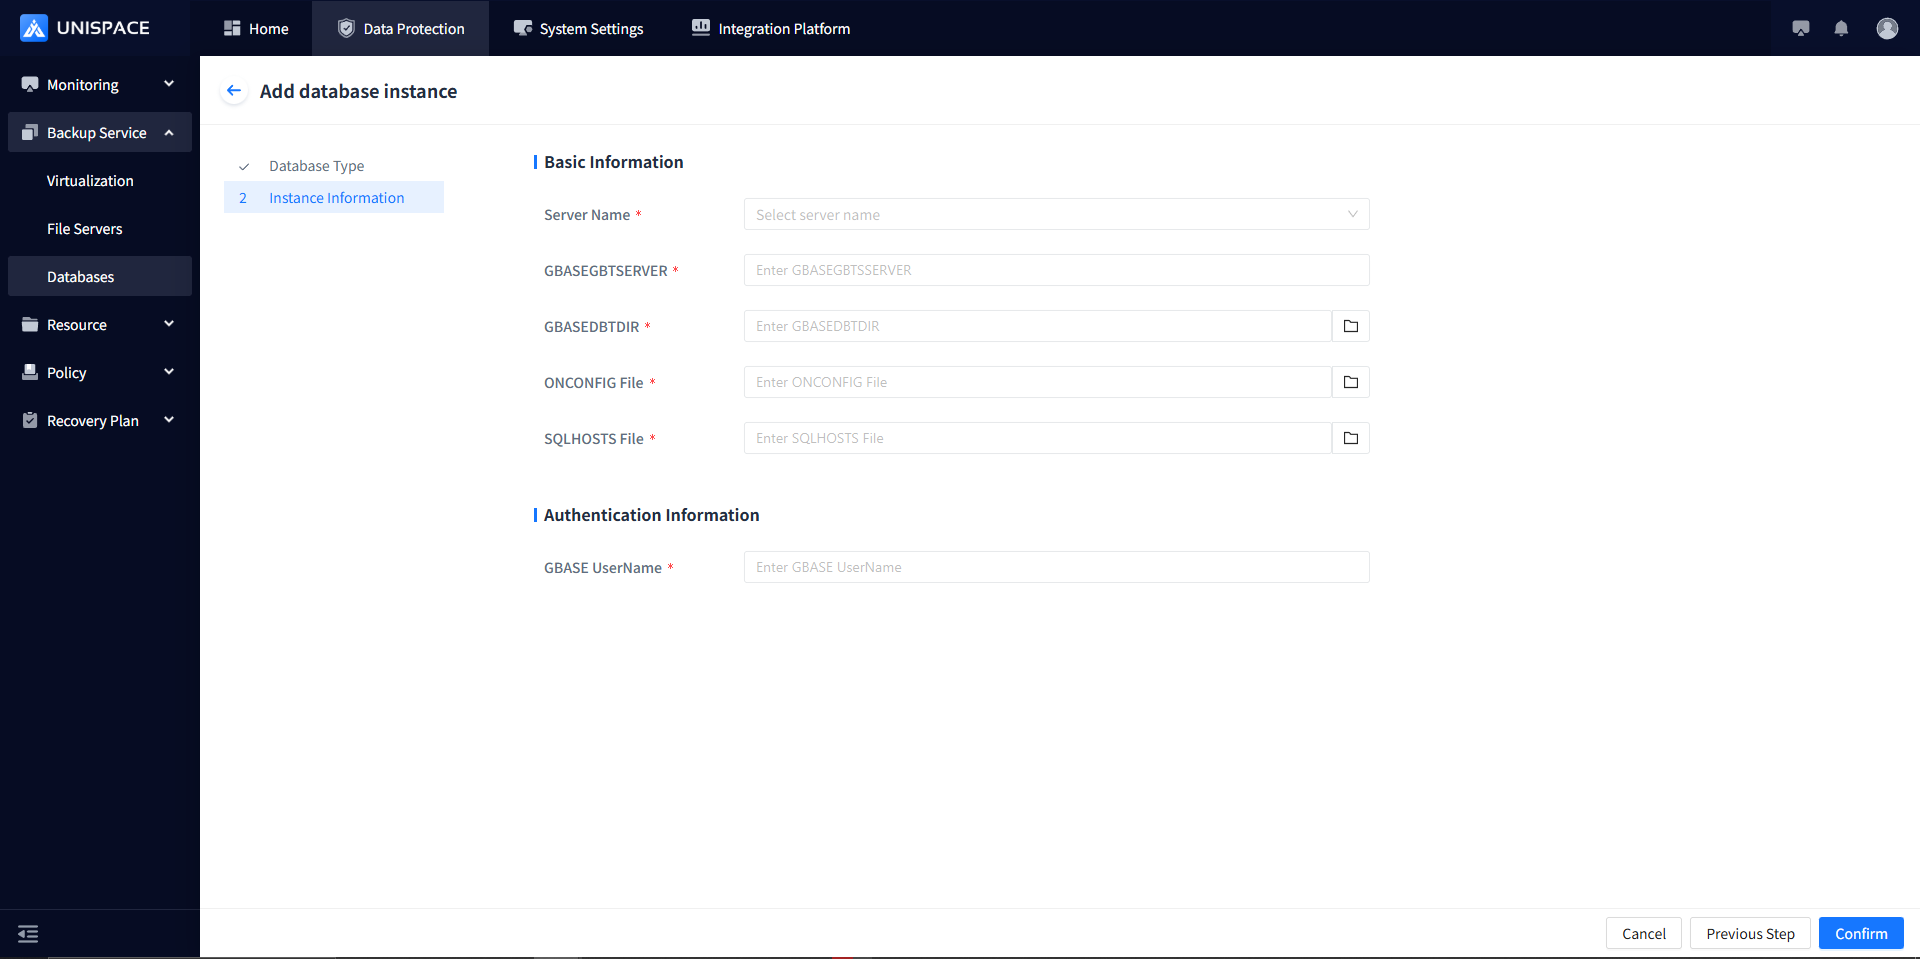
Step 4: Fill in the necessary parameters as shown below:
| Parameter Name | Description | Configuration Rule |
|---|---|---|
| Server Name | Single choice, required | Choose the server name where Gbase is located (must be registered in advance) |
| GBASEGBTSERVER | Instance Name | Can be queried by connecting to the database, e.g., gbase01 |
| GBASEDBTDIR | Text input box, required, path format, browsable | Enter the Gbase software installation path, e.g., /opt/gbase8s |
| ONCONFIG File | Text input box, required, browsable | Enter the name of the ONCONFIG file, e.g., onconfig.gbase01 |
| SQLHOSTS File | Text input box, required, path format, browsable | Enter the path and file name of SQLHOSTS, e.g., /opt/gbase8s/etc/sqlhosts.gbase01 |
| GBASE Username | Username input box, required | Enter the Gbase username, e.g., gbasedbt |
Step 5: After clicking the Confirm button, the frontend will display a success message.
1.2 Create a New Gbase Backup Set
Prerequisites
- Created a Gbase instance.
Steps
Step 1: Click the system menu Backup Services - Database - under the "Server Name" list, click Backup Set.

Step 2: Click the Add button in the upper-right corner of Backup Set. A popup will appear as shown below: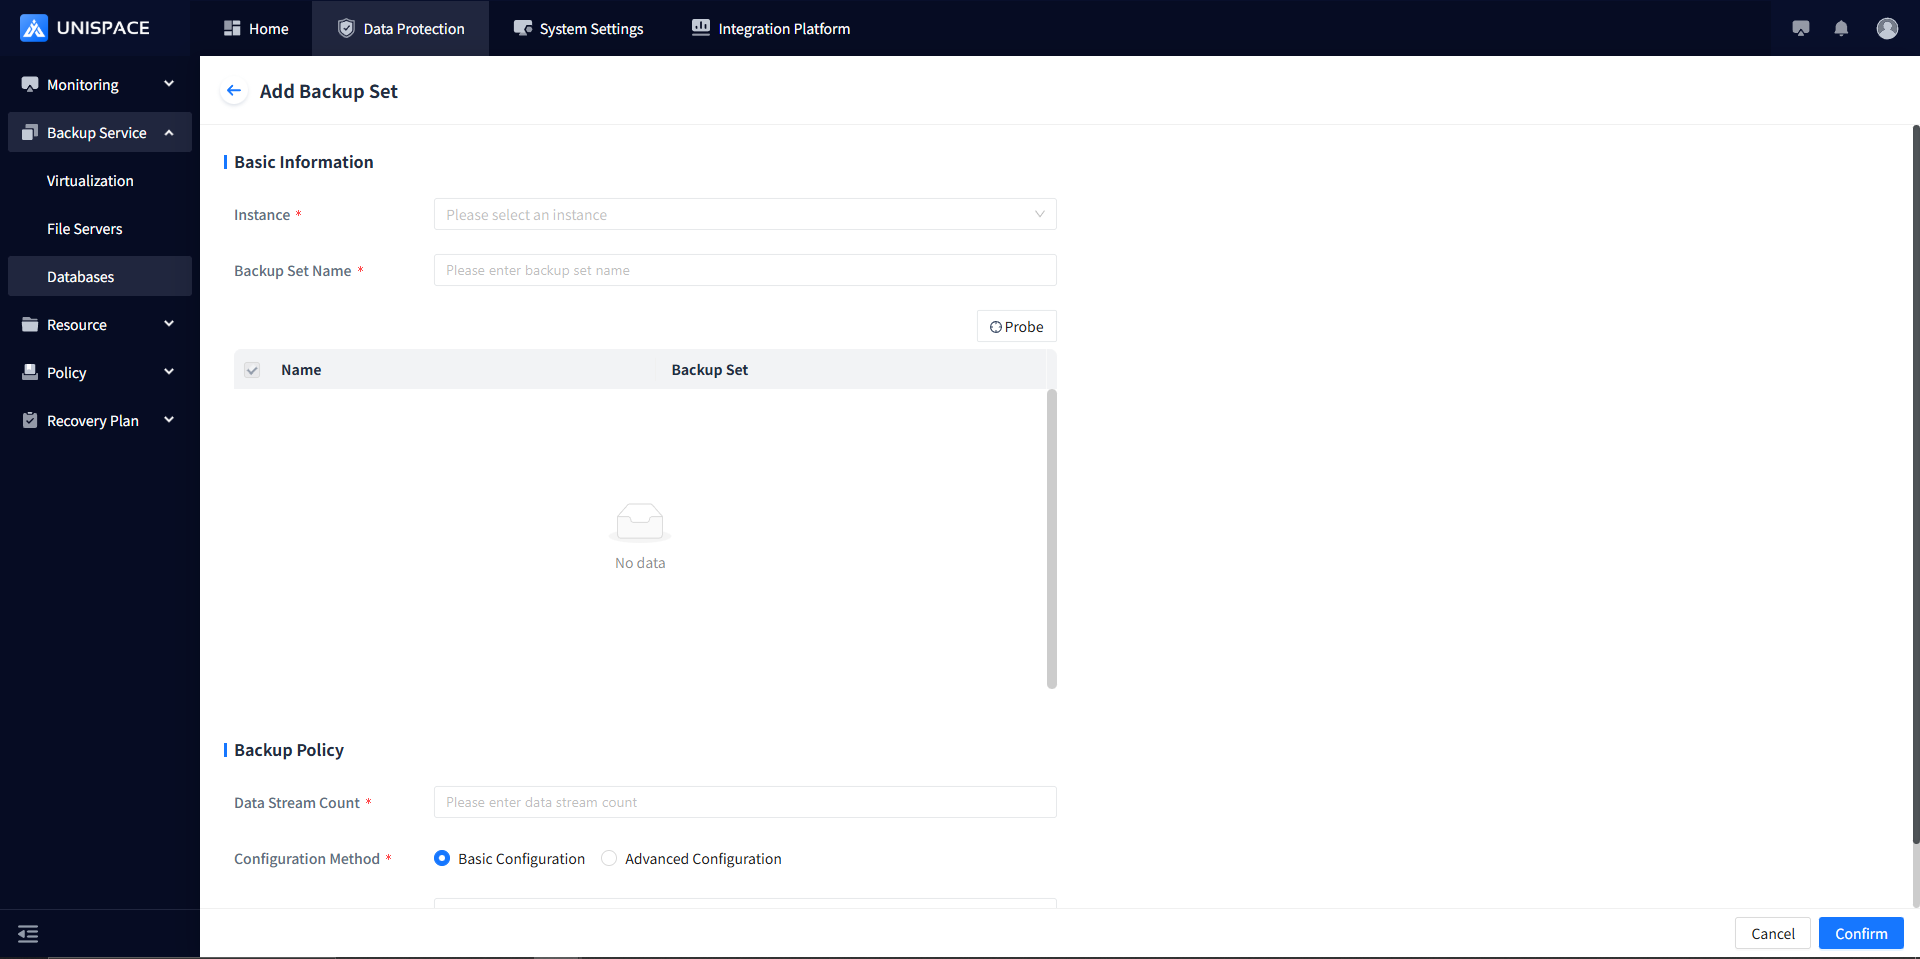
Step 3: Fill in the necessary parameters as shown below:
| Parameter Name | Description | Configuration Rule |
|---|---|---|
| Instance | Single choice, required, select the current Gbase instance | Auto-loaded in the dropdown list |
| Backup Set Name | Text input, required | Max length: 50 characters, no special symbols allowed |
| Backup Mode | Single choice, default is full instance | Options include instance backup (including logs), logical log backup, others (emergency boot files, ONCONFIG file, etc.) |
| Data Flow Count | Numeric type | Must not exceed 200 |
| Configuration Method | Single choice, required | Choose between simplified or advanced configuration |
| Self Service Plan | Single choice, required | Select the appropriate plan |
Step 4: After clicking the Confirm button, the frontend will display a success message.
1.3 Gbase Backup
Prerequisites
- Gbase backup set is already configured.
Steps
Step 1: Click the system menu Backup Services - Database - under the "Server Name" list, click Backup Set.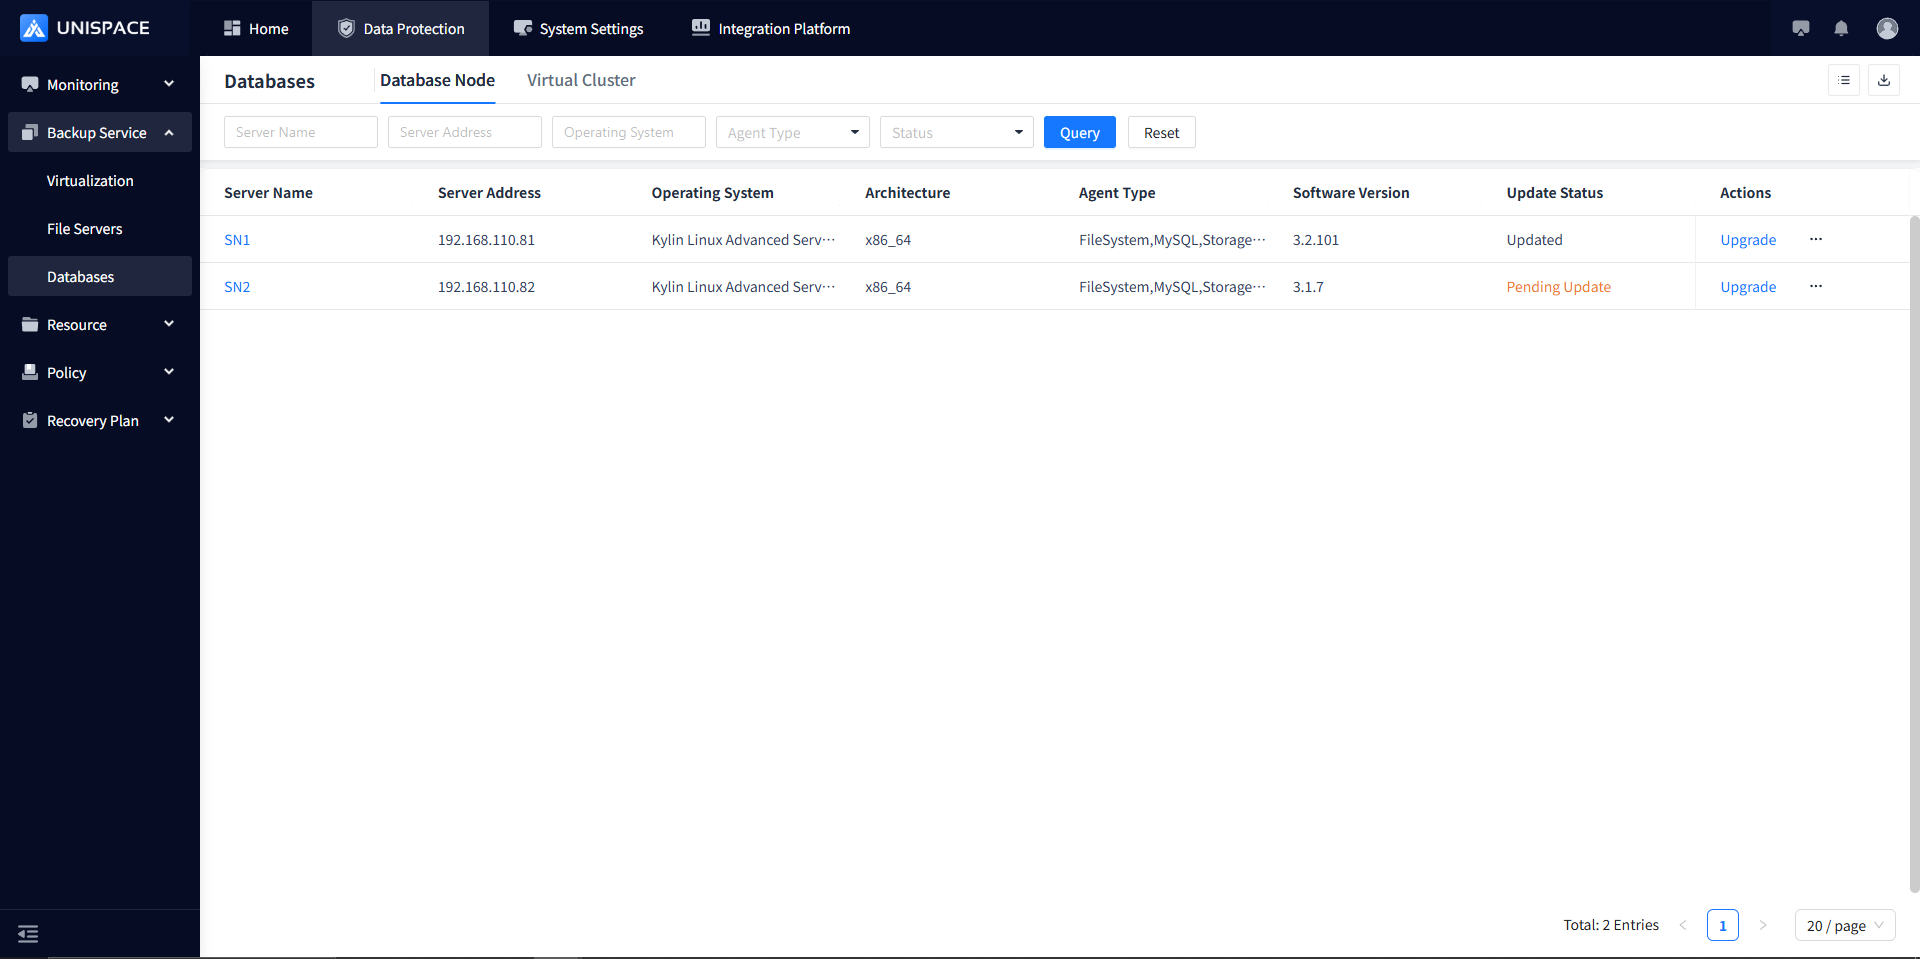
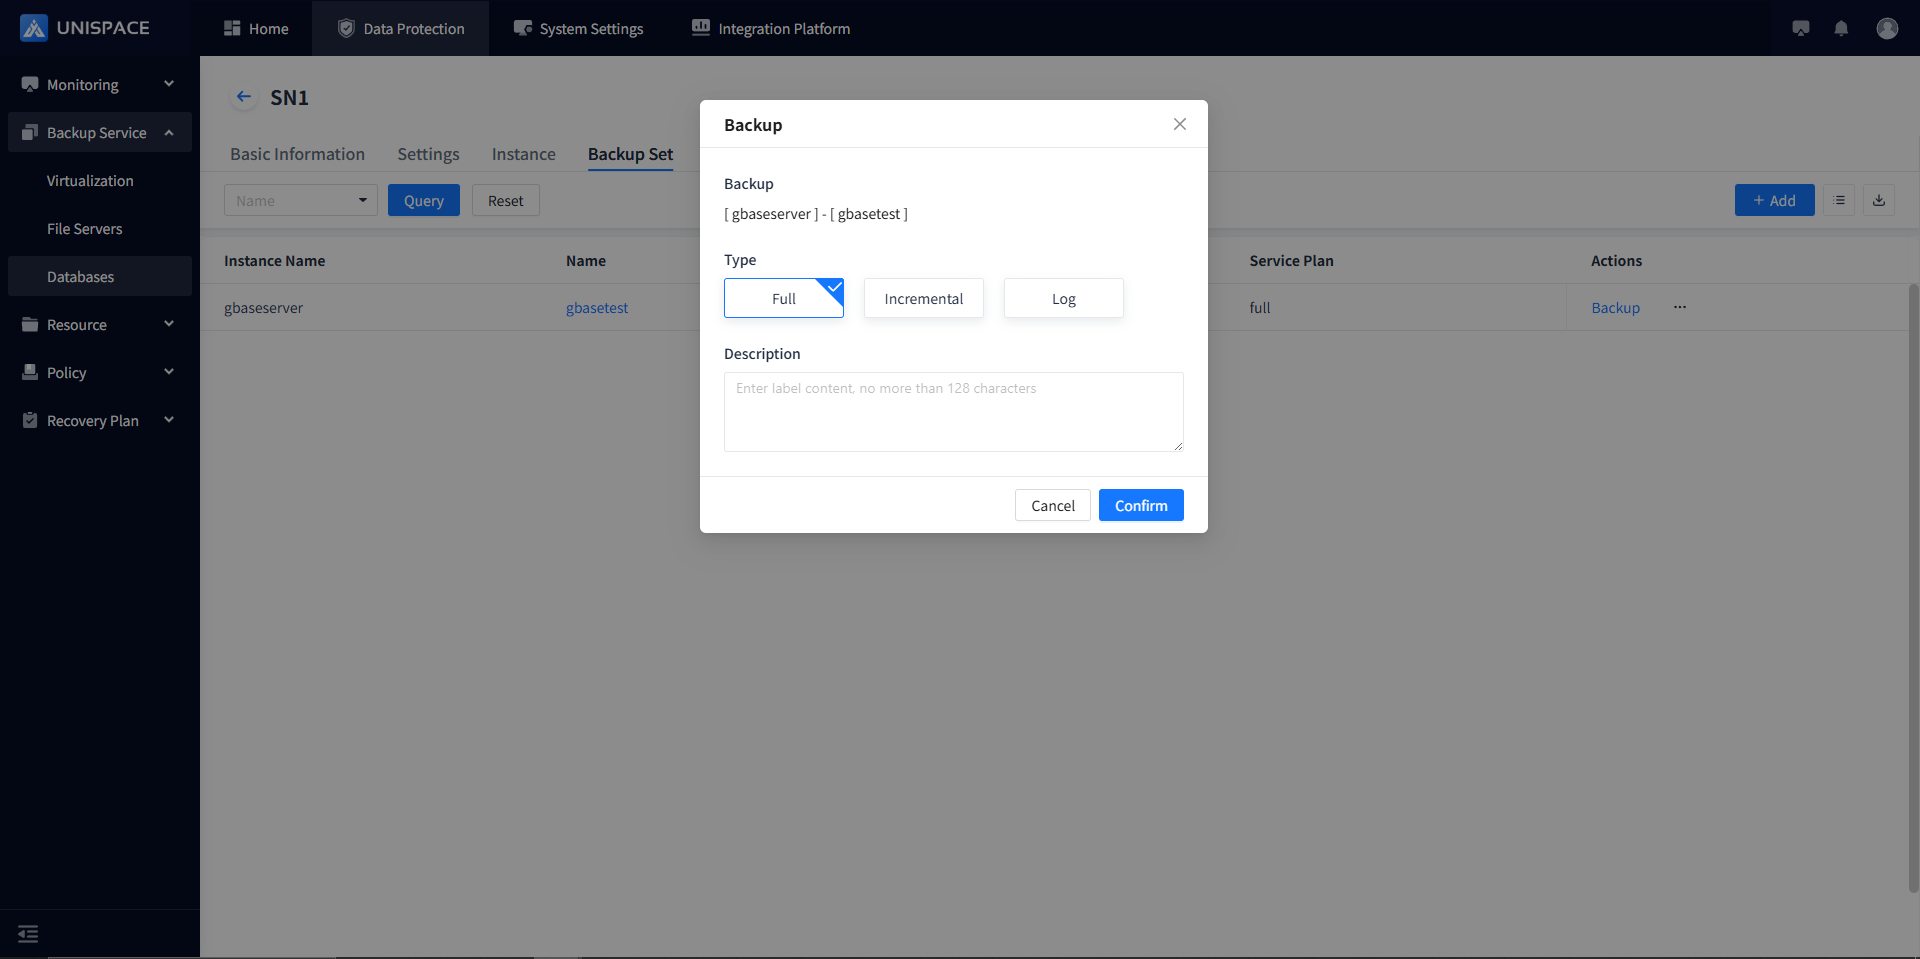
Step 2: Select the backup set and click Backup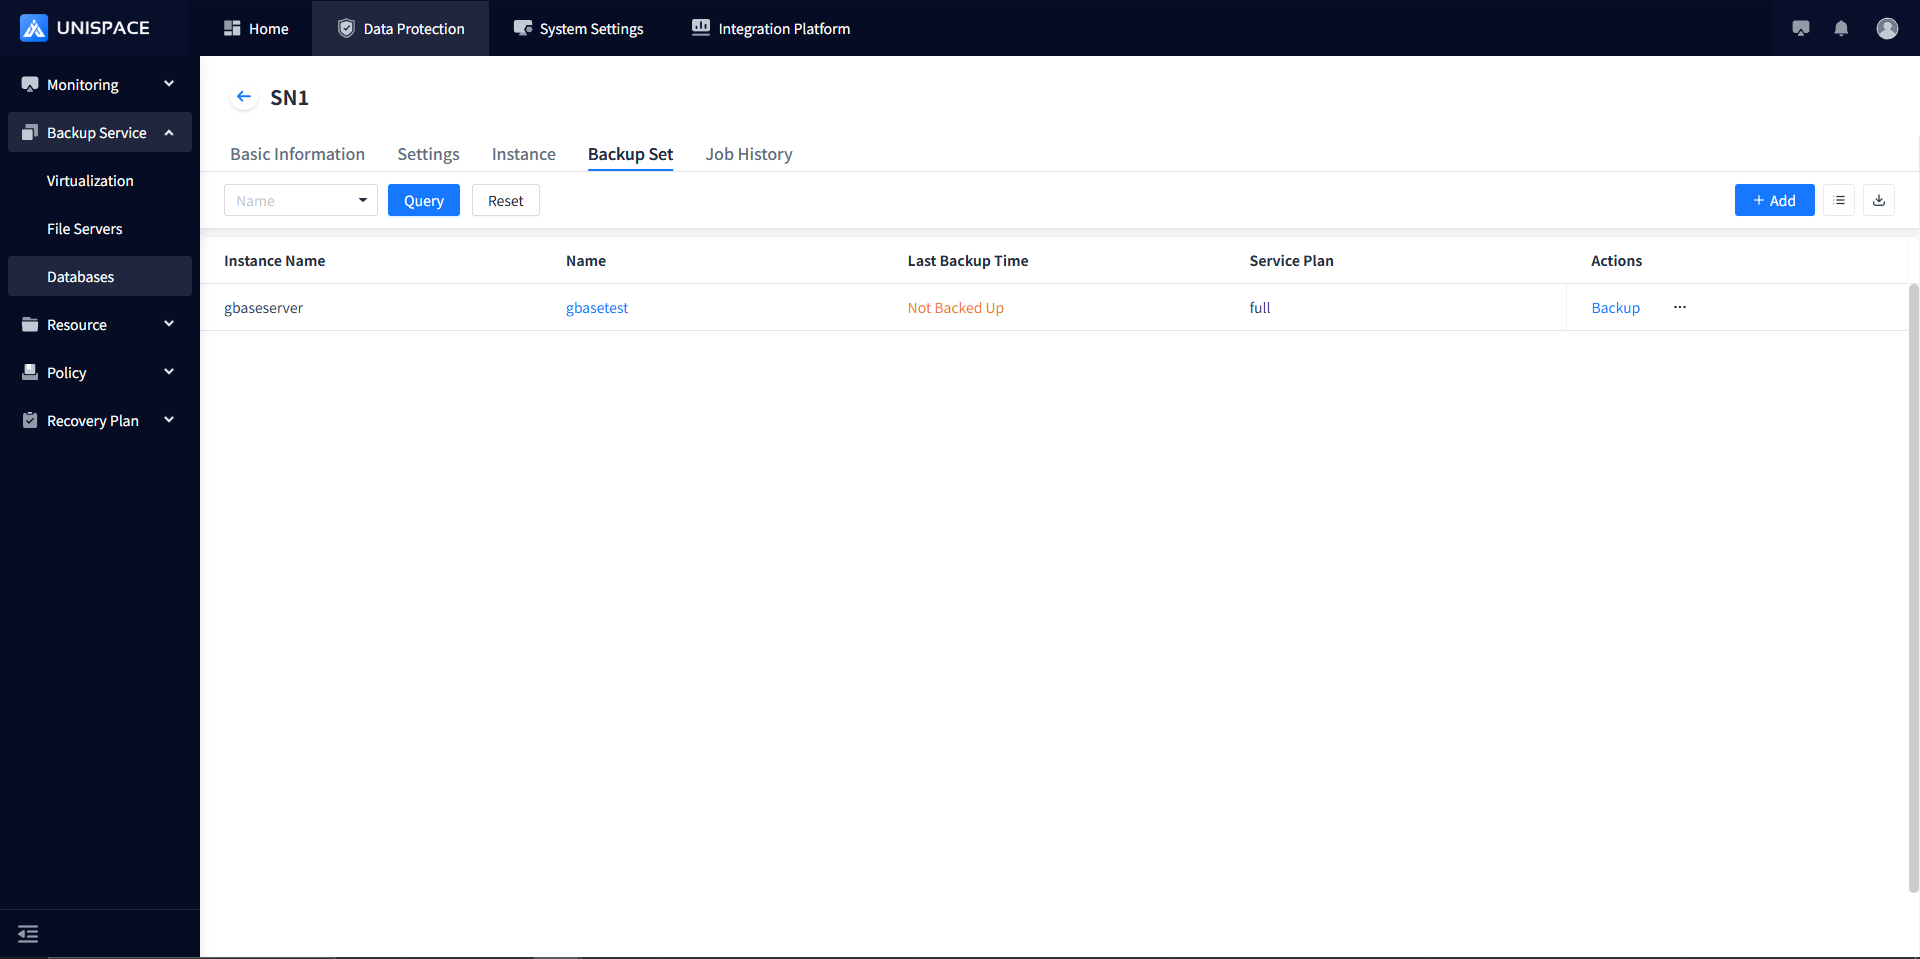
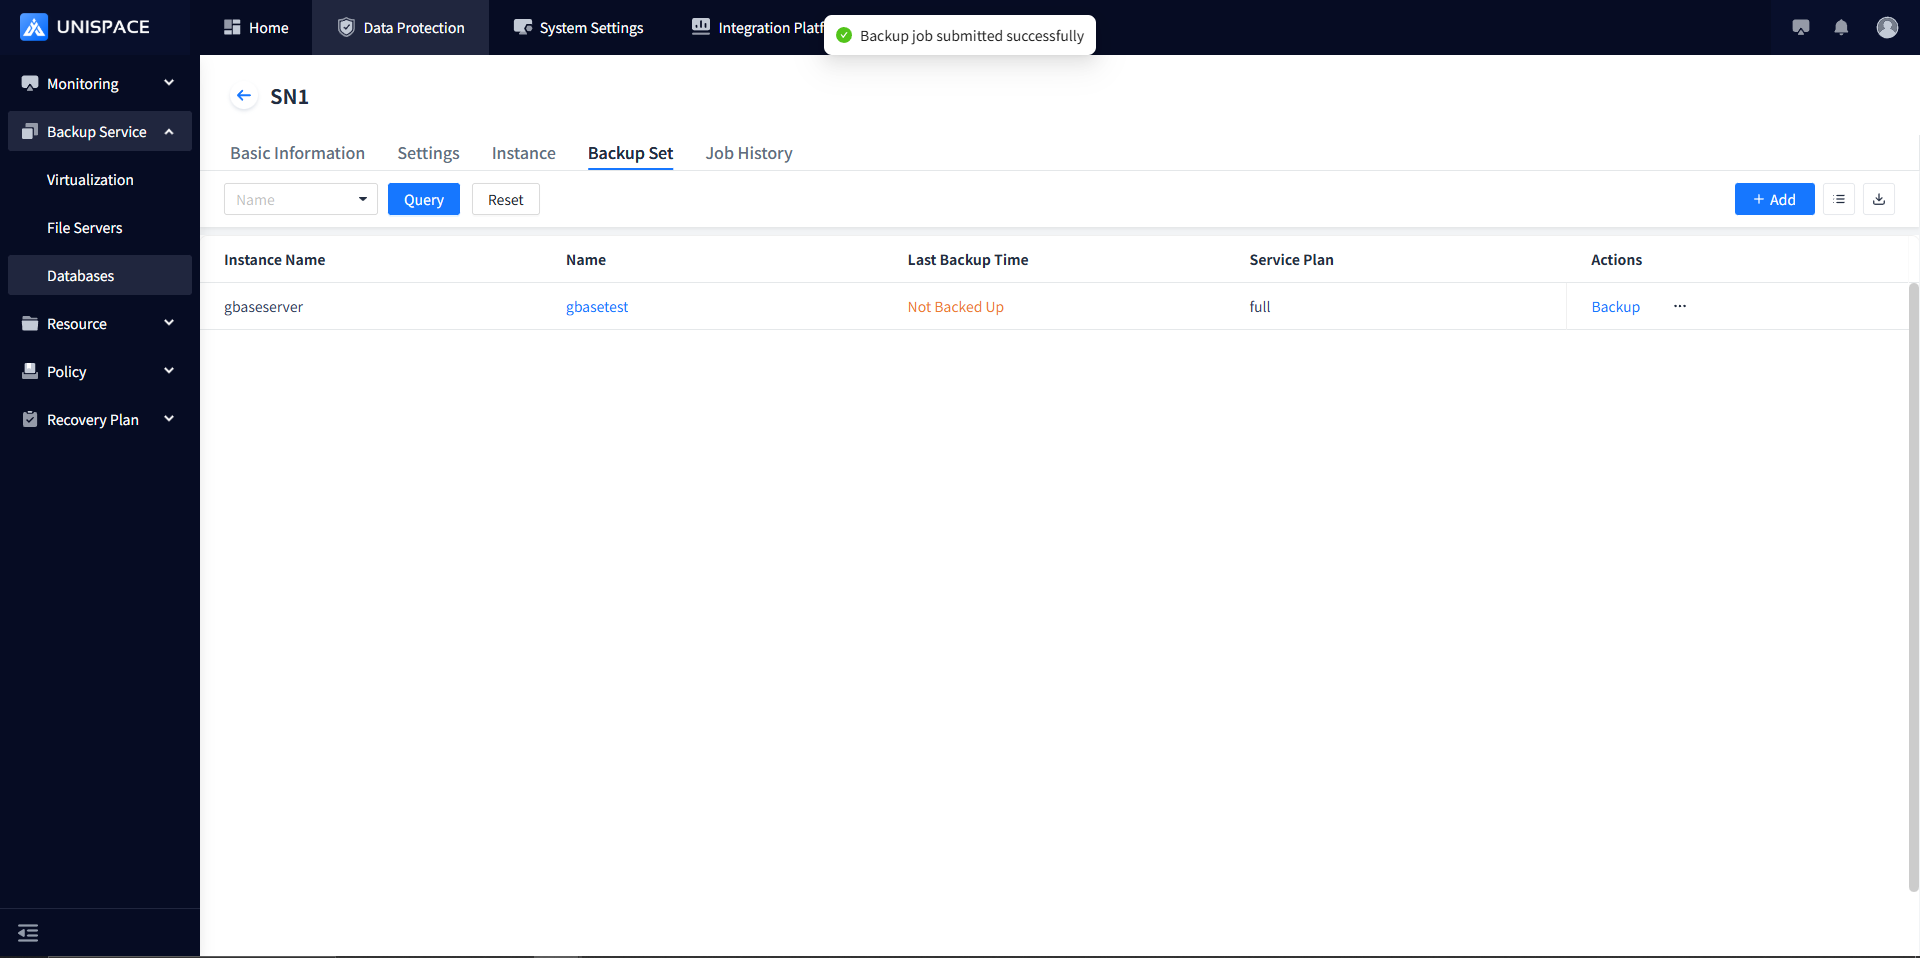
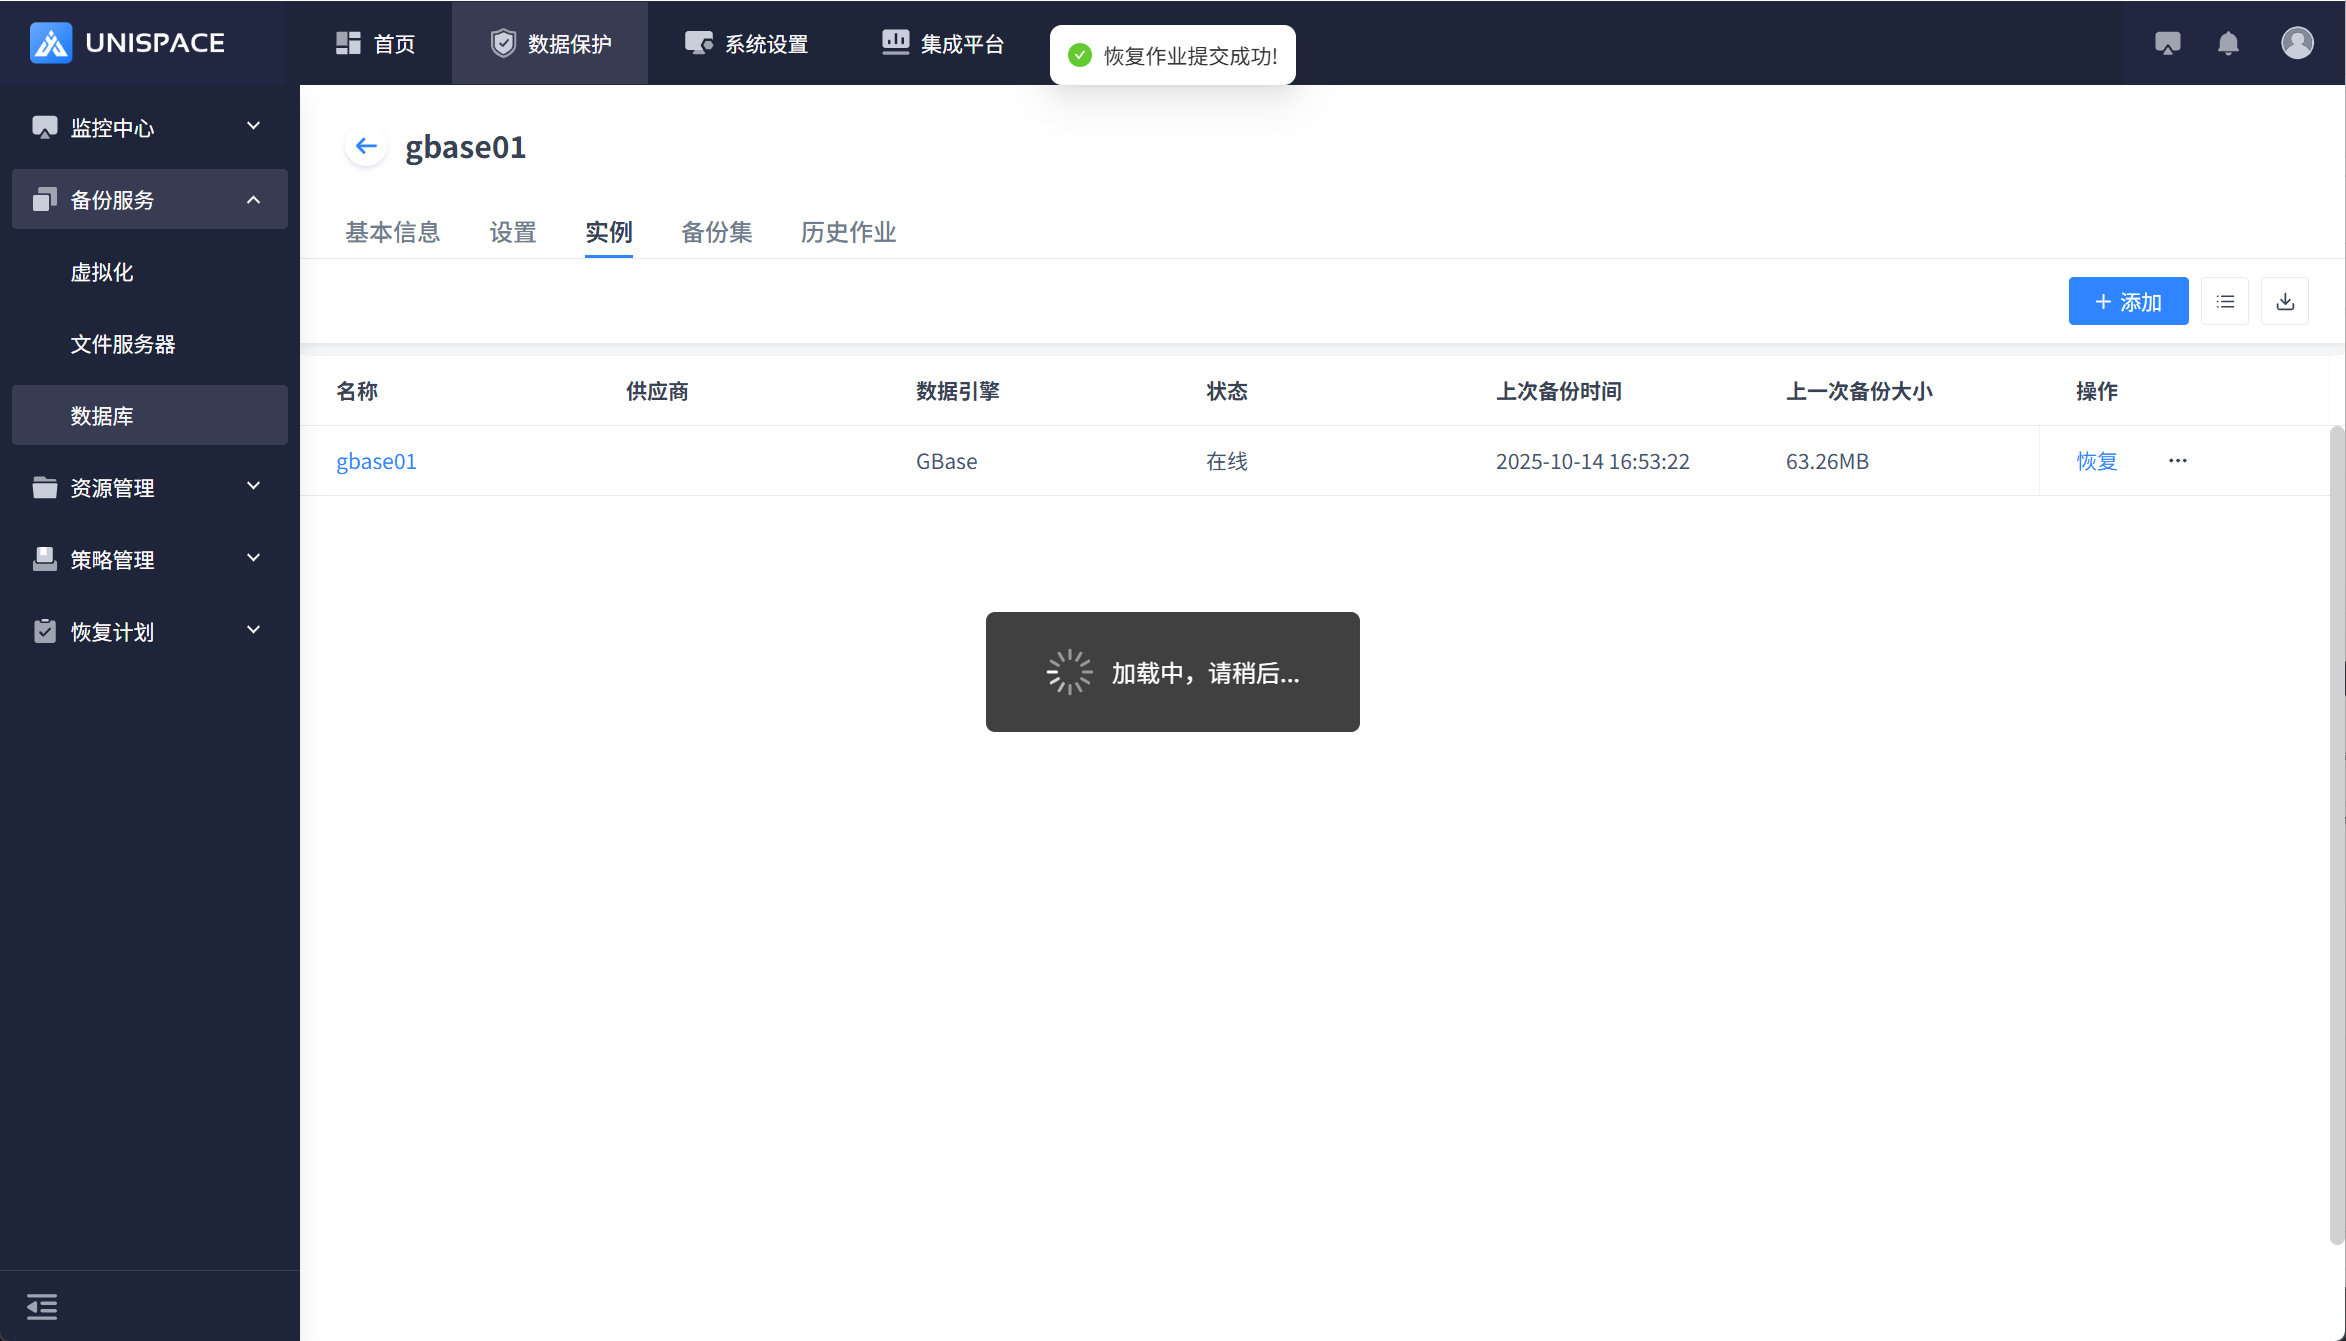
Step 3: Choose “Full (Incremental/Log)” and click Confirm. The page will show “Backup job submitted successfully.”
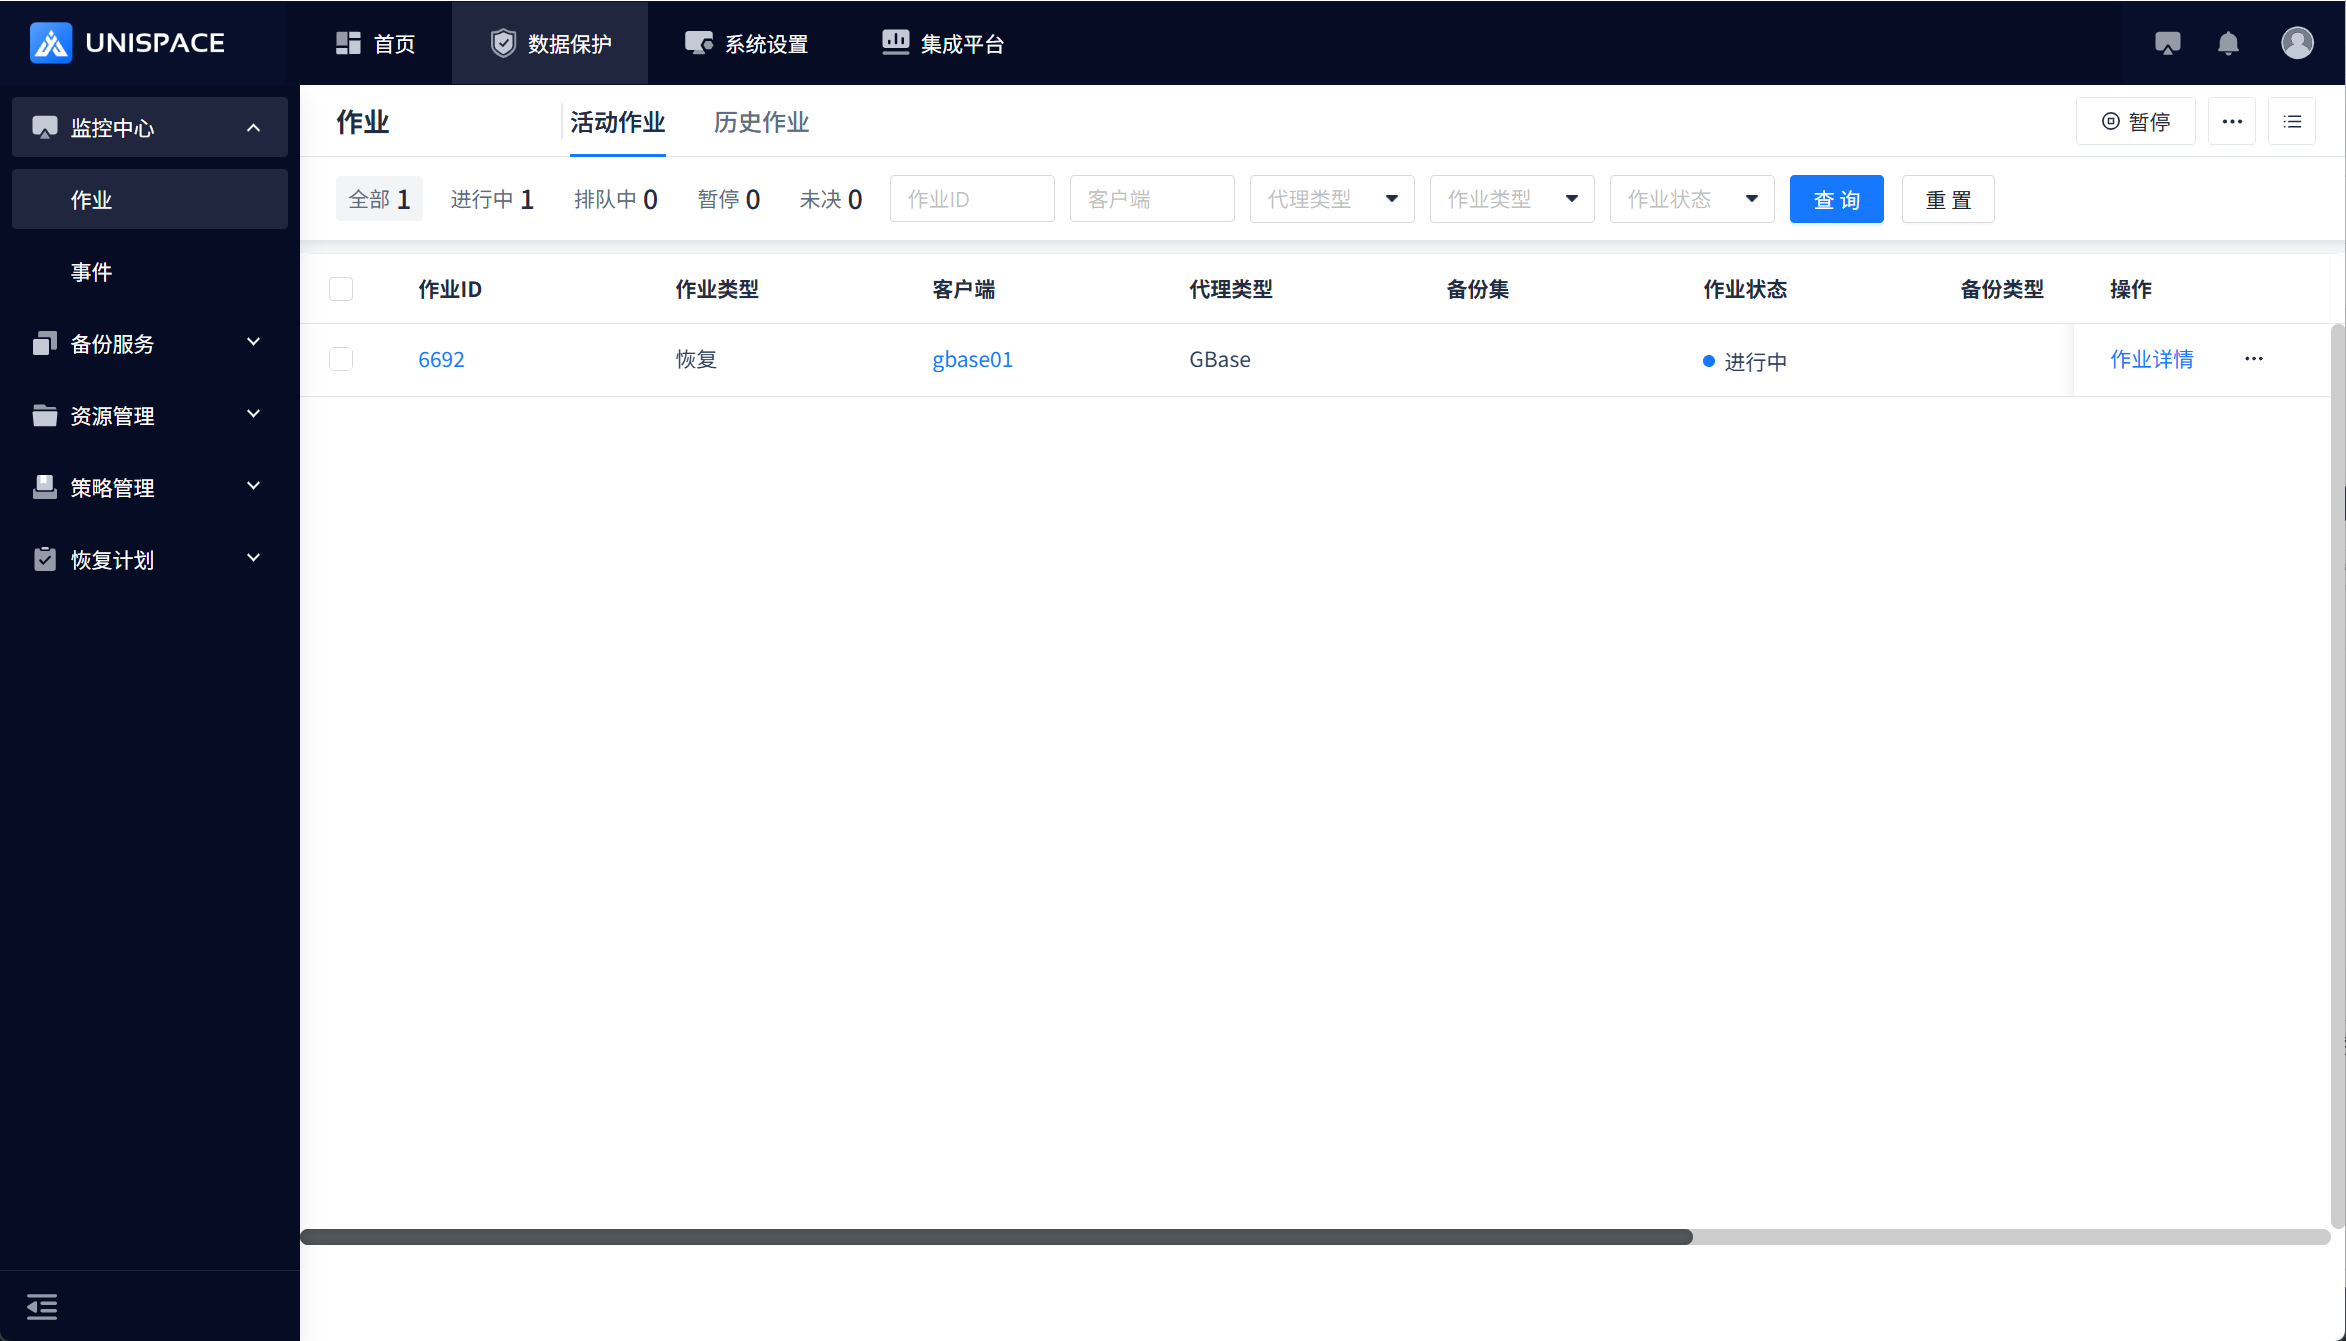
Step 4: After the backup job starts, go to Monitoring - Job - Active Jobs to see the job. 
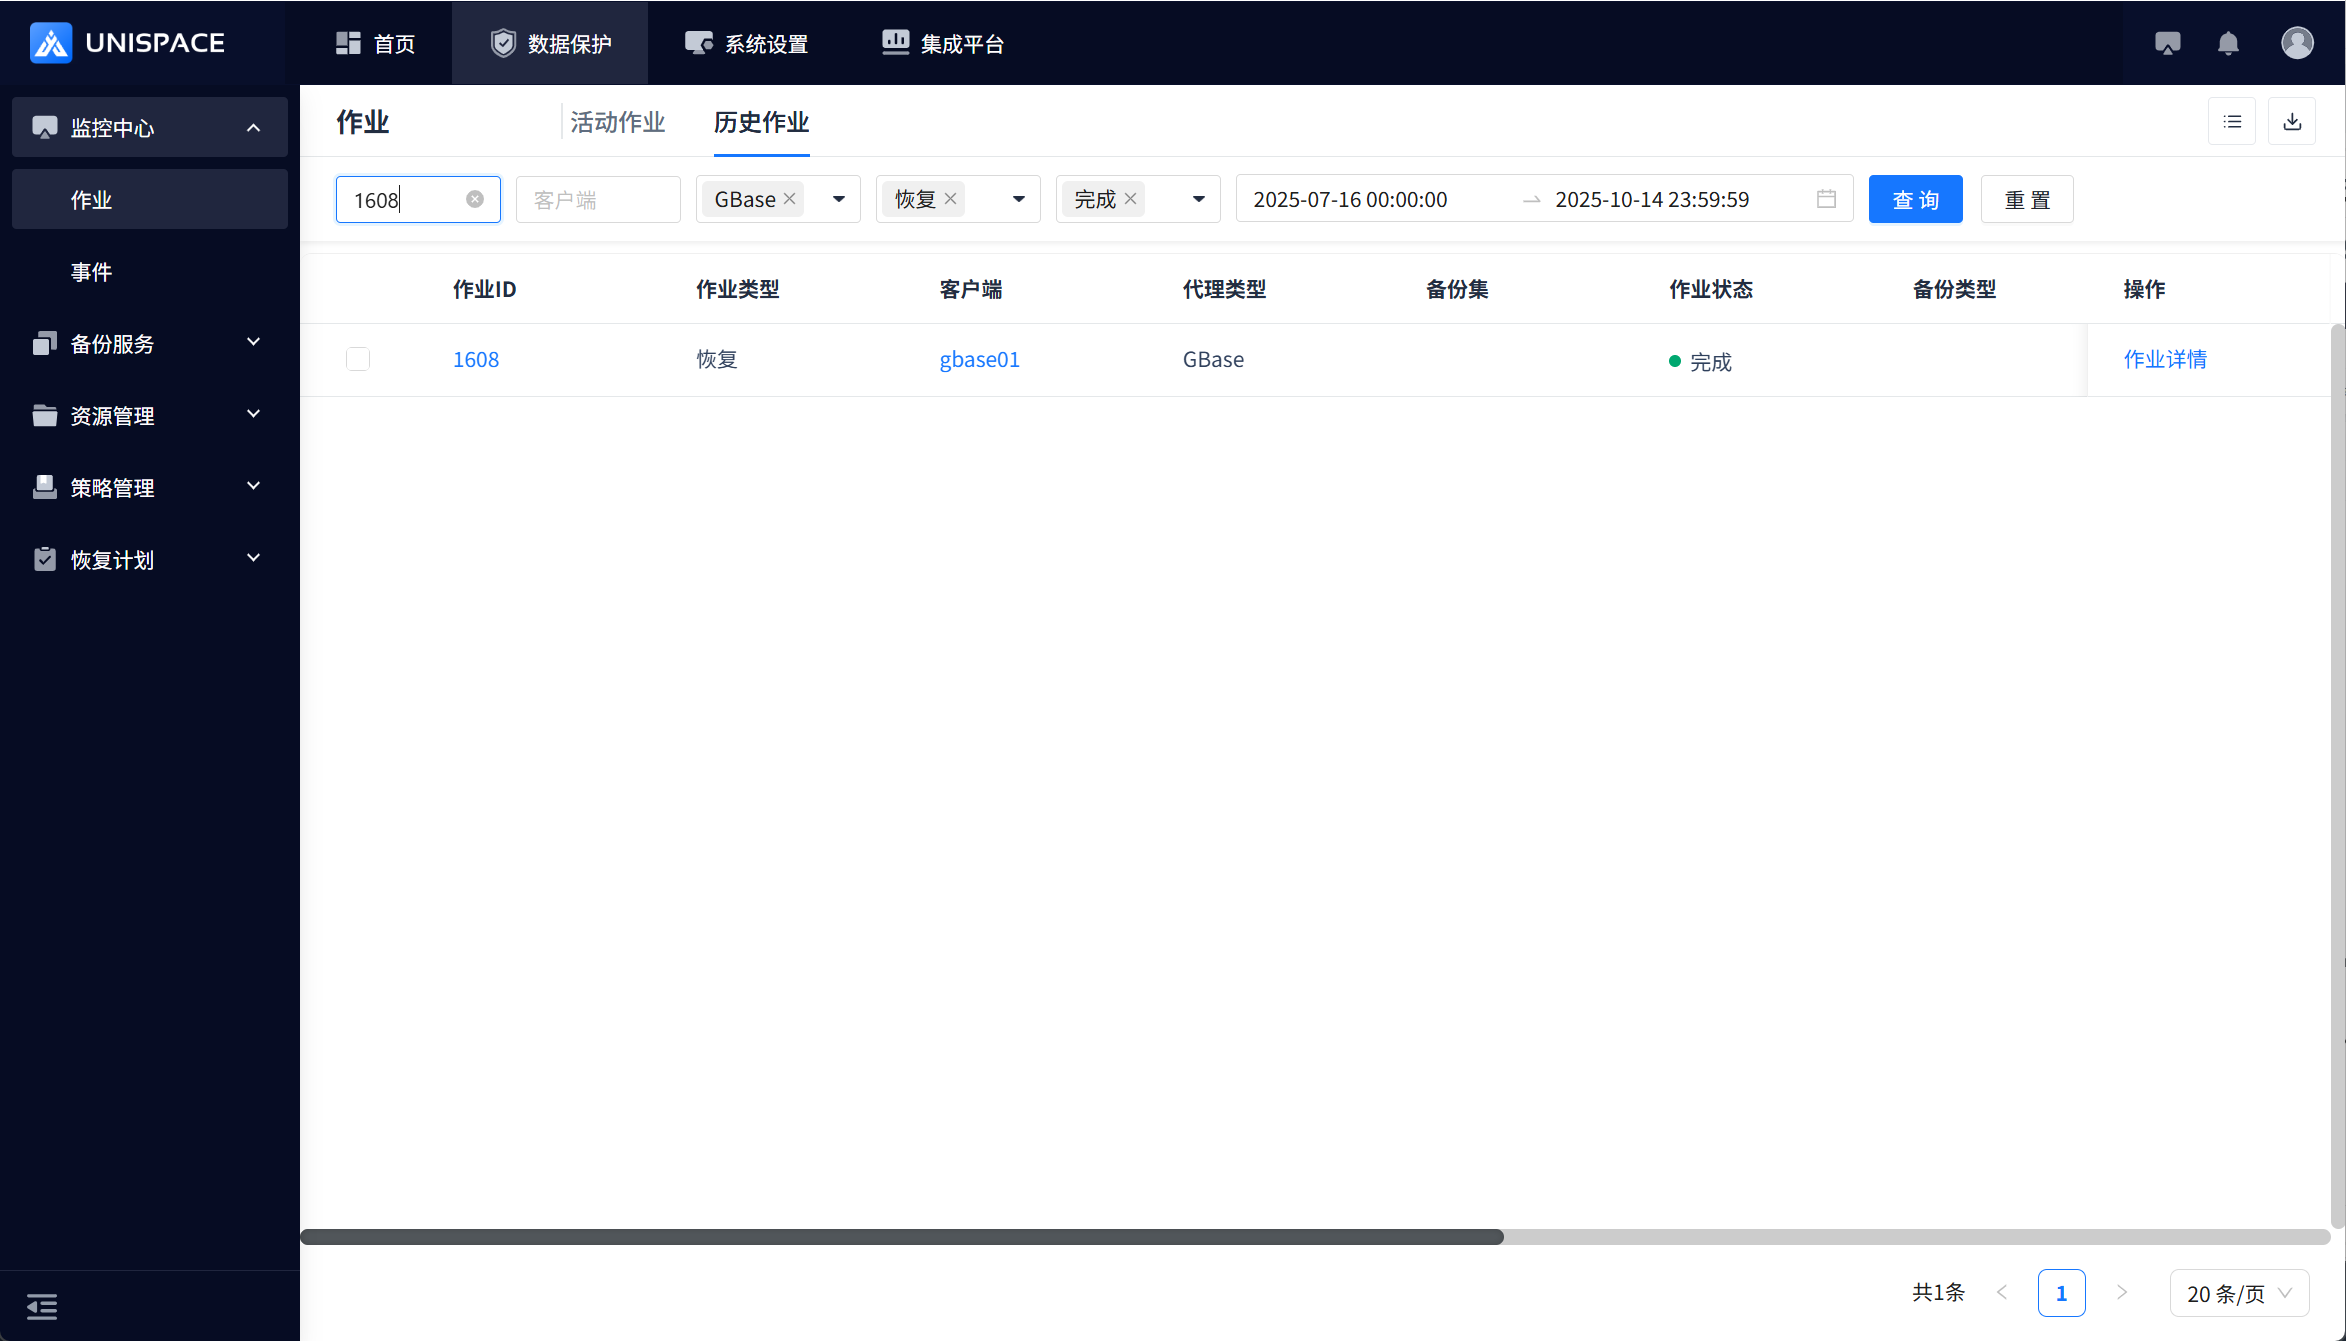
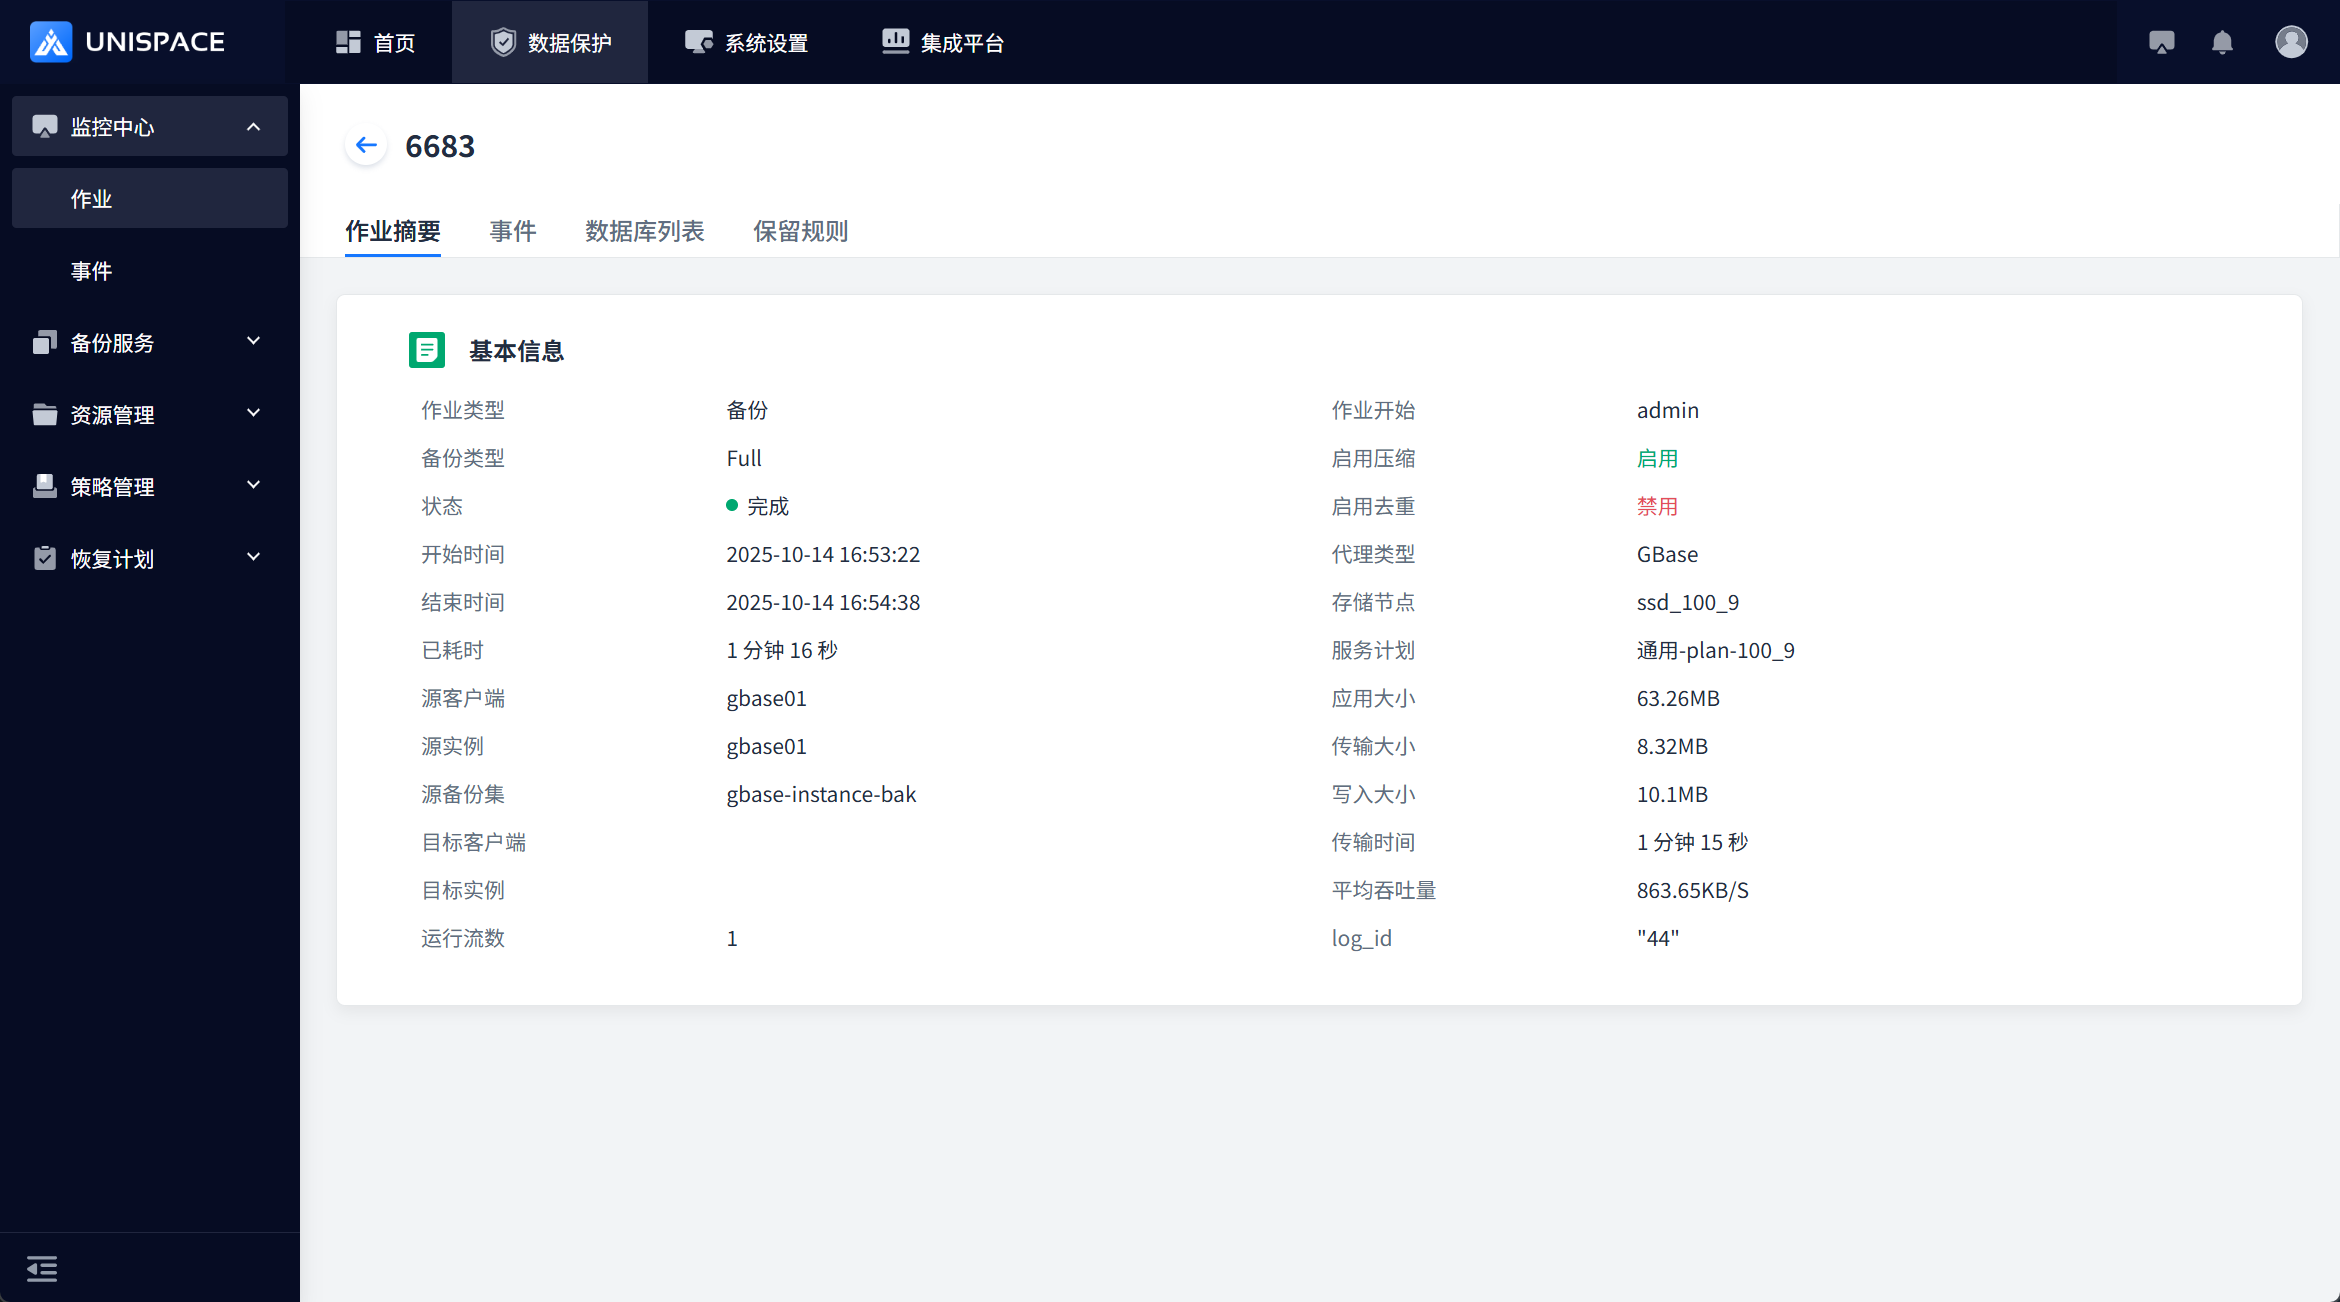
Step 5: Once the backup is complete, go to Monitoring - Job - Historical Jobs to view the job, which should display a status of "Completed".
1.4 Gbase Restore
Prerequisites
- A backup of the Gbase database has been completed.
Steps
Step 1: Click the system menu Backup Services - Database - under the "Server Name" list, click Instance.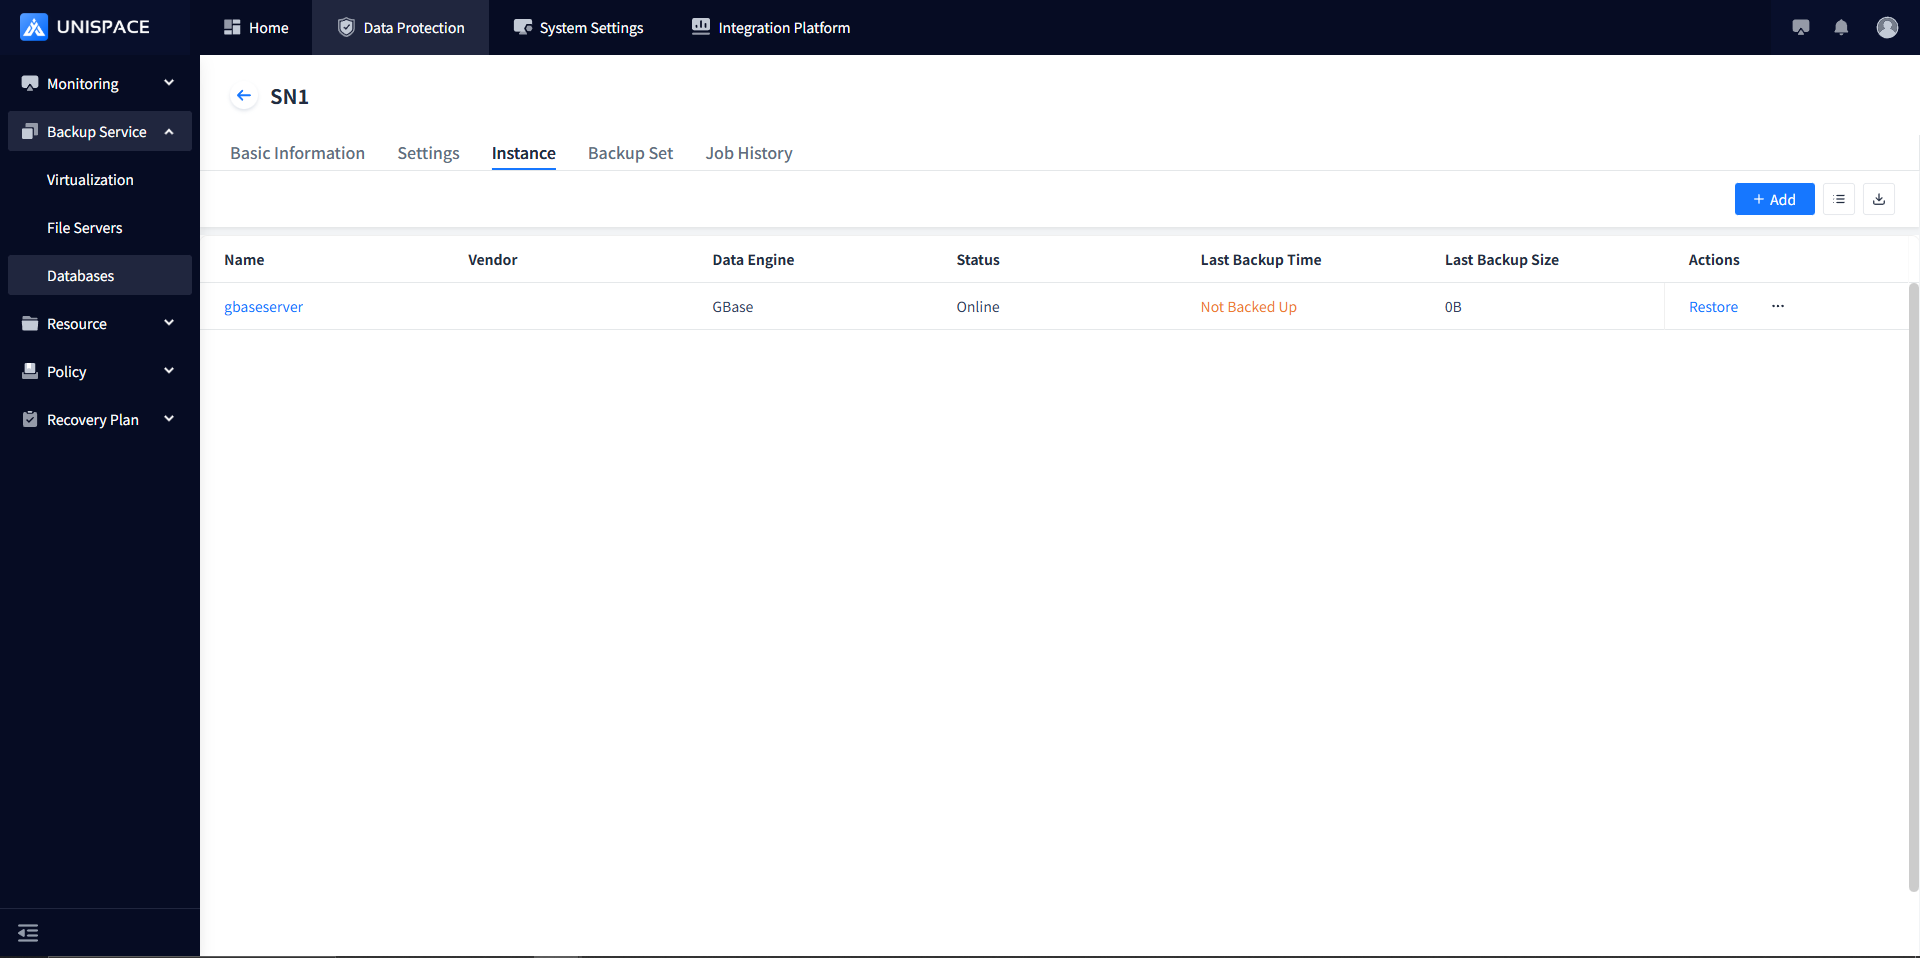
Step 2: Select the Instance, and click Restore.
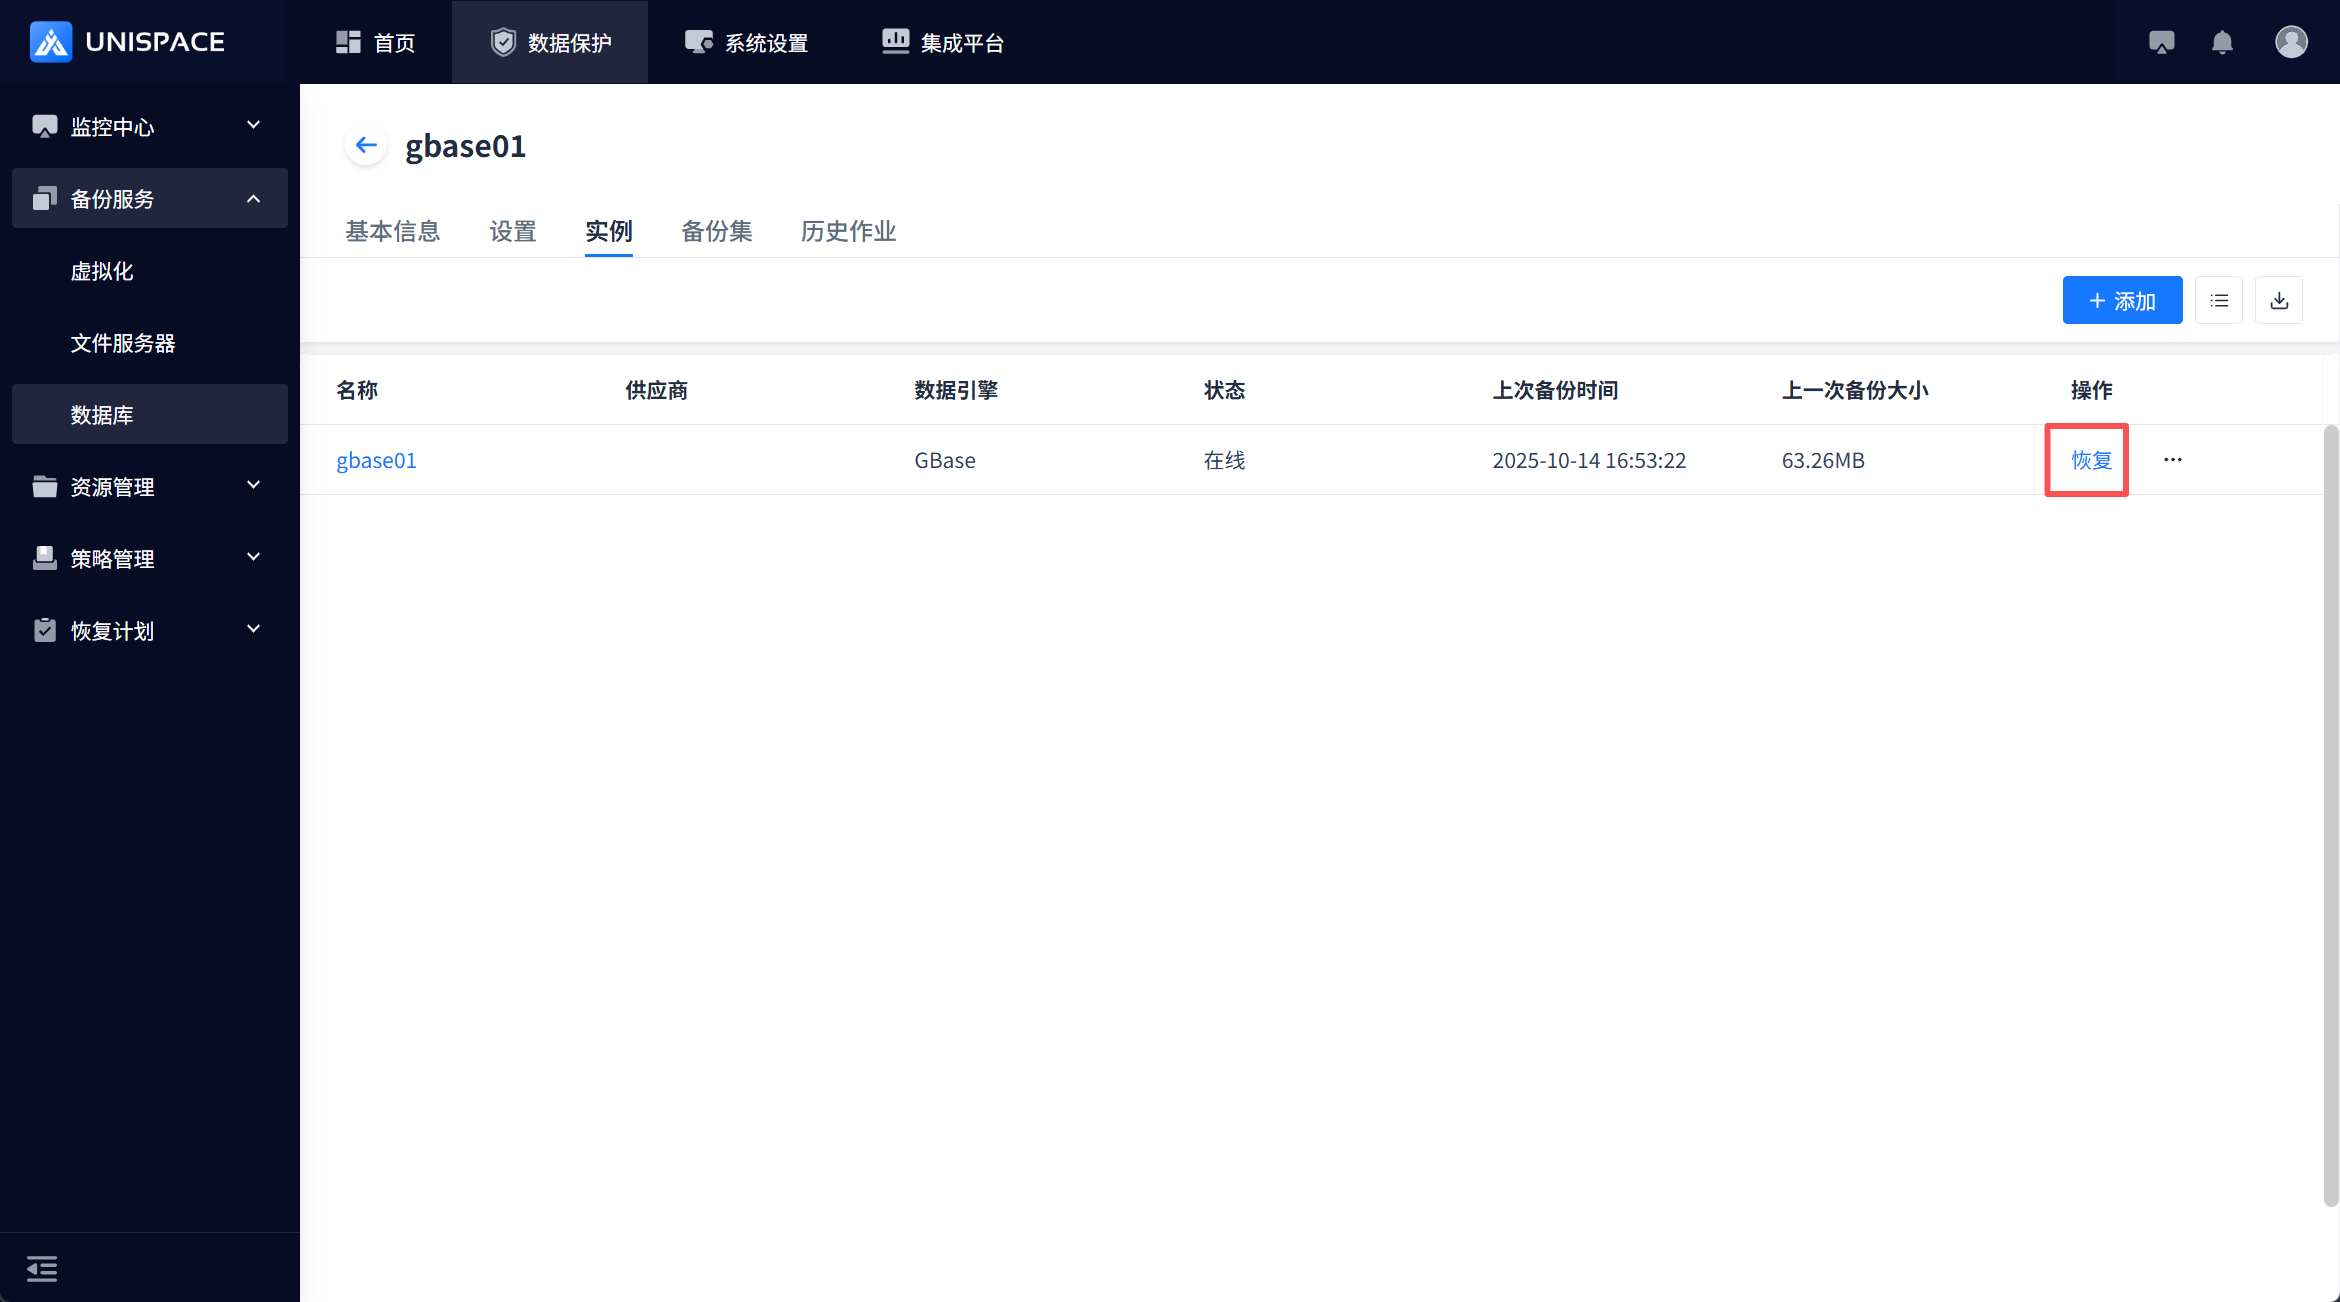
Step 3: A restore window will appear. Select a restore point, and query the restore points by time range. Choose a restore point and click Next Step.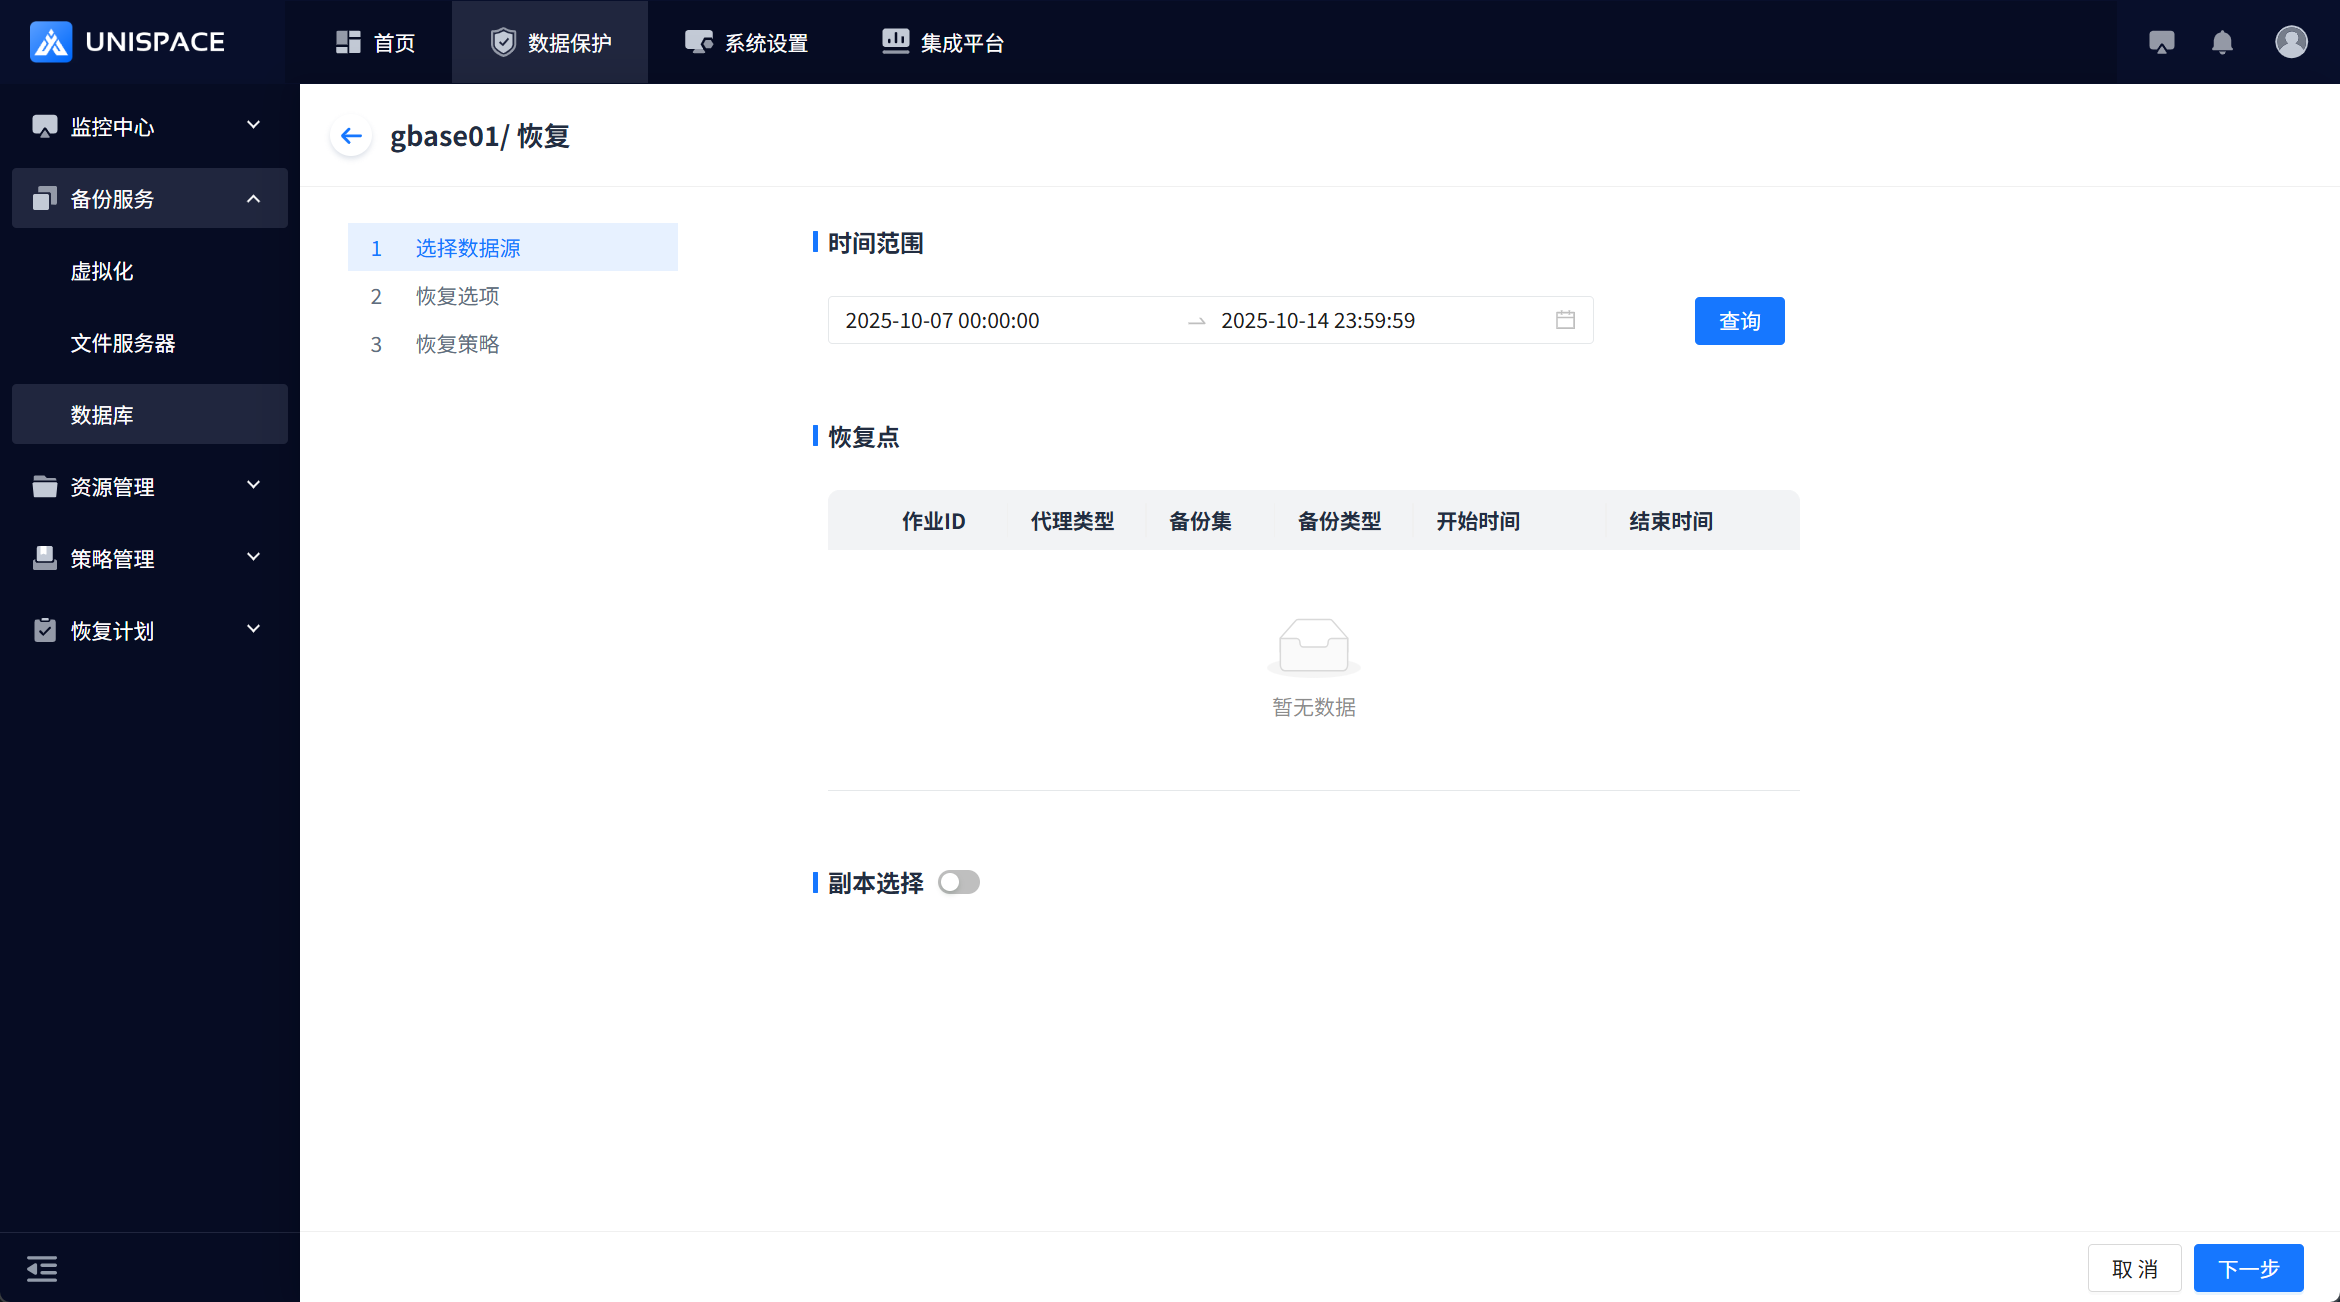
Step 4: Set restore options and click Confirm.
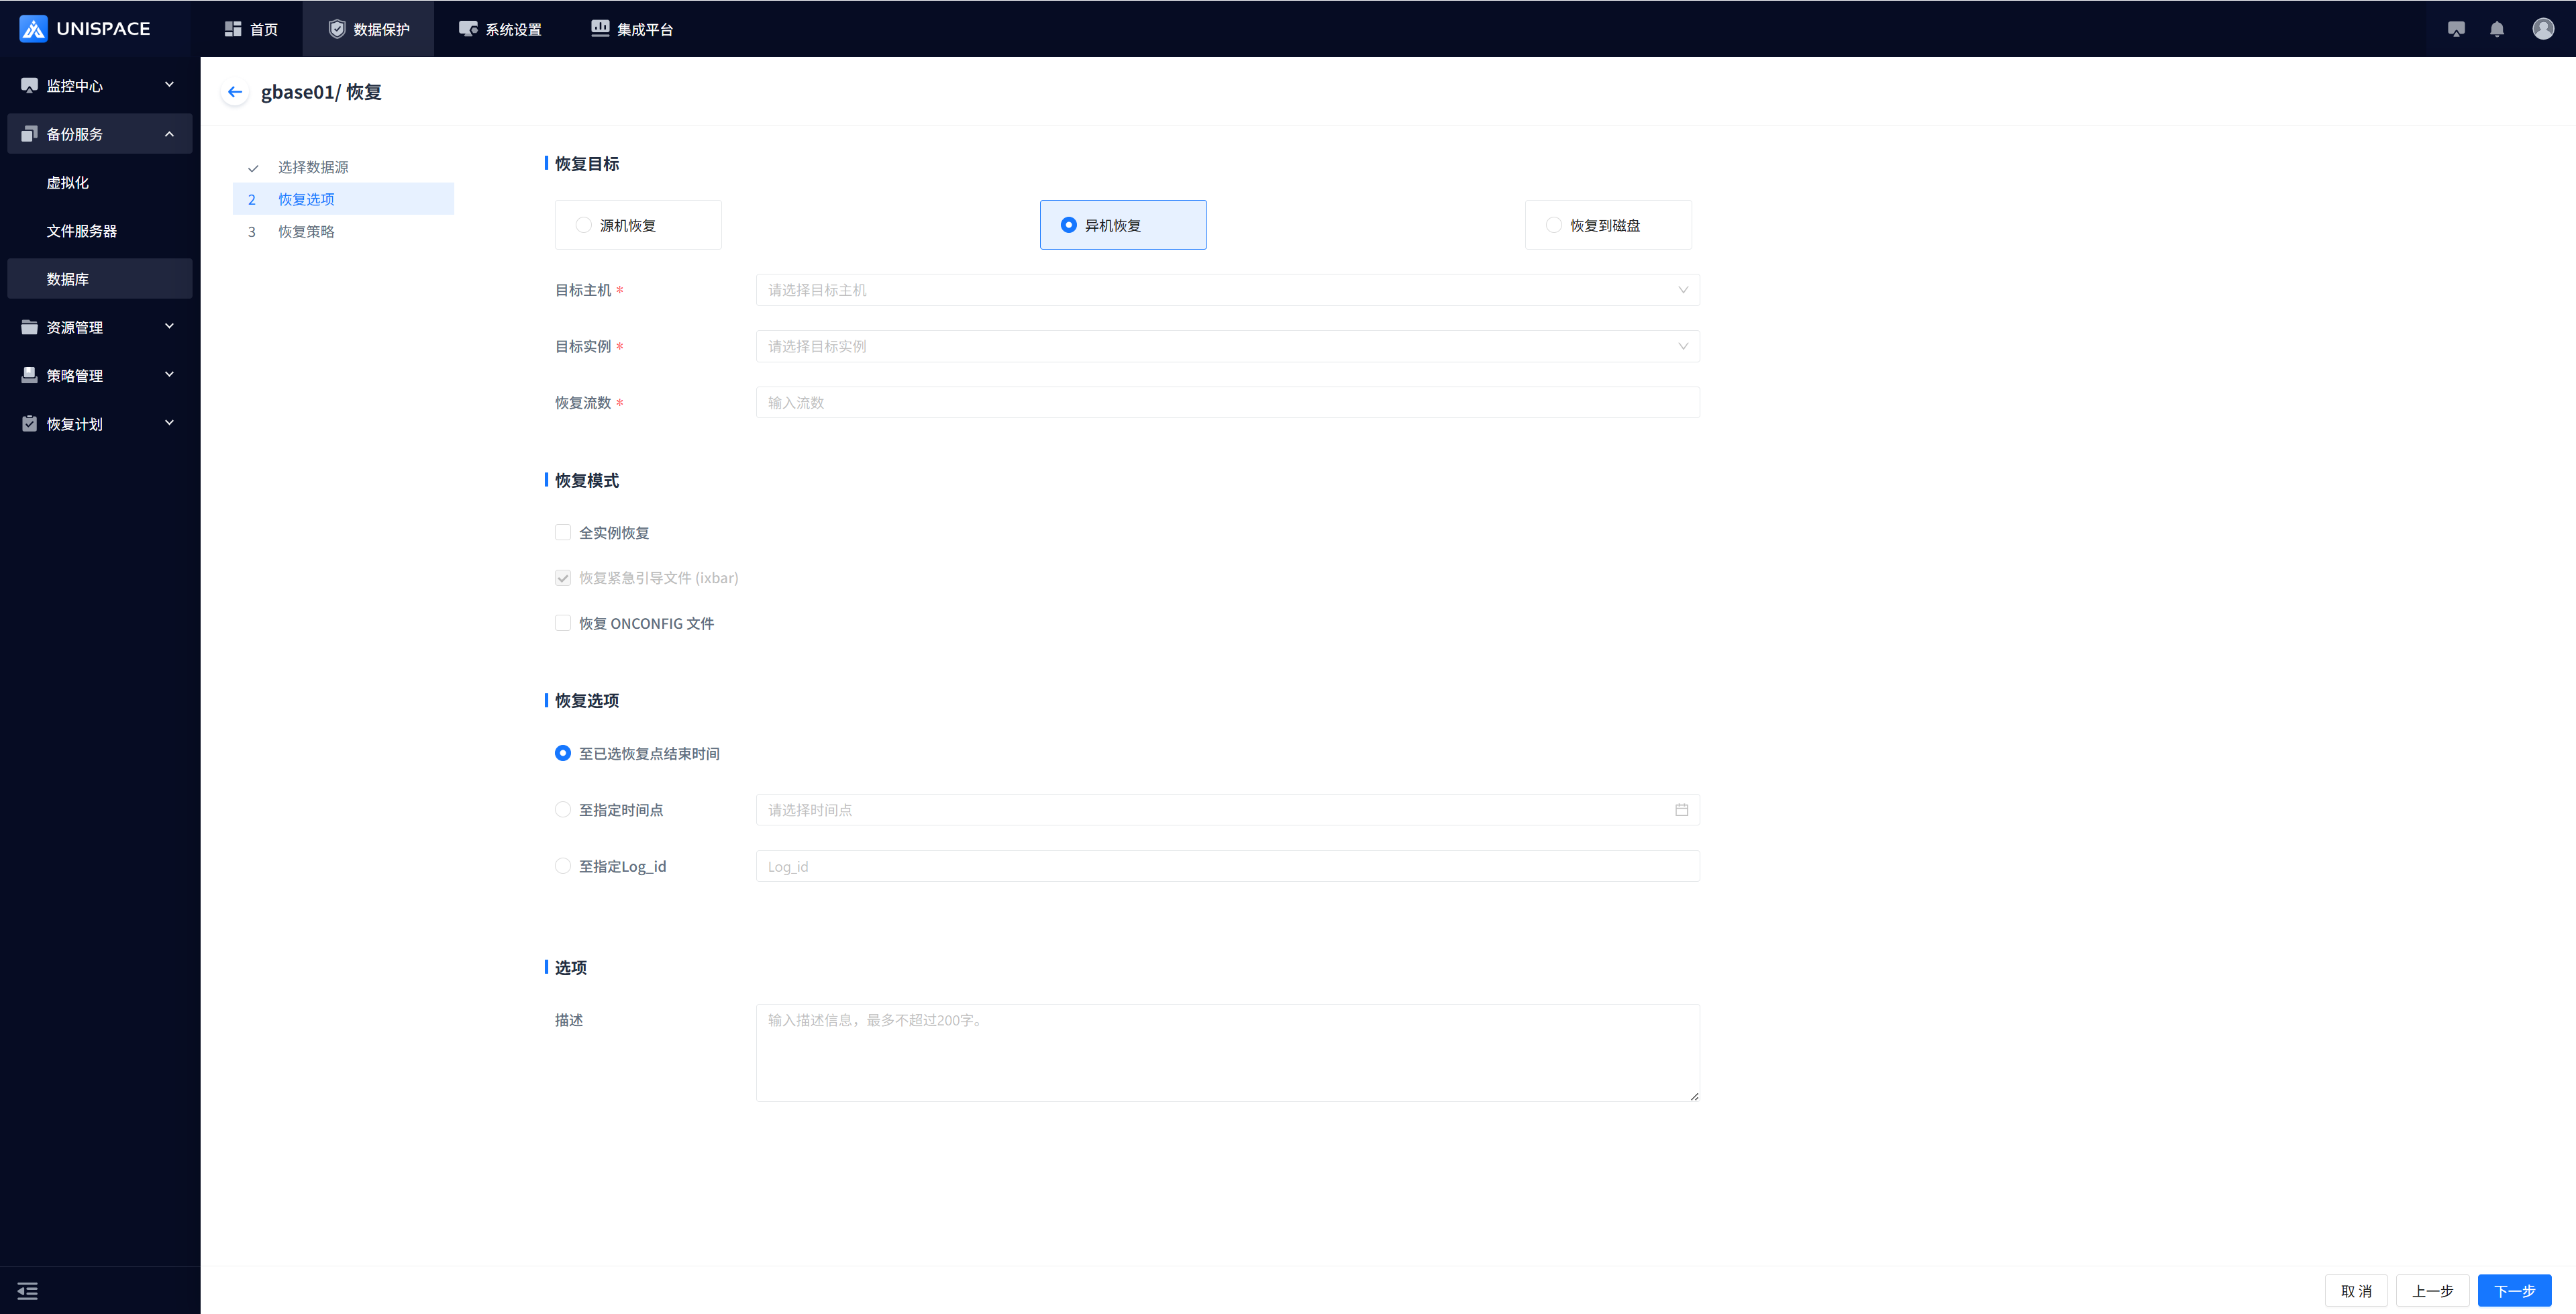
Step 5: Fill in the necessary parameters as shown below:
| Parameter Name | Description | Configuration Rule |
|---|---|---|
| Restore Option | Default is "Restore to a different machine" | Dptions: Source machine, Target machine, Disk restore |
| Testore Option | Select the target server for the Gbase instance | "Source machine" - target host is grayed out, "Target machine" - auto-loads the dropdown list with available hosts, "Disk" - register the target host to the management node |
| Target Instance | Gbase instance on the target host | "Source machine" - target instance is grayed out, "Target machine" - auto-loads the dropdown list with available instances |
| Restore Stream Count | Numeric type | Range: 1-200, recommended is 4 |
| Restore Mode | Supports single or multiple selections | Options: Full instance restore, restore emergency boot files (ixbar), restore ONCONFIG file. By default, "ixbar" is selected for machine-to-machine restores. |
| Restore Option | Single choice (restore to the selected restore point end time, to a specified point in time, or to a specified Log_id | Choose valid time or Log_id |
Step 6: Select “Advanced Restore Options” and click Confirm.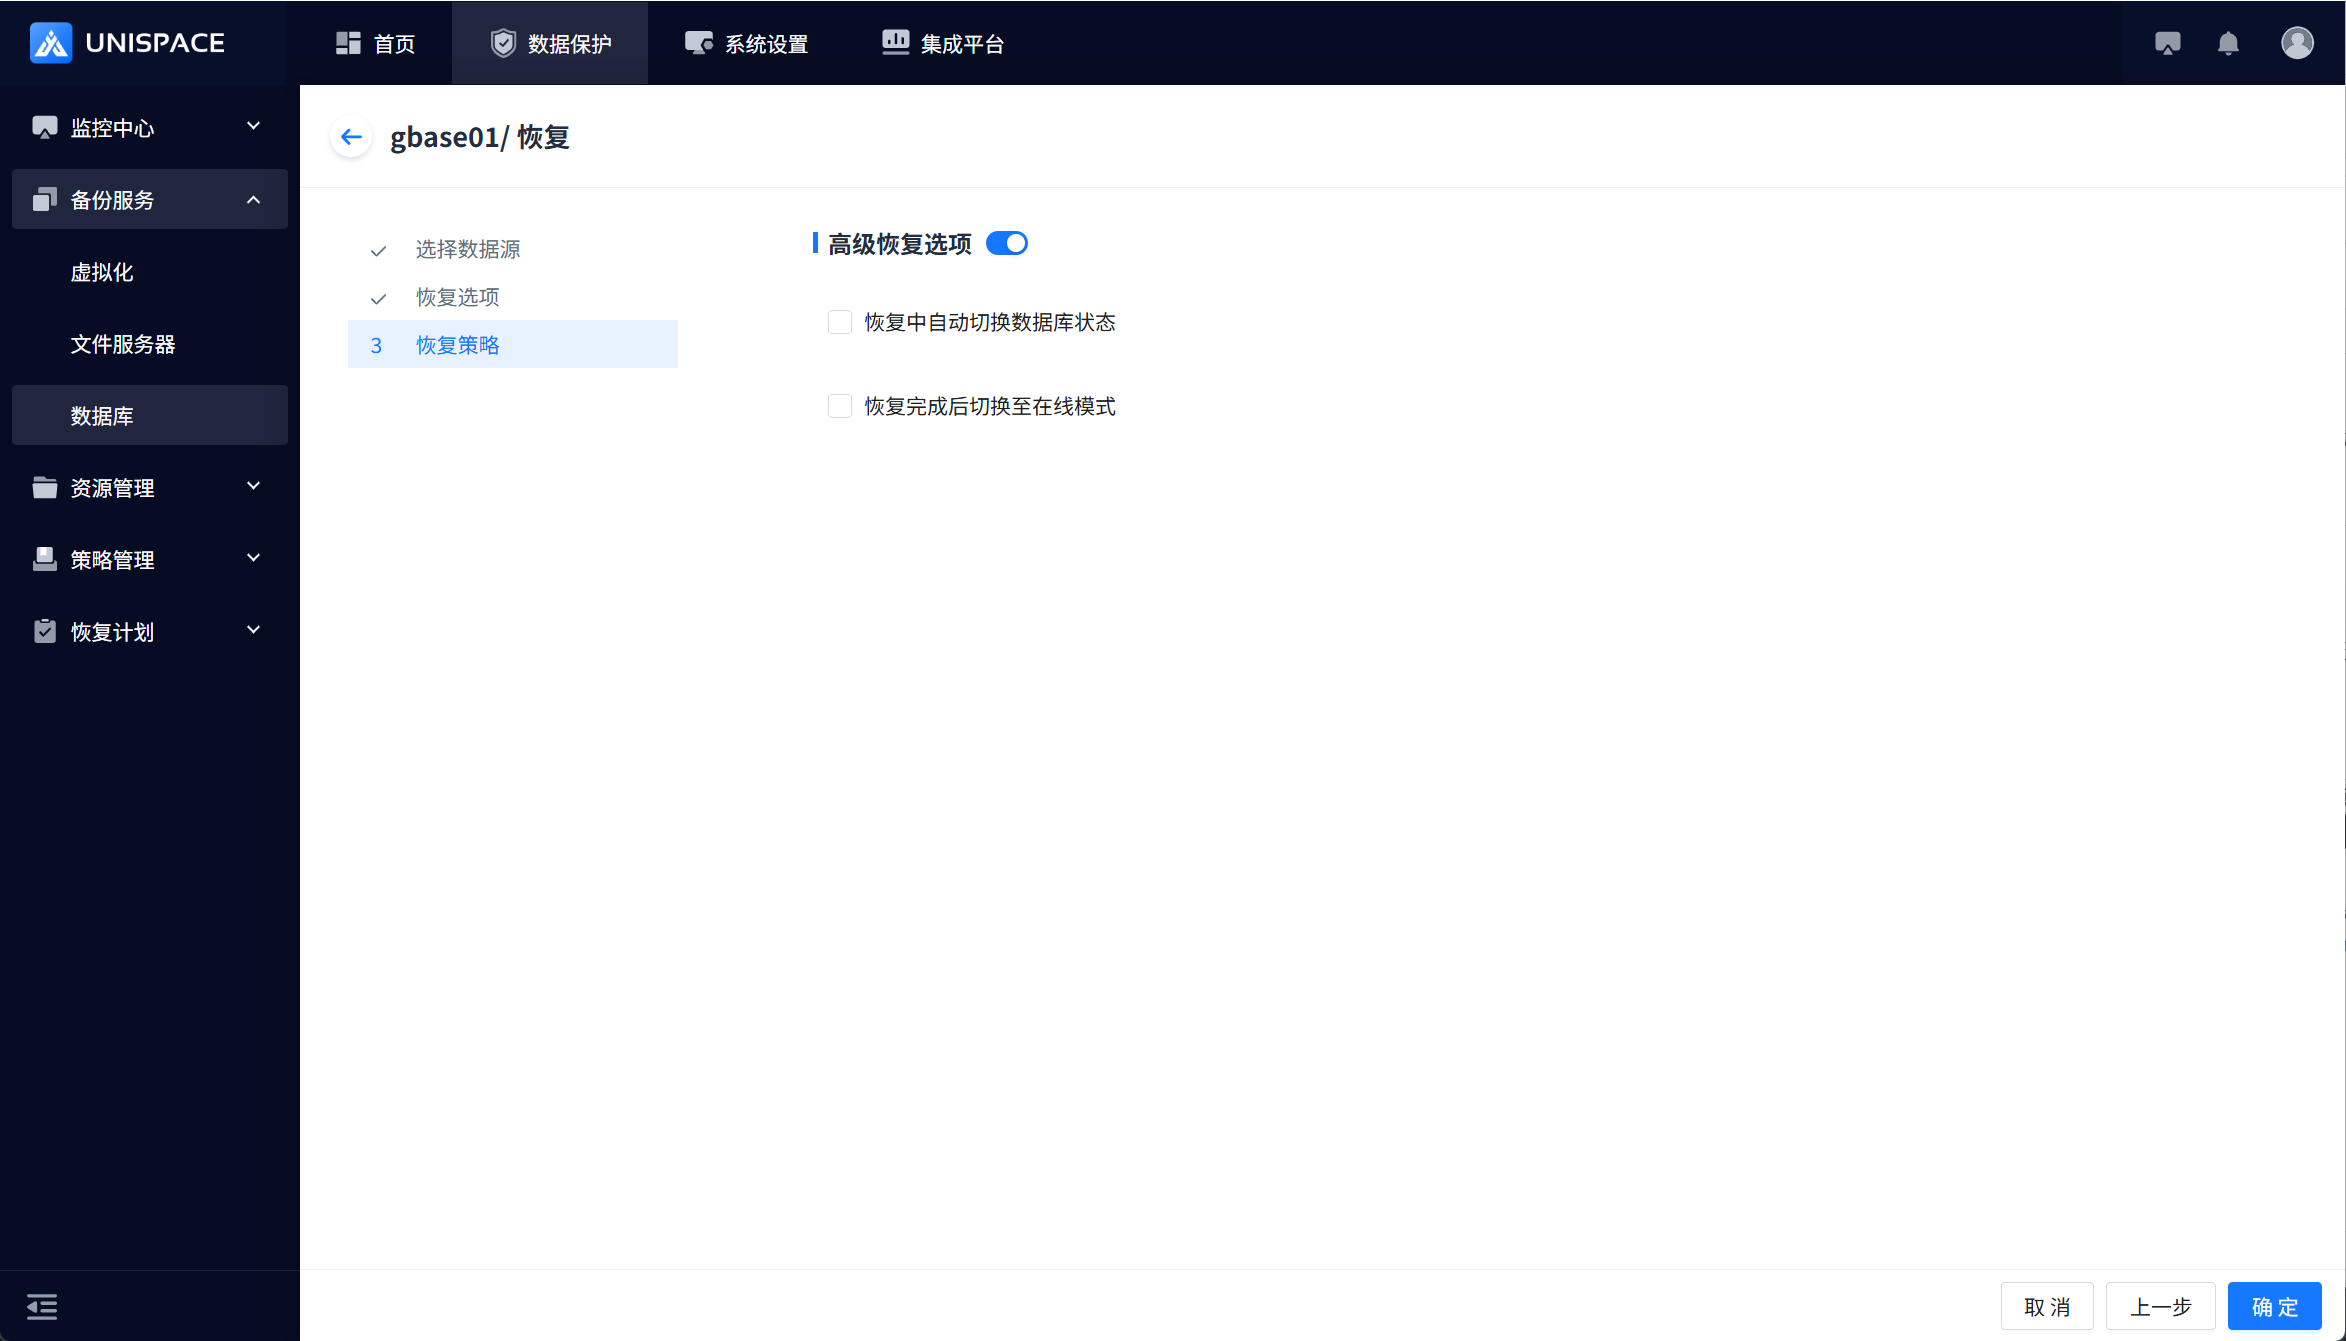
Step 7: After the backup job starts, go to Monitoring - Job - Active Jobs to see the job.
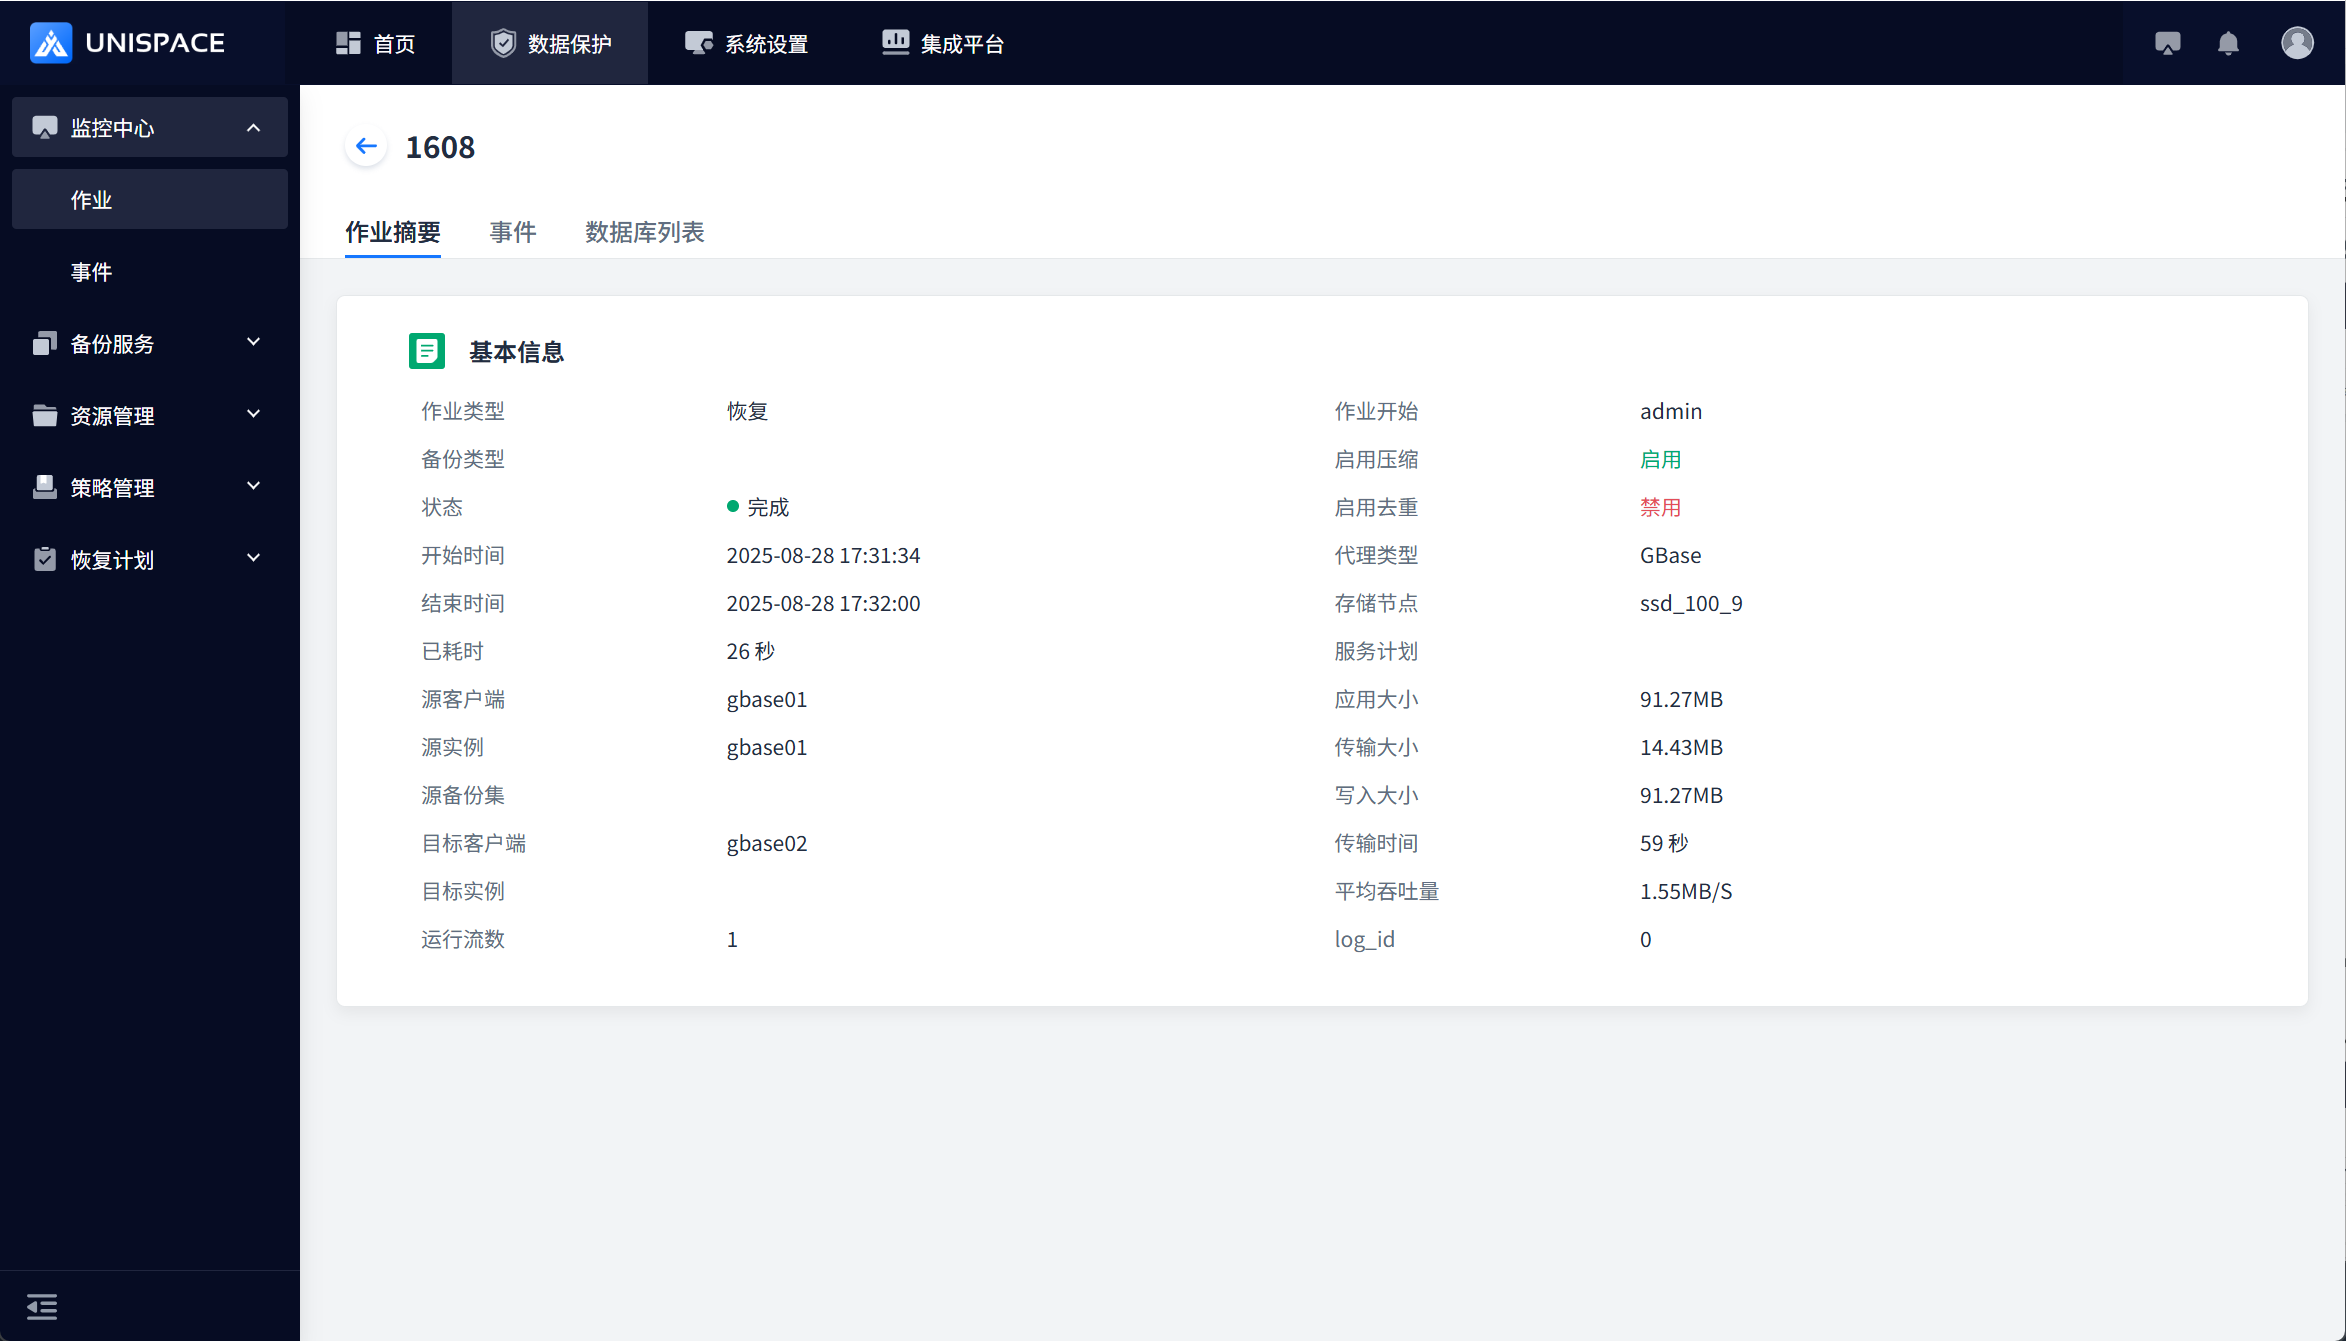
Step 8: Once the backup is complete, go to Monitoring - Job - Historical Jobs to view the job, which should display a status of "Completed".