Agent--MySQL
1.1 Create a MySQL Instance
Prerequisites
- Created a new user.
- Created a new storage repository.
- Created a new service plan.
- MySQL service must be installed and accessible.
Steps
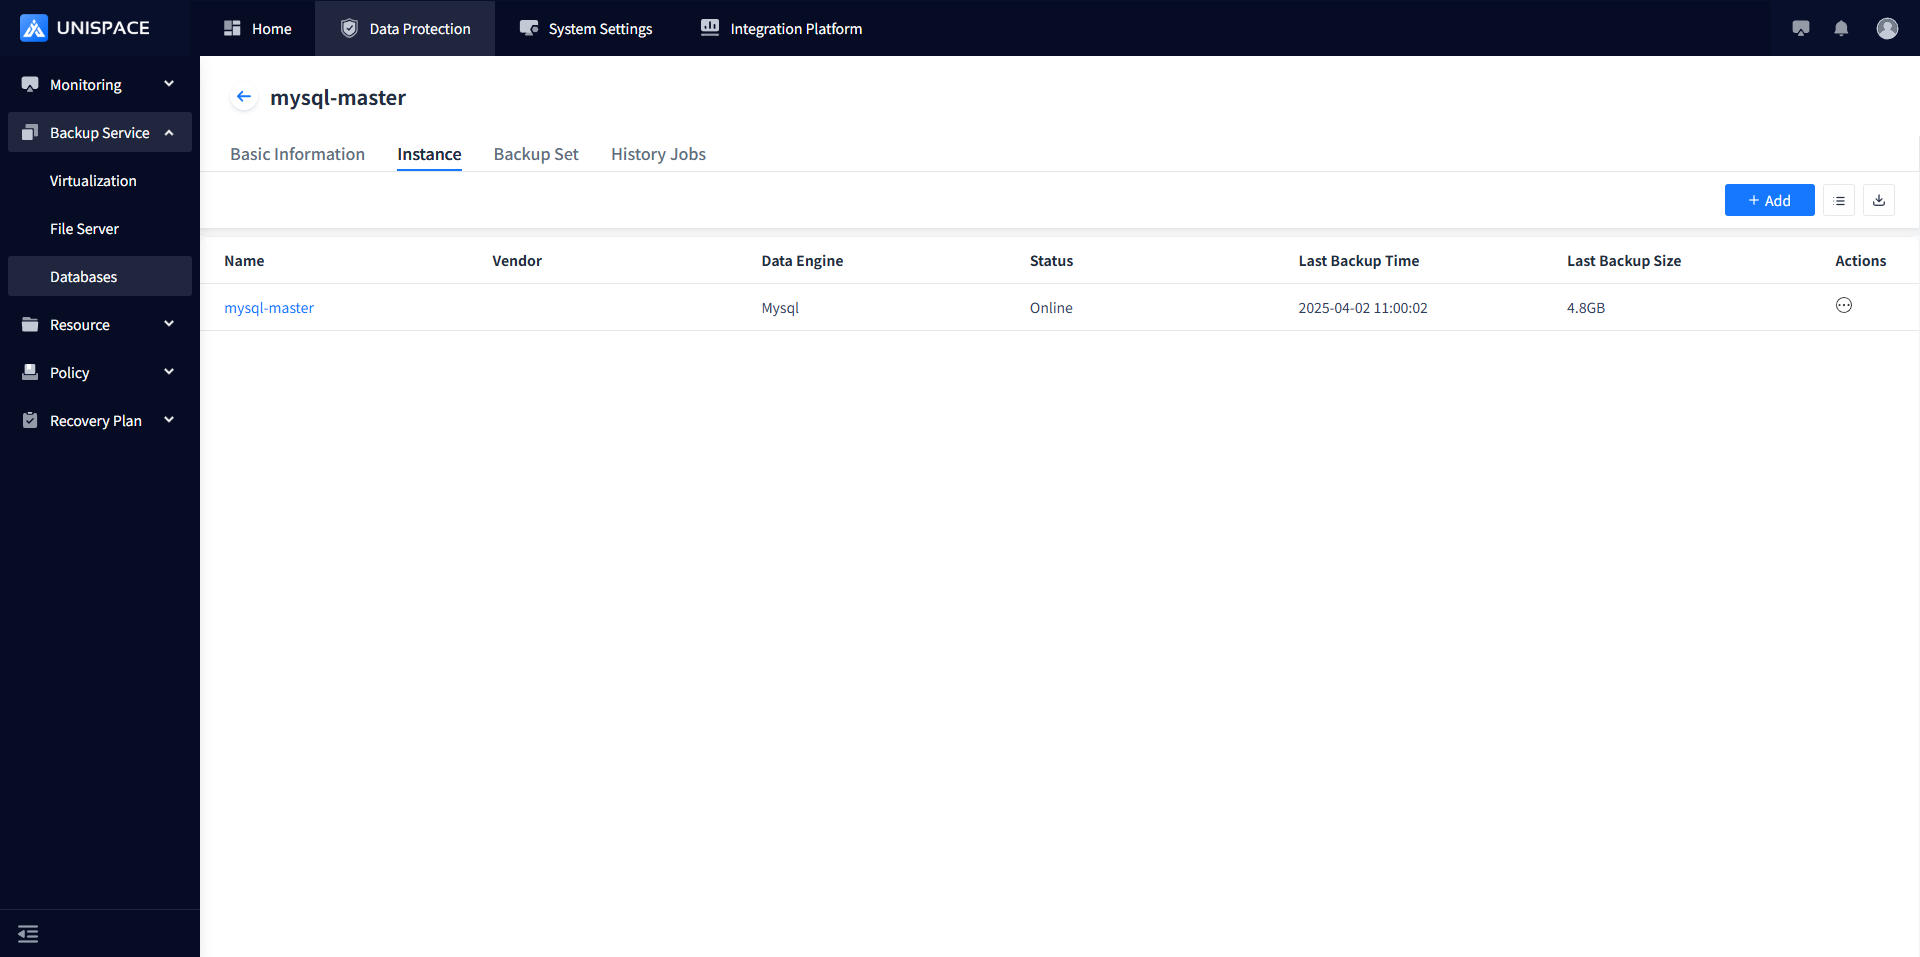
Step 1: Click the system menu Backup Service - Database list "Server Name" to enter the database instance page.

Step 2: Click the Add button at the top right of Instance, and a popup will appear as follows: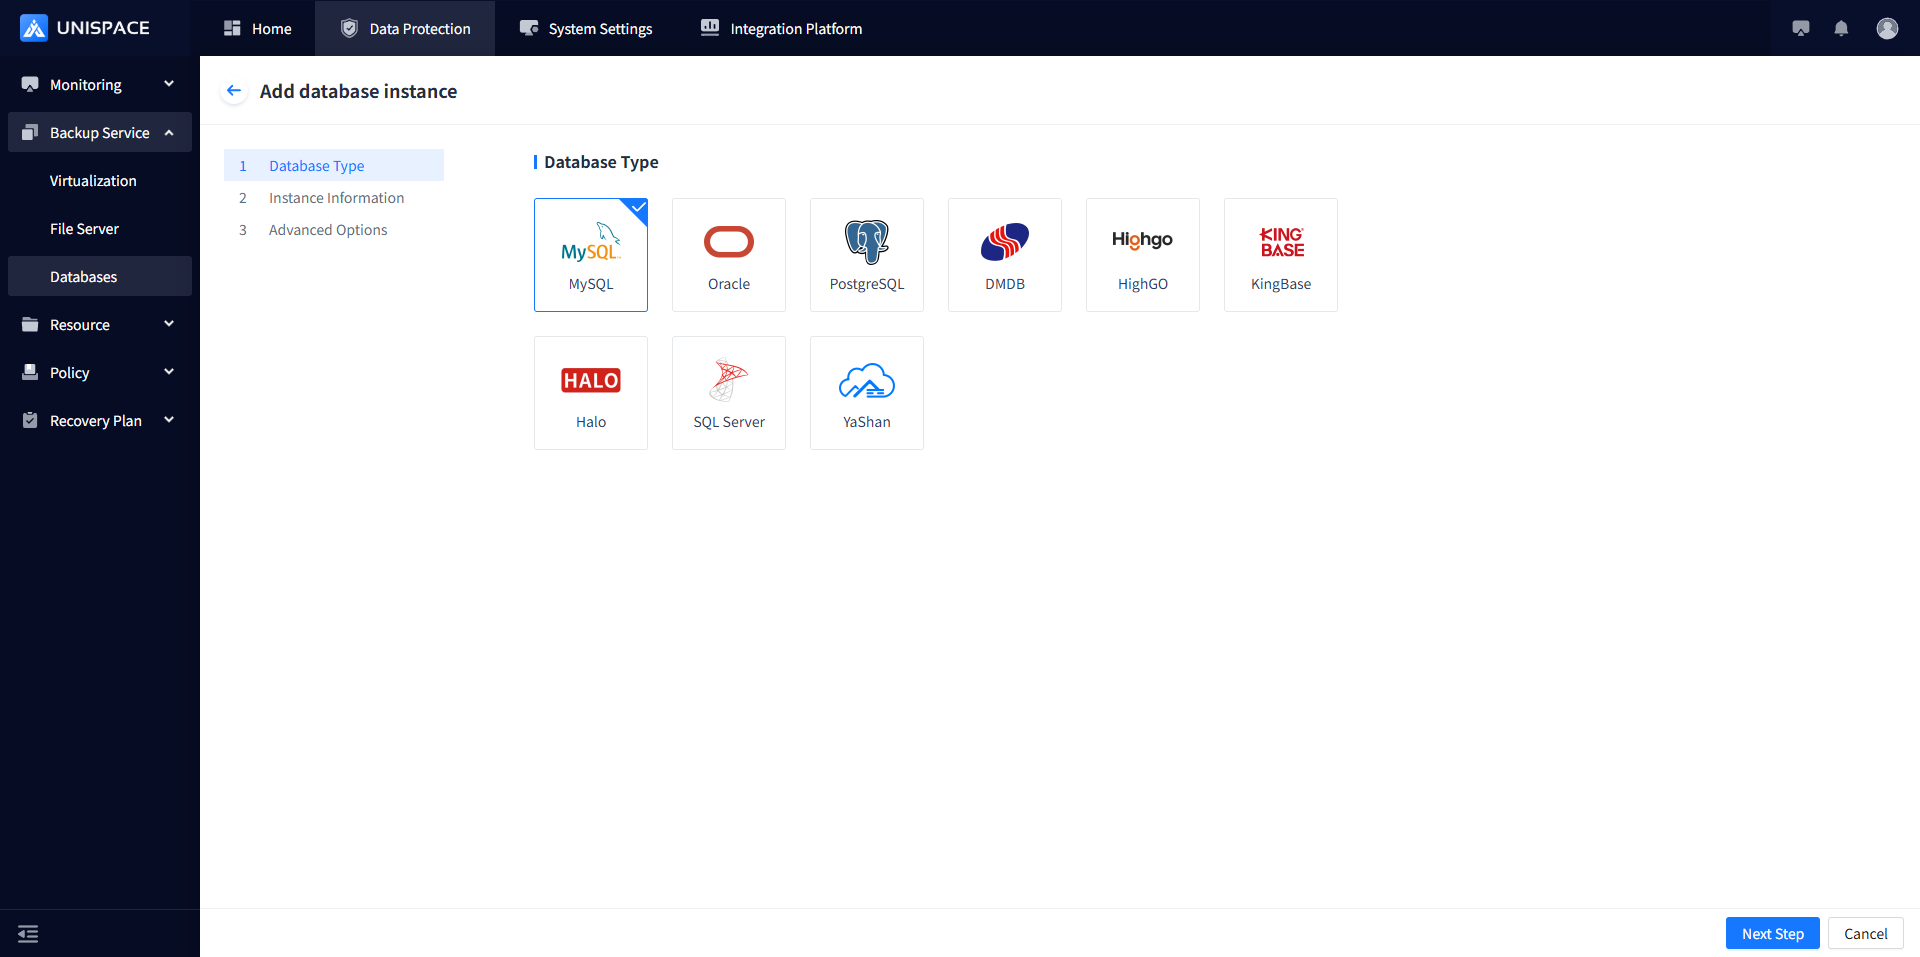
Step 3: Configure the instance information on the page, then click Next.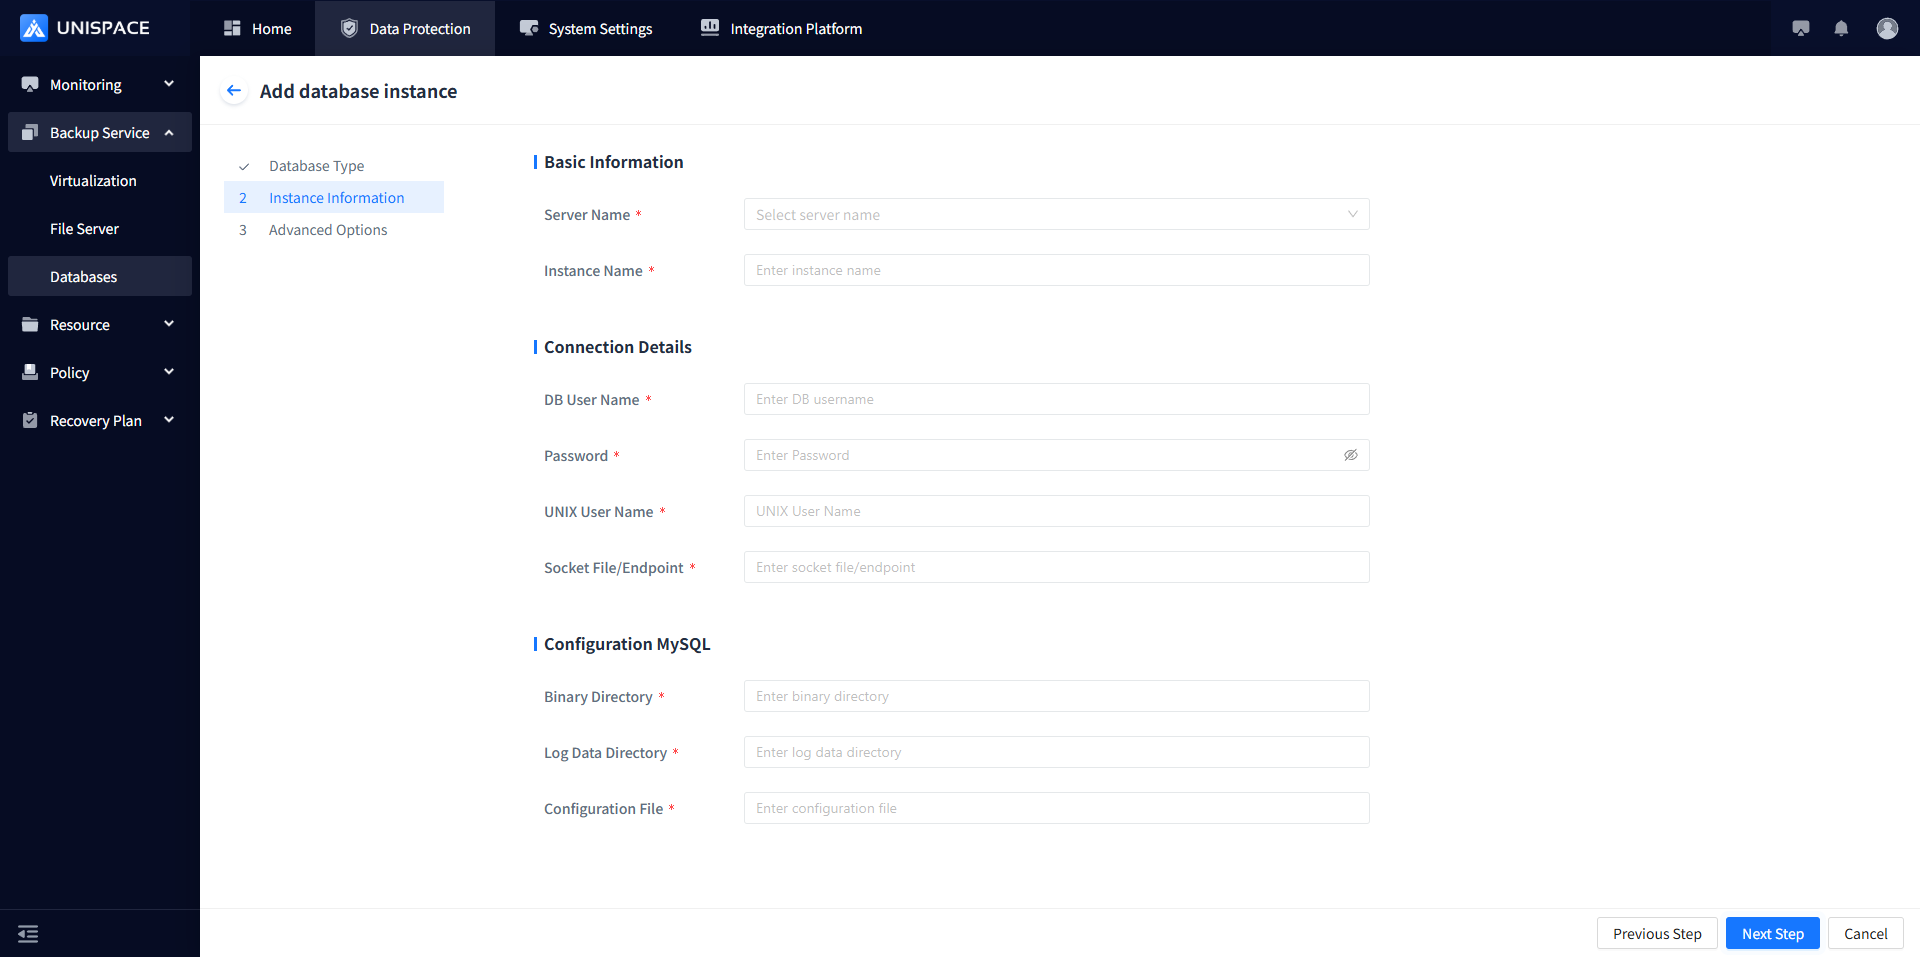
Step 4: Whether to configure XtraBackup.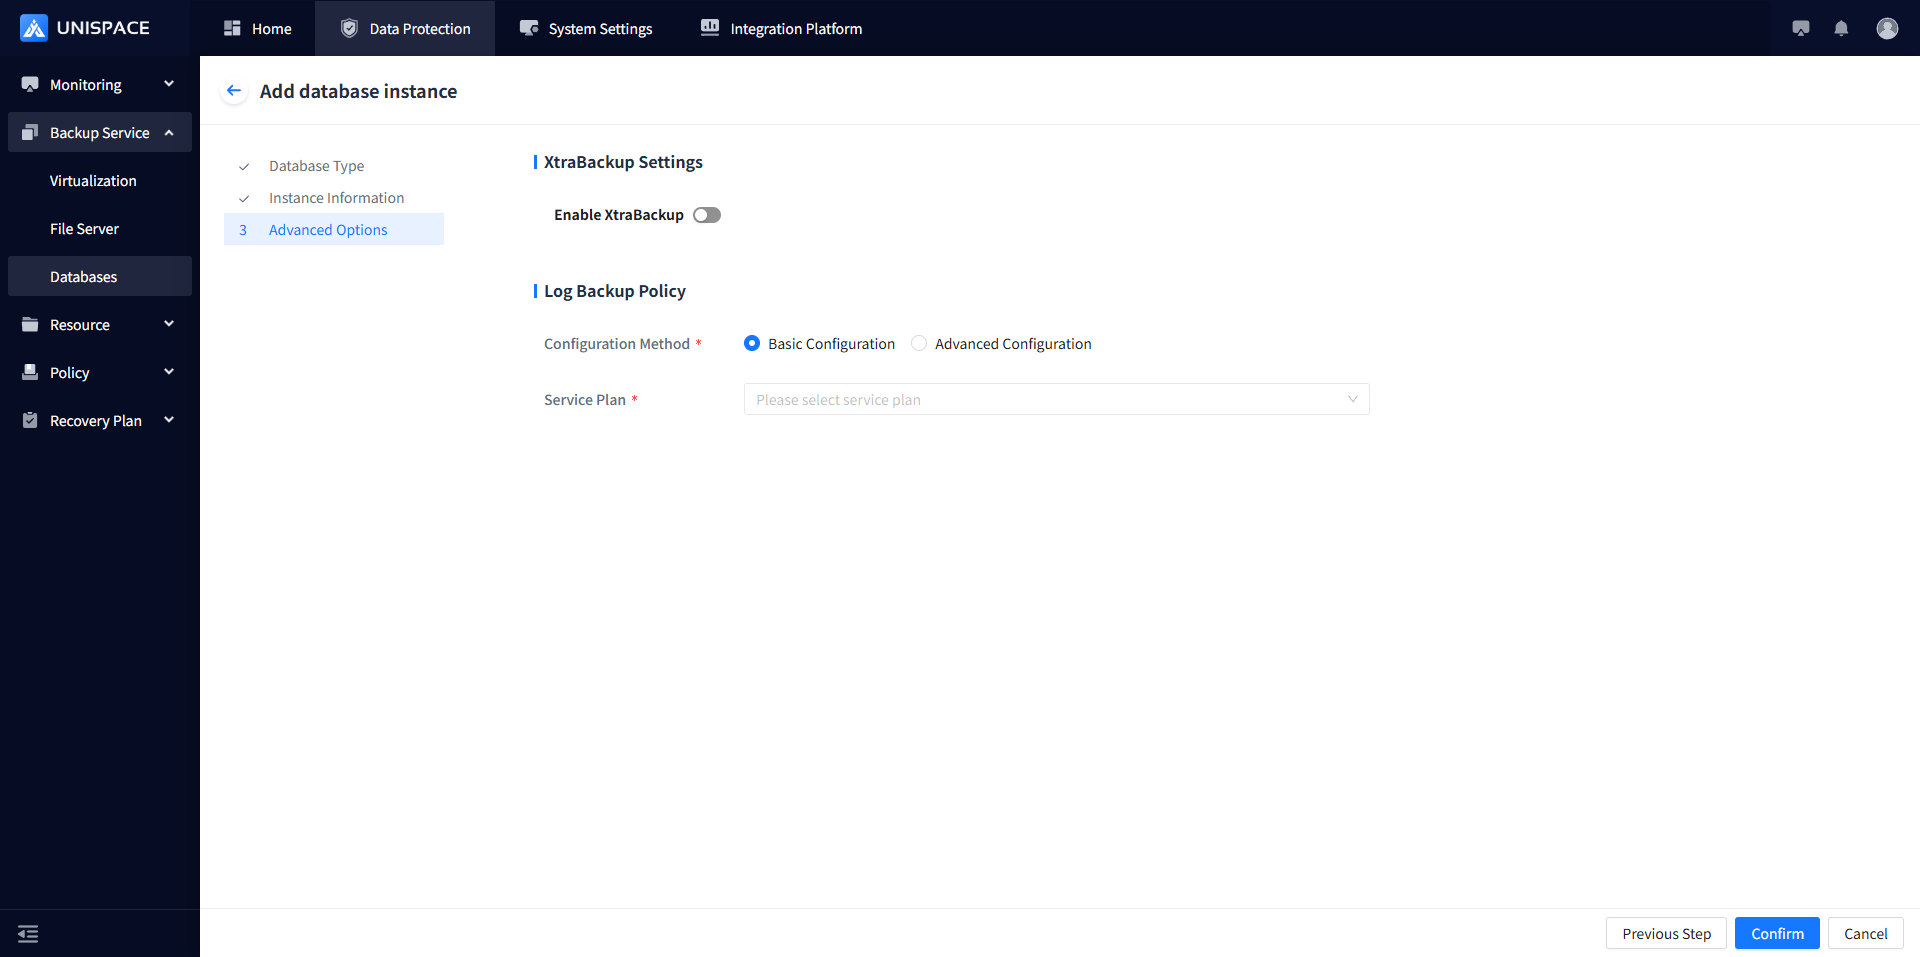
 Fill in the necessary parameters. The parameter description is as follows:
| Parameter Name | Description | Configuration Principle |
|---|---|---|
| Database Type | Single choice, required, default is MySQL | Currently only supports MySQL |
| Server Name | Single choice, required, MySQL server name | Select the server name where MySQL is located |
| Instance Name | Text input, required | No length or special character limit |
| DB Username | Text input, required | Enter the MySQL username |
| Password | Password type, required | Enter the MySQL password |
| UNIX Username | Text input, required | Enter the UNIX username, such as root |
| Socket Path/Endpoint | Text input, required | Enter the path where mysql.sock is located |
| Binary Directory | Text input, required | Enter the correct MySQL binary directory |
| Log Data Directory | Text input, required | Enter the correct MySQL log directory |
| Configuration File | Text input, required | Enter the path to the mysql.cnf file |
| xtraBackup Settings | Default is offSimplified configuration or advanced configuration | Backup method for MySQL, requires a third-party package |
| Configuration Mode | Single choice, required | |
| Self-Service Plan | Single choice, required | Choose an appropriate plan |
Step 5: Click the Confirm button, and the frontend will prompt "Added successfully".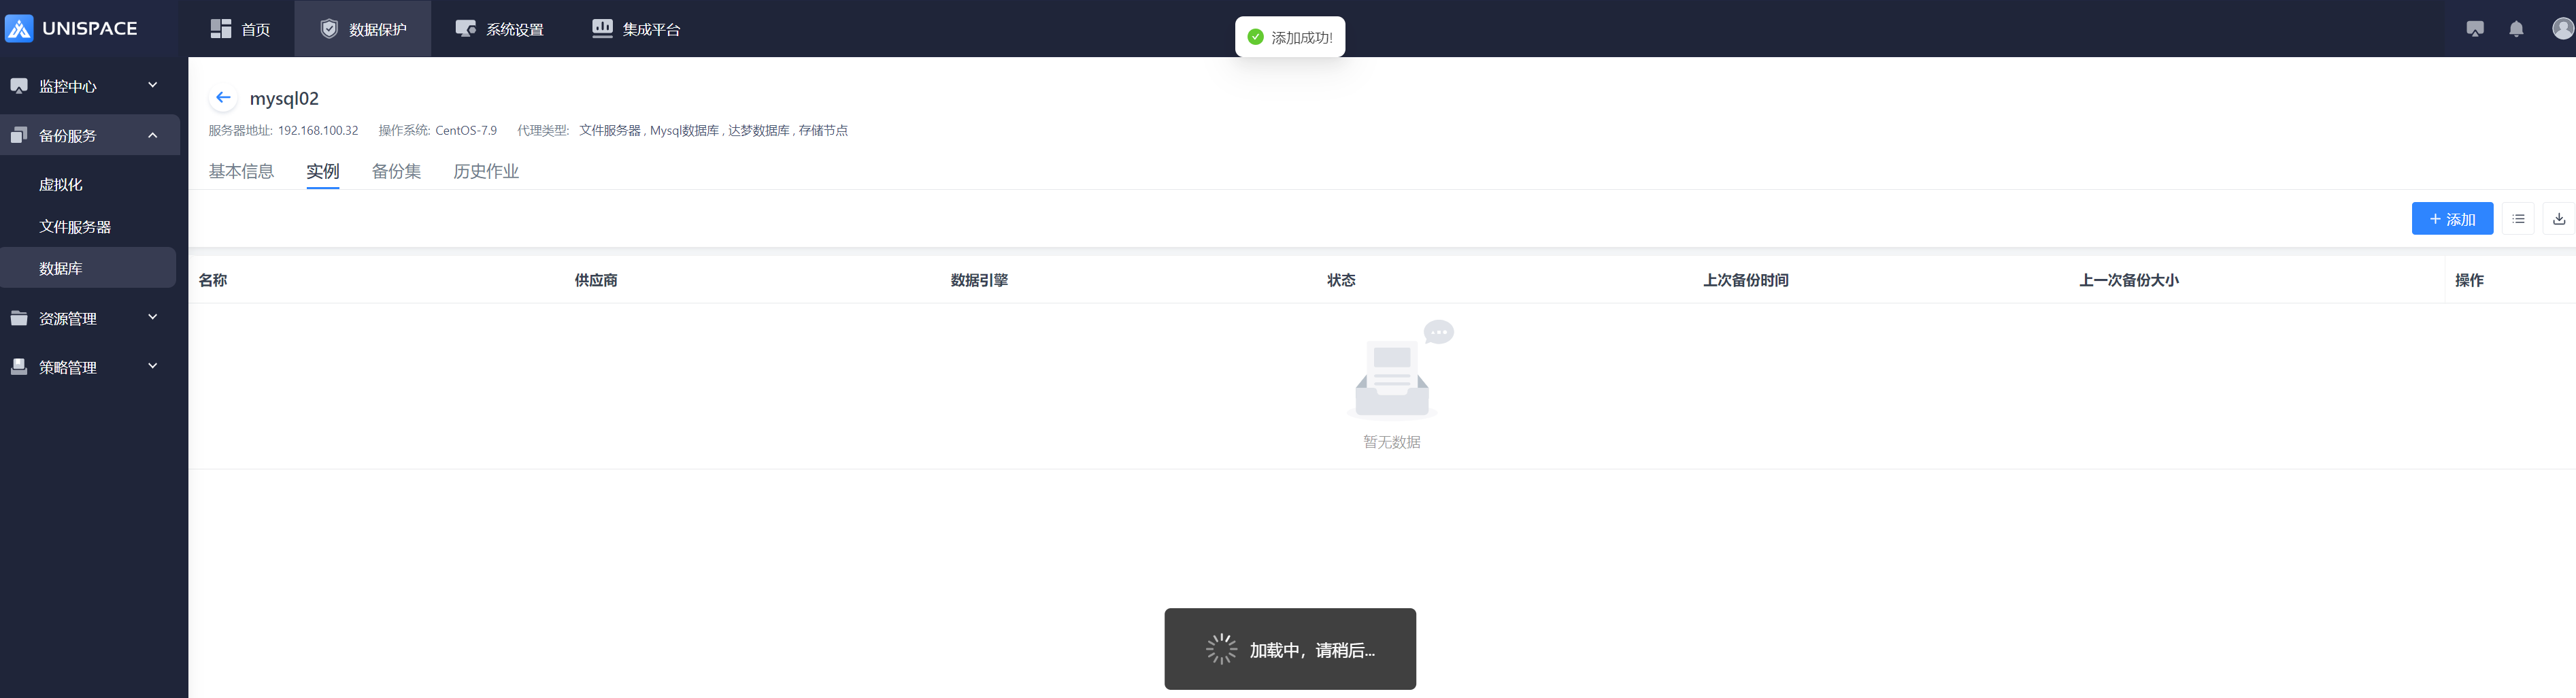
1.2 Create MySQL Backup Object Set
Prerequisites
- A MySQL instance has been created.
Steps
Step 1: Click the system menu Backup Service - Database - Server Name - Data List - Backup Set.

Step 2: Click the Add button at the top right of Backup Set, and a popup will appear. 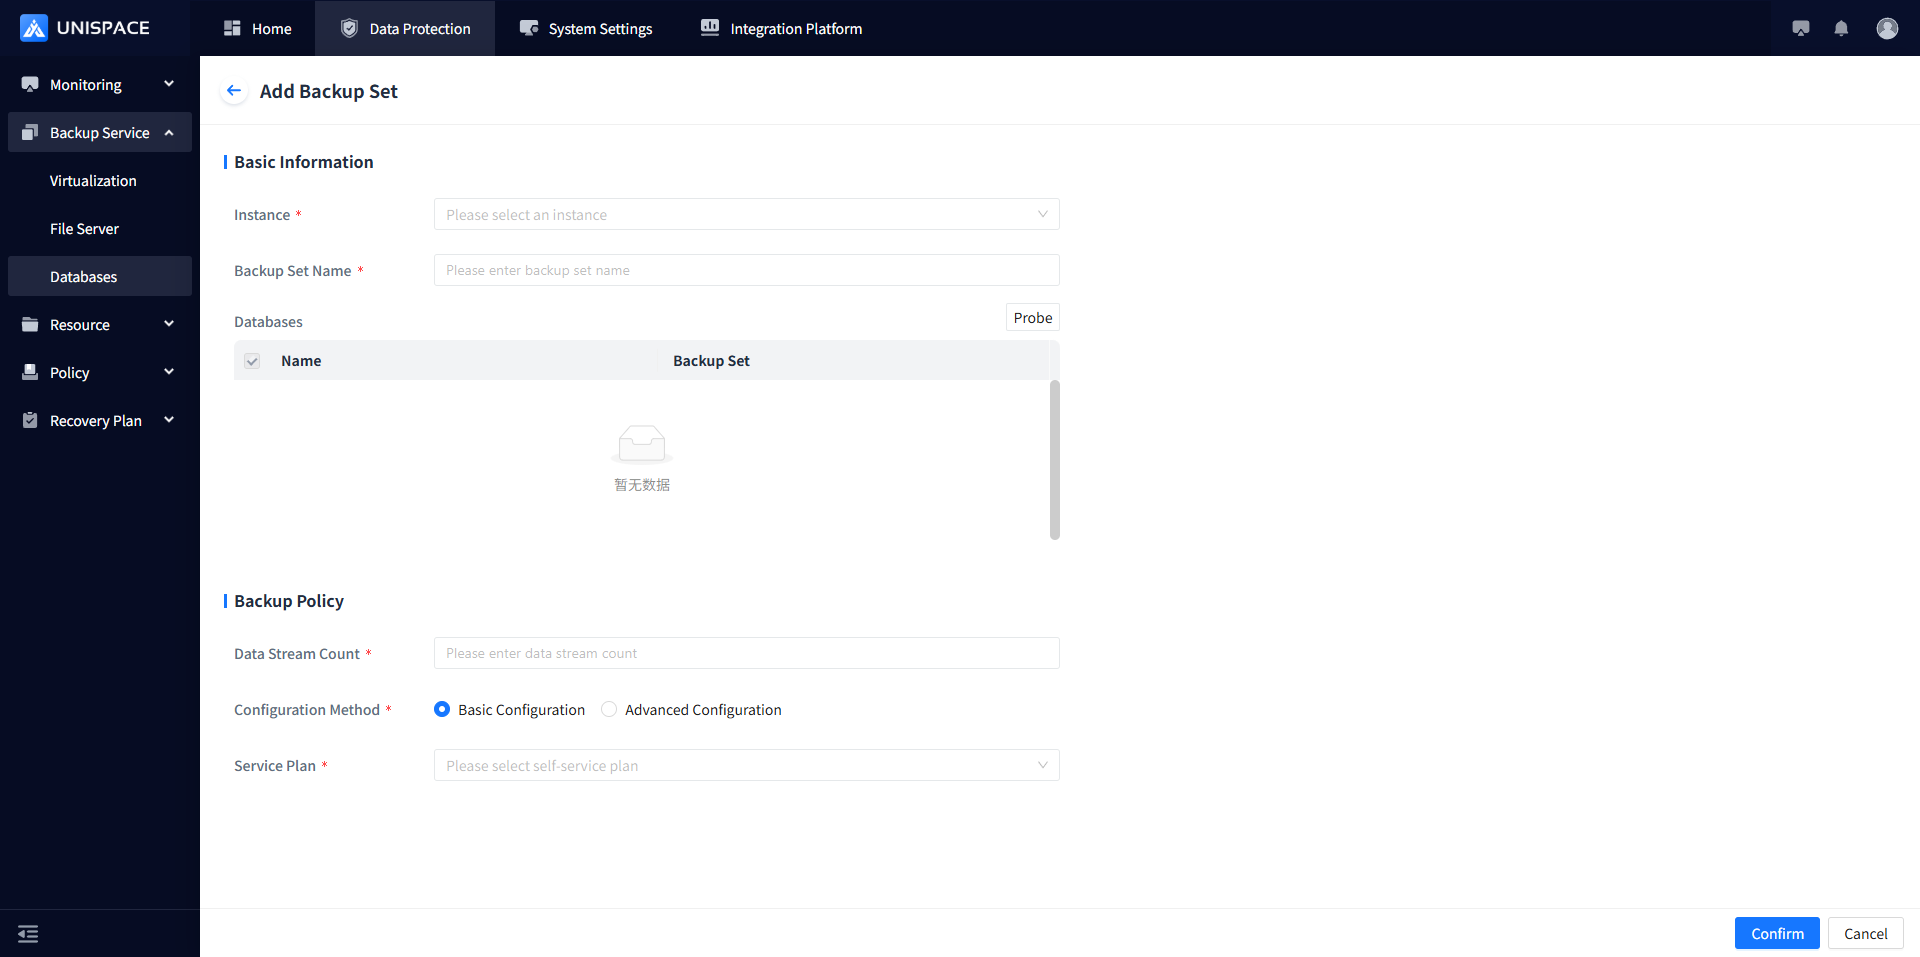 Fill in the necessary parameters as follows:
Description of the Add Backup Set parameter in the table
| Parameter Name | Description | Configuration Principle |
|---|---|---|
| Instance | Single choice, required, select current MySQL instance | Default is unchecked |
| Backup Set Name | Text input, required | Length up to 50 characters, special symbols not allowed |
| Instance Name | Text input, required | No length or special character limit |
| Discovery | Not a parameter | Default is to re-scan the database |
| Database | Multi-line, required | Cannot select databases that belong to other backup sets |
| Data Stream Count | Numeric type | No more than 200, recommended to be less than 10 |
| Configuration Mode | Single choice, required | Simplified configuration or advanced configuration |
| Self-Service Plan | Single choice, required | Choose an appropriate plan |
Step 3: Click the Confirm button, and the frontend will prompt "Added successfully".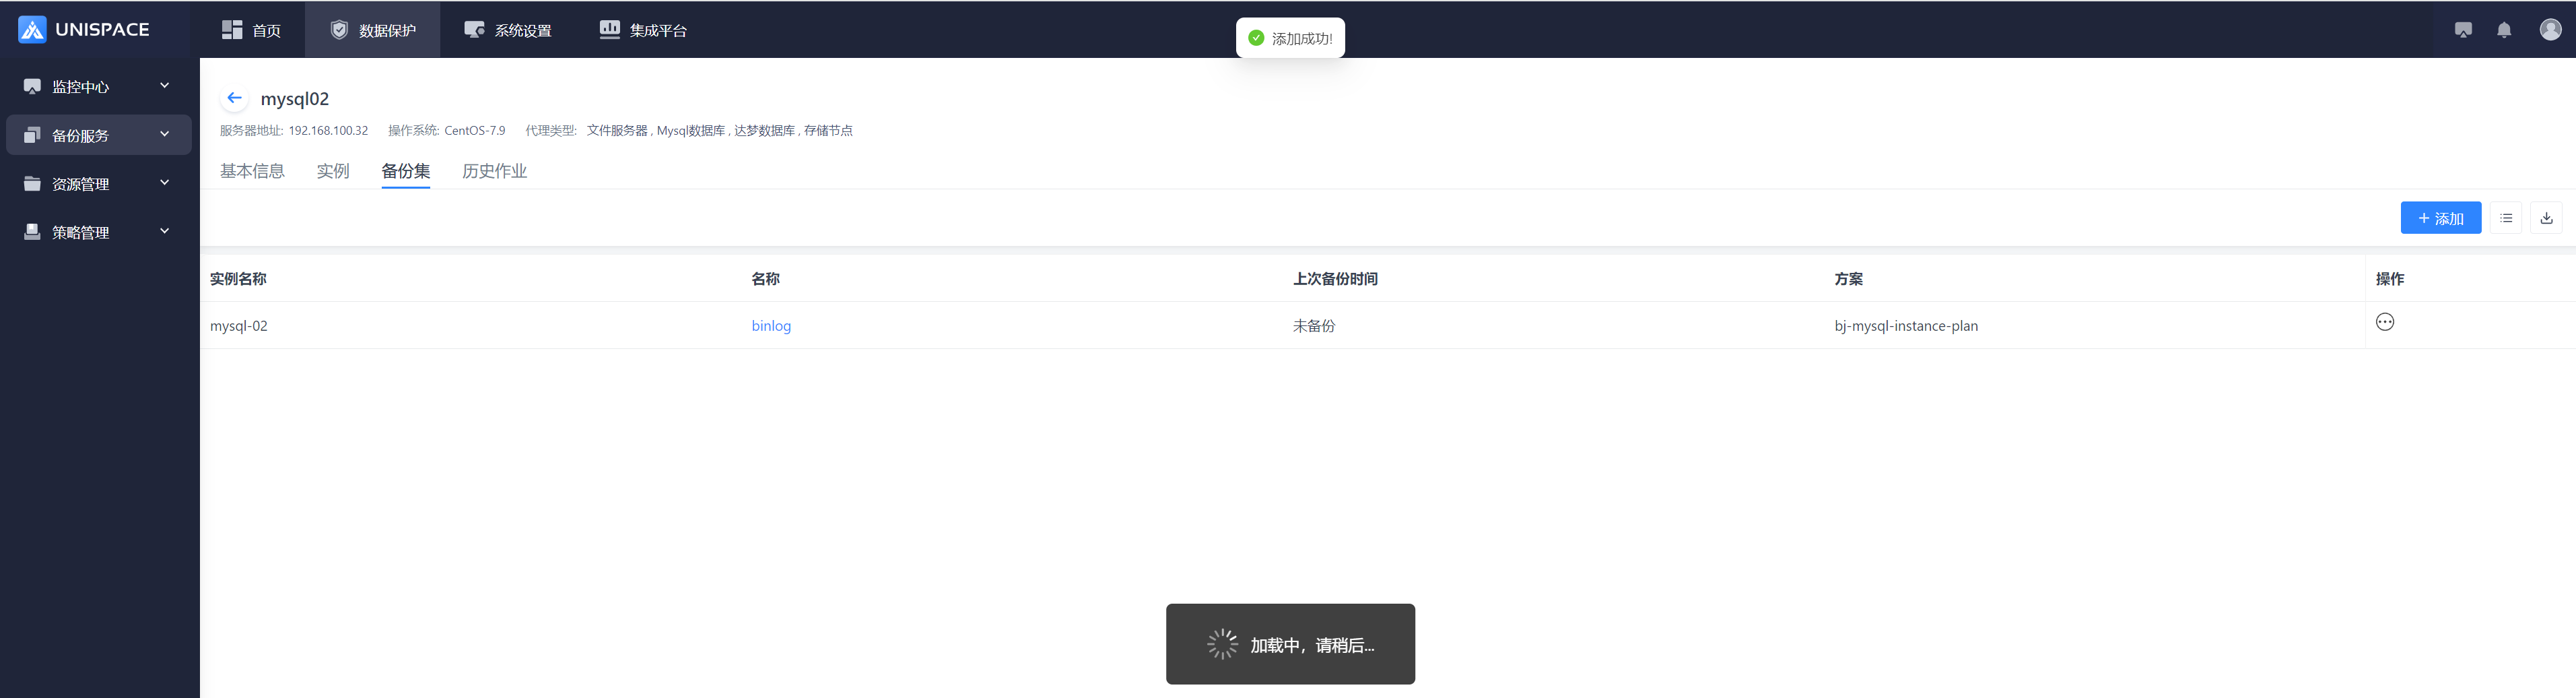
1.3 MySQL Database Backup
Prerequisites
- The MySQL backup set has been configured.
Steps
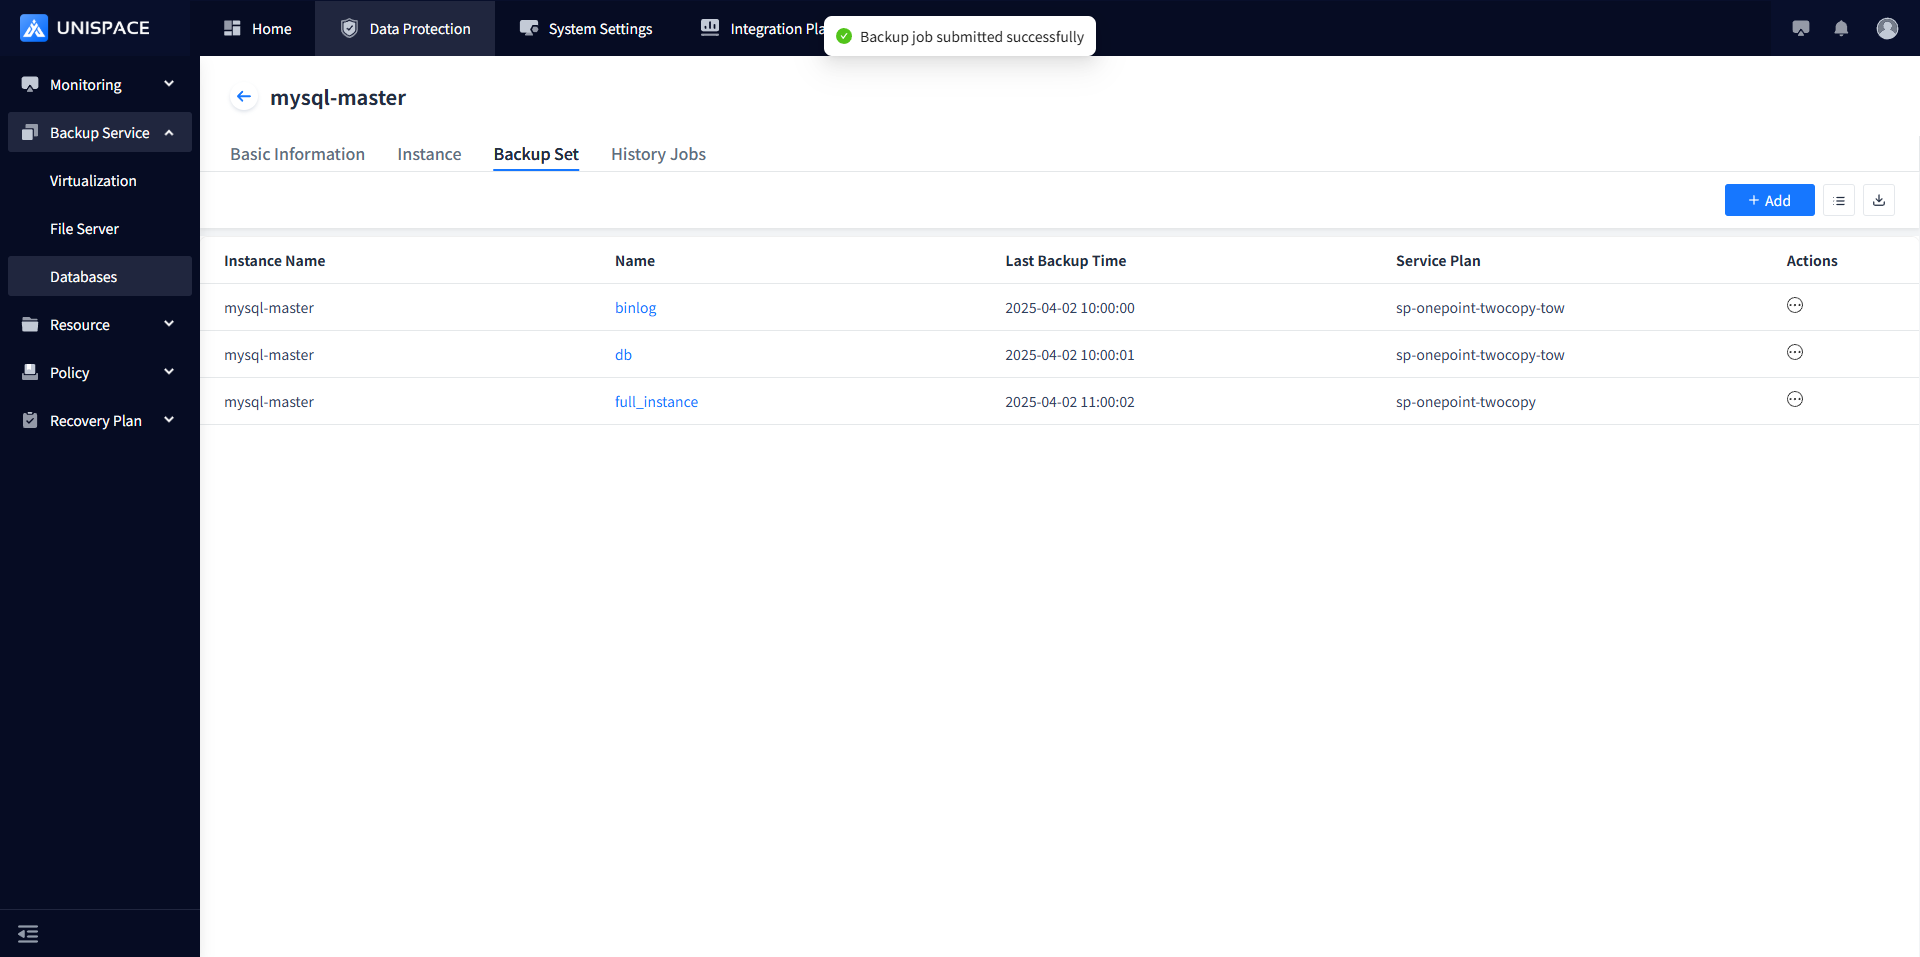
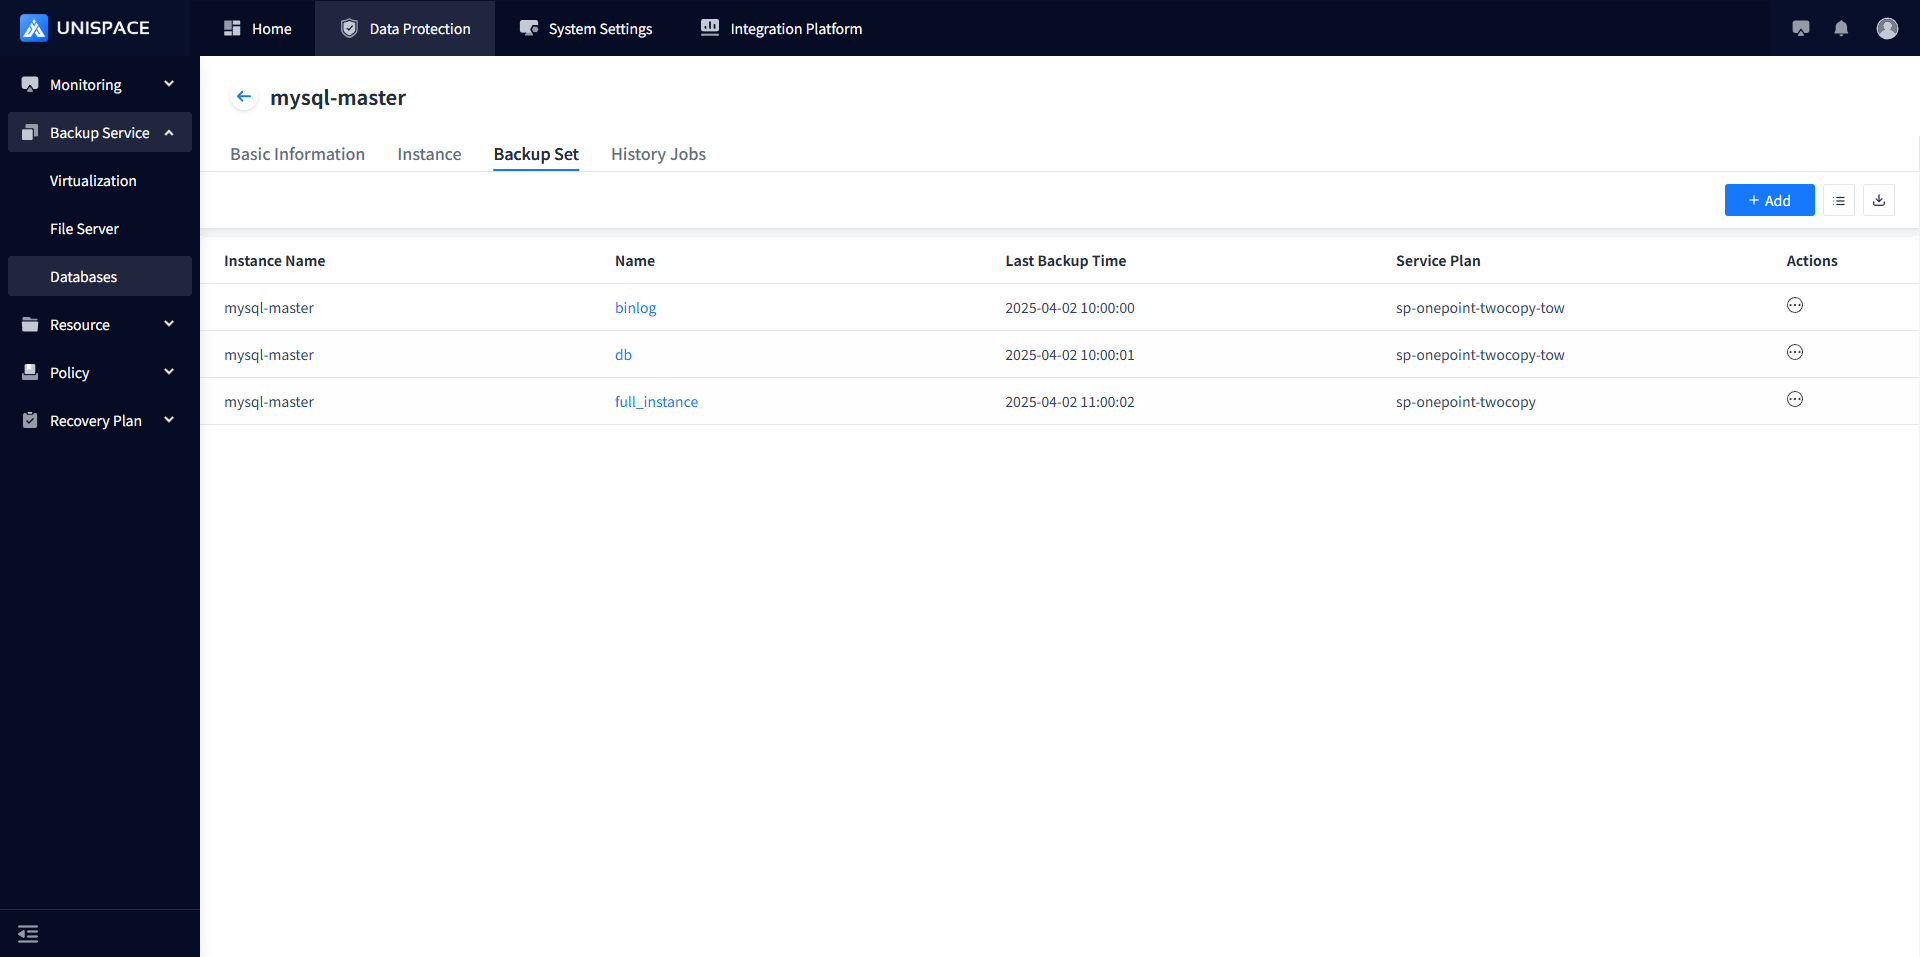
Step 1: Click the system menu Backup Service - Database - Server Name - Backup Set.

Step 2: Click Backup Set - Actions column - Non-binlog backup set - Backup.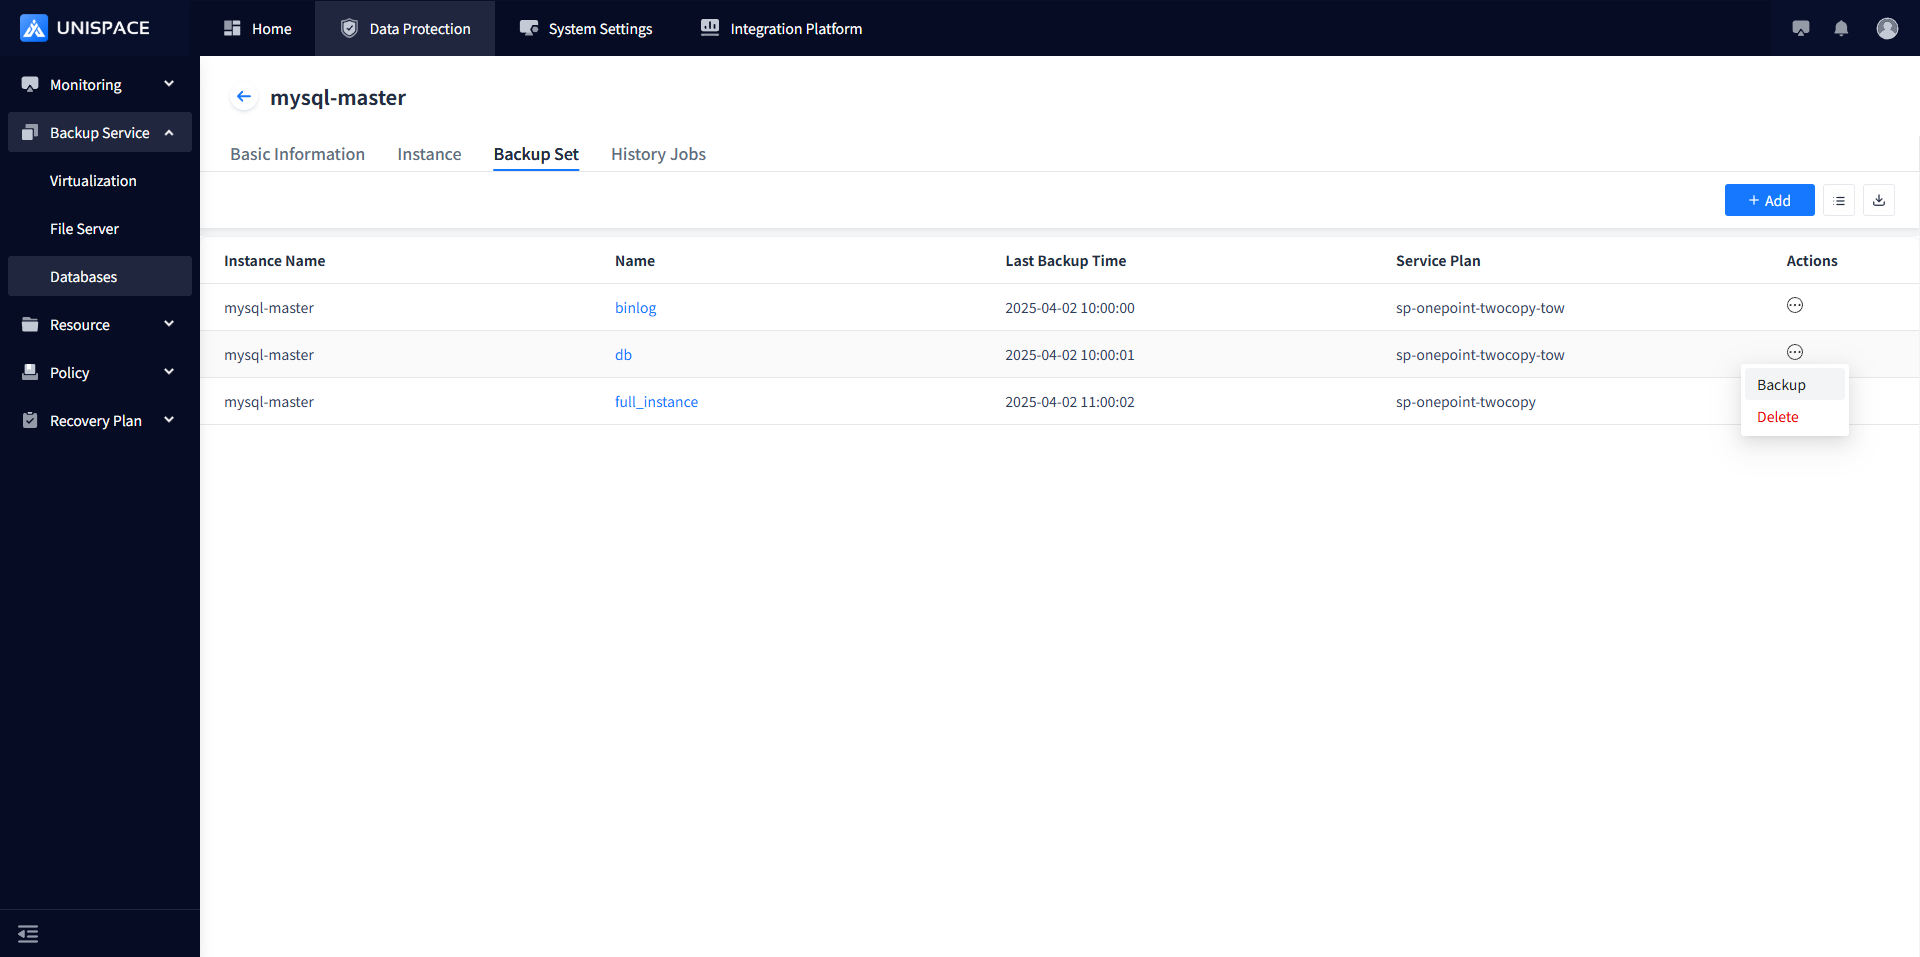
Step 3: Select "Full" and click Confirm. The page will prompt "Backup job submitted successfully".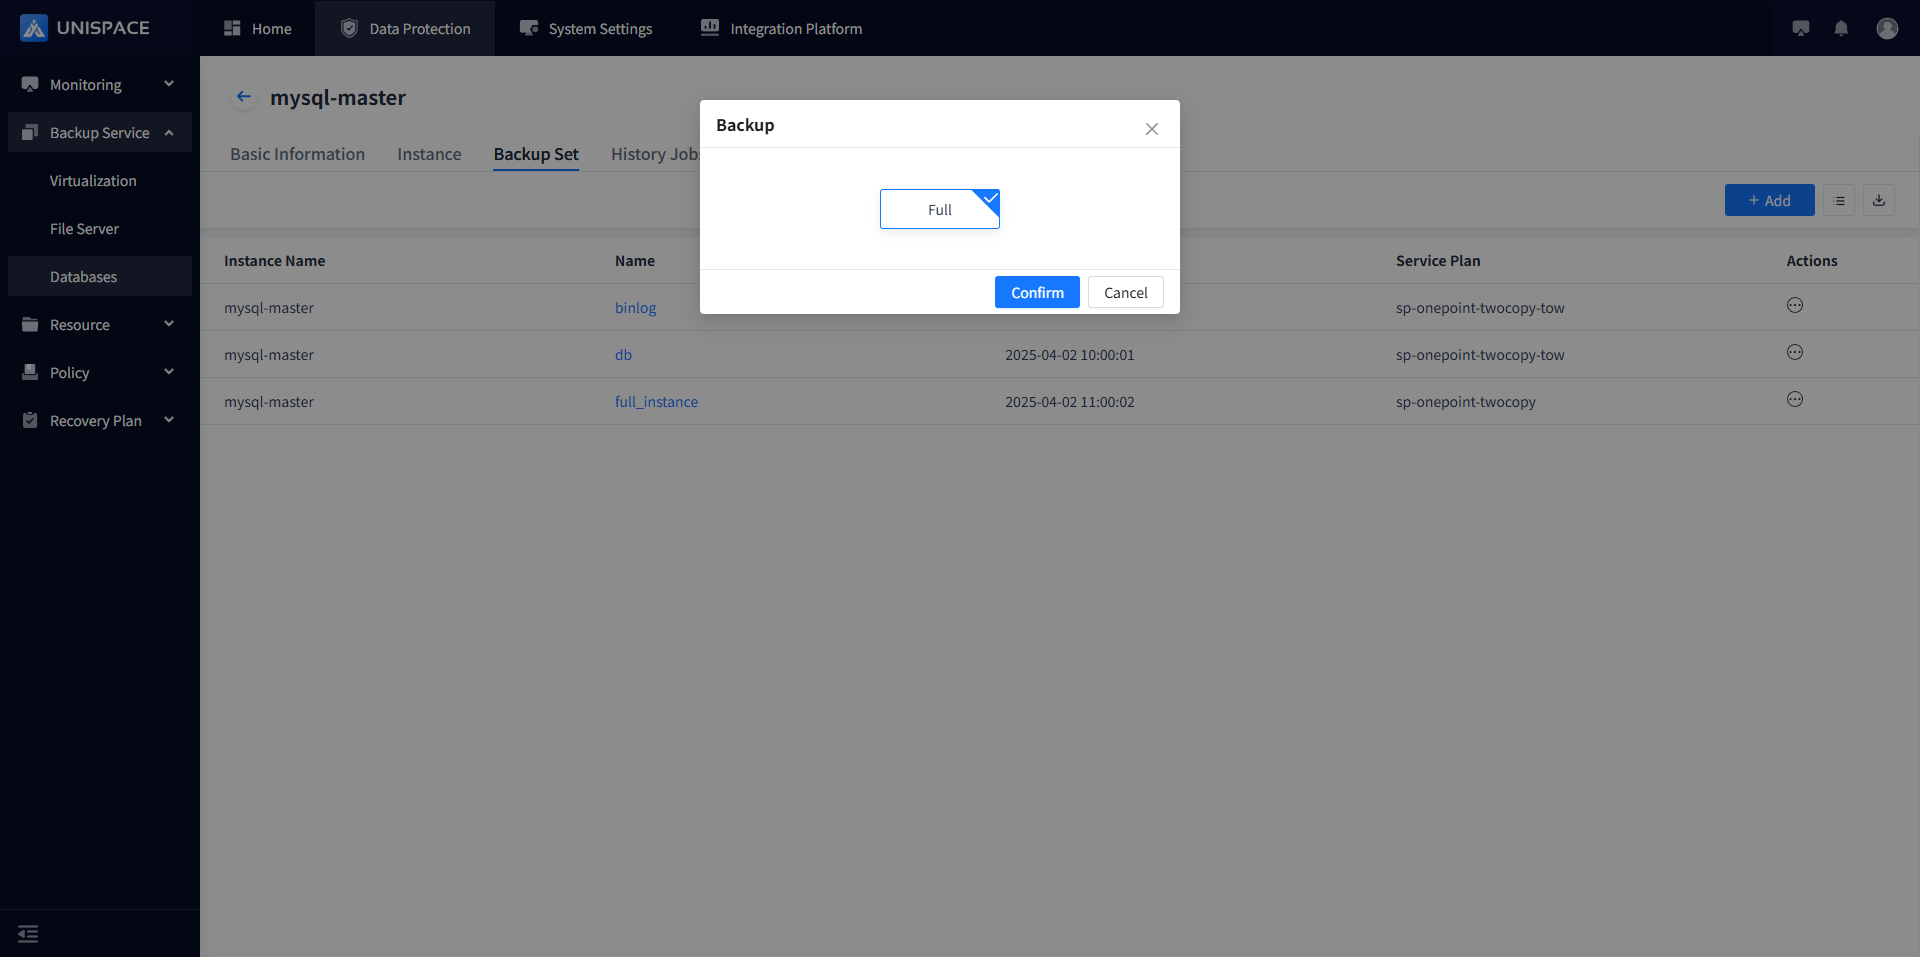
Step 4: Once the backup job starts successfully, click Monitoring - Job - Active Jobs to view the job.
Step 5: After the backup completes, click Monitoring - Job - Job History to see the job and its status as "Completed". 
1.4 MySQL Log Backup
Prerequisites
- The MySQL instance has been added.
Steps
Step 1: Click the system menu Backup Service - Database - Server Name - Backup Set.
Step 2: Click Backup Set - Actions column - Binlog backup set - Backup.
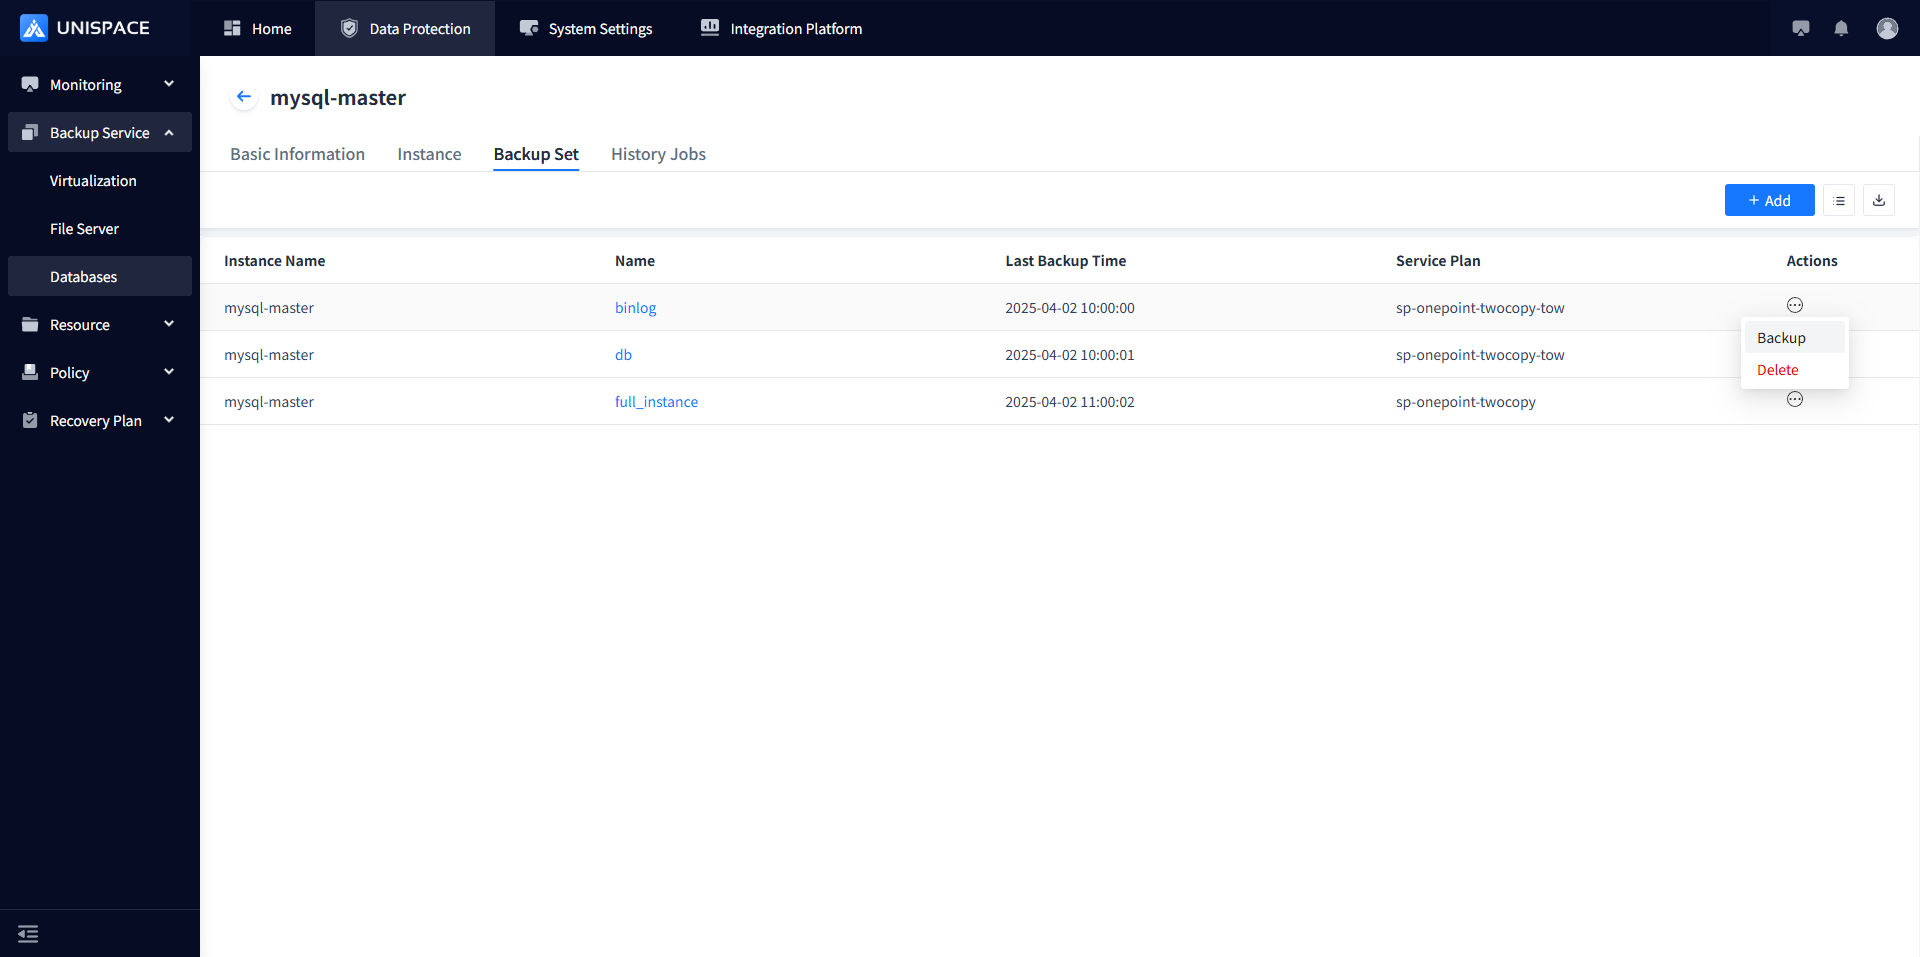
Step 3: Select "Log" and click Confirm. The page will prompt "Backup job submitted successfully".

Step 4: Once the backup job starts successfully, click Monitoring Center - Jobs - Active Jobs to view the job.
Step 5: After the backup completes, click Monitoring Center - Jobs - Job History to see the job and its status as "Completed".
1.5 MySQL Database Recovery
Prerequisites
- The MySQL database has been backed up.
Steps
Step 1: Click the system menu Backup Service - Database.
Step 2: Click Database - Server Name - Instance - Operation - Recovery.

Step 3: A recovery window will pop up. Select "Database" as the recovery type, and click Next.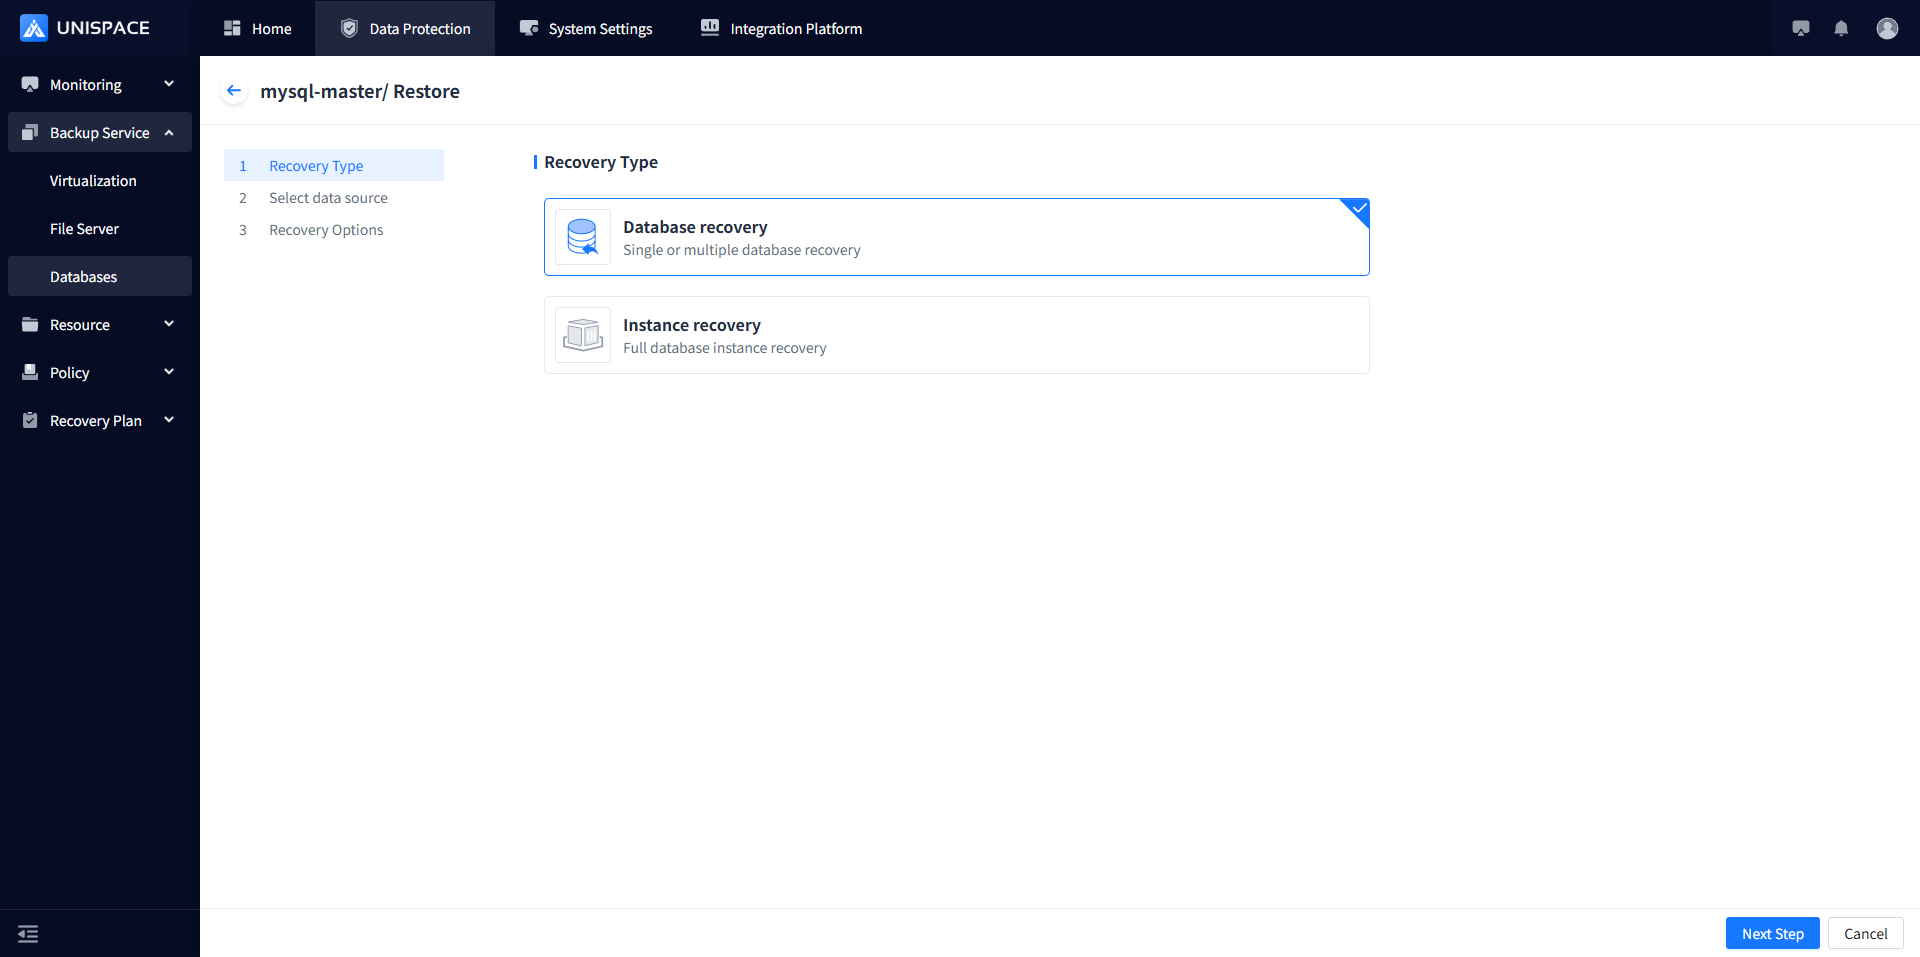
Step 4: Select a recovery point, either by "Recent Time" (last cycle recovery point) or by specifying a time range. Choose the job ID of the "Recovery Point", and click Next.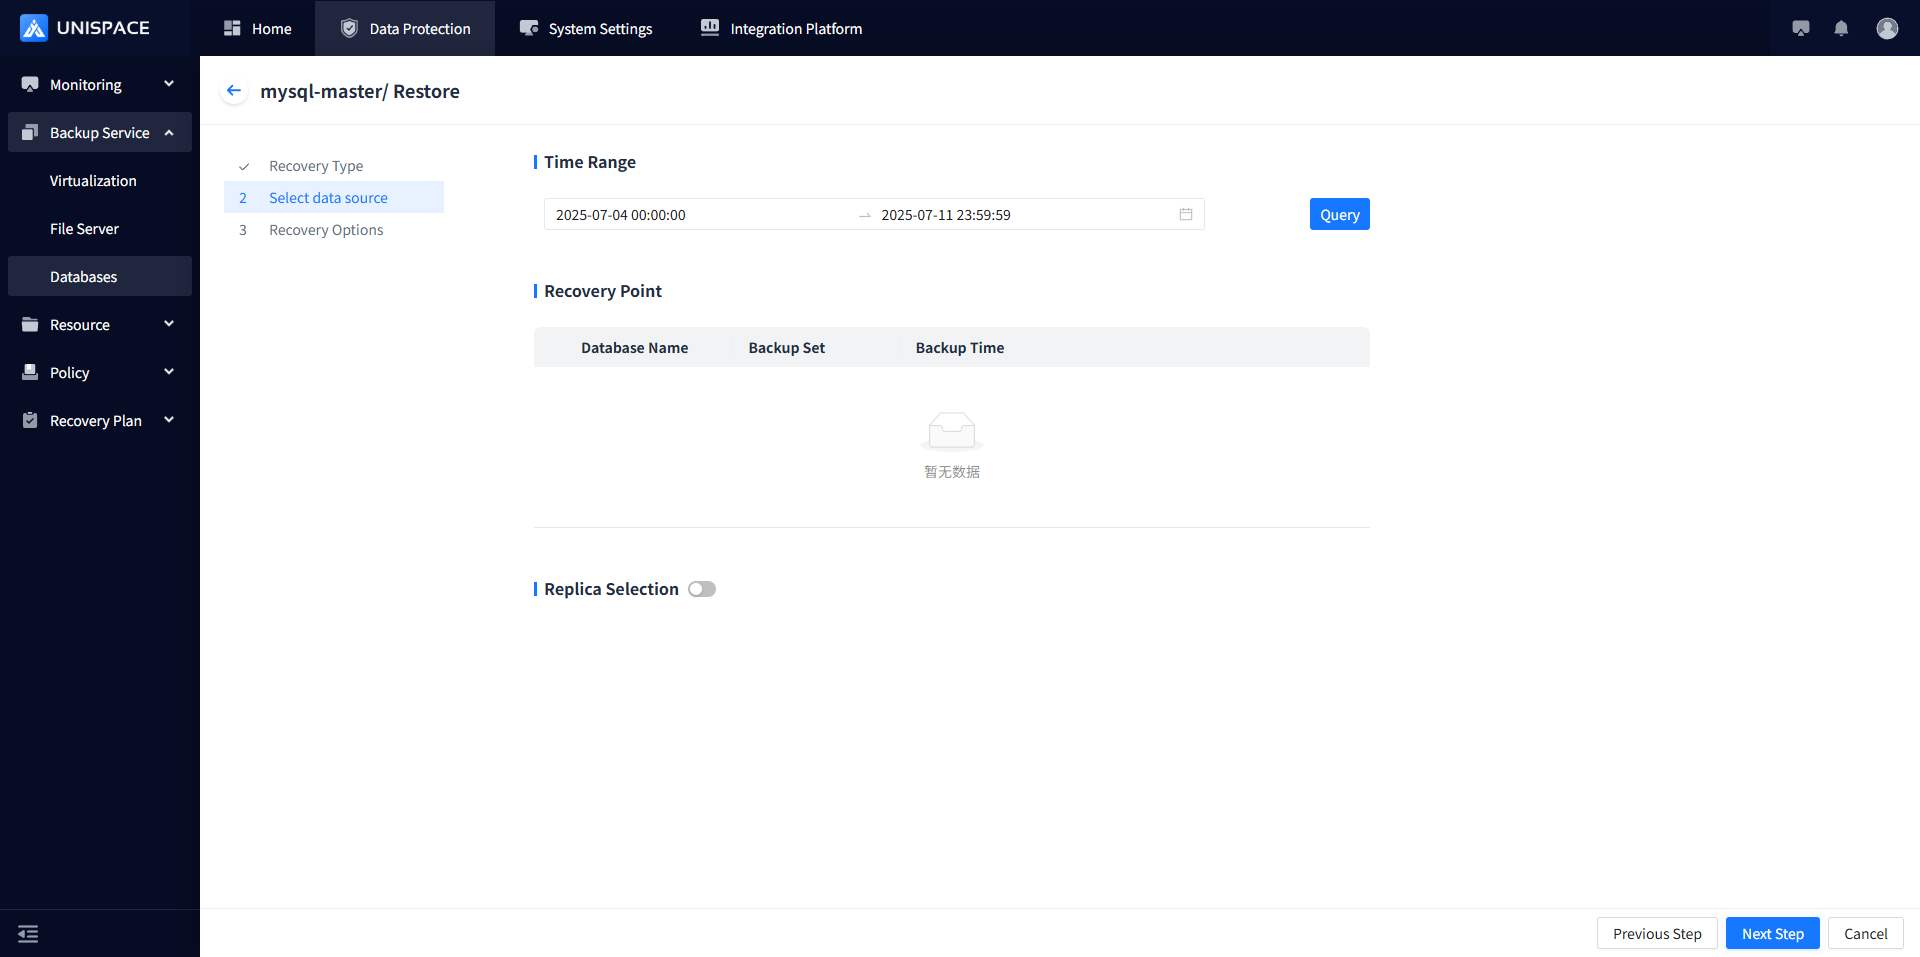
Step 5: Choose "Source Machine Recovery" as the recovery method, select the target host, target instance, and temporary directory, then click Confirm.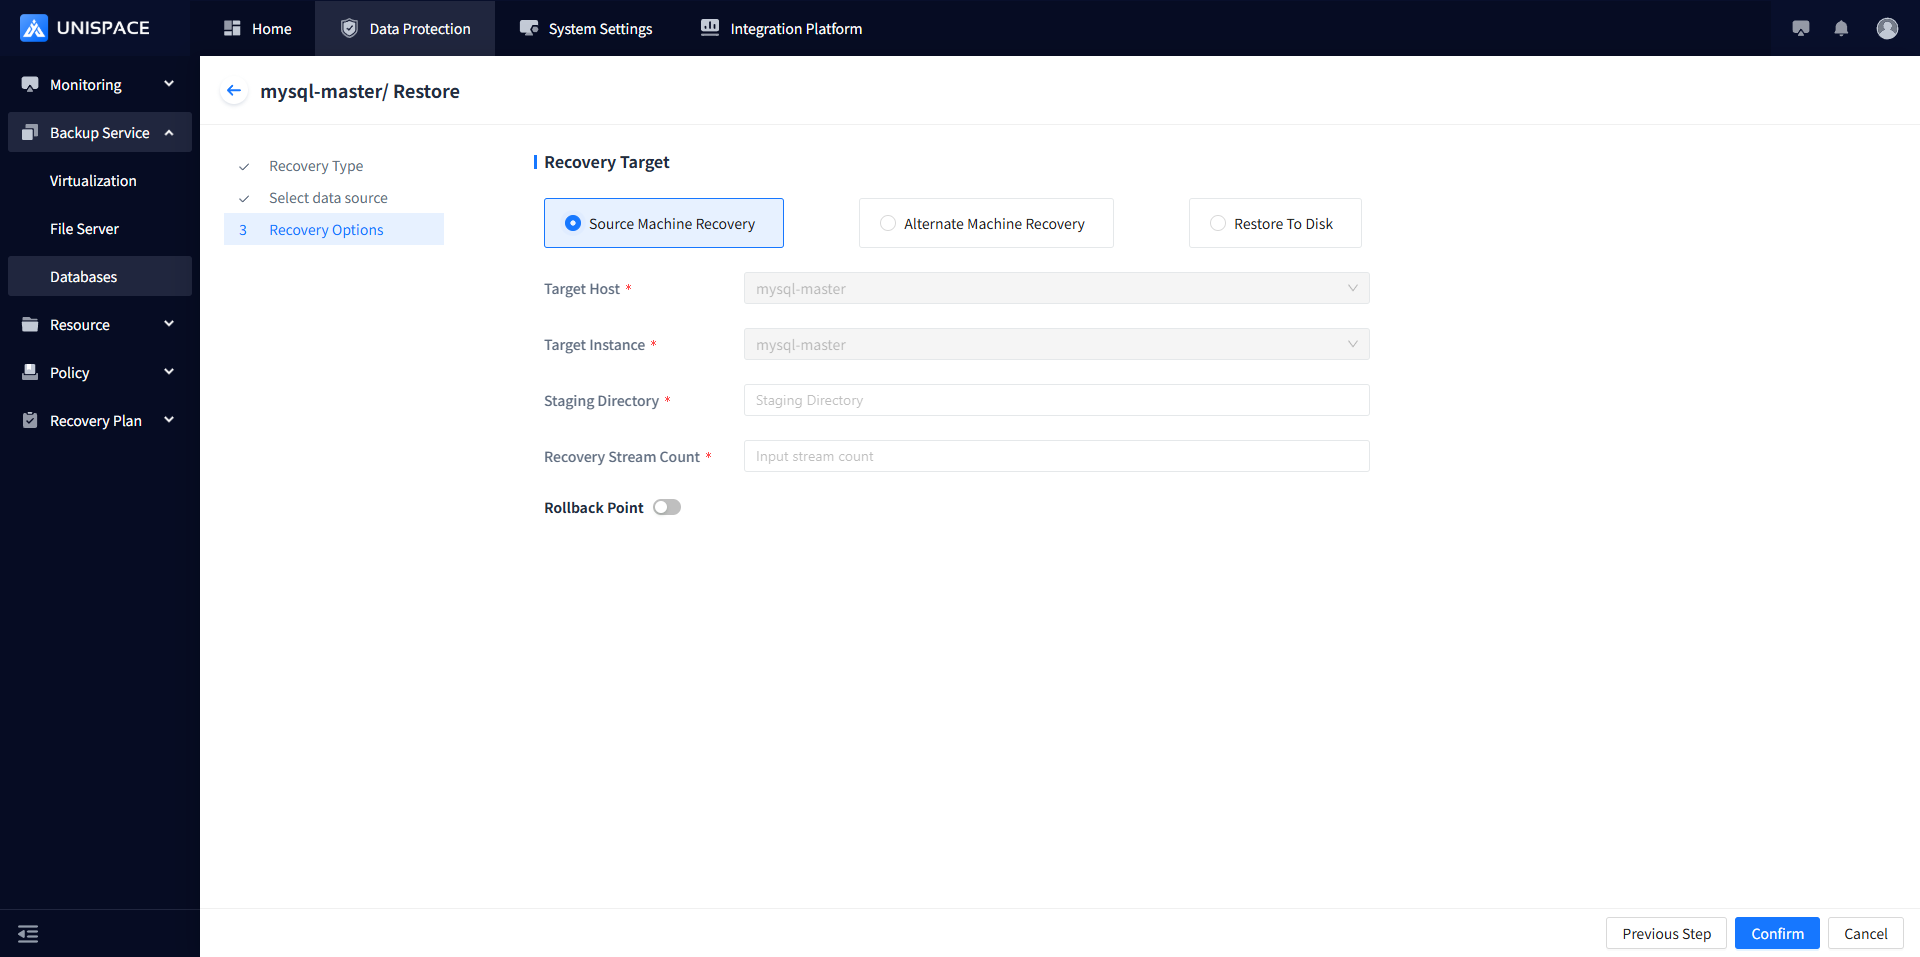

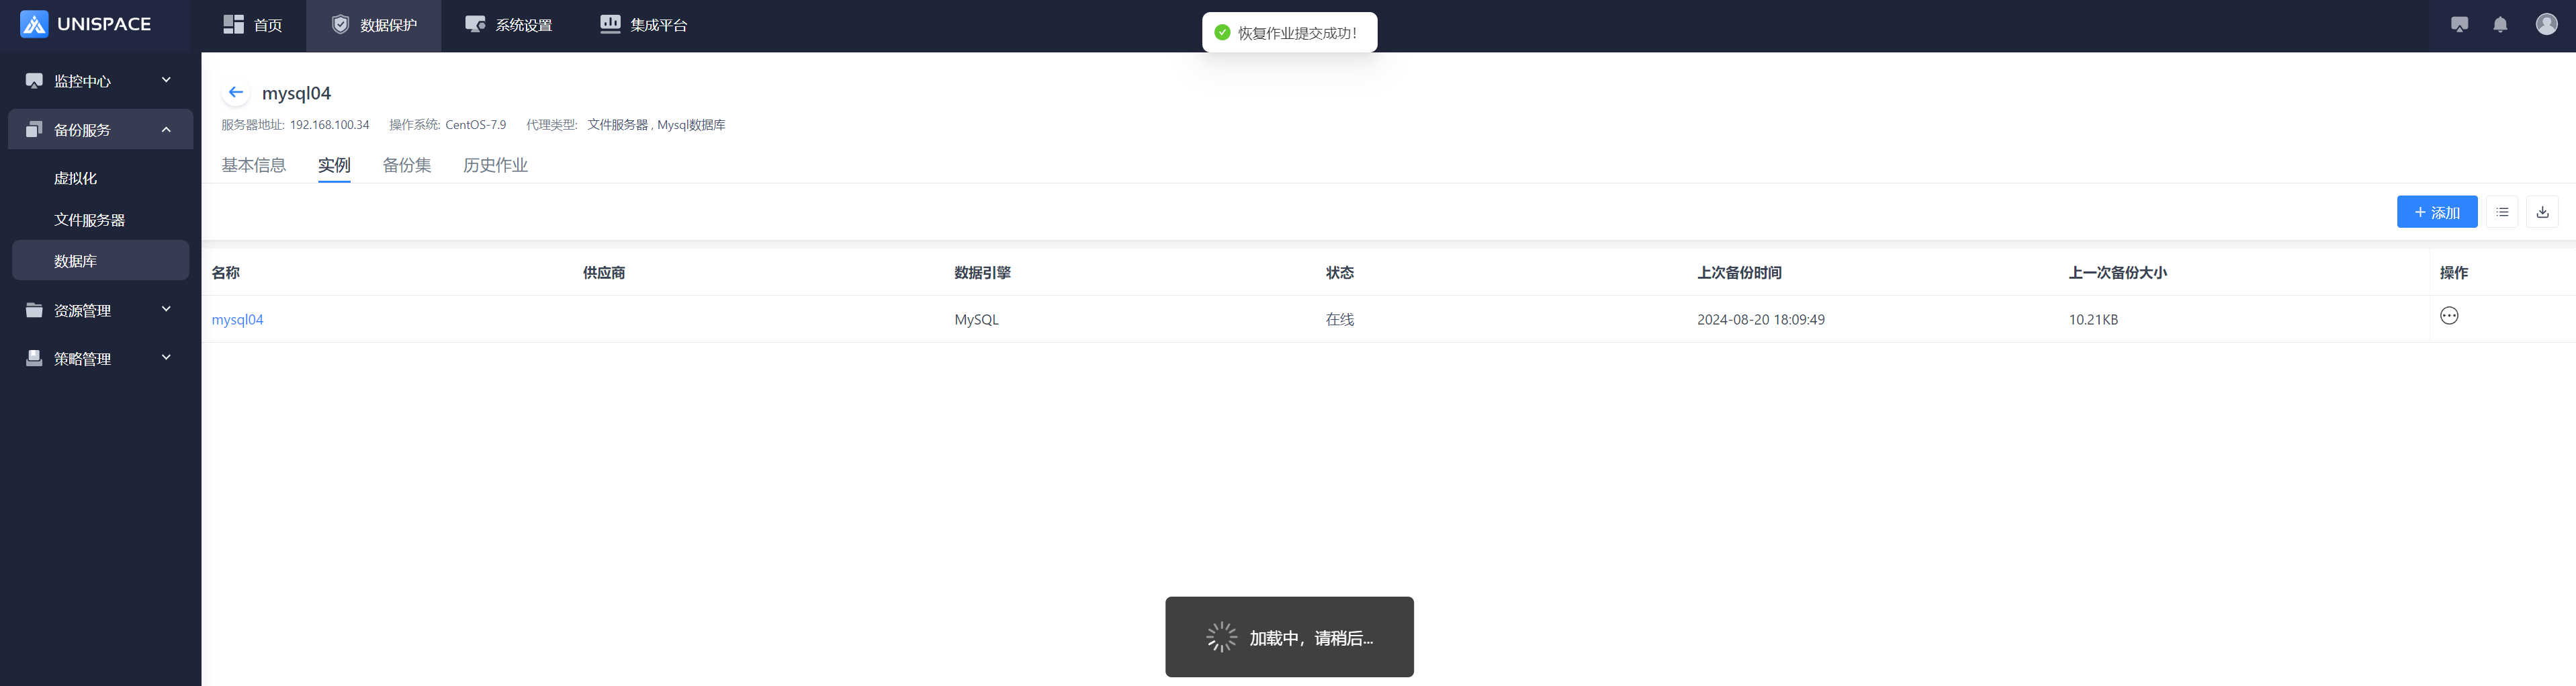
Step 6: Once the job starts successfully, click Monitoring - Job - Active Jobs to view the job.
Step 6: After the job completes, click Monitoring - Job - Job History to see the job and its status.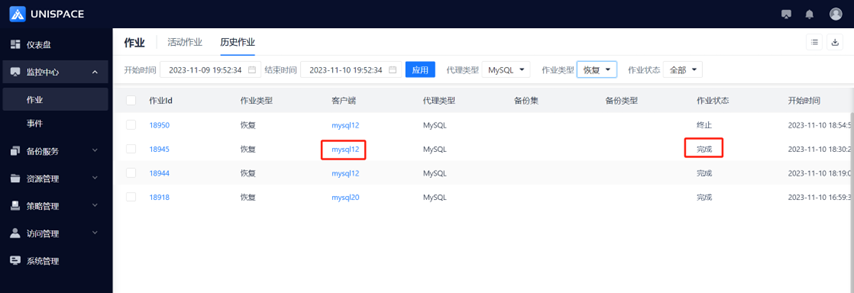
1.6 MySQL Recovery to Disk
Prerequisites
- The MySQL backup set has been backed up.
Steps
Step 1: Click the system menu Backup Service - Database.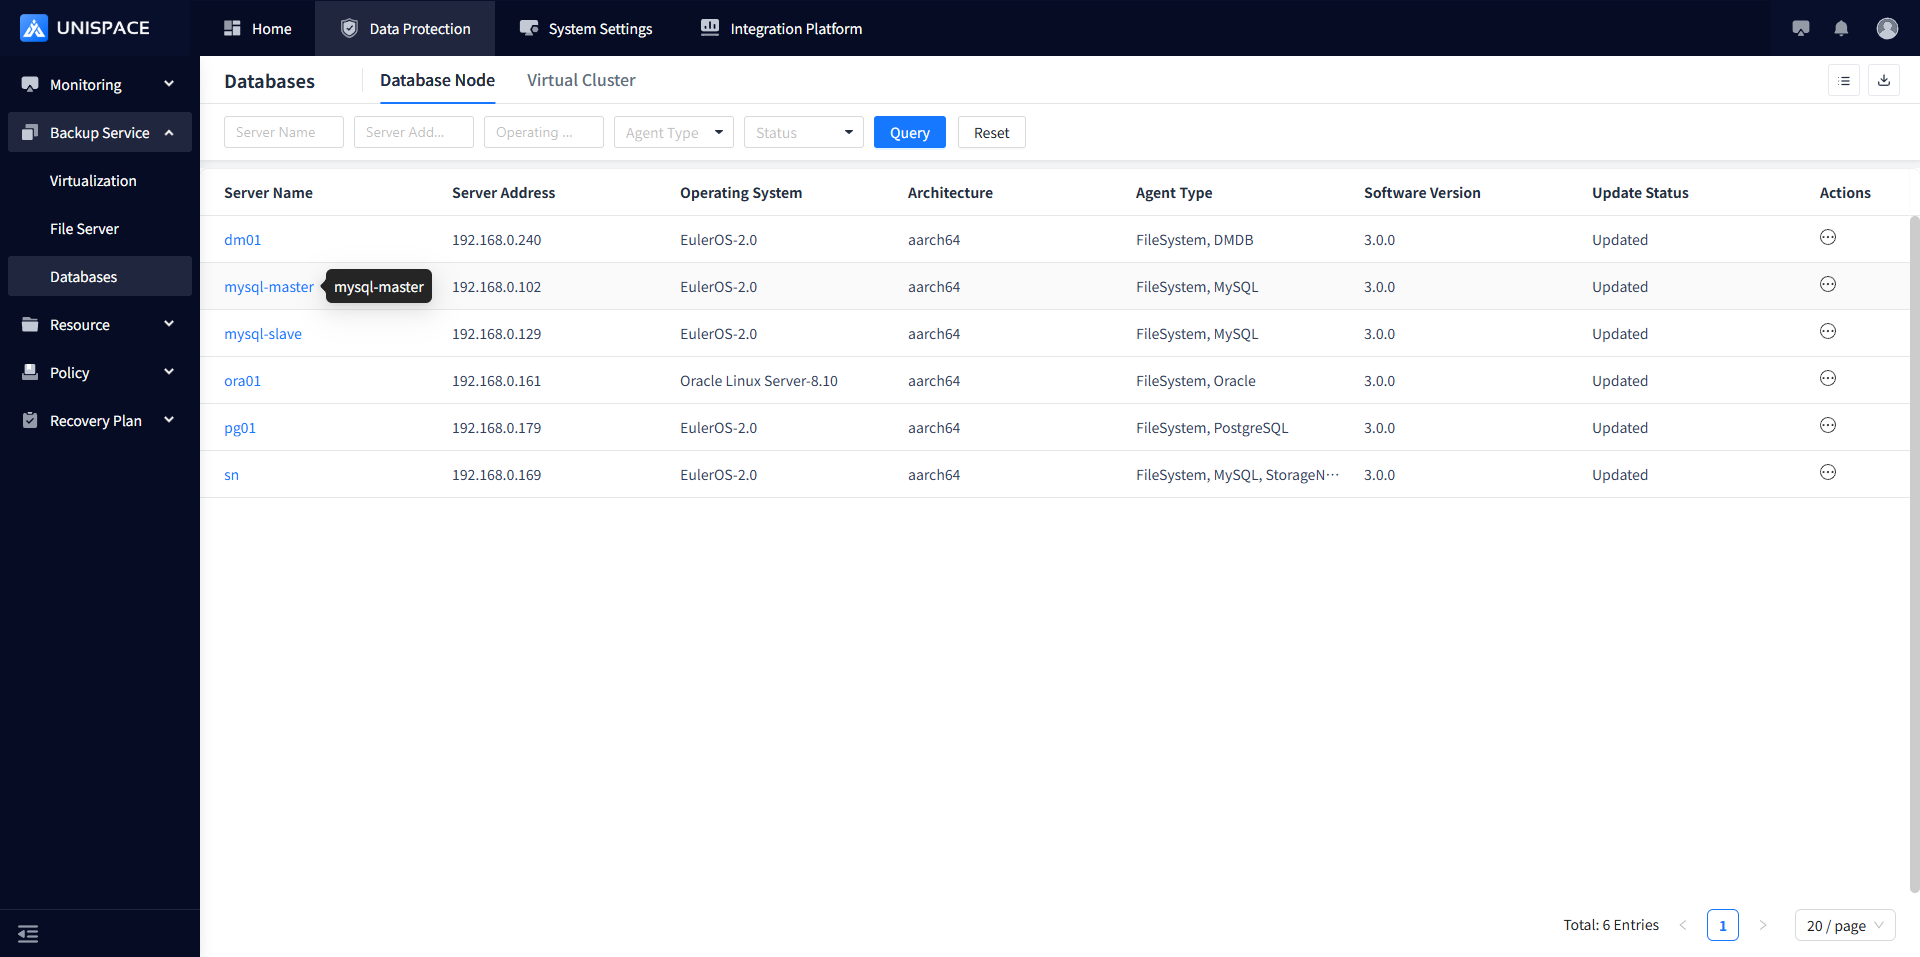
Step 2: Click Database - Server Name - Instance - Operation - Recovery.

 Step 3: A recovery window will pop up. Fill in the necessary information and click Next.
Step 4: Select the data source: choose the corresponding database and backup time for "Database Recovery"; select "Full Recovery".
Step 5: Choose "Recovery to Disk" as the recovery option, enter the required information, and click Confirm.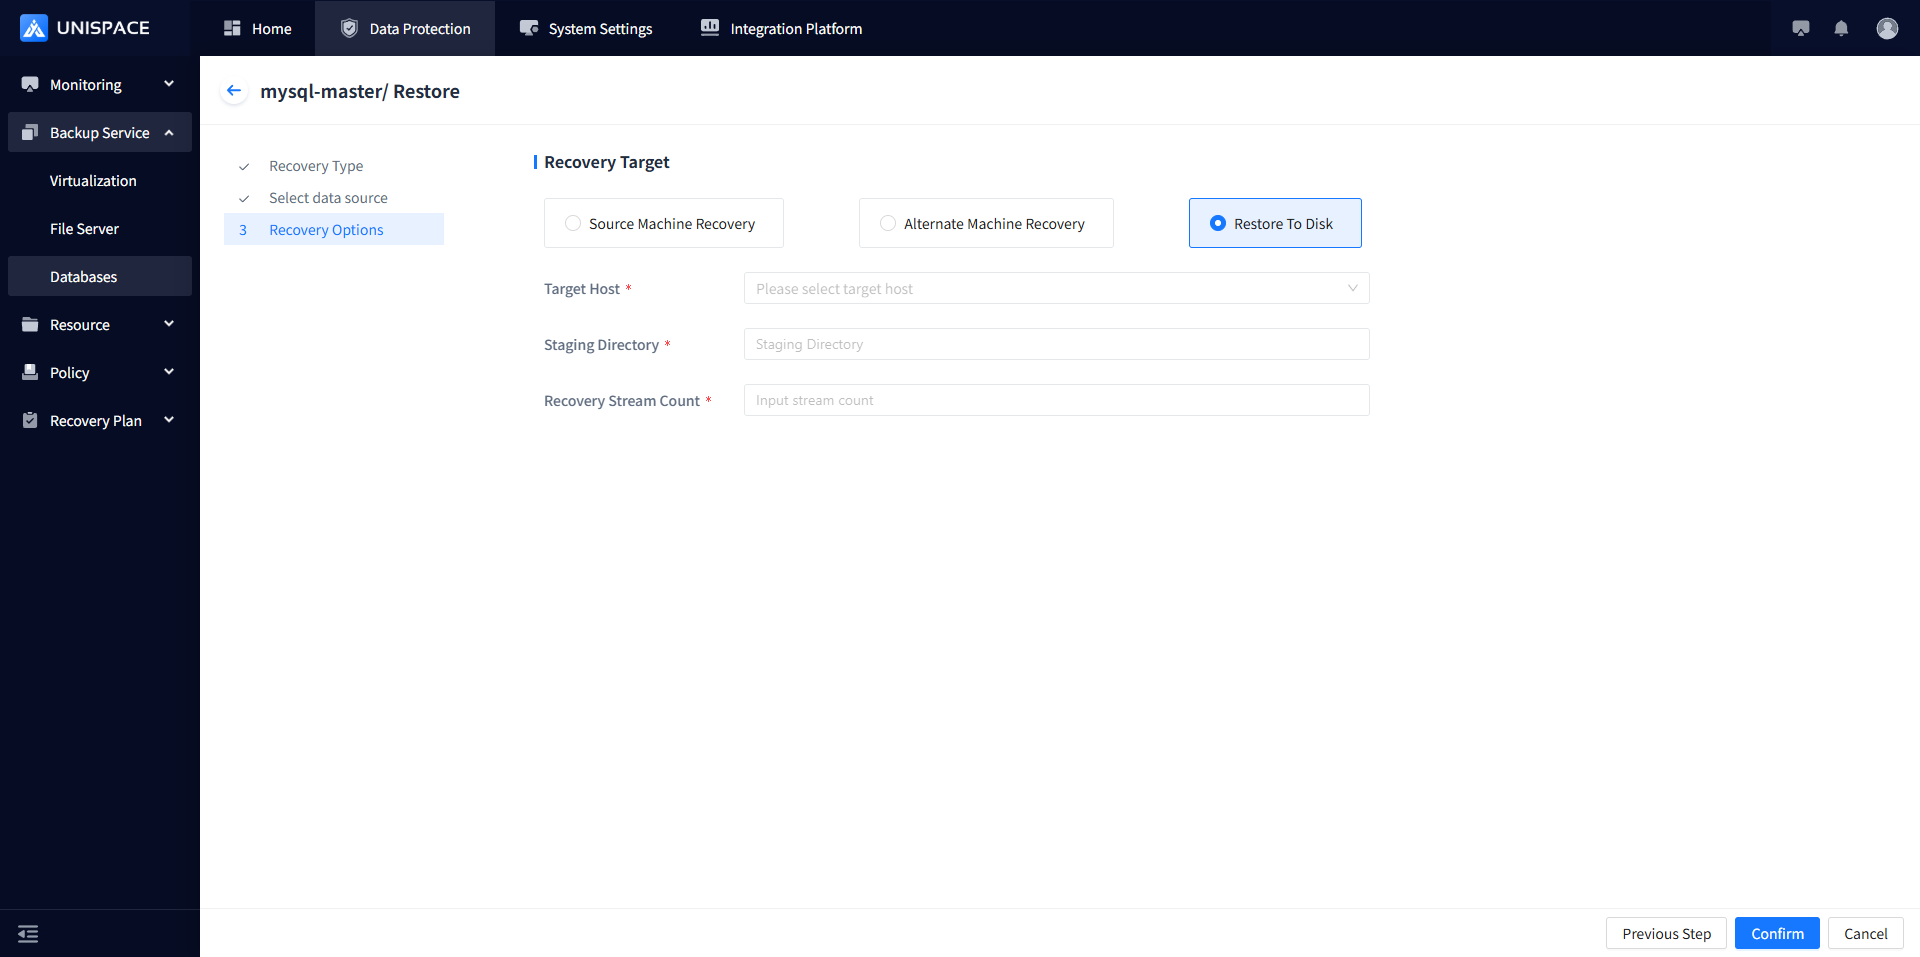
Step 6: Once the job starts successfully, click Monitoring - Jos - Active Jobs to view the job.
Step 7: After the job completes, click Monitoring - Job - Job History to see the job and its status. The job is considered successful only if the status is "Completed".
1.7 MySQL Full Instance Recovery
Prerequisites
- The MySQL backup set has been backed up.
Steps
Step 1: Click the system menu Backup Service - Database. Step 2: Click Database - Server Name - Instance - Operation - Recovery.
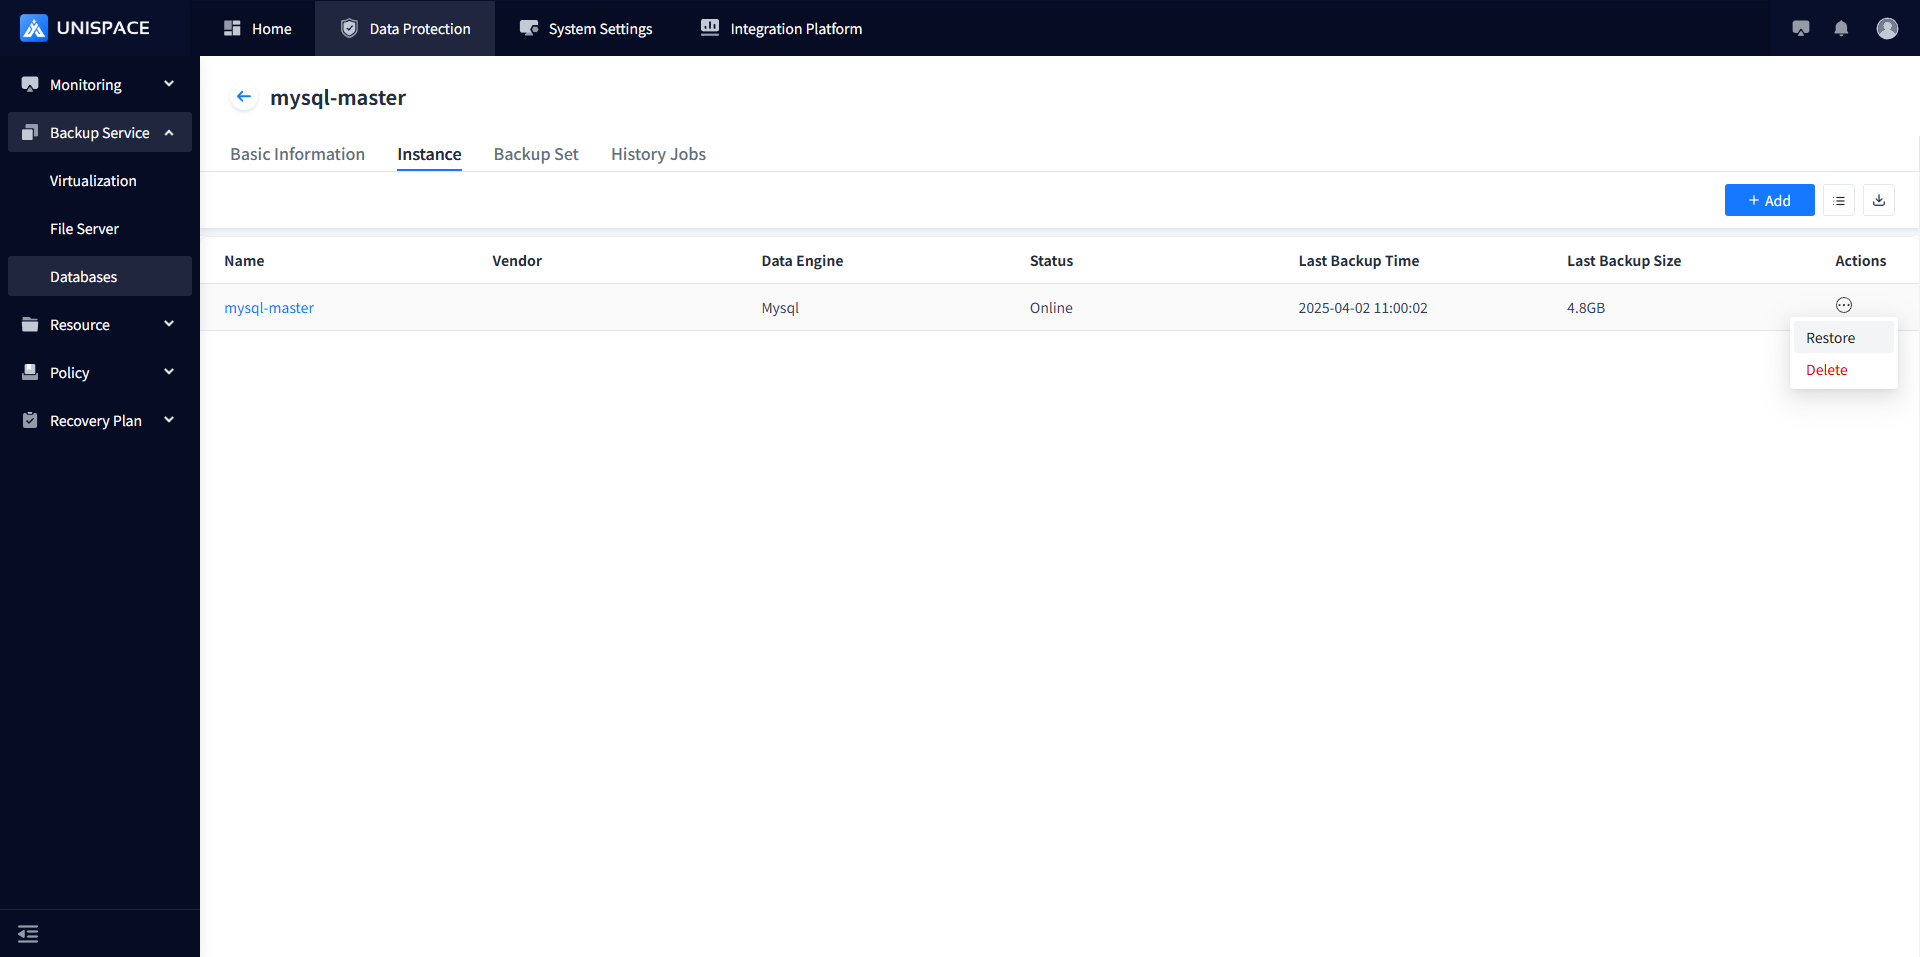
Step 3: A recovery window will pop up. Select "Instance Recovery" and click Next.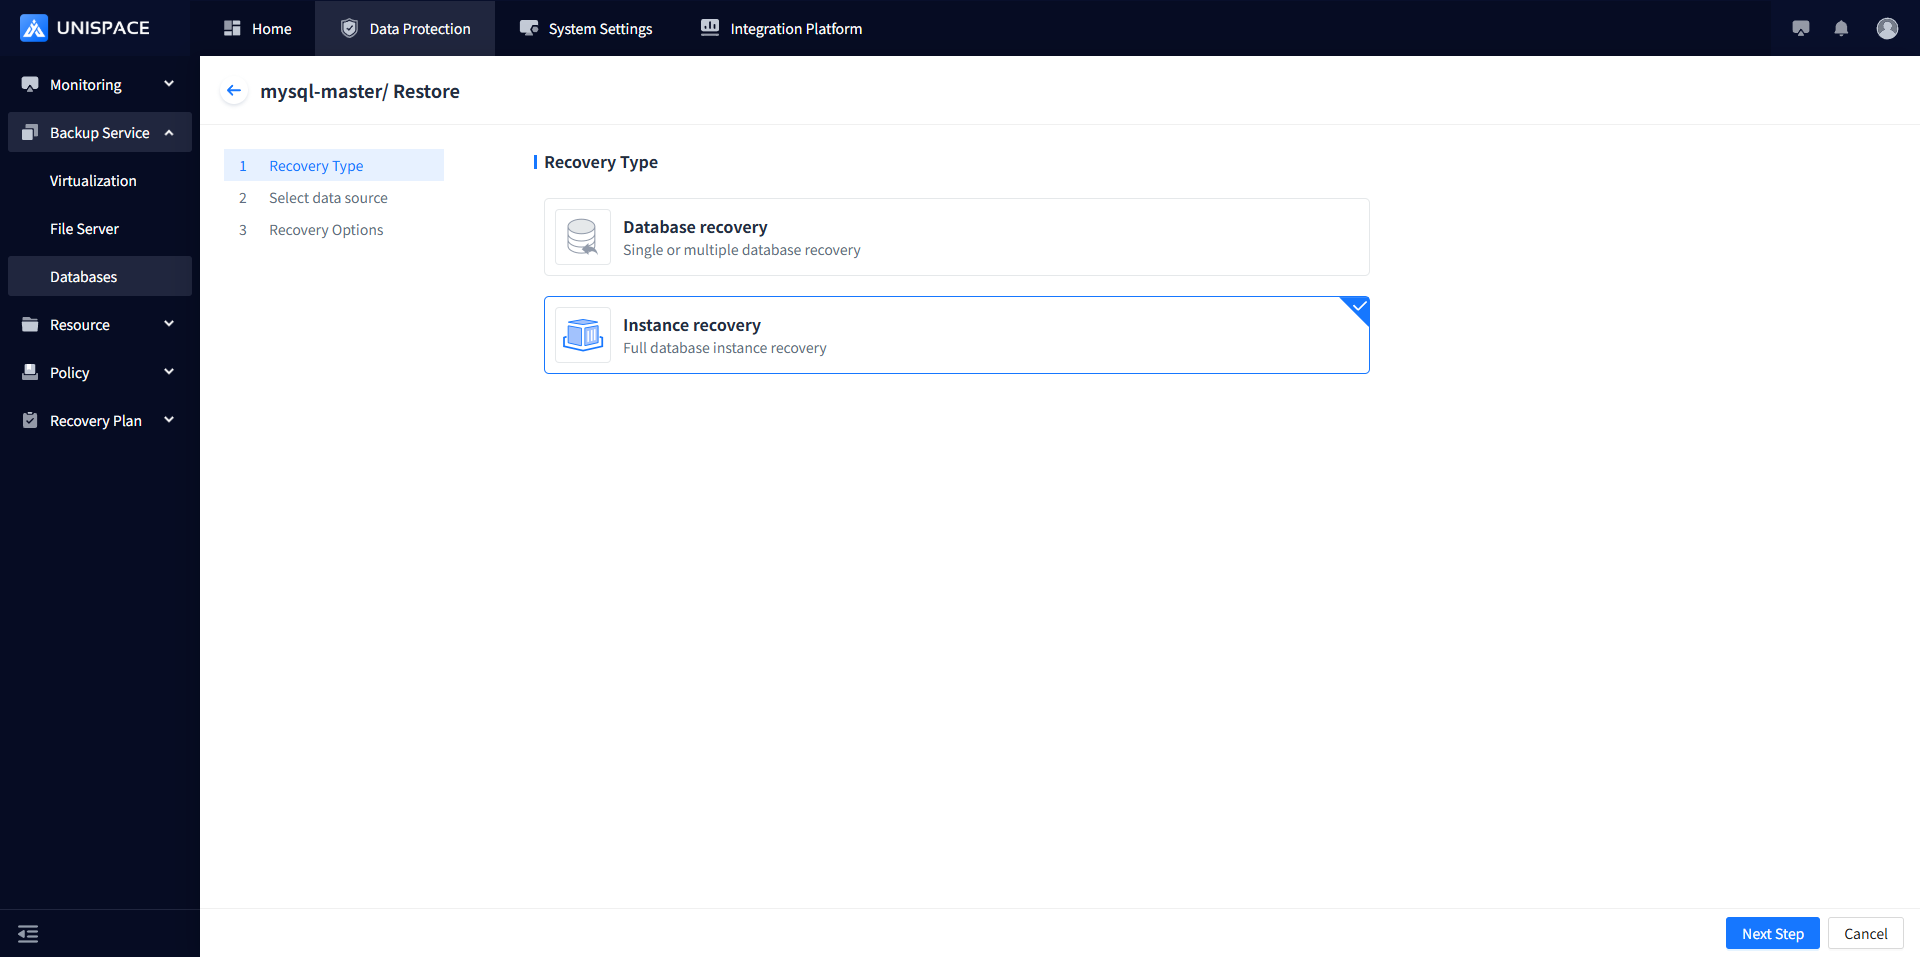
Step 4: Choose a recovery point either by "Recent Time" (last cycle recovery point) or by specifying a time range. Select the job ID of the "Recovery Point", and click Next. 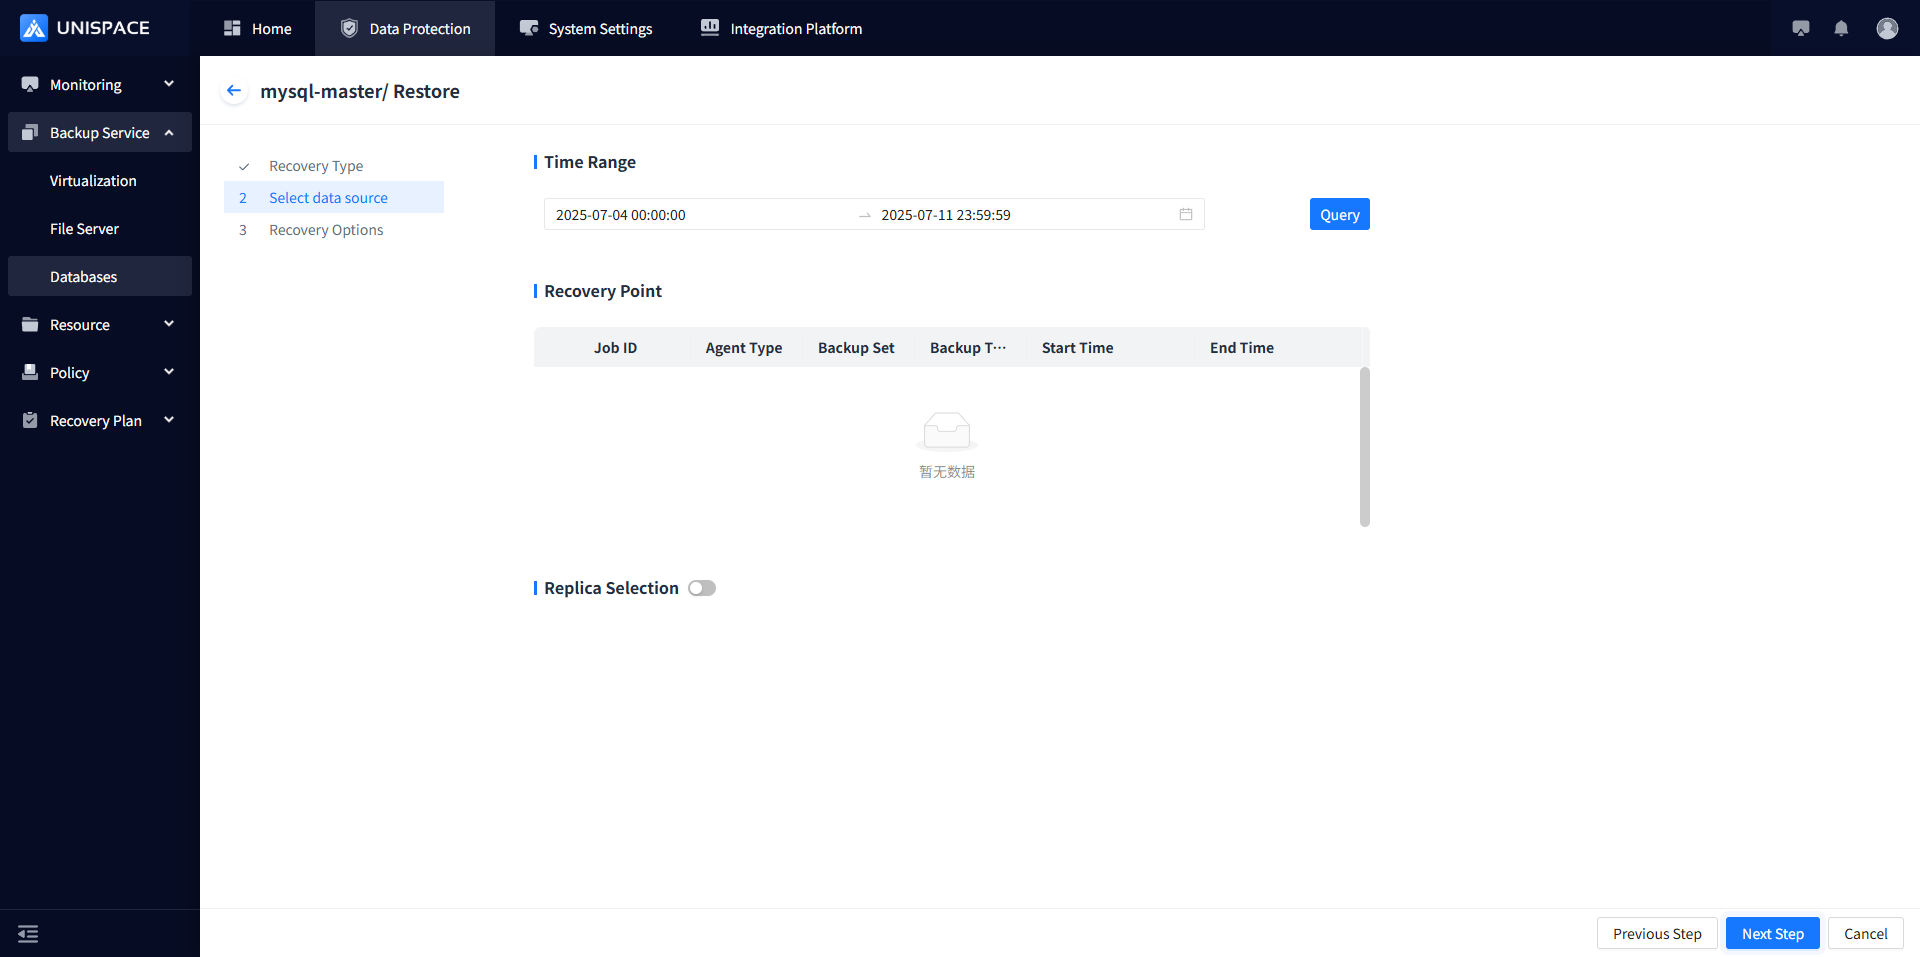
Step 4: Fill in the recovery option form and click OK.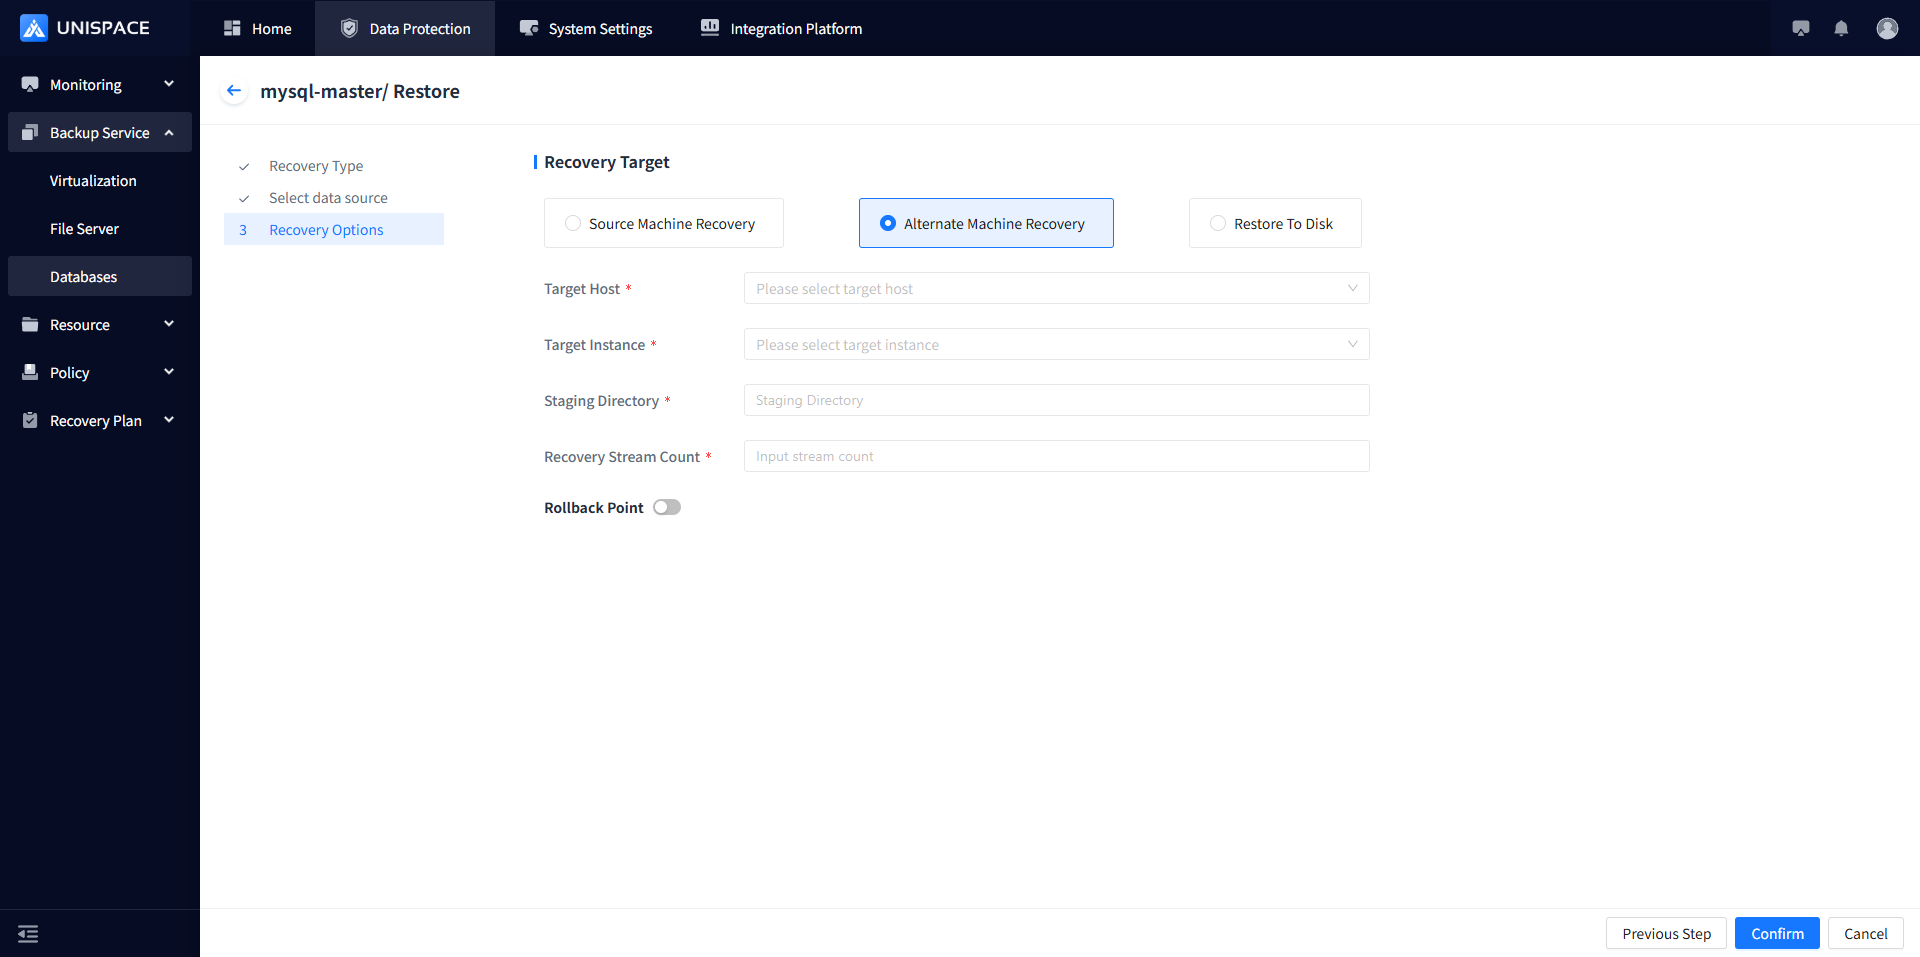
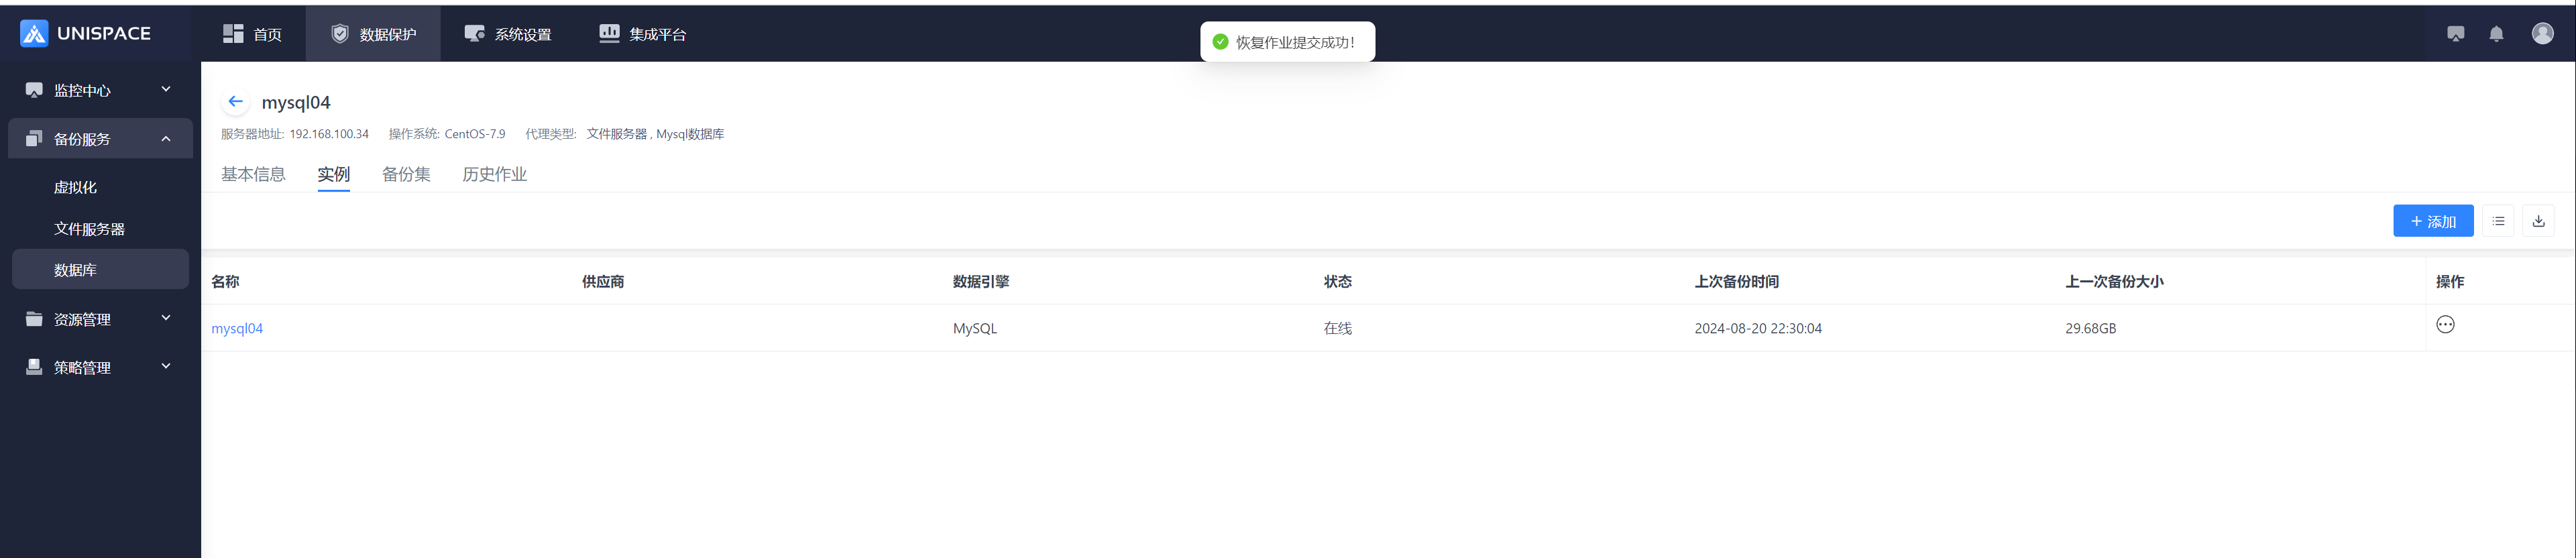
Step 5: Once the job starts successfully, click Monitoring - Job - Active Jobs to view the job.
Step 6: After the job completes, click Monitoring - Job - Job History to see the job and its status.