SANSEC Encryption Configuration
- Device Loading and Initialization
1.1 Check if the Driver is Loaded:
Use the lsmod command:
lsmod | grep swcsm
If the output appears as shown below, it indicates the driver has been successfully loaded.

1.2 Load the Driver
cd /opt
insmod swcsm.ko VFnum=-1

1.3 Unload the Driver
rmmod swcsm

1.4 Initialization
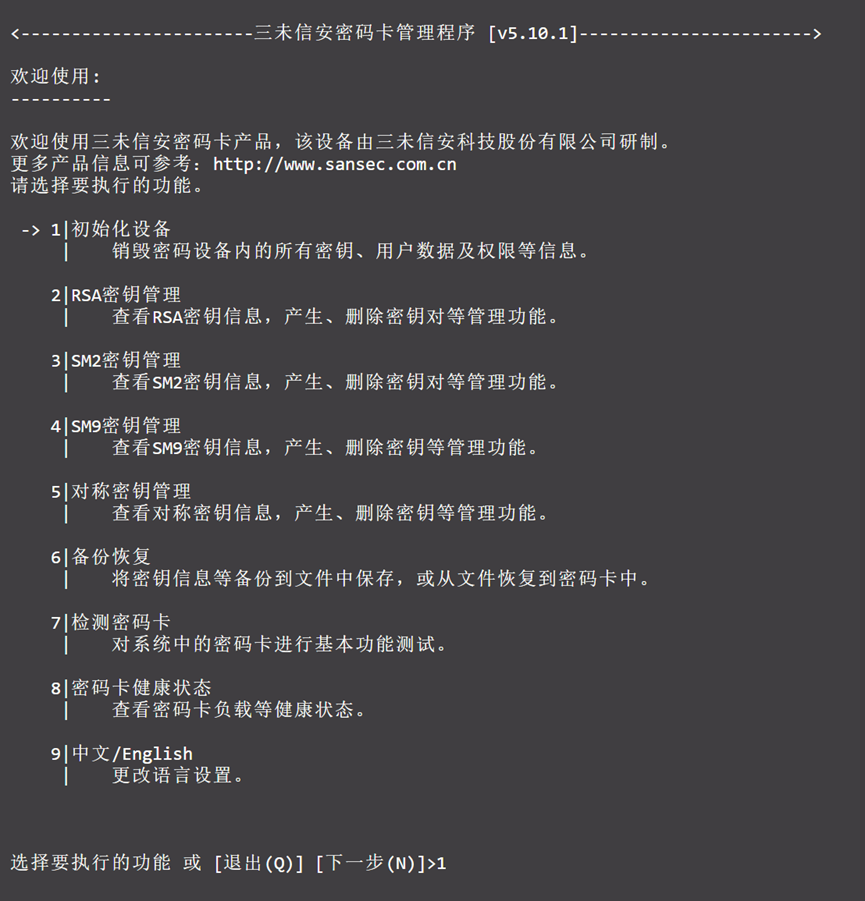
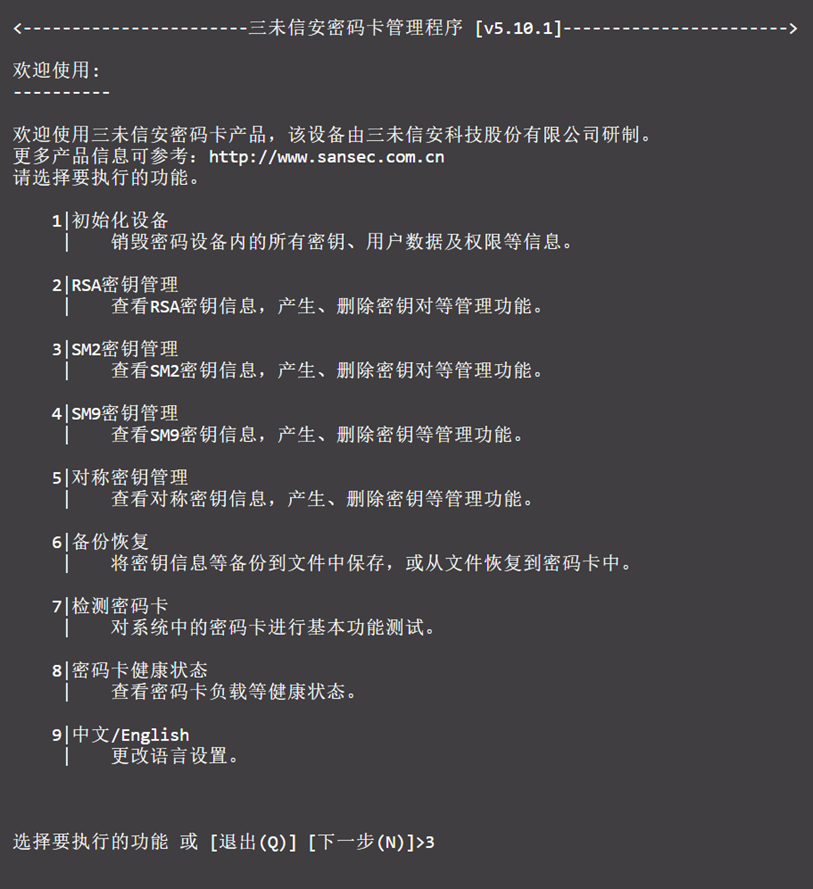
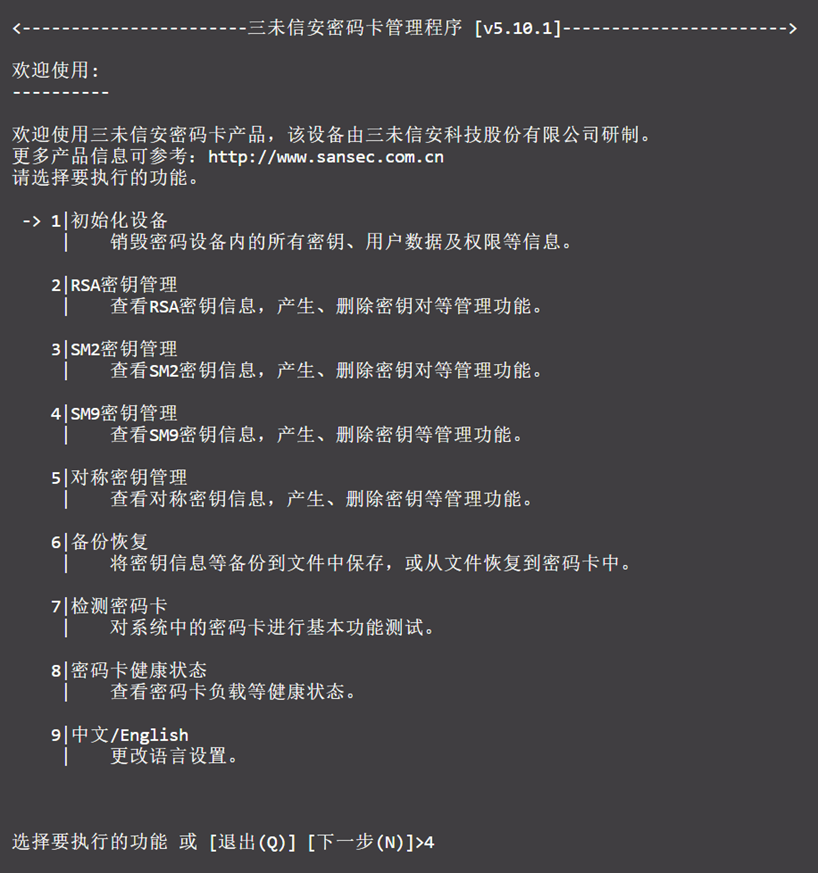
1) Go to the tool directory /opt/swcsmmgmt_GM0018_v5.10.1_x64 and select option 1 in the main menu.
2) Initialization will destroy all existing keys, and requires entering the password Init1234 twice.
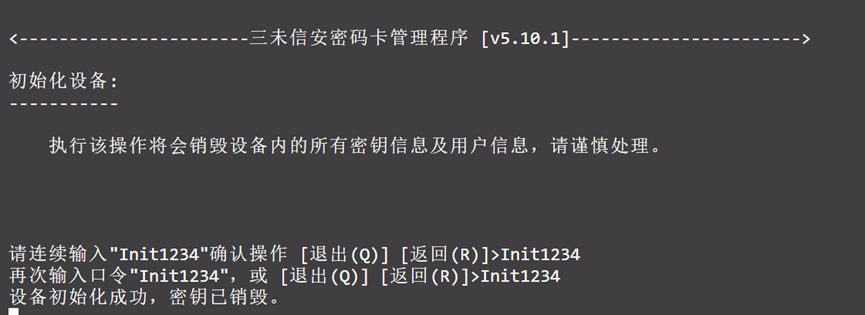
3) Once successful, all keys will be deleted.
- Key Backup and Restoration
2.1 Backup Keys
1) Execute /opt/swcsmmgmt_GM0018_v5.10.1_x64.
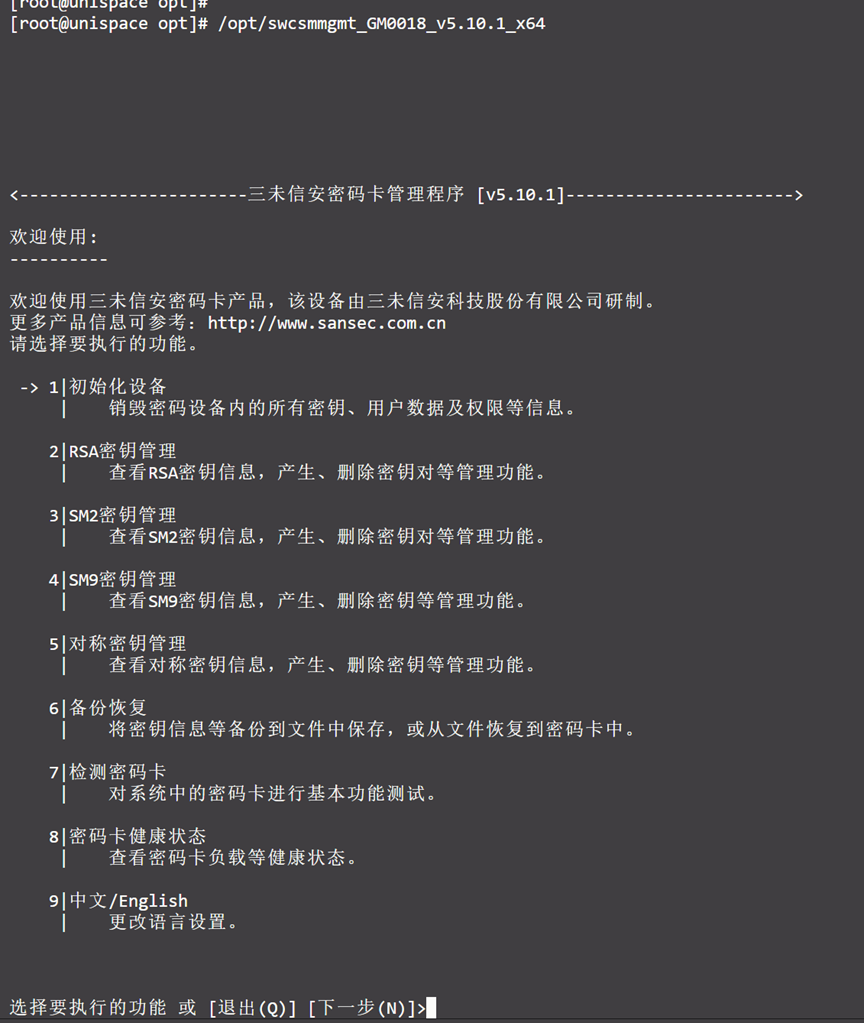
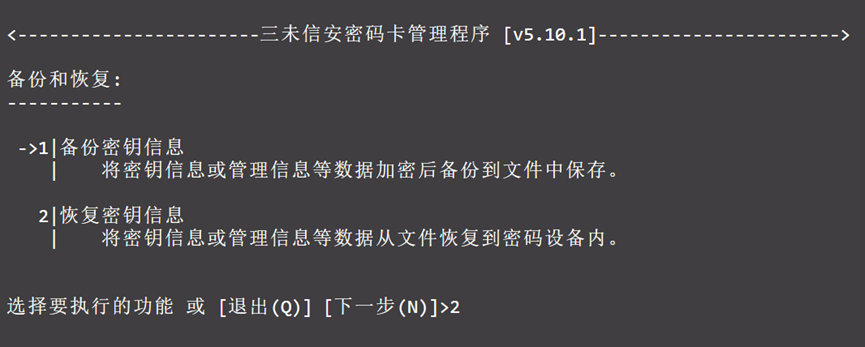
2) In the main menu, select 6 for Backup and Restore, then press Enter.
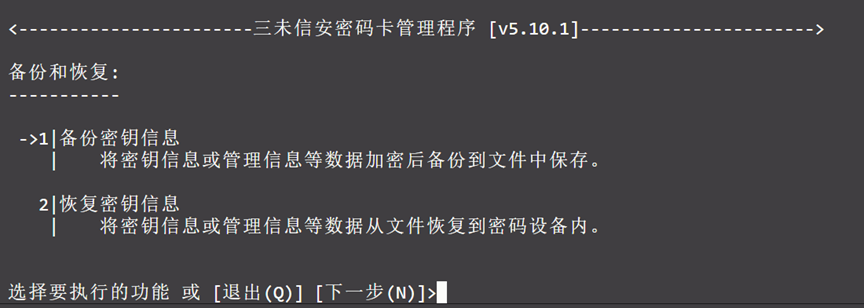
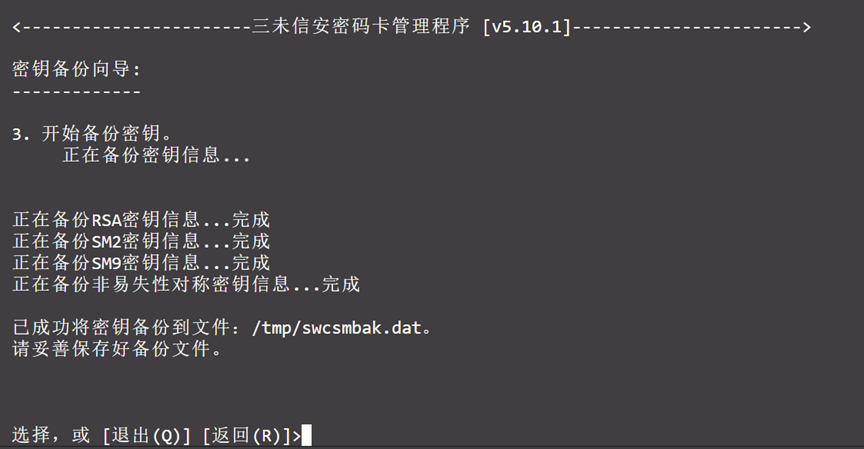
3) Select option 1 to back up keys.
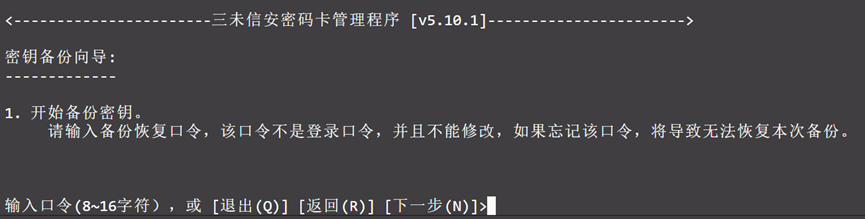
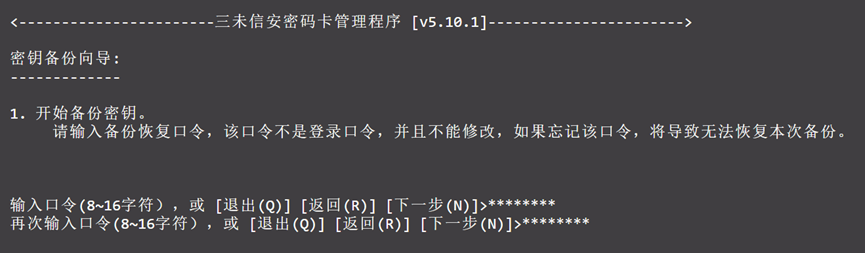
4) You will be prompted to enter a password of 8–16 characters (this password will be required for restoration).
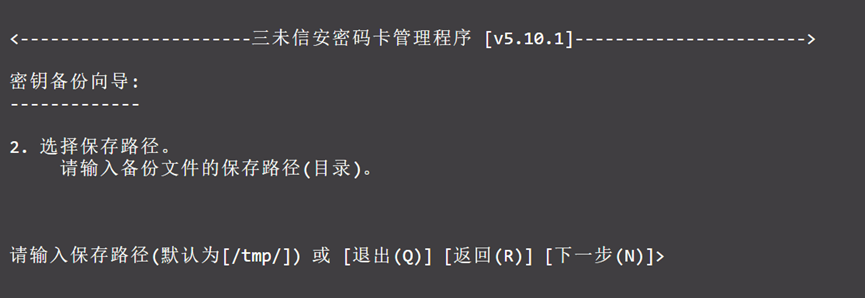
5) Choose the file save path — you may specify a custom path, default is /tmp/.
6) A success message will be displayed. Remember the password from step 4 and the path from step 5.
7) To prevent loss of the backup file, you can add the folder containing it to a backup set in Unispace’s "File Server - Backup Set".
- Be sure not to enable encryption for the backup copy
- Set scheduled backups to ensure periodic protection
2.2 Restore Keys
1) Run /opt/swcsmmgmt_GM0018_v5.10.1_x64.
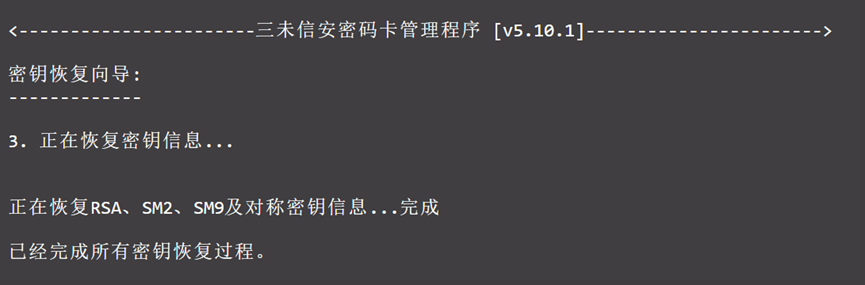
2) Select 6 for Backup and Restore, then 2 to restore key information.
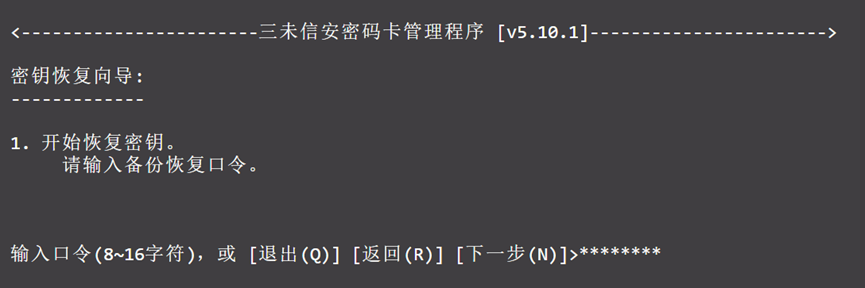
3) Enter the restoration password (same as the one set in 2.1 step 4), and press Enter.
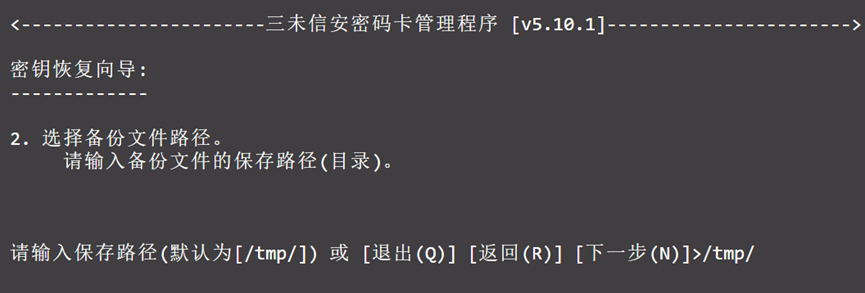
4) Input the full file name of the backup file — the path can be changed, but the file name must match.
5) A success message will confirm restoration.
- Key Management
The device supports four encryption algorithms: RSA, SM2, SM9, and symmetric encryption. This product supports encrypting storage vaults using SM2, SM9, and symmetric encryption algorithms.
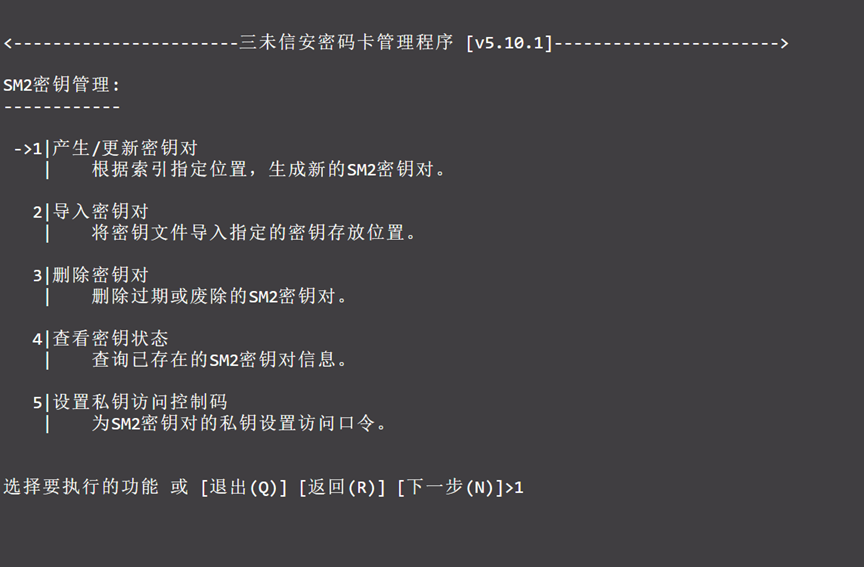
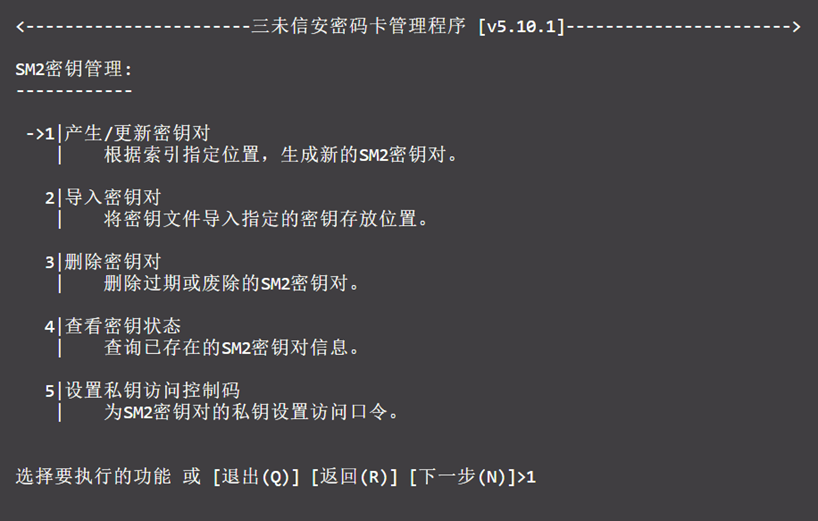
3.1 SM2 Key Management
From the main menu, select 3 to manage SM2 keys.
3.1.1 Generate SM2 Key
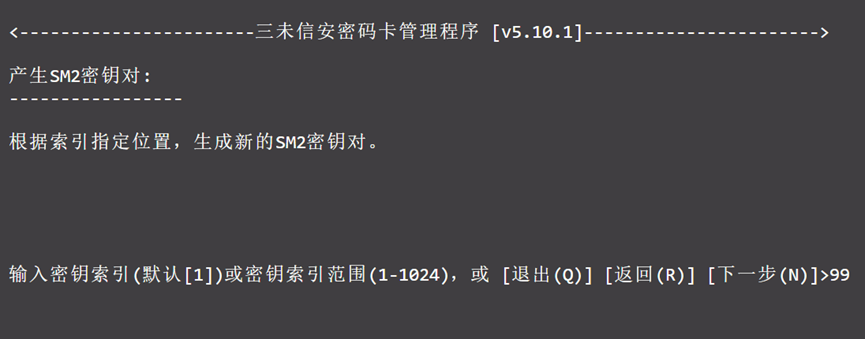
1) In the SM2 key management menu, select 1 to generate a new key pair.

2) Enter a key index. If a key already exists at that index, the new key will overwrite it. To check the current key status at an index, refer to section 3.1.4.
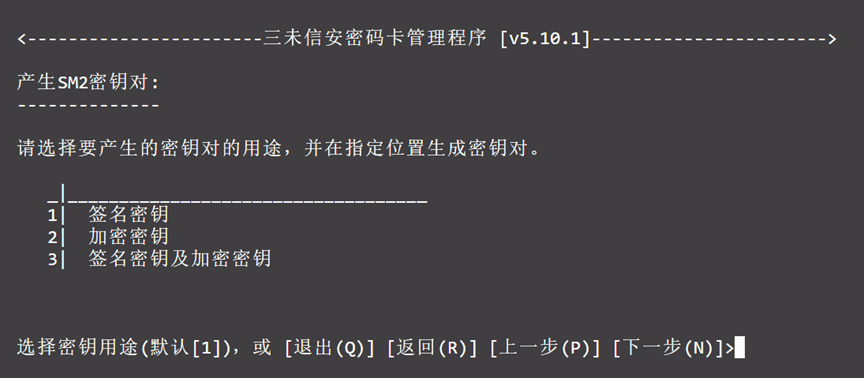
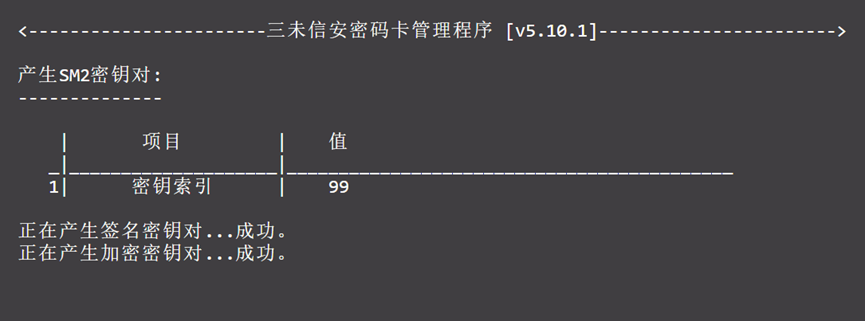
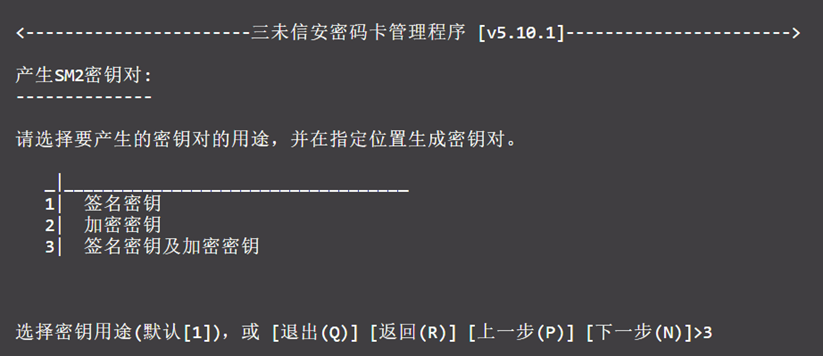
3) Select the purpose of the key pair.
4) Upon success, the key index will be displayed.
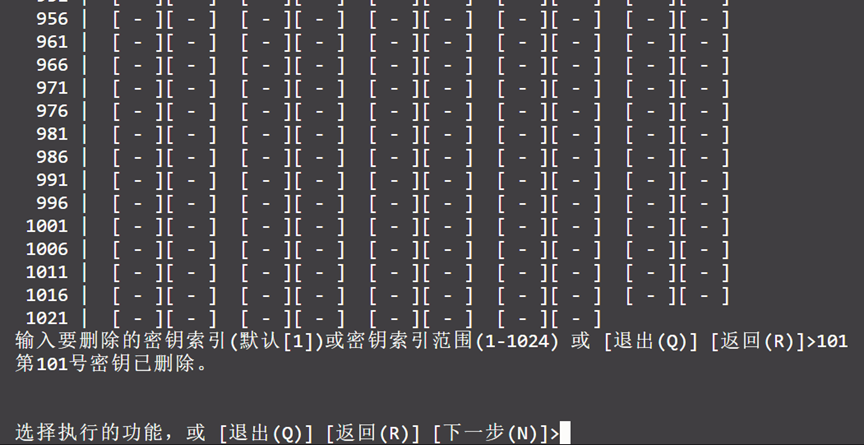
3.1.2 Delete SM2 Key
1) The key status will be displayed before deletion.
2) Enter the index to delete the key at that position.
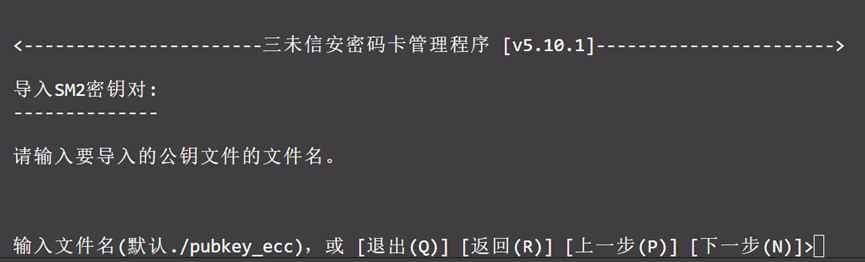
3.1.3 Import SM2 Key
If you already have a local public key file, you can import it directly.
1) In the SM2 key management menu, select 2 to import a key.
2) Assign an index to the key.

3) Select the purpose of the key.
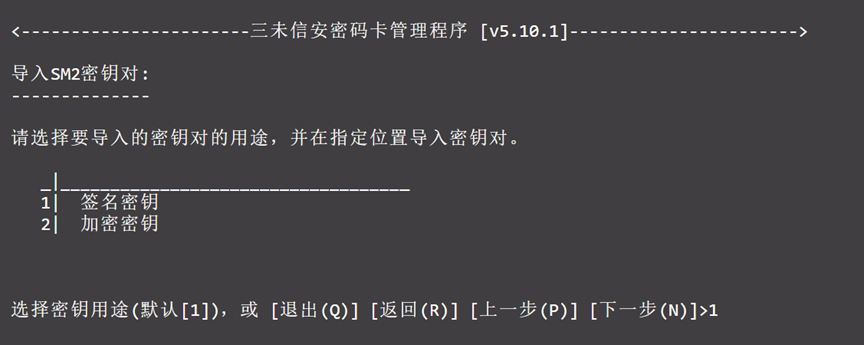
4) Choose the public key file name to complete the import.
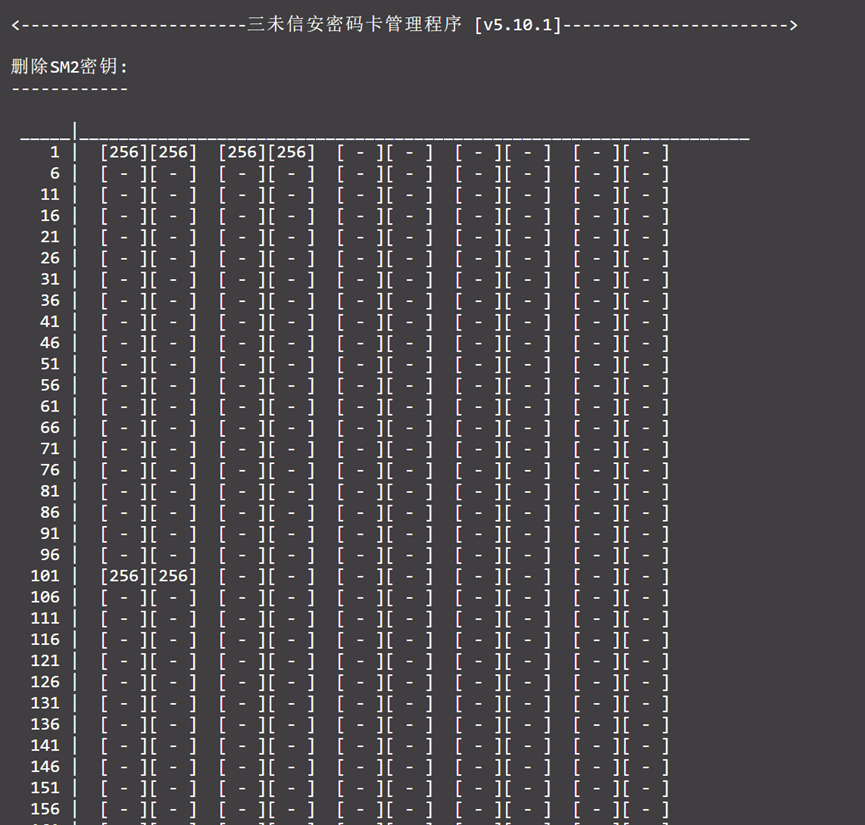
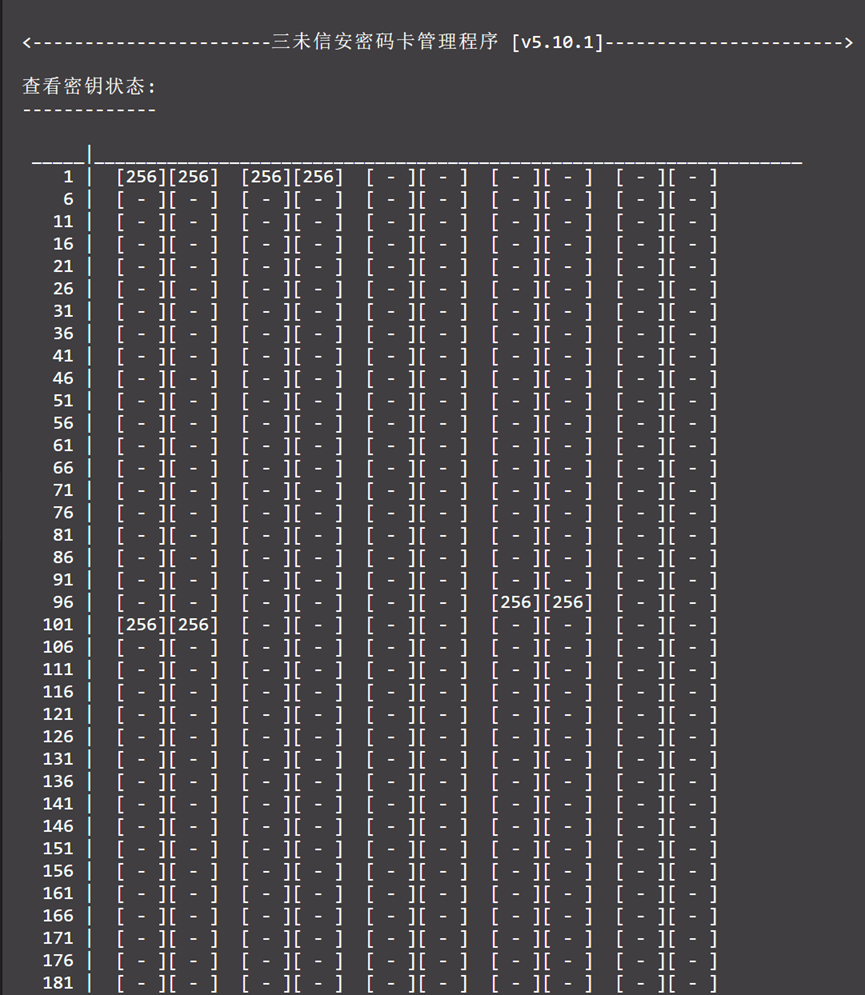
3.1.4 View SM2 Key Status
1) In the key management menu, select 4 to check if a key exists at a specific index.
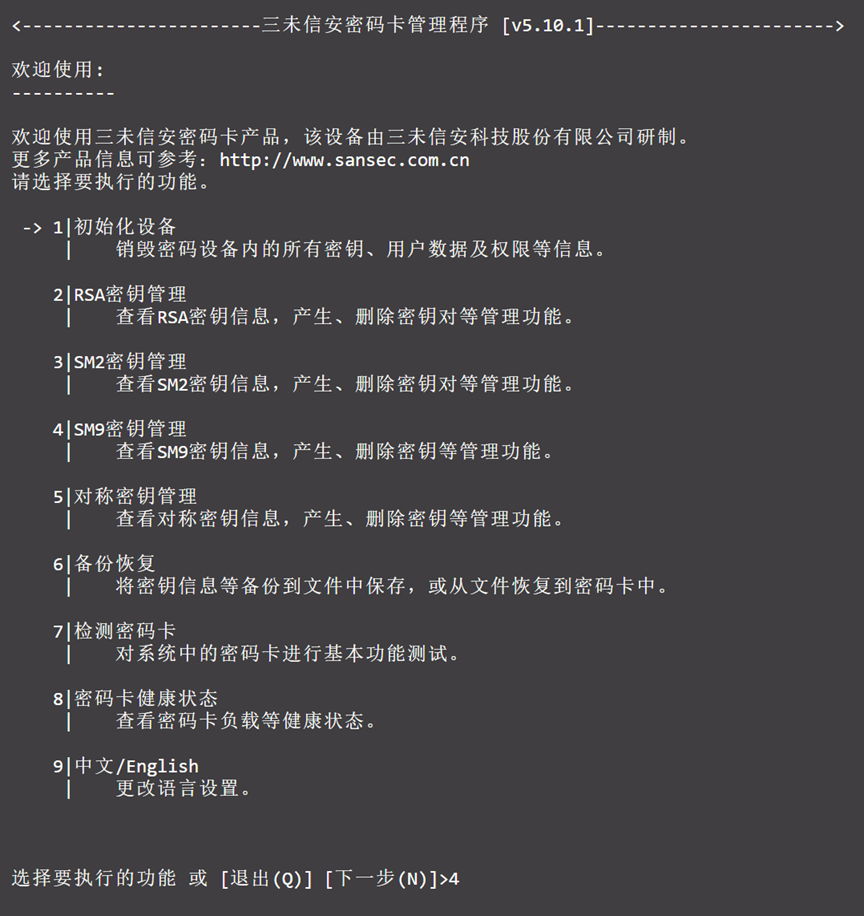
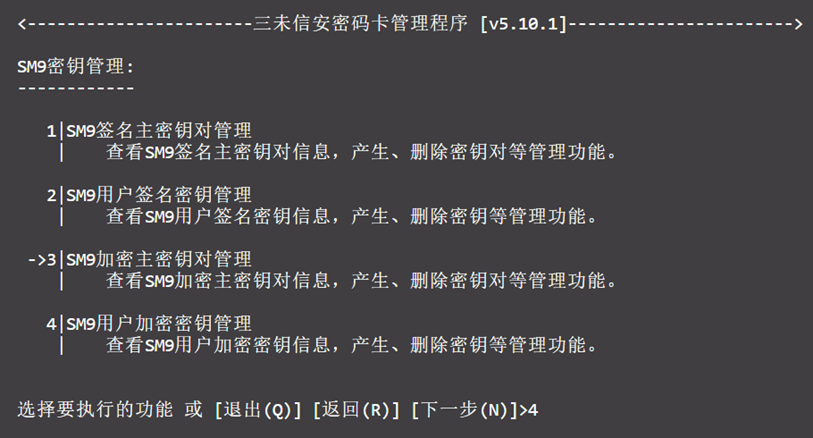
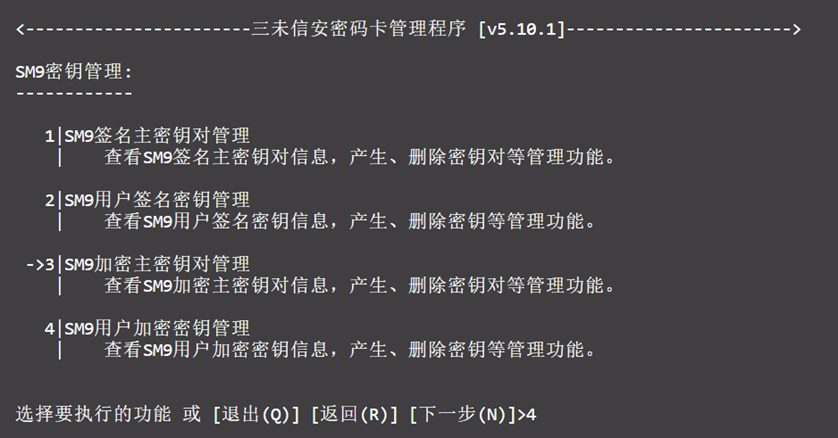
3.2 SM9 Key Management
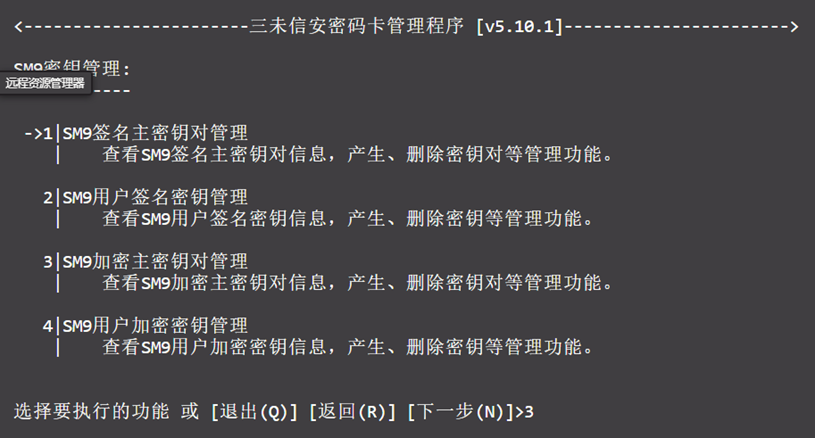
From the main menu, select 4 to manage SM9 keys.
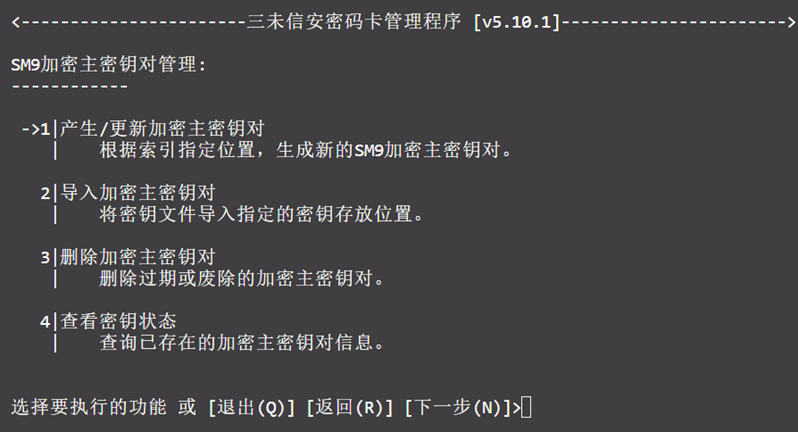
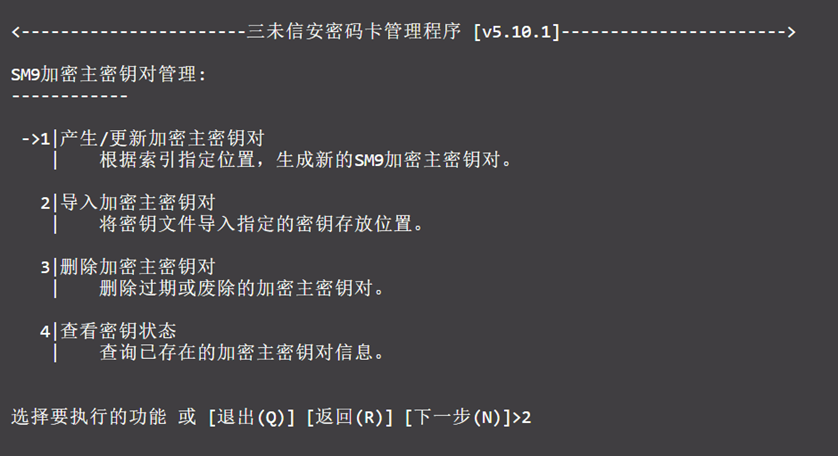
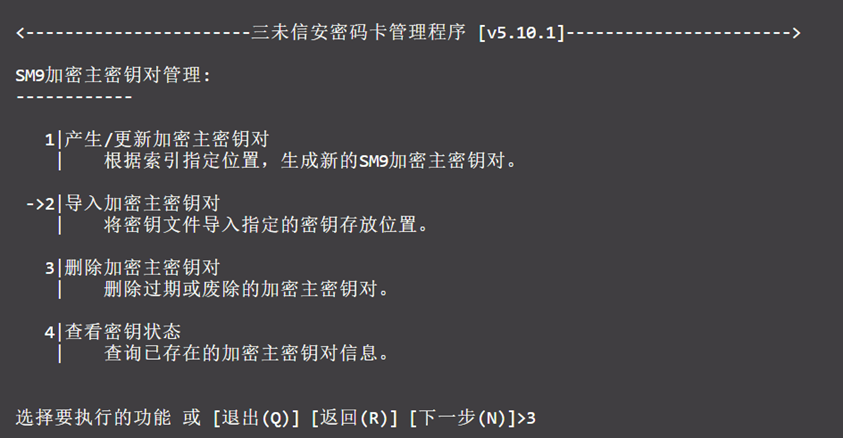
3.2.1 SM9 Encryption Master Key Pair
Select 3 to enter the Encryption Master Key Management menu.

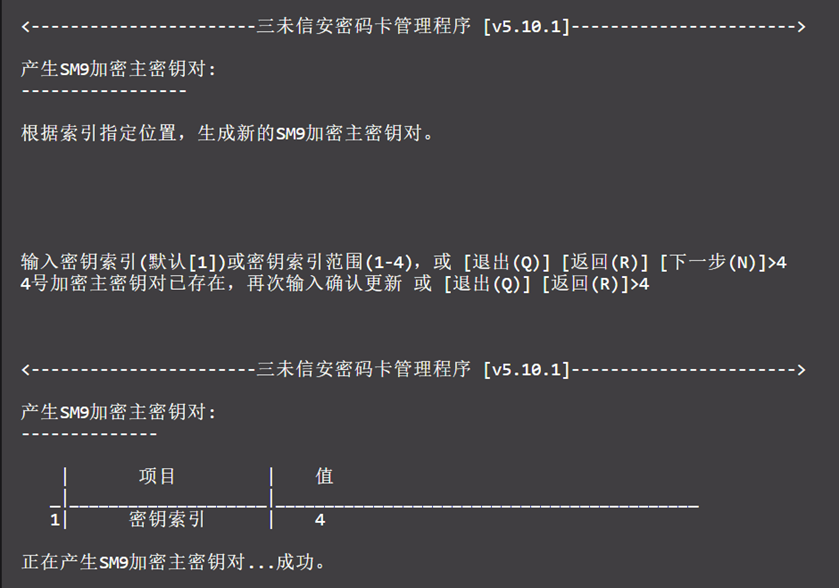
3.2.1.1 Generate Master Key Pair
1) In the SM9 Encryption Master Key menu, select 1 to generate the master key pair.
2) Enter the key index.
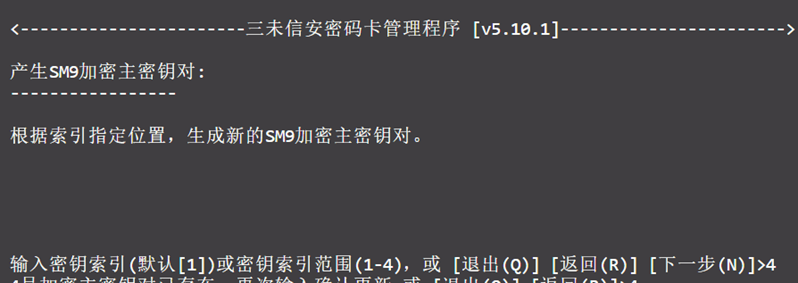
3) Successful creation will be indicated.

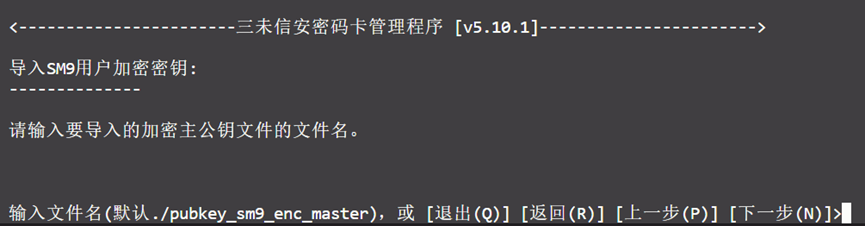
3.2.1.2 Import Master Key Pair
1) Select 2 to import the encryption master key pair.
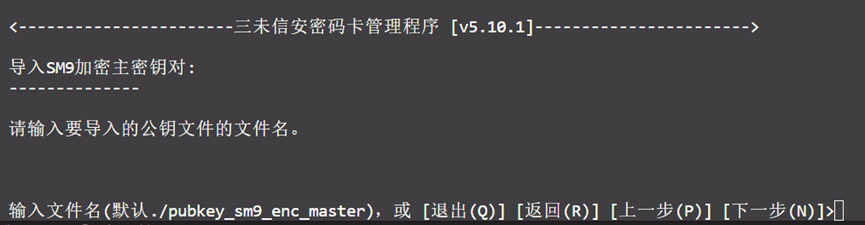
2) First, enter the key index.
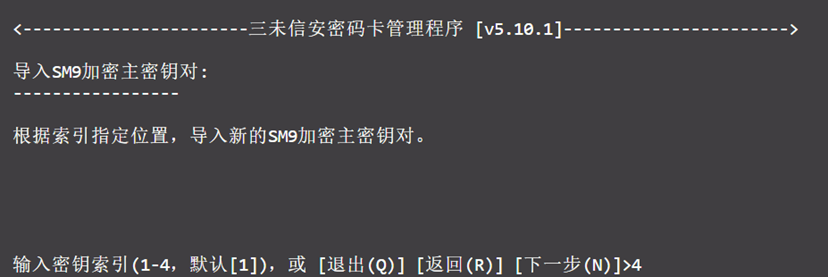
3) Then input the public key file name to import.
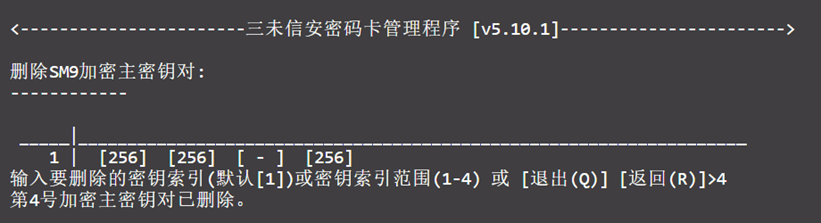
3.2.1.3 Delete Master Key Pair
1) Select 3 to delete the encryption master key pair.
2) Enter the index to delete the corresponding key.
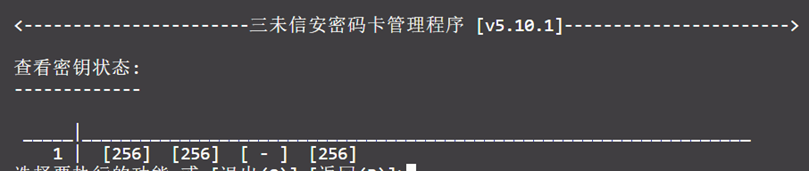
3.2.1.4 View Key Status
Select 4 to check the status of the master keys.
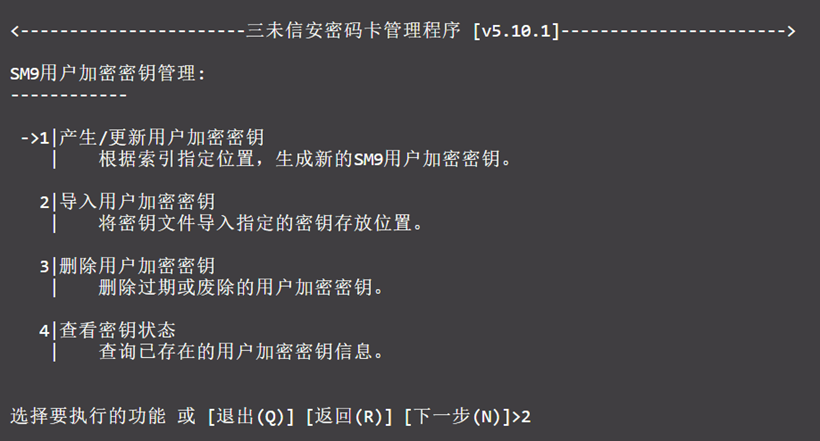
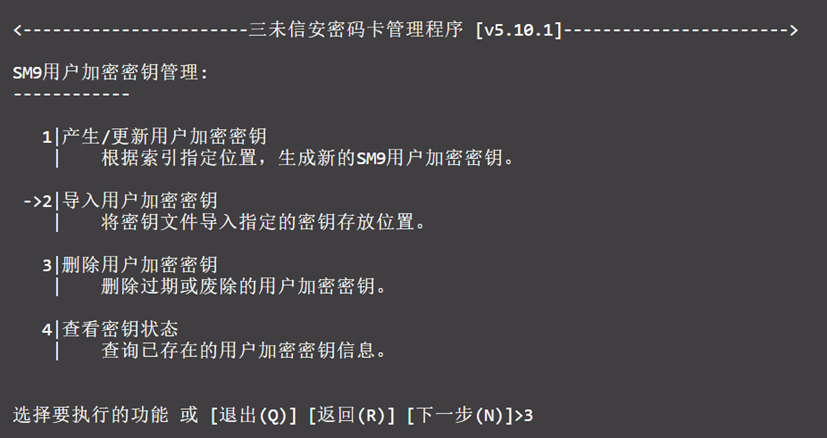
3.2.2 SM9 User Encryption Key Management
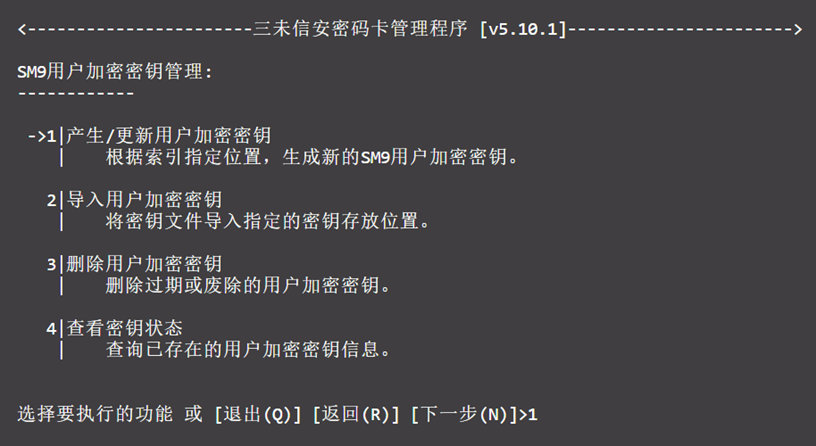
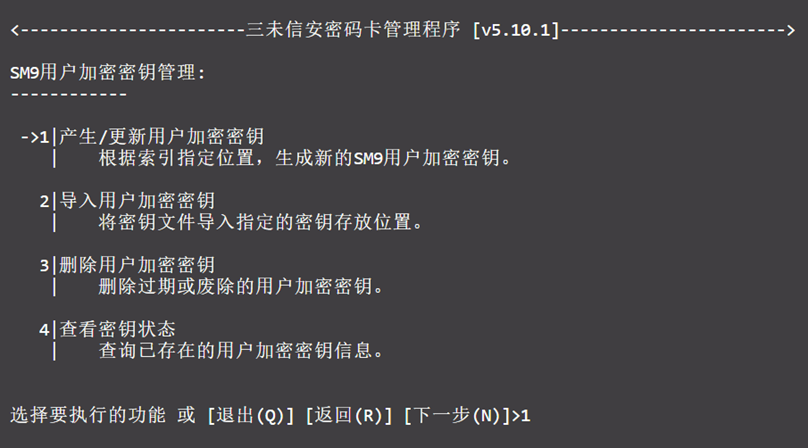
Select 4 to enter the User Encryption Key Management menu.
3.2.2.1 Generate SM9 User Encryption Key
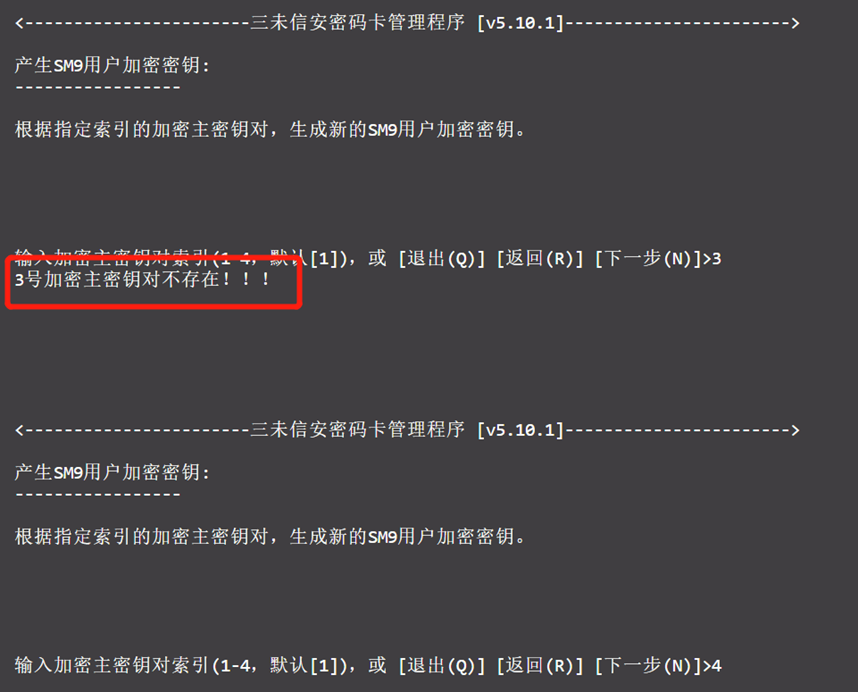
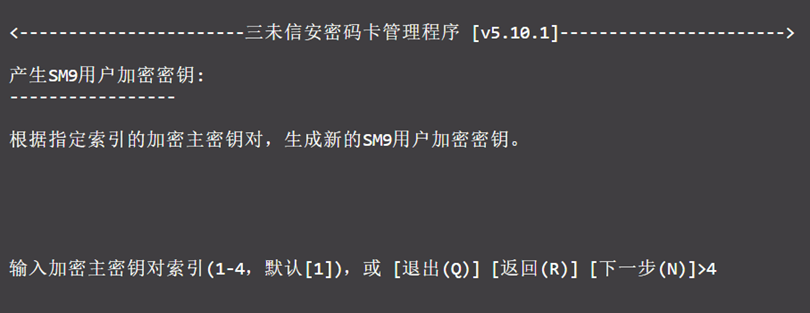
1) In the SM9 User Encryption Key Management menu, select 1 to generate a user encryption key.
2) Enter the index of the master key — an error will occur if the master key does not exist.
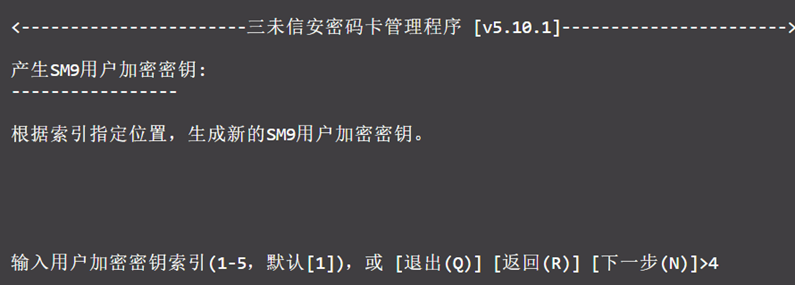
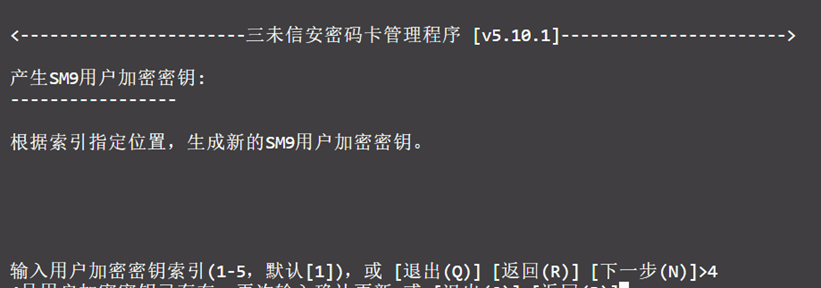
3) Enter the user encryption key index.
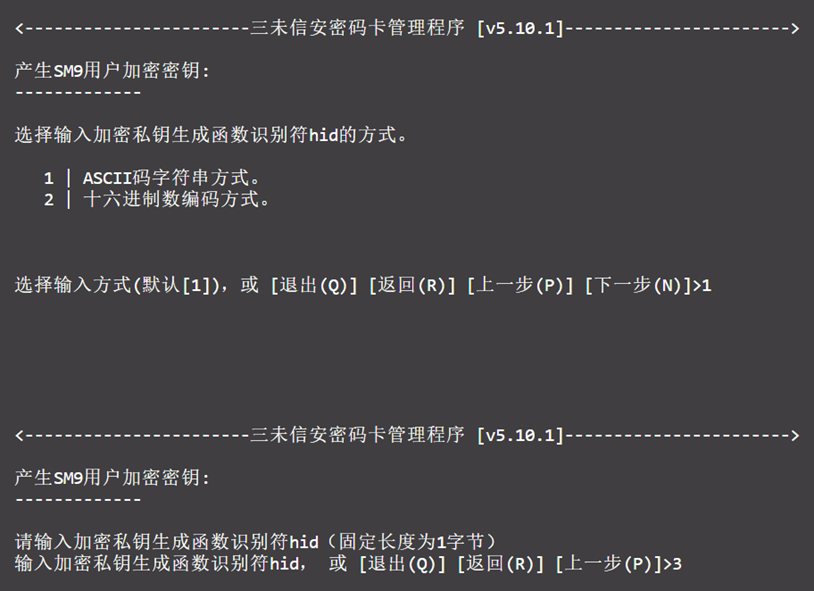
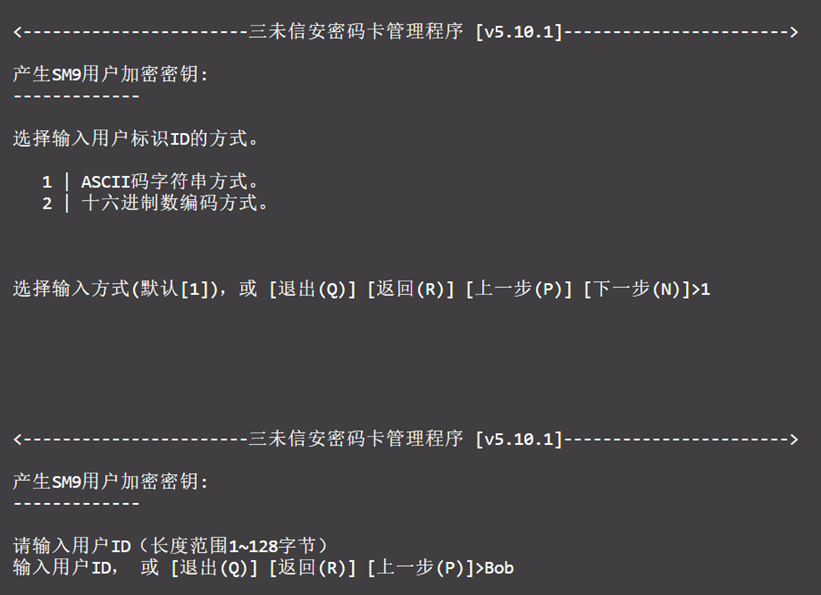
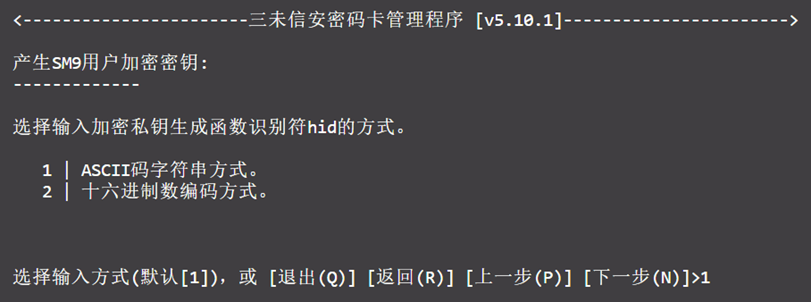
4) Choose the encoding method and input the HID.
5) Choose the encoding method and input the user ID.
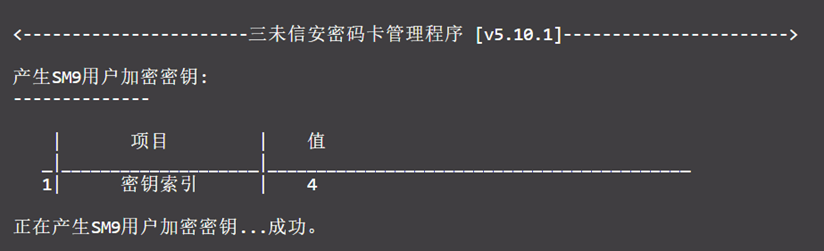
6) Key generation will be successful.
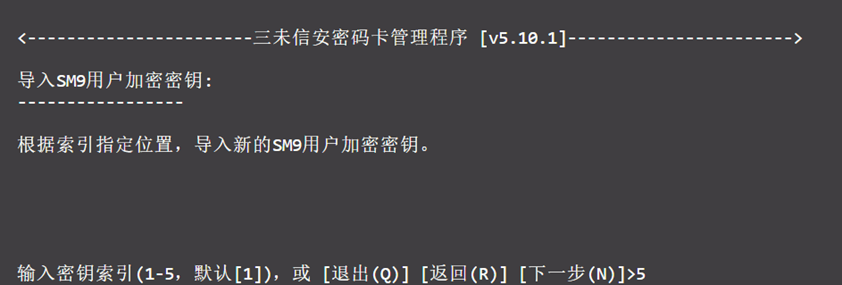
3.2.2.2 Import User Encryption Key
1) Select 2 to import a user encryption key.
2) Enter the key index.
3) First input the encryption master public key file name, then input the user encryption public key file name to complete the import.
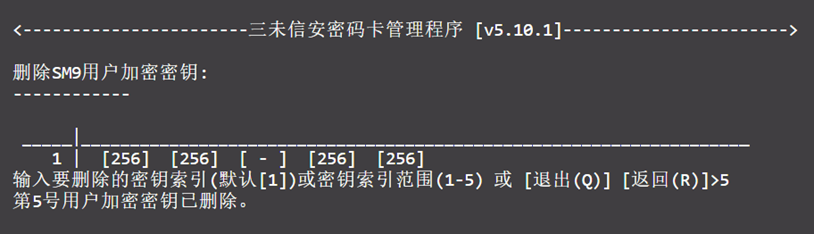
3.2.2.3 Delete User Encryption Key
1) Select 3 to delete the user encryption key.
2) Enter the index to delete the corresponding key.
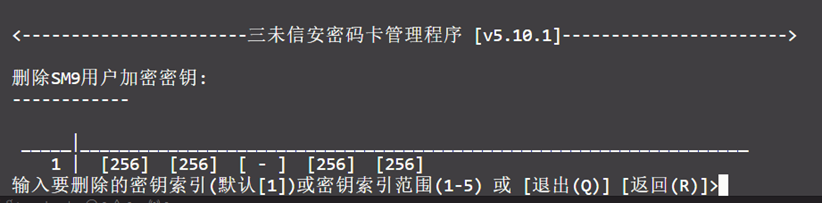
3) Deletion will be successful.
3.2.2.4 View Key Status
Select 4 to check the key status.
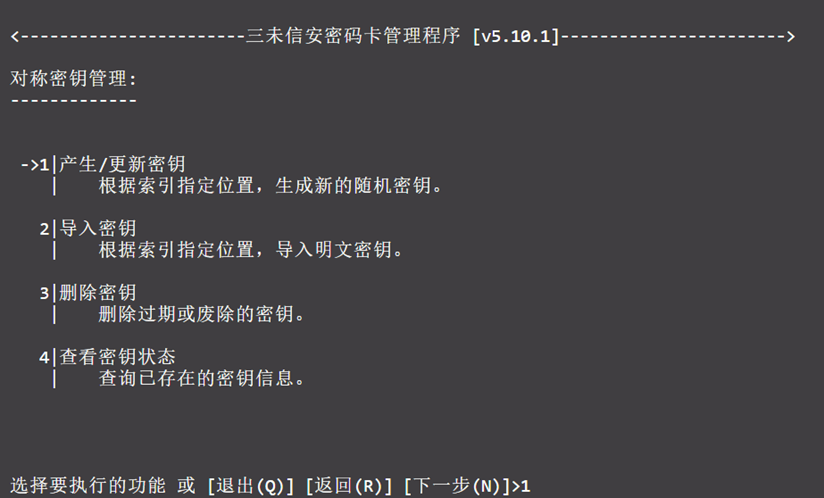
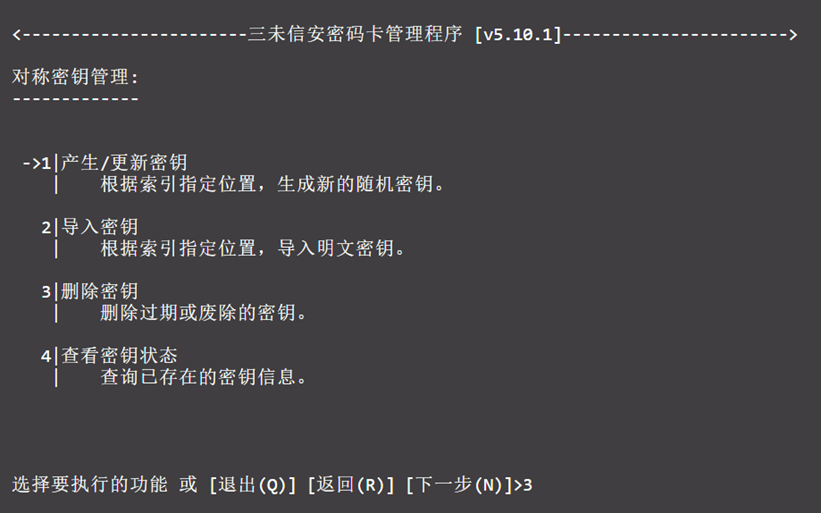
3.3 Symmetric Key Management
From the main menu, select 5 to manage symmetric encryption keys.
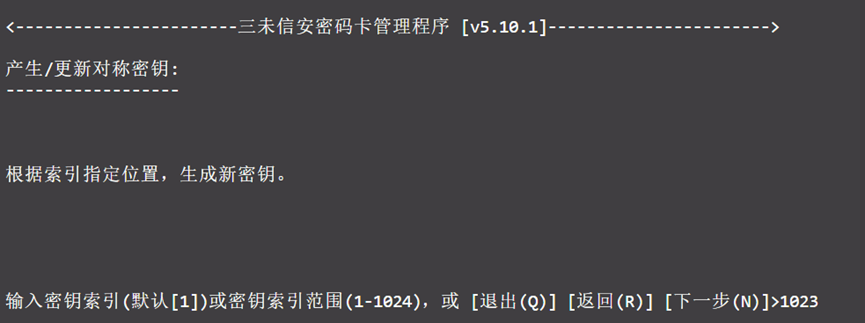
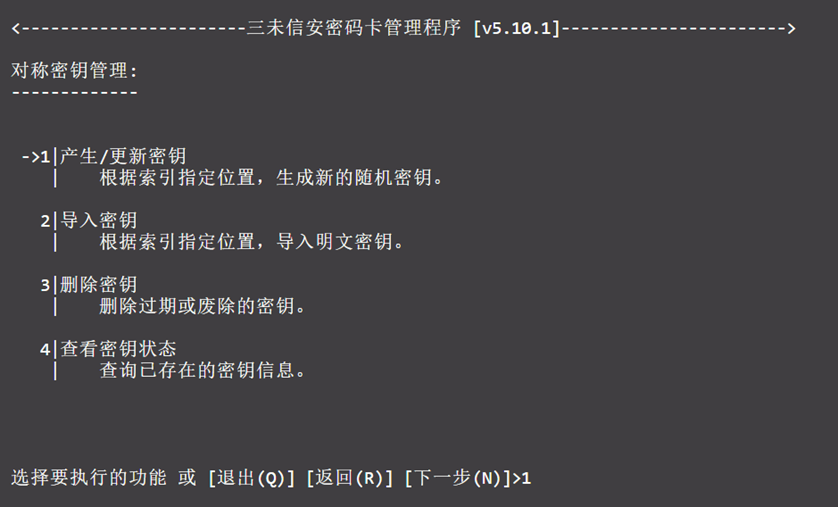
3.3.1 Generate Symmetric Key
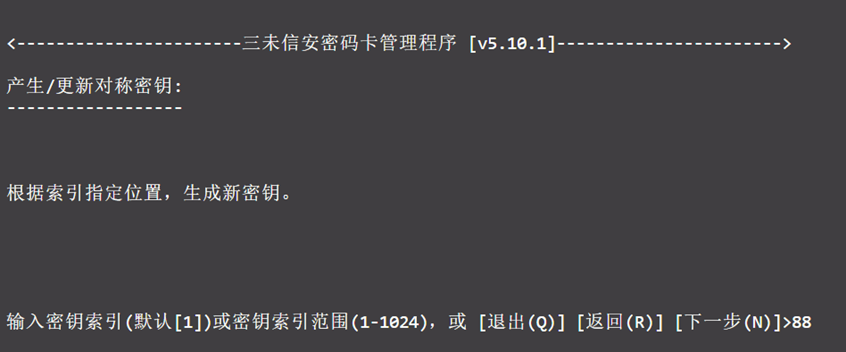
1) In the symmetric key management menu, select 1 to generate a new key.
2) Enter the key index — if a key already exists at this index, it will be overwritten. To check existing keys, refer to section 3.3.4.
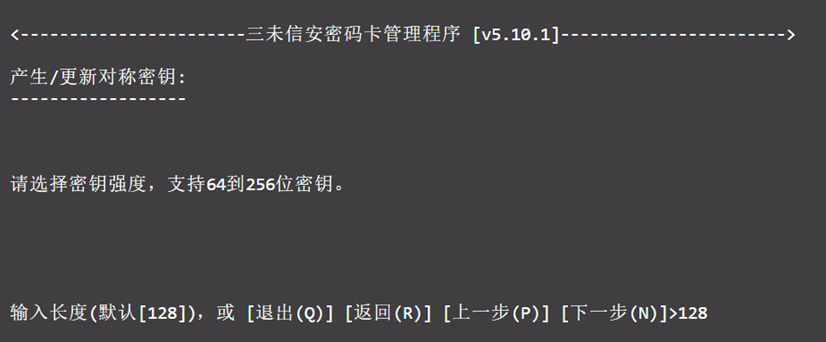
3) Input the desired key length.
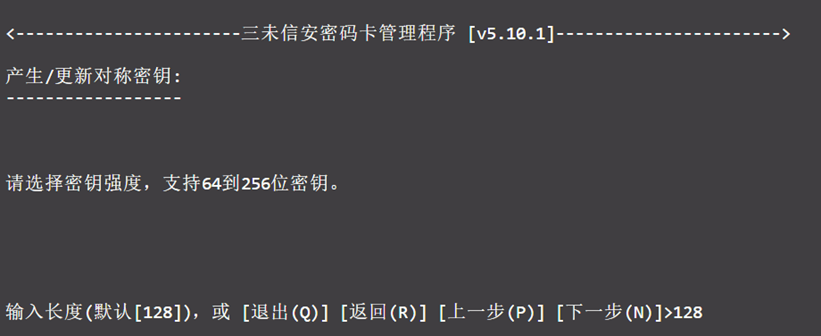
4) Upon success, the index and key strength will be displayed.

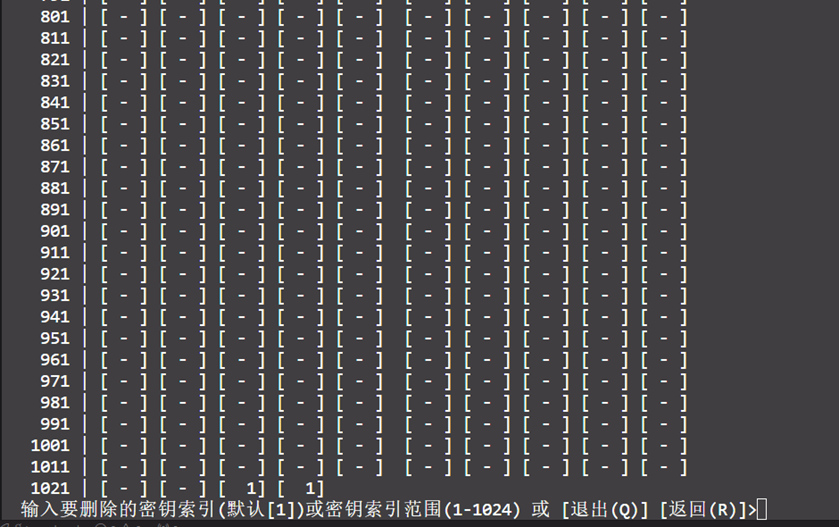
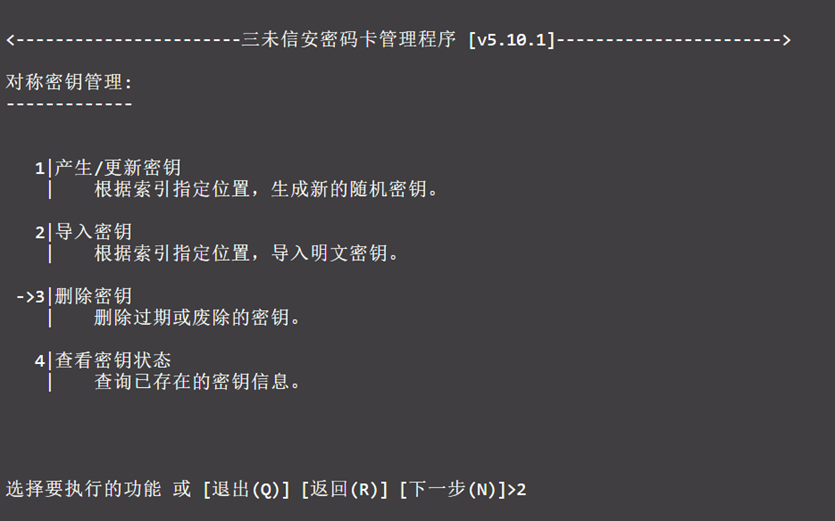
3.3.2 Delete Symmetric Key
In the symmetric key management menu, select 3 to delete a symmetric key.
1) Key status will be displayed before deletion.
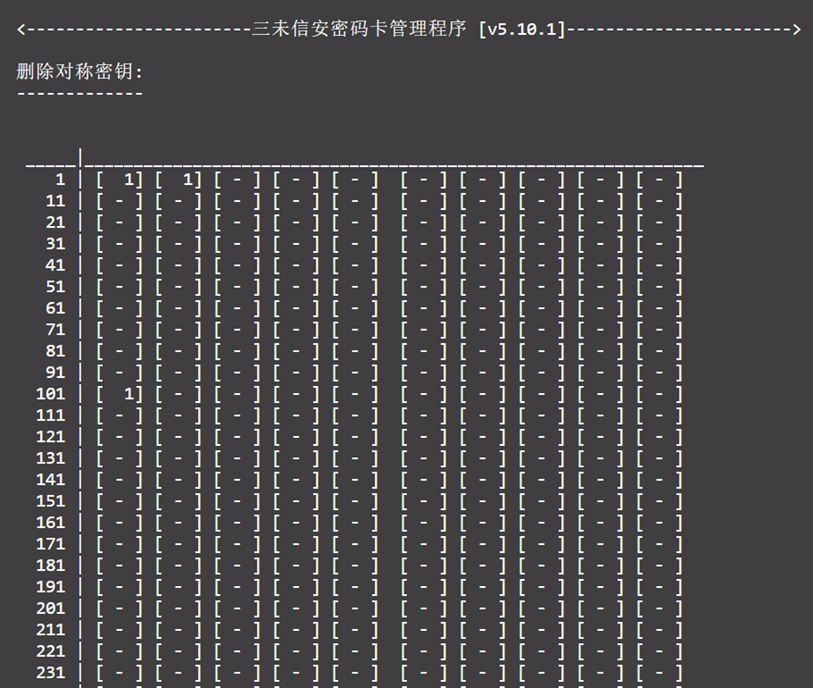
2) Enter the index to delete the key at that position.
3.3.3 Import Plaintext Symmetric Key
If you already have a local plaintext key, you can import it directly.
1) In the symmetric key management menu, select 2 to import the key.
2) Assign an index to the key.

3) Choose a method to input the plaintext key value.
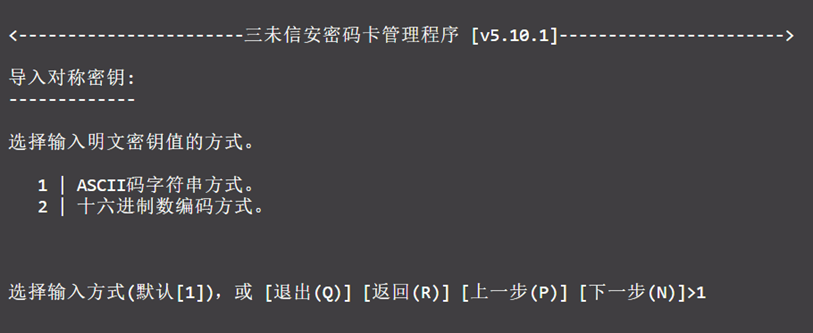
4) Enter the key value — it must be a multiple of 8 bytes, with a maximum length of 32 bytes.

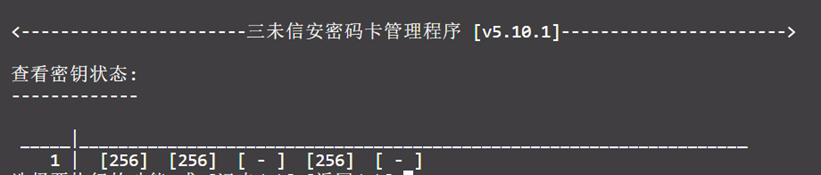
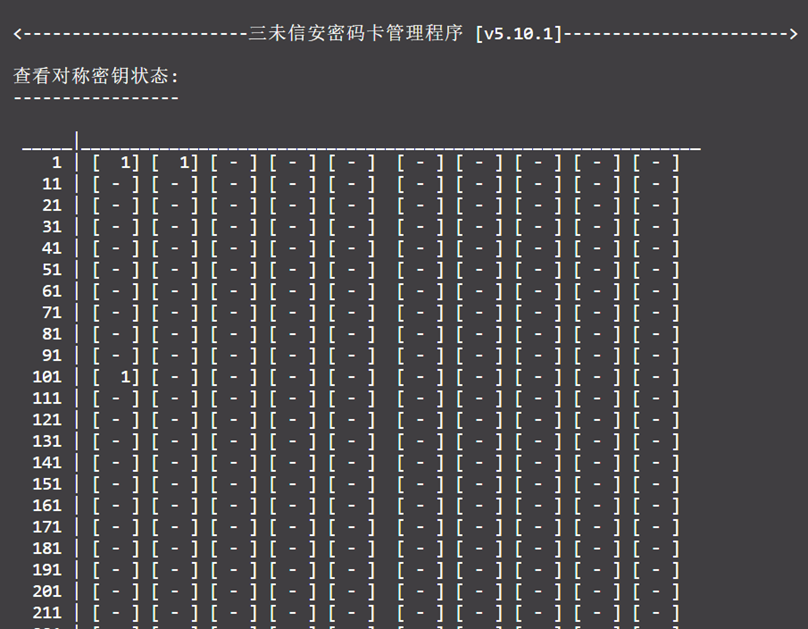
3.3.4 View Symmetric Key Status
In the key management menu, select 4 to view the status of keys at various indices.
- Unispace Backup Copy Encryption Settings
1) In "Service Plan - Add Service Plan - Add Copy" or "Copy Group - Add Copy Group - Add Copy", toggle the "Enable Data Encryption" switch in the "Data Optimization Policy" section.
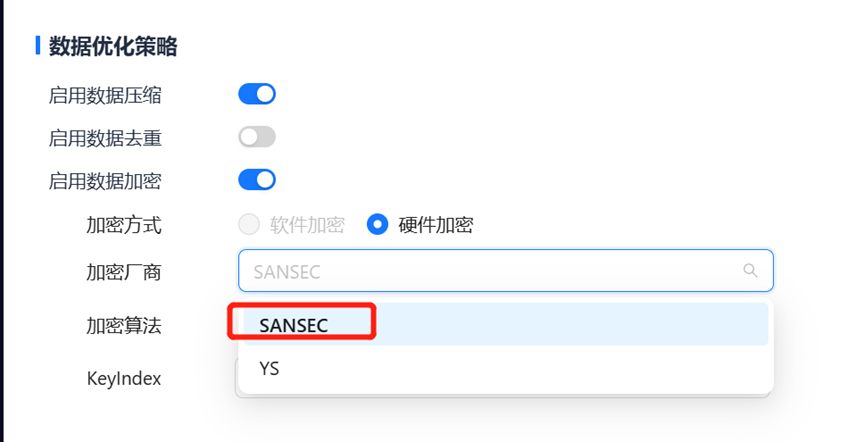
2) Select "SANSEC" as the encryption vendor.
3) The encryption algorithm can be one of the following: 3DES, AES, ECC, or SM9. The correspondence between the encryption algorithms and the software configuration in Unispace is shown in the table below:
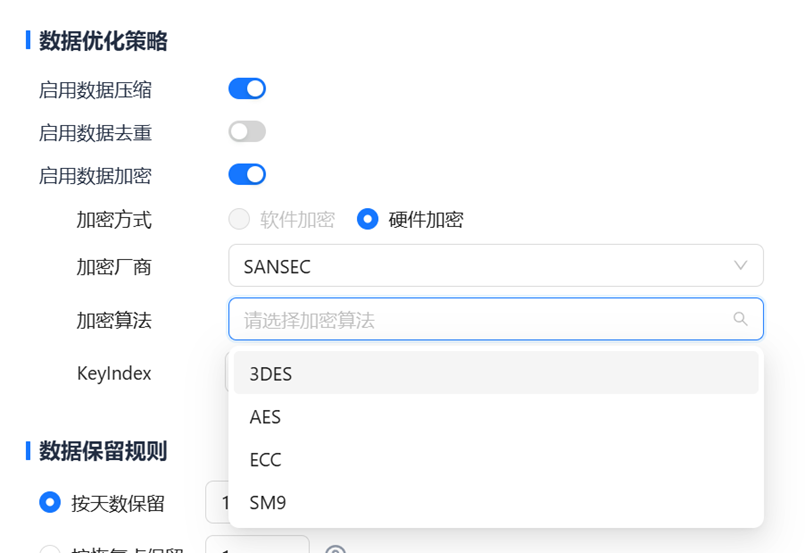
| SANSEC Encryption Algorithm | Unispace Configuration Encryption Algorithm |
|---|---|
| SM2 | ECC |
| SM9 | SM9 |
| Symmetric Encryption | 3DES、AES |
4) When choosing 3DES, AES, or ECC, enter the key index in the "KeyIndex" field. When choosing SM9, enter the key index in the "KeyIndex" field, the user ID of the SM9 user key in the "UserID" field, and the HID of the SM9 user key in the "HID" field.
5) Configure other parameters of the service plan or copy group, then click "OK".
- Usage Guide
5.1 Using SM2 to Encrypt Backup Copies
5.1.1 Key Generation
1) From the main menu, select 3 to enter SM2 Key Management.
2) Select 1 to generate a new key pair.
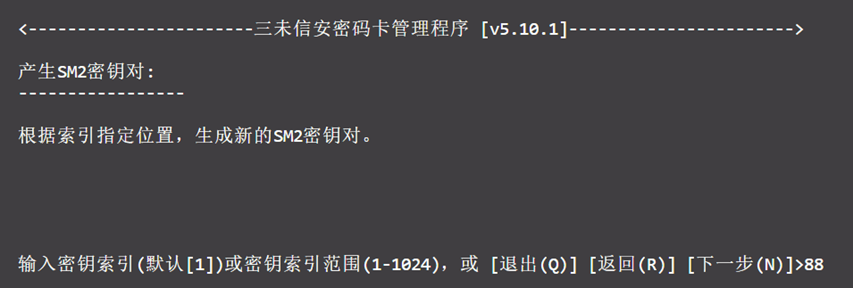
3) Enter the index position (in this example, 88).
4) Select the key purpose.
5) A success message will indicate the key has been generated.

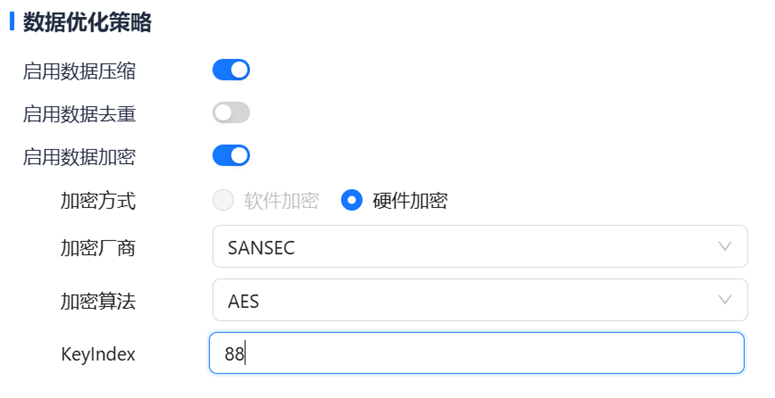
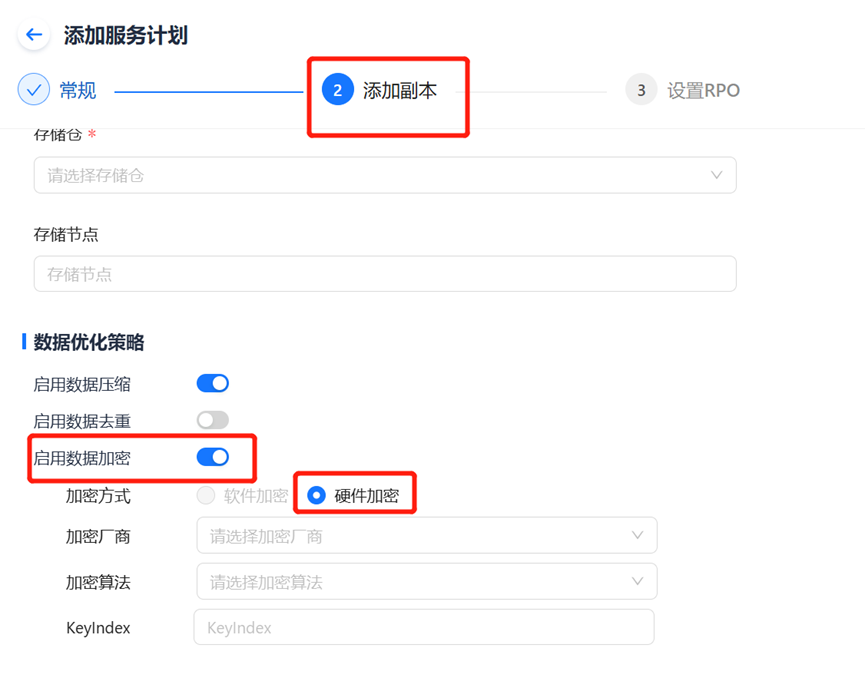
5.1.2 Configuration on the Page (Example: Adding a Service Plan)
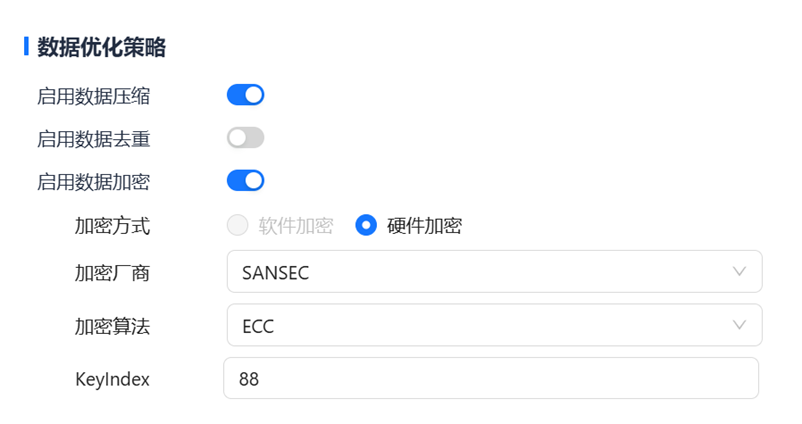
In the "Data Optimization Policy" section:
- Toggle the "Enable Data Encryption" switch.
- Select "Hardware Encryption" as the encryption method.
- Choose "SANSEC" as the encryption vendor.
- Choose "ECC" as the encryption algorithm.
- Enter the key index (88) obtained from step 5.1.1, 3).
5.2 Using SM9 to Encrypt Backup Copies
5.2.1 Key Generation
1) From the main menu, select 4 to enter SM9 Key Management.
2) The user encryption key must correspond to a master encryption key.
- If a master encryption key already exists, proceed to step 6).
- Otherwise, configure a new master encryption key.
Select 3 to configure the Encryption Master Key Pair.
3) Select 1 to generate a new encryption master key pair, and enter 4 as the index.
4) Enter R to return to the SM9 Encryption Master Key Pair Management menu.
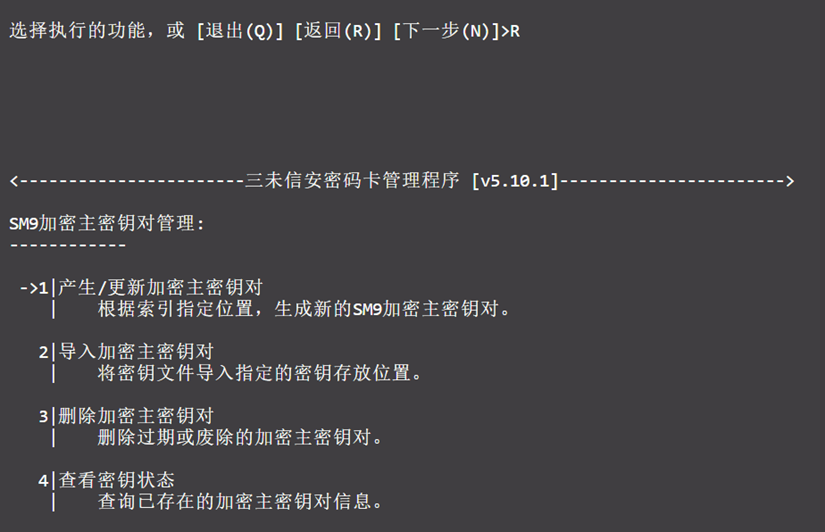
5) Enter R again to return to the SM9 Key Management menu.
6) Select 4 to manage User Encryption Keys.
7) Select 1 to generate a User Encryption Key.
8) Enter the master encryption key index (4) obtained from step 3).
9) Enter the user key index (4).
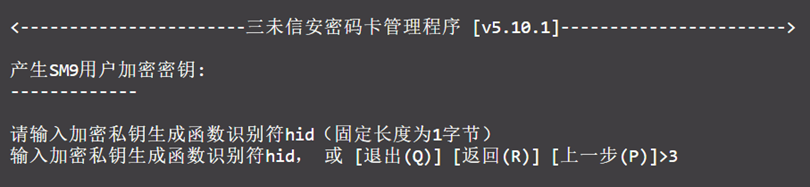
10) Enter the HID generation method as ASCII.
- If you choose ASCII, you can only enter one character. In the Unispace configuration page, write the decimal number corresponding to this character in the ASCII table.
- If you choose Hexadecimal, enter the value in "0x" format, and write the corresponding decimal number on the Unispace page.
11) Enter HID (3).
12) Enter the user ID generation method, also as ASCII.
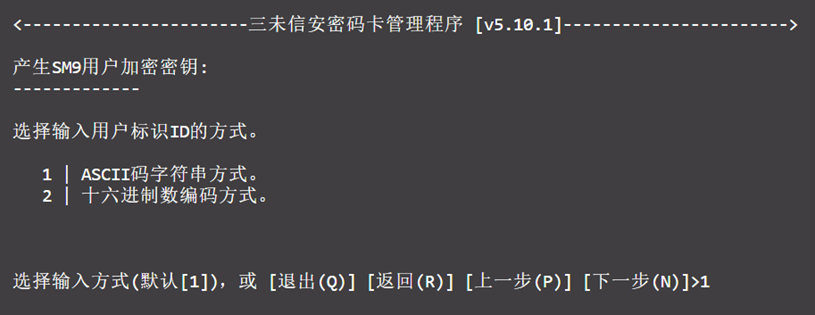
13) Enter the User ID (Bob).
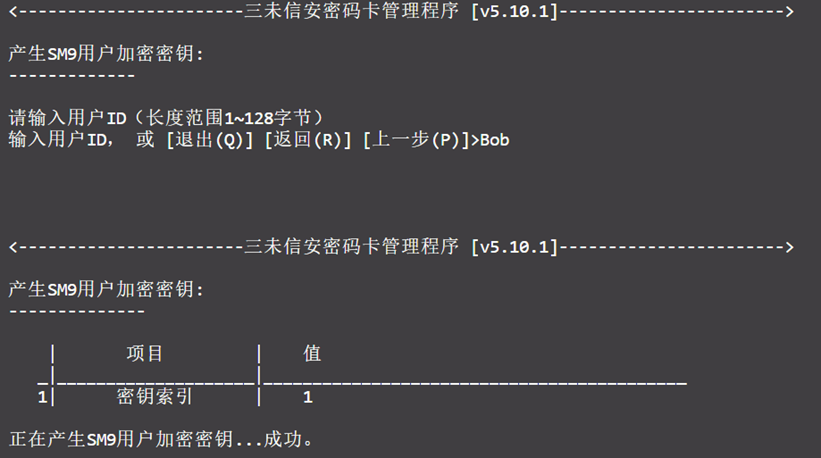
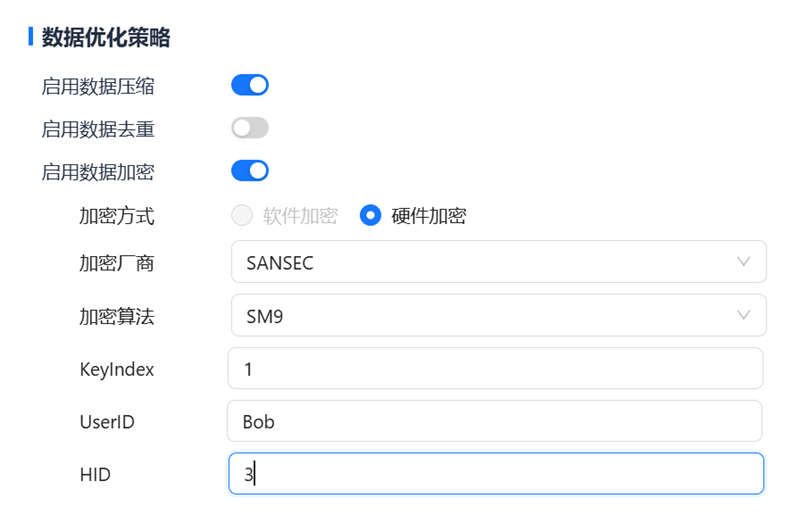
5.2.2 Configuration on the Page (Example: Adding a Service Plan)
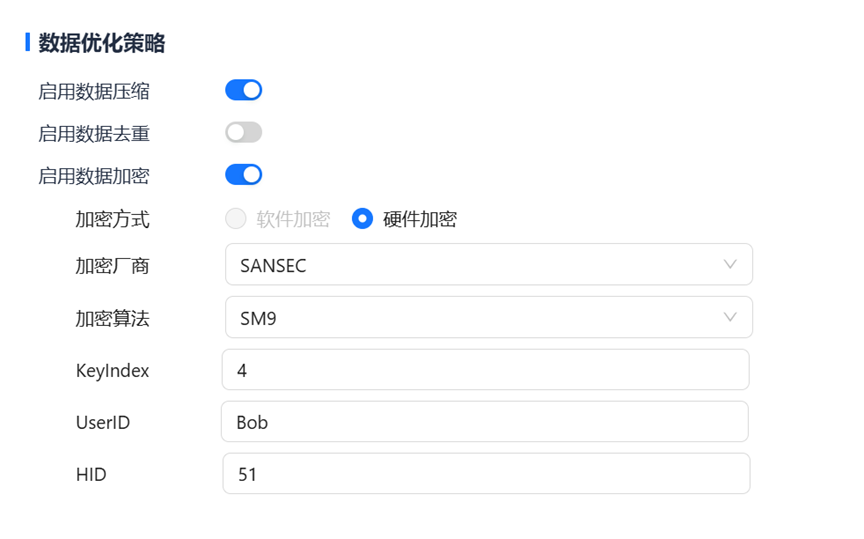
In the "Data Optimization Policy" section:
- Toggle the "Enable Data Encryption" switch.
- Select "Hardware Encryption" as the encryption method.
- Choose "SANSEC" as the encryption vendor.
- Choose "SM9" as the encryption algorithm.
- Enter the user encryption key index (4) in the "KeyIndex" field.
- Enter "Bob" as the UserID.
- Enter 51 (ASCII code for '3') as the HID.
5.3 Using Symmetric Encryption Algorithm
5.3.1 Key Generation
1) From the main menu, select 5 to enter Symmetric Encryption Key Management.
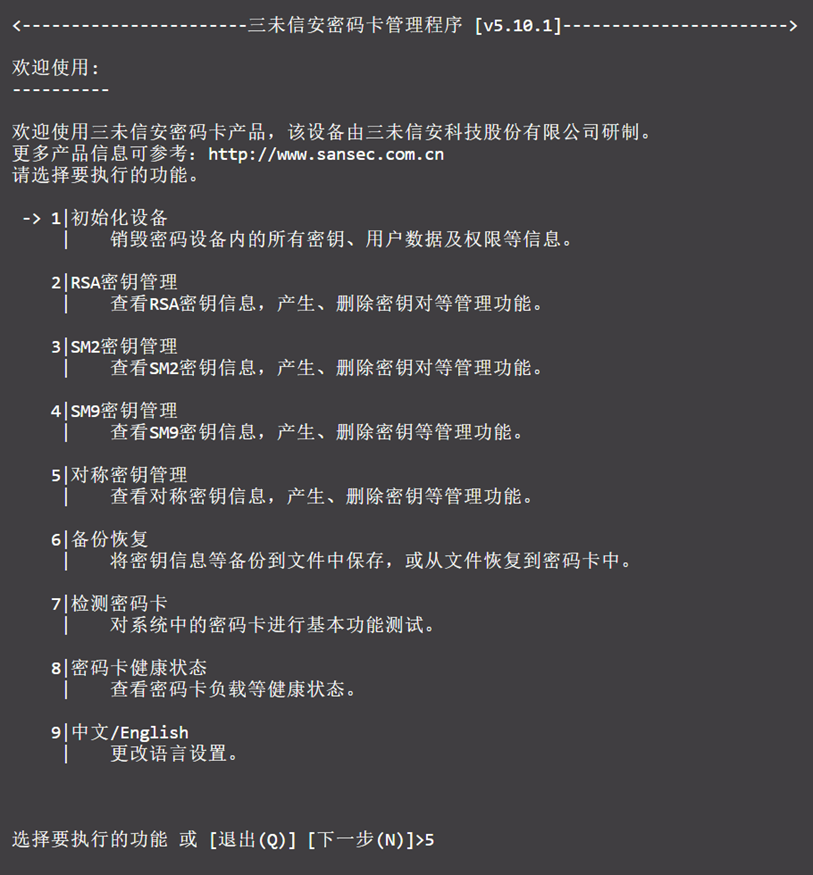
2) Select 1 to generate a new key pair.
3) Enter the index position (88).
4) Choose the key strength.
5) A success message will indicate the key has been generated.
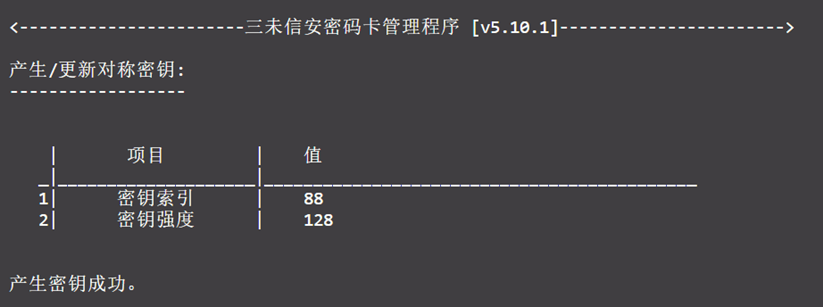
6) Enter Q to exit.
5.3.2 Configuration on the Page (Example: Adding a Service Plan)
In the "Data Optimization Policy" section:
- Toggle the "Enable Data Encryption" switch.
- Select "Hardware Encryption" as the encryption method.
- Choose "SANSEC" as the encryption vendor.
- Choose "AES" or "3DES" as the encryption algorithm.
- Enter the key index (88) obtained from step 5.3.1.